 Free shipping on orders over £29,85

How is resin sand prepared?
A step-by-step guide to mixing and using resin sand
Preparing resin sand is an essential process for artists and crafters aiming to achieve realistic, textured finishes in their creative projects. This guide will take you through each stage, from gathering the proper materials to mixing sand with resin and applying it for stunning decorative effects. Whether you’re interested in beach-themed artwork, unique coasters, or bespoke decor, following these steps ensures consistent, professional results.
What You’ll Need
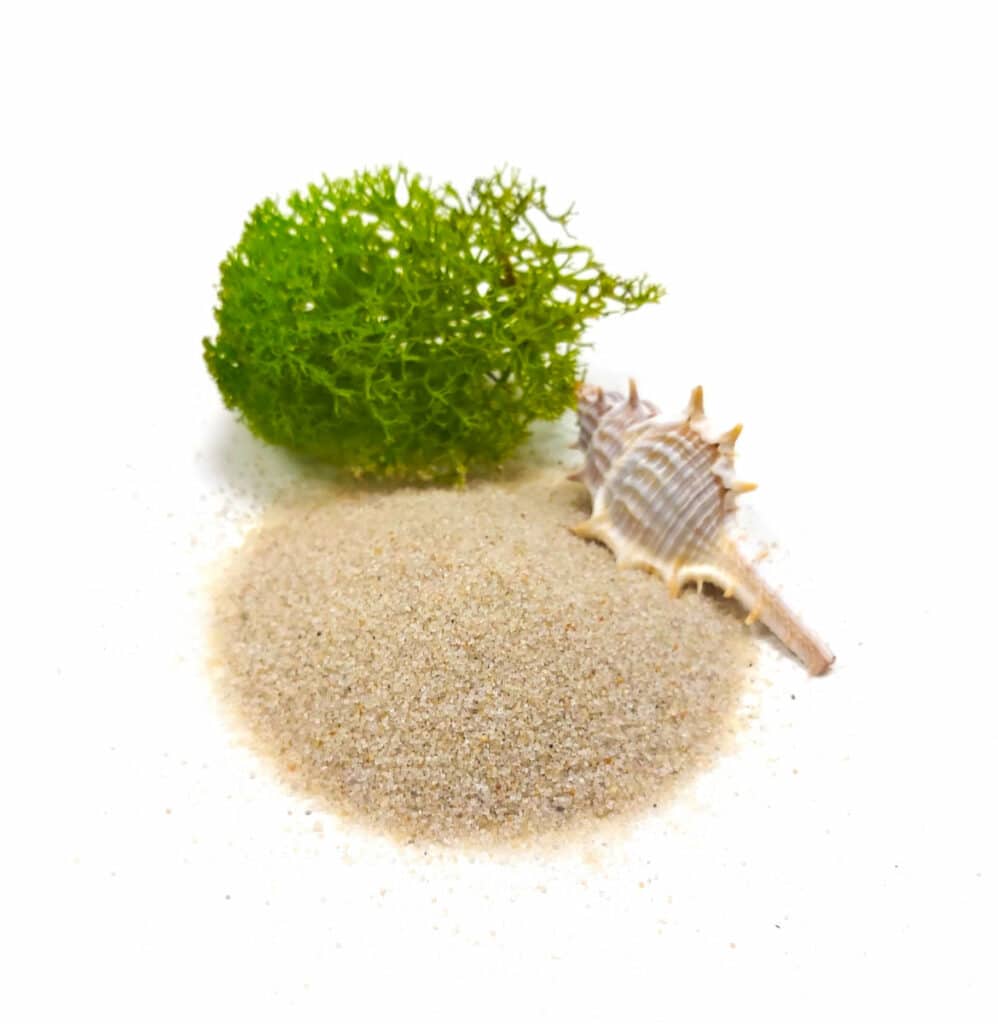
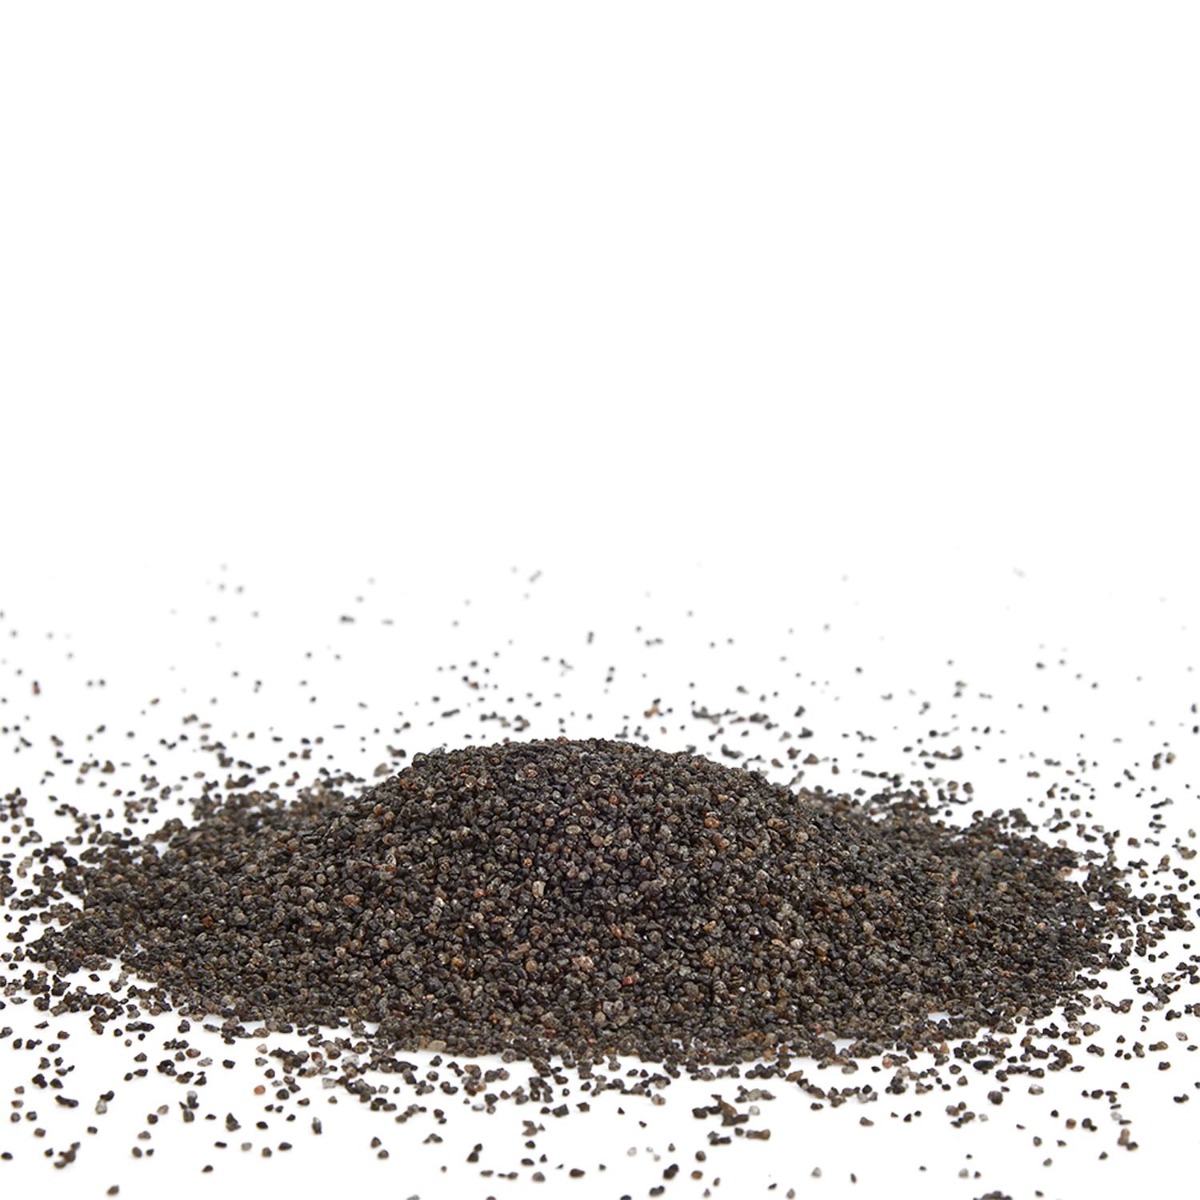
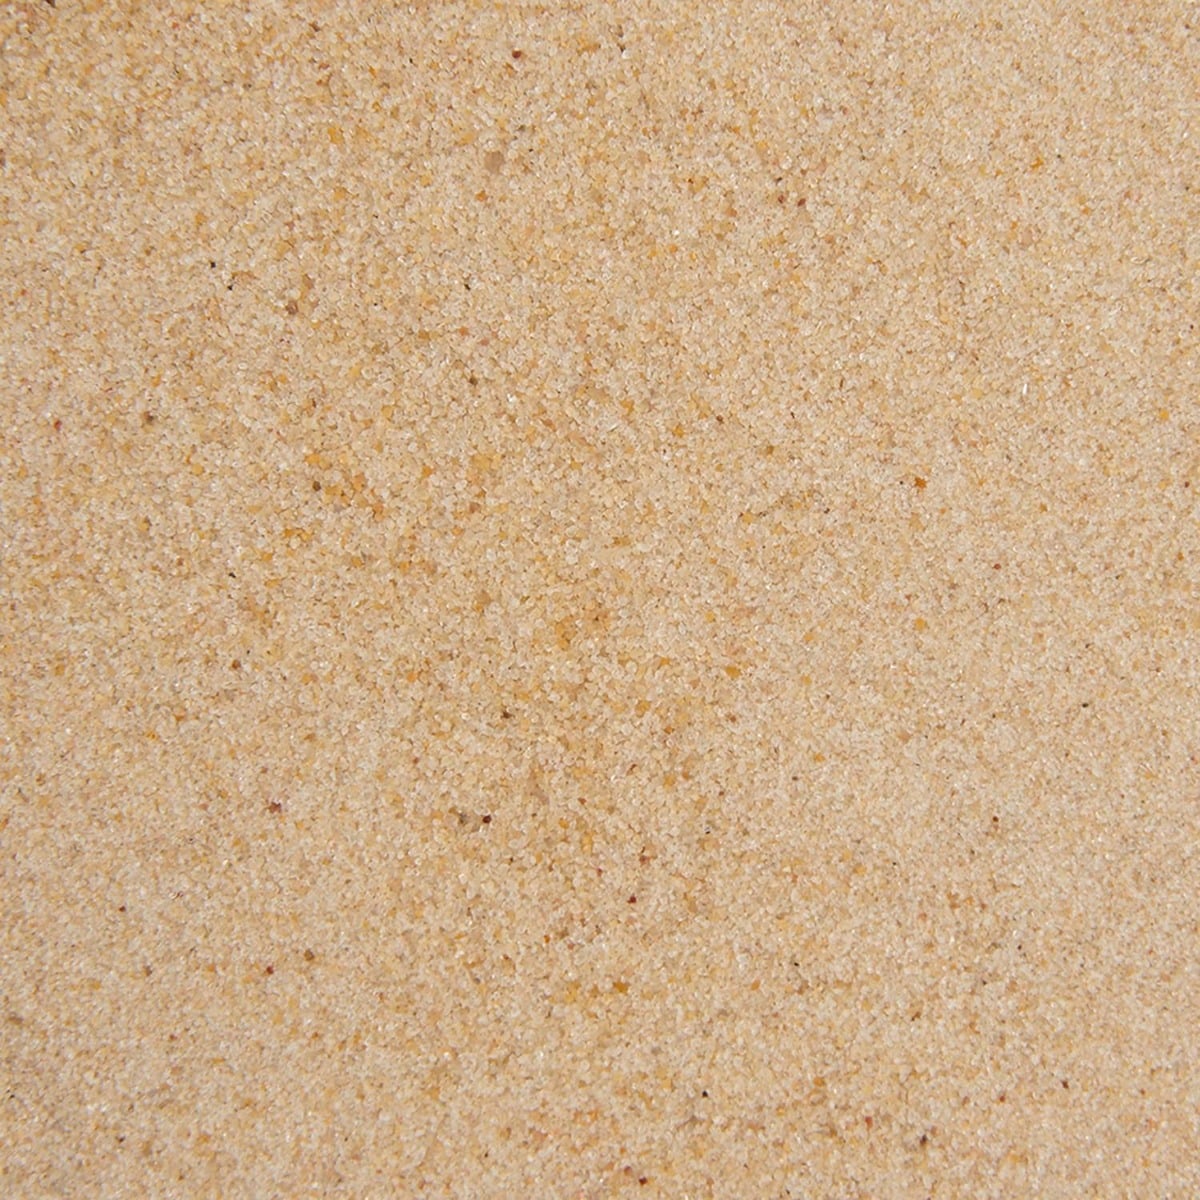
- Natural Sand for Art Decoration – Decorative Sand for Epoxy Resin Artwork
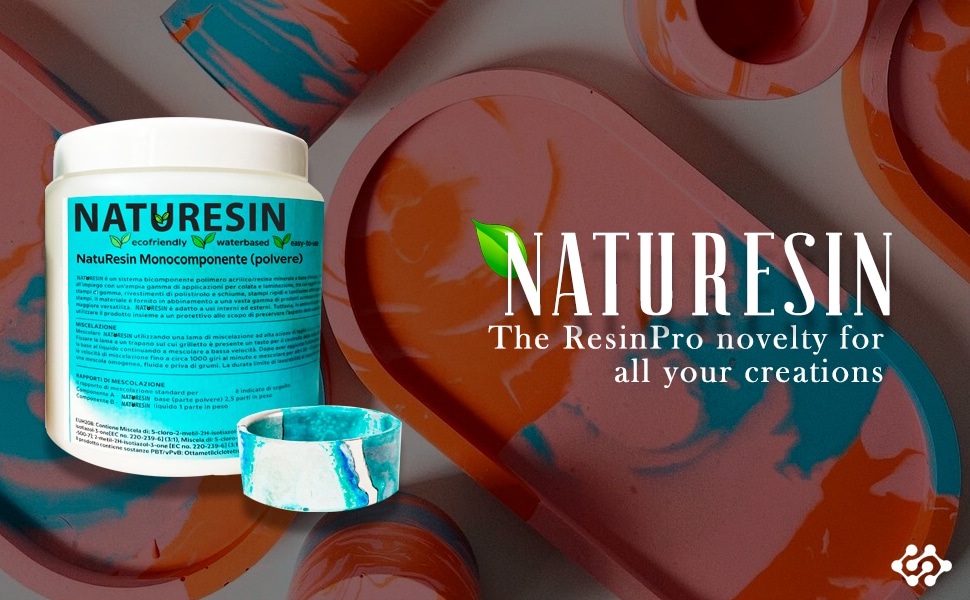
- “NatuResin” – Mineral Resin & Water System for Creative Casting and Crafts
- “Coasters” – Creative Kit with Mineral Resin and Silicone Mould
- Resin Geode Coaster Starter Kit – Create Stunning Crystal-Style Coasters at Home
- Mixing cups and sticks
- Protective gloves and apron
- Accurate scales
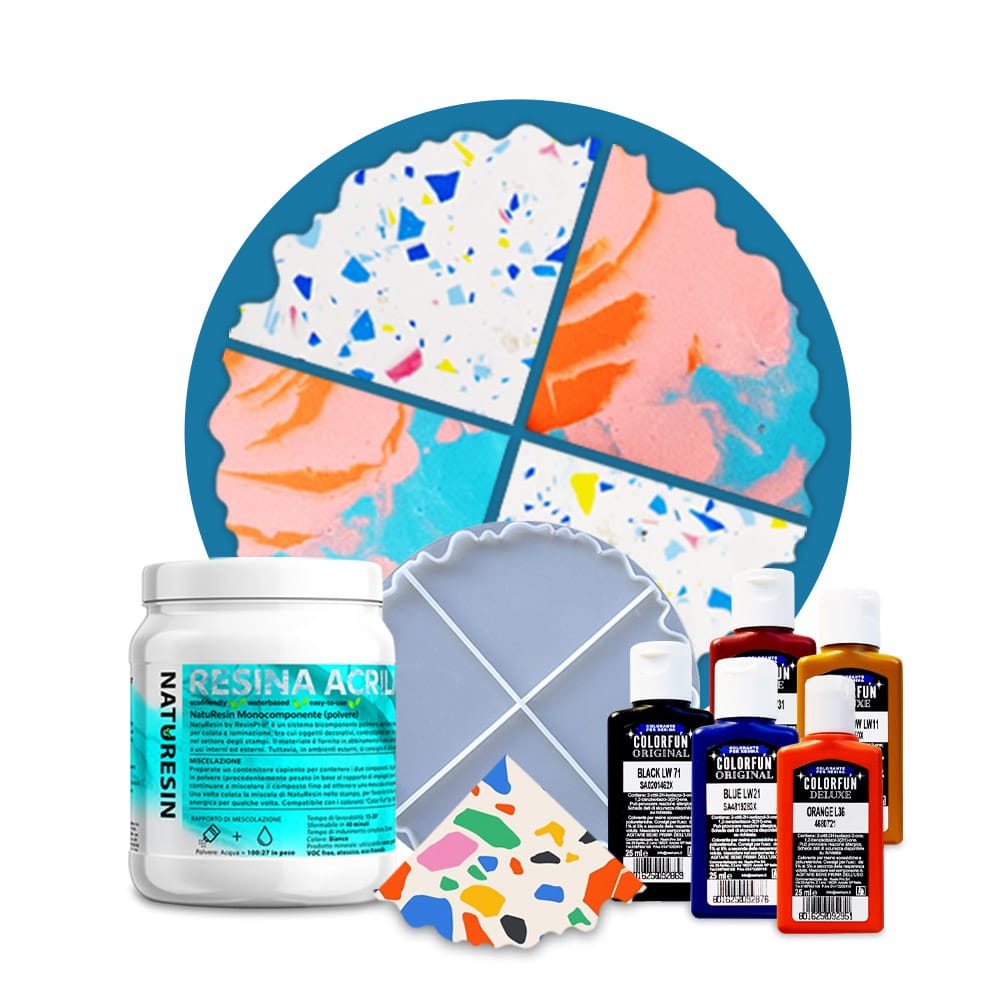
Visual Guide: Tools and Materials for Resin Sand Projects
Explore essential materials for resin sand preparation, including decorative sand, resins, and precision tools. Having the right equipment on hand simplifies your process and helps achieve flawless results with authentic textures in every project.
Step 1: Select and Prepare Your Sand
Start with fine, clean, and completely dry sand. The quality of your sand will directly influence the clarity and final appearance of your resin project. Make sure the sand is free from moisture, dust, and impurities. For best results, sieve the sand if needed to break up clumps and remove larger particles.
Use clean, dry sand to avoid unwanted reactions or cloudiness in your finished piece. Decorative sand specifically designed for resin, such as Natural Sand for Art Decoration – Decorative Sand for Epoxy Resin Artwork, delivers optimal texture without risk of contamination.
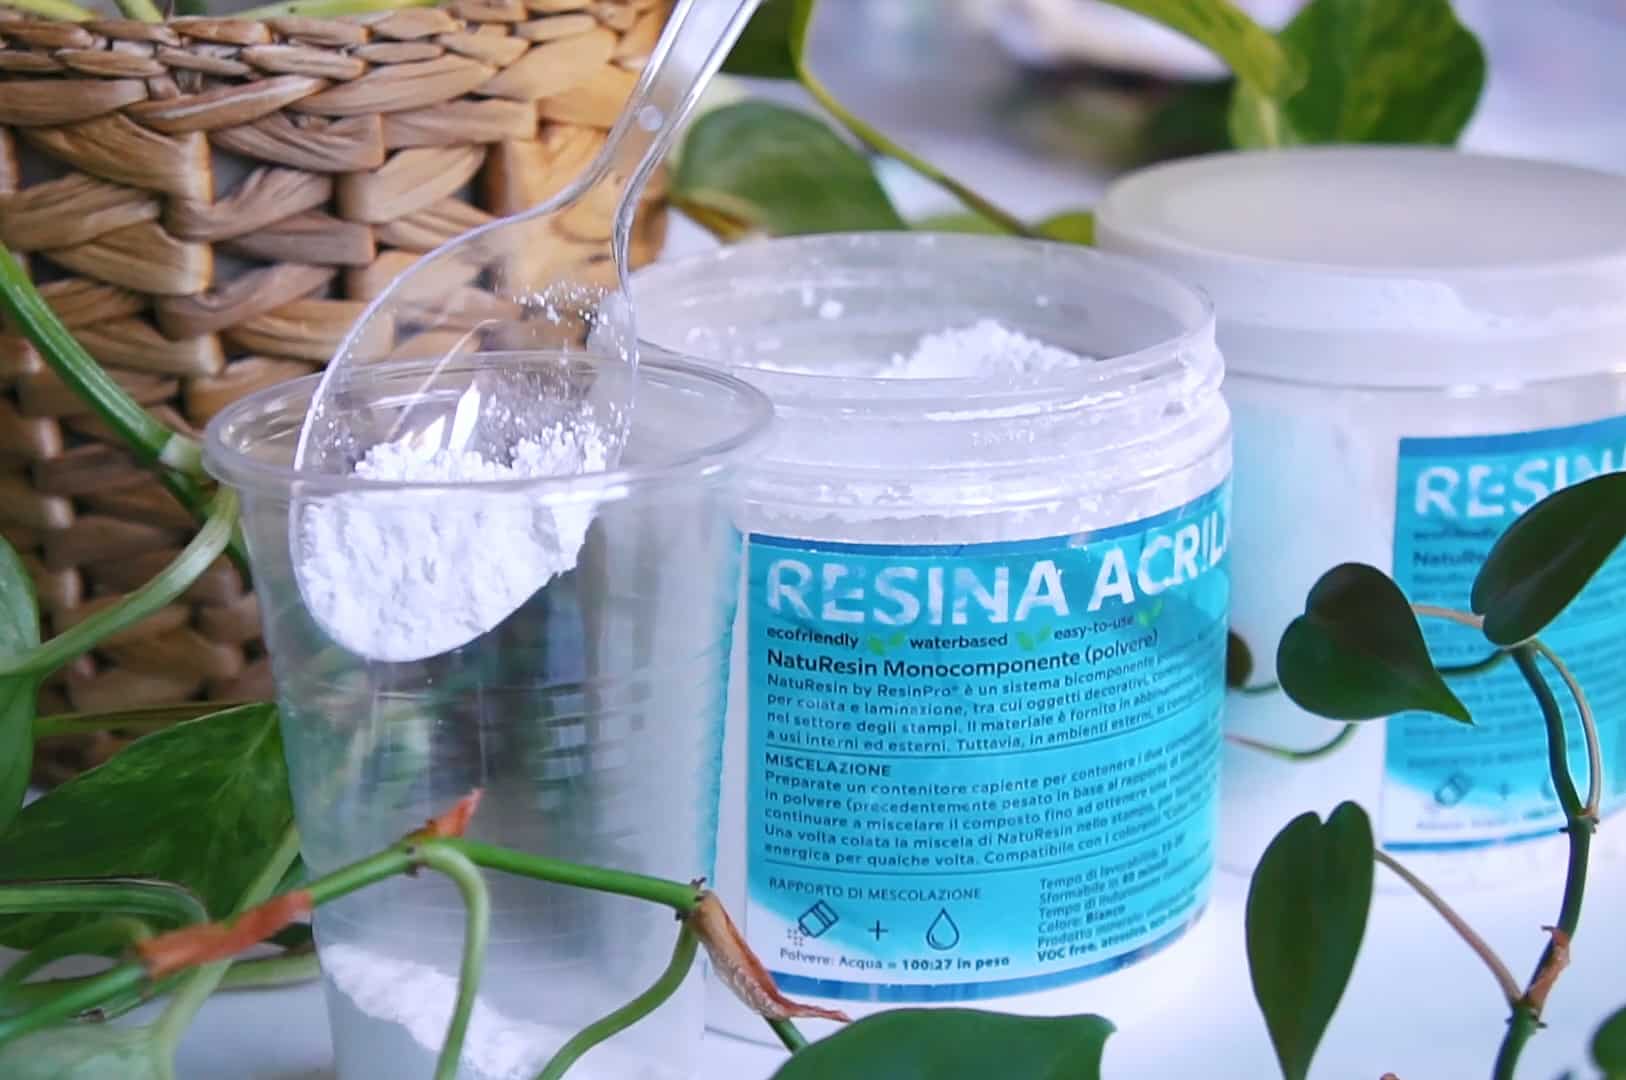
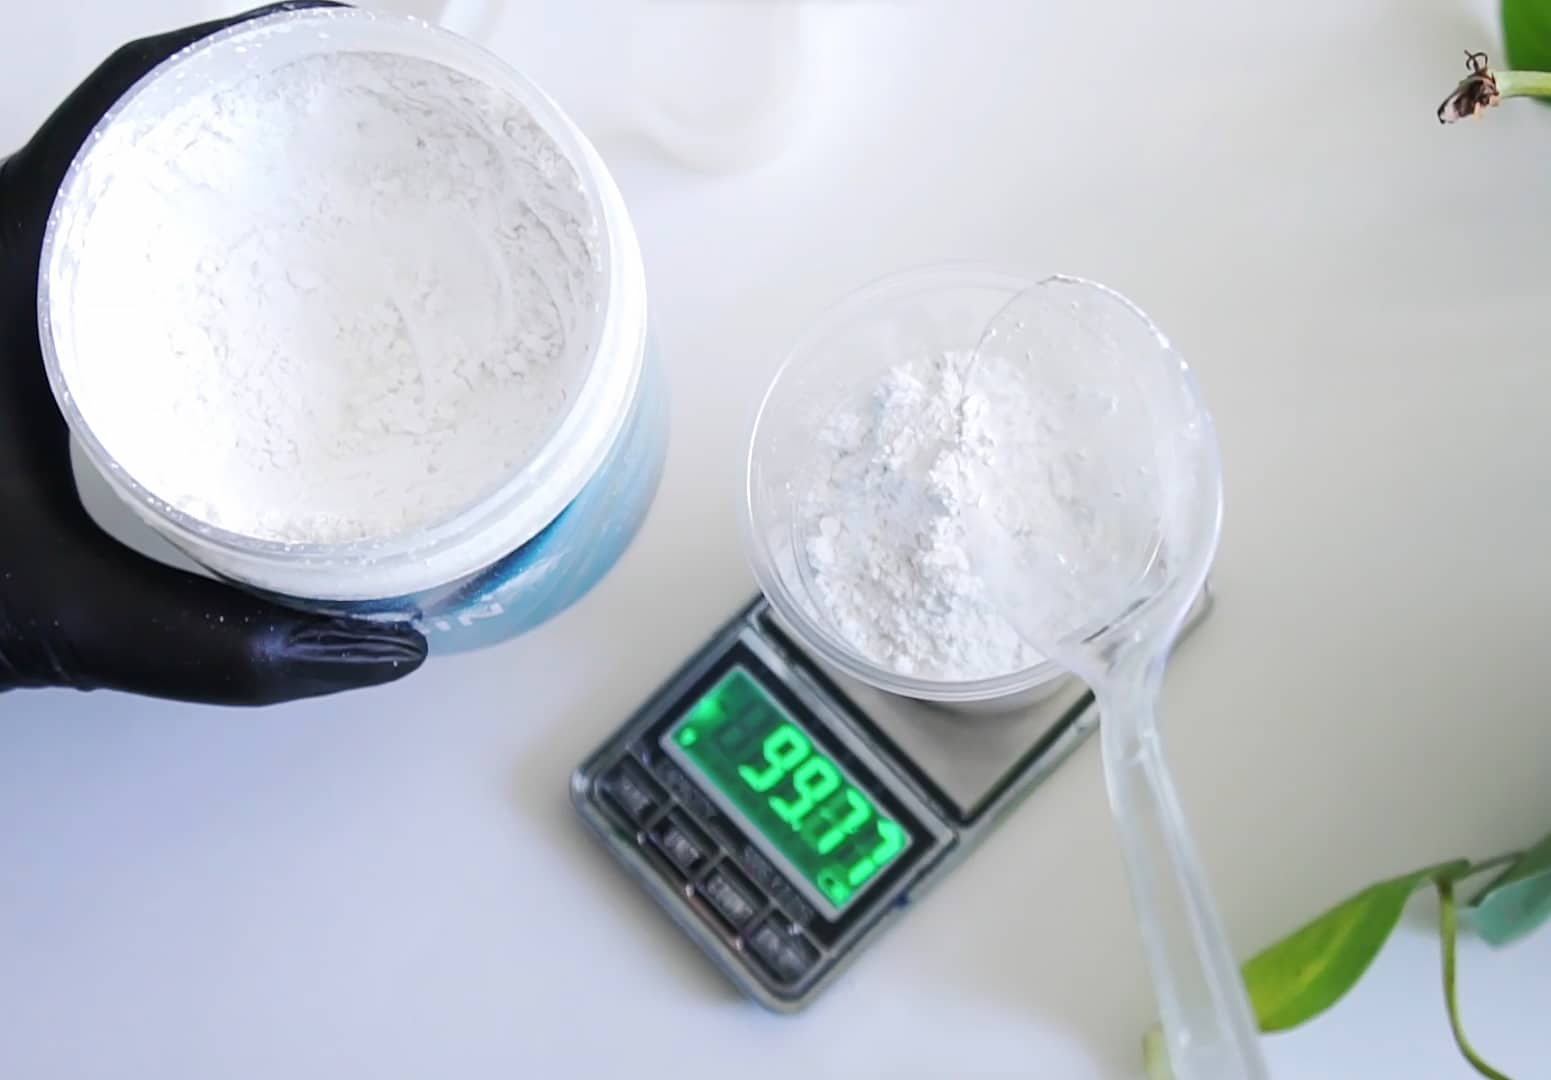
Step 2: Measure and Mix Resin with Sand
Choose your preferred resin type—epoxy, mineral, or water-activated resin systems based on your project. Follow the specific mixing instructions provided with your resin, ensuring accurate ratios for curing and strength. Add the sand gradually to the mixed resin, stirring gently until evenly distributed.
If using a mineral resin, such as “NatuResin” – Mineral Resin & Water System for Creative Casting and Crafts, activate it with the right amount of water first before blending in your sand. For traditional epoxy projects, blend sand after combining resin and hardener.
Measure your components accurately—too much sand can hinder curing, while too little may fail to achieve the desired texture. Stir gently to avoid introducing air bubbles.
Step 3: Pour and Shape Your Resin Sand
Once your resin-sand mixture is ready, pour it into your chosen mould, artwork base, or directly onto the surface. Use spatulas or sticks to guide and level the mixture for even, authentic coverage. If creating decorative coasters or items with defined shapes, select precision moulds designed for resin work.
Kits like the “Coasters” – Creative Kit with Mineral Resin and Silicone Mould or Resin Geode Coaster Starter Kit – Create Stunning Crystal-Style Coasters at Home supply all necessary tools for accurate pouring and shaping, making this stage easy even for beginners.
Mix thoroughly but avoid overworking the resin once the sand is incorporated. Smooth the surface as needed, but don’t agitate excessively, which could release air or shift the sand.
Step 4: Allow to Cure and Finish Your Piece
Let your piece cure as specified by the resin instructions—this can range from under an hour for mineral resin kits to several hours for standard epoxy. Place the item in a dust-free area and refrain from touching or moving it until fully set to avoid imperfections or fingerprints.
Let bubbles rise before pouring and use a heat gun or torch lightly over the surface (if recommended) to release trapped air. Once hardened, gently demould or finish edges with sanding if required for a professional result.
Tips and Common Mistakes
Successful resin sand projects rely on precision and patience. Protect surfaces and yourself by always working with gloves, aprons, and a well-ventilated room. Avoid using damp or impure sand, as this leads to cloudiness and weakens the final bond. Never rush ratios or curing times—set up all materials in advance to ensure a seamless process.
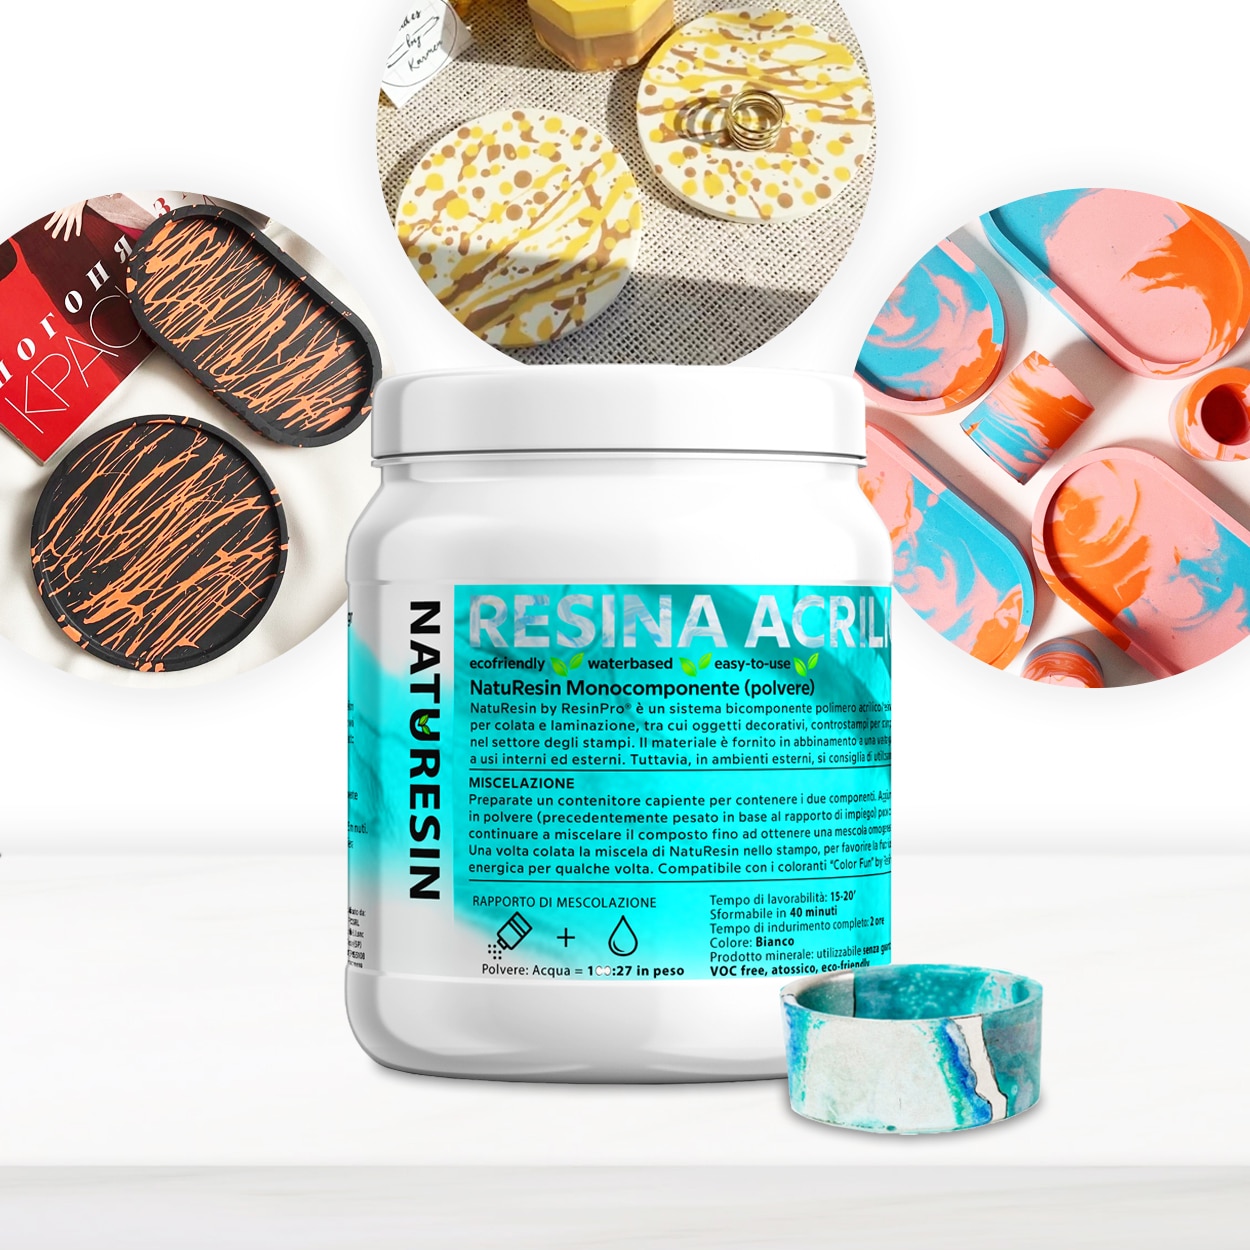
Inspiration Gallery: Finished Resin Sand Artwork
Discover a selection of resin sand creations—coasters, artwork, and marine-themed designs made using mineral or epoxy resin. These finished pieces highlight the creative possibilities of combining sand with resin for natural, professional-looking textures.
- Natural Sand for Art Decoration – Decorative Sand for Epoxy Resin ArtworkPrice range: £2.26 through £11.45Natural Sand for Art Decoration is suitable for enhancing epoxy resin artwork with a marine-inspired look.
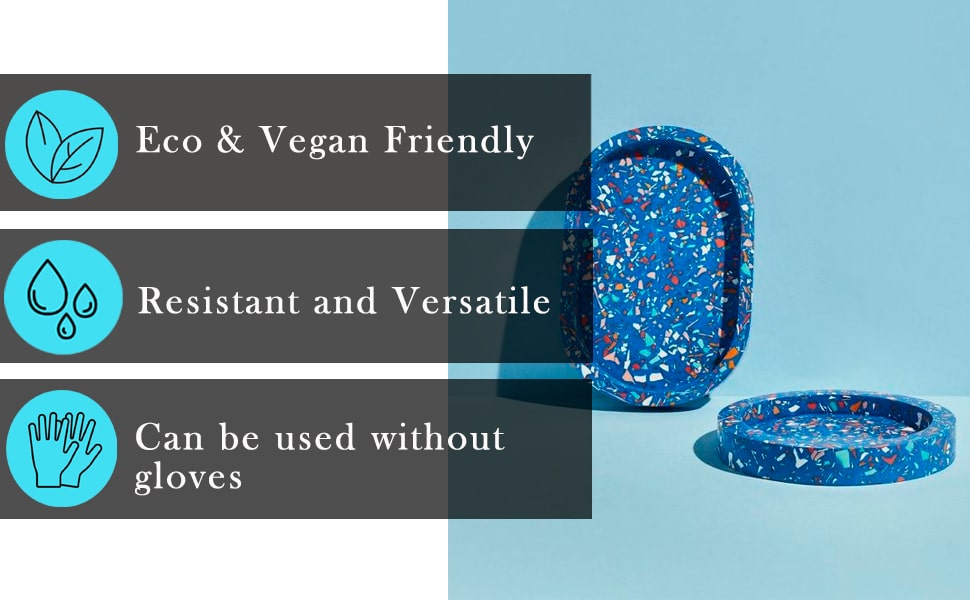
- “NatuResin” – Mineral Resin & Water System for Creative Casting and CraftsPrice range: £18.95 through £104.95NatuResin is a single-component mineral resin mixed with water, suitable for safe creative casting projects in crafts and art.
 "Coasters" – Creative Kit with Mineral Resin and Silicone Mould£40.95This creative kit with mineral resin suits resin artists and DIY enthusiasts looking for a matte, natural stone-like finish.
 Resin Geode Coaster Starter Kit – Create Stunning Crystal-Style Coasters at Home£42.85Complete kit for making resin coasters with geode-style patterns. Includes resin, moulds, colourants, tools, and instructions.
Frequently Asked Questions
What is the best type of sand for resin projects?
Fine, clean, dry sand specially designed for art decoration works best for resin crafts, as it minimises cloudiness and ensures even integration.
What is the ideal ratio of sand to resin for art and craft?
Add sand gradually to achieve your desired texture, but take care not to exceed 1 part sand to 2–3 parts resin by volume for best curing.
How can I prevent bubbles when mixing sand with resin?
Stir gently to minimise air bubbles and allow the resin-sand blend to rest before pouring, letting trapped air escape.
Should I use mineral resin or epoxy when making resin sand crafts?
Mineral resins are eco-friendly and safe for quick projects, while epoxy is more versatile for intricate, transparent effects—choose what suits your needs.
Do I need to seal sand before embedding it in resin?
For most fine art sands, pre-sealing isn't required, but always ensure sand is clean and dry for the best bond with resin.