 Free shipping on orders over £29,85

← Back to How are resin-coated stickers made?

Excessive resin overflow during sticker coating can undermine the clean, domed finish you want to achieve. With just a few adjustments to your approach, it’s easy to minimise unwanted spill while creating flawless resin-coated stickers.
Preparing Your Stickers and Work Area
Begin by placing your stickers on a level, non-stick surface. Make sure the edges of each sticker are firmly adhered so that resin cannot seep underneath. If you’re coating many stickers at once, leave sufficient space between them to allow any resin overflow to be easily cleaned up. Using a silicone mat or waxed paper helps contain accidental drips and makes removal much easier.
Applying Resin Without Overflow
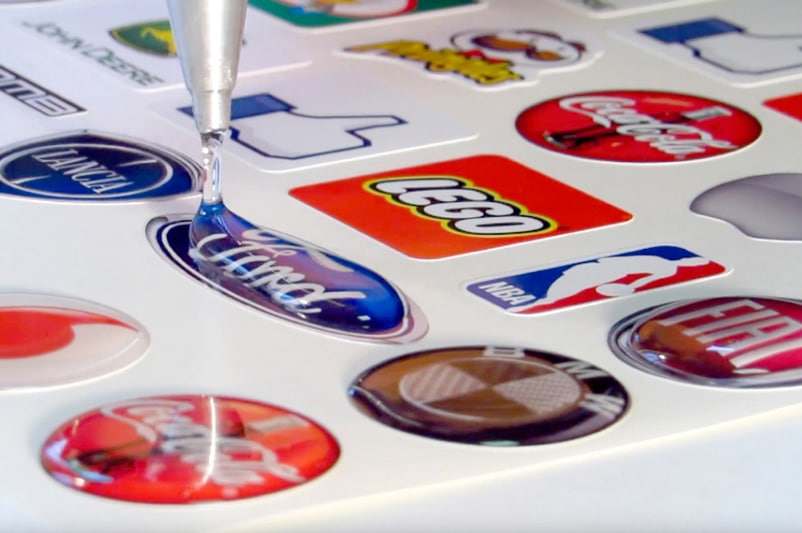
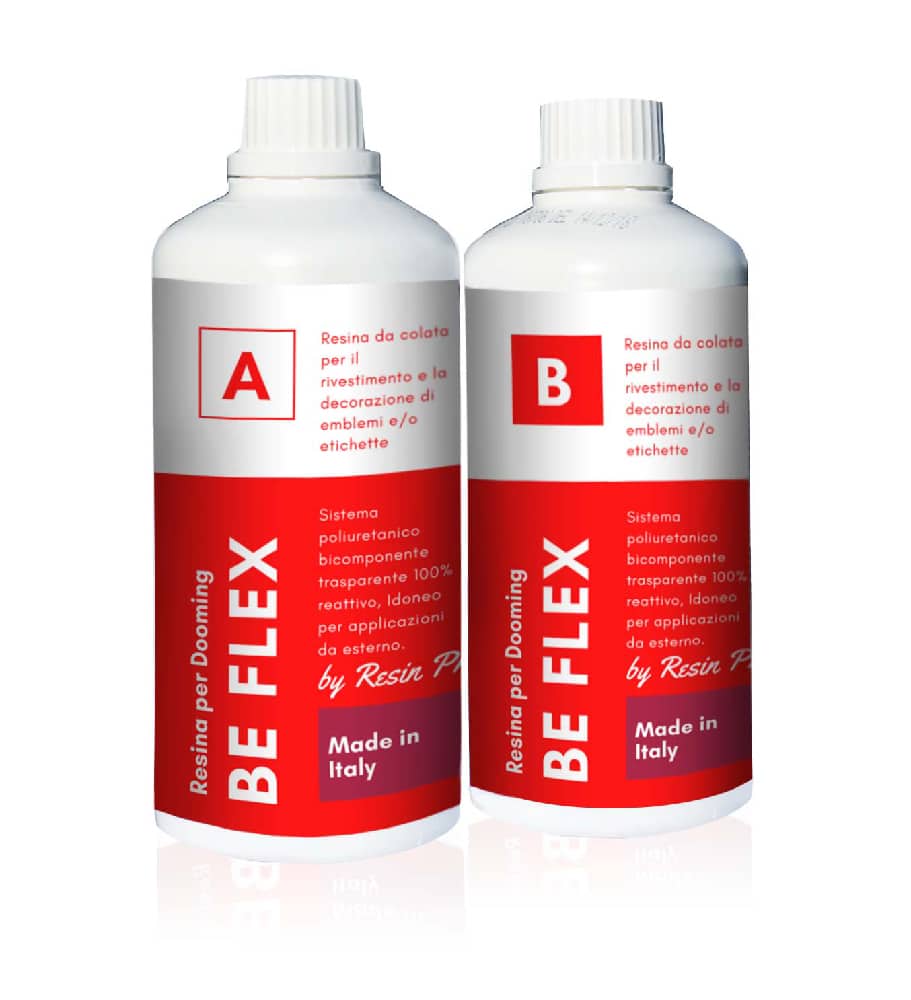
Use the correct amount of resin for the sticker’s size—too much resin leads to overflow. When working with a self-levelling doming resin such as Be Flex, apply the resin gradually at the centre and let it flow naturally towards the edges. You can guide it gently with a mixing stick, but avoid pushing resin right up to the edge; surface tension will help form an even dome. Adding resin slowly makes it easier to judge when to stop before overflow happens.
What To Do If Spill Occurs
If resin begins to run over the edge, use a clean stick or lint-free cloth to gently remove excess before it cures. For persistent overflow, allow the resin to set slightly before tidying the edges. Preventing overflow from the start remains the most effective strategy, as cured drips can be difficult to remove cleanly without damaging the sticker surface.

When This Guidance Matters
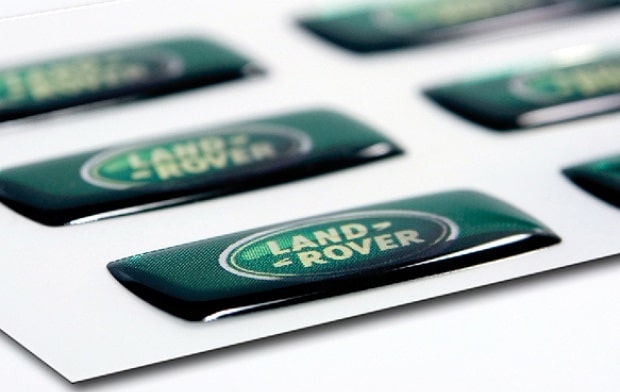
Mastering resin application is especially important for projects where a neat, bubble-free, professional dome is essential—such as product labels, badges, or decorative stickers on bottles or electronics.
Related products
Related guides
By adjusting your resin application technique, you can achieve crisp, professional results with every sticker. Learn more tips for perfect resin-coated stickers in our main guide.