 Free shipping on orders over £29,85

How do you dry UV resin?
Step-by-step drying for a flawless, glassy resin finish


Drying UV resin efficiently is essential for achieving a flawless, glossy finish on your crafts and jewellery projects. This guide explains the precise steps to cure UV resin effectively, maintain safety, and avoid sticky or uneven results. Whether you are working on intricate creative pieces or straightforward coatings, the process described here will yield reliable outcomes every time.
What You’ll Need
- “UV–Creation” – Fast Acrylic Resin, 3 Minute UV Cure – premium ready-to-use UV resin for jewellery and crafts
- 180W UV Lamp with Automatic Sensors for Fast Resin and Gel Curing – for fast, efficient, uniform curing
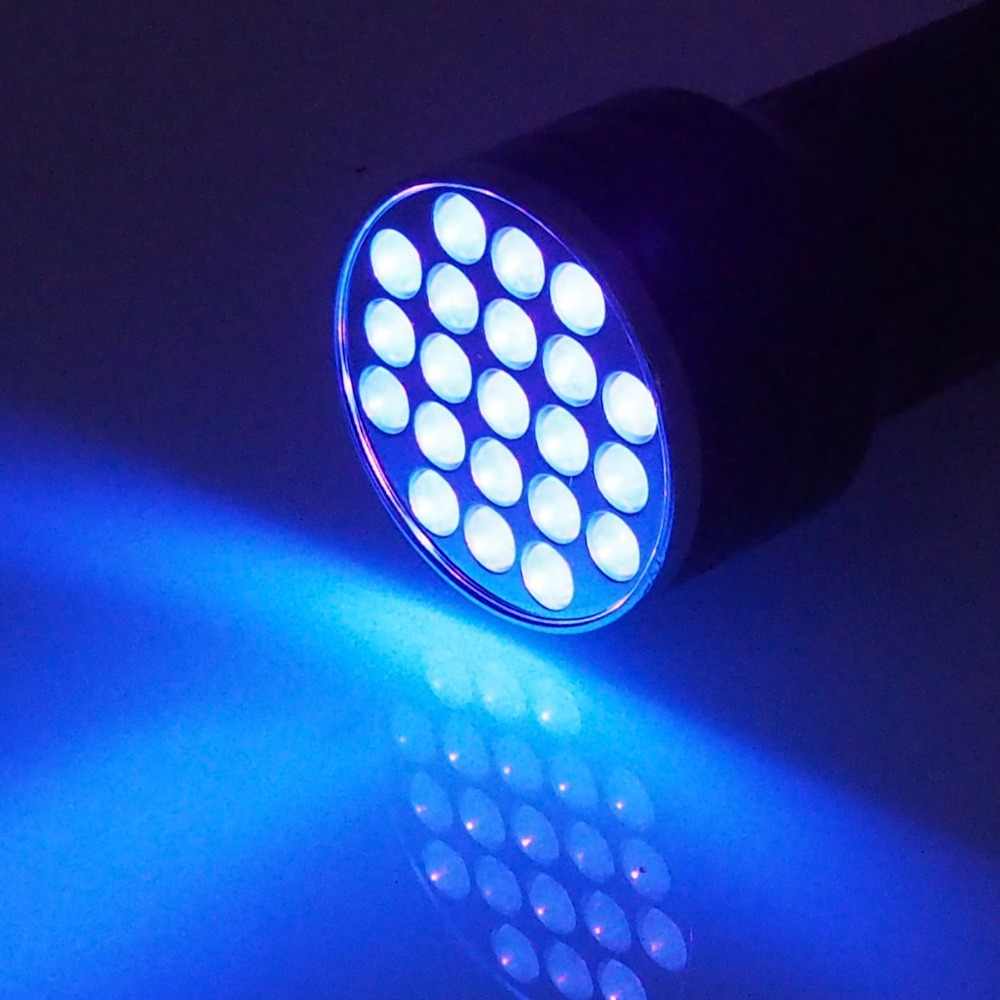
- 21 LED UV Torch for Fast Acrylic Resin Curing – portable option for detail work and small pieces
- Dust Masks for Resins – Disposable Cup Masks for Light Dust Protection – to minimise inhalation of dust during preparation
- Protective gloves and a clean work mat

Choosing the Right UV Curing Tools
Using the appropriate curing tool makes a significant difference in the final outcome. A dedicated UV lamp provides broad, even coverage for most projects, ensuring rapid and thorough curing. For small crafts and intricate details, a portable UV torch delivers targeted precision and convenience.

Step 1: Prepare Your Workspace & Surface
Set up your workspace in a clean, well-ventilated area. Dust, hair, and debris can easily become trapped in uncured resin, so wipe down your table and tools before you begin. Lay out a protective work mat and gather all the needed materials within easy reach. Consider wearing gloves and a dust mask when handling powders or sanding resin items to prevent inhalation of fine particles.
Plan your project so you can cure layers quickly; UV resin should not be exposed to dust or direct sunlight before curing to ensure the best clarity and smoothness.
Step 2: Apply the UV Resin Evenly
Squeeze or pour the UV resin (such as “UV–Creation” Fast Acrylic Resin) directly onto your mould or surface. Use a toothpick or silicone tool to evenly distribute the resin, ensuring it fills all areas and covers details for intricate projects.
Keep each layer around 3mm thick for best results; thicker layers may not dry evenly, leading to a tacky finish or bubbles. Work in short, controlled applications to maintain clarity and avoid overflow.
Step 3: Cure the Resin with UV Light
Place your piece under a suitable UV lamp, such as the 180W UV Lamp with Automatic Sensors. Position the lamp to provide full UV coverage over the entire project surface. For smaller or more detailed work, hold the 21 LED UV Torch a few centimetres away and move it slowly to ensure all areas are exposed.
Most UV resins cure in about 2–3 minutes under a powerful lamp, but always check the specific product instructions. Avoid looking directly at the lamp during operation for eye safety. Test the surface for tackiness before handling—re-cure for another minute if needed.
Step 4: Remove & Finish Your Piece
Once the UV resin is fully cured, gently demould or remove it from your workspace. Handle with care to avoid fingerprints on the glossy surface. If you need to add more layers or decorations, repeat the application and curing process, keeping each layer thin.
After full curing, your resin piece can be sanded or polished for a professional finish. Where dust may be generated, continue using protective equipment like disposable dust masks to ensure continued safety.

Tips, Common Mistakes, and Troubleshooting
- Always work in a clean, dust-free environment to avoid trapped particles and imperfections.
- Avoid overexposure to UV light as this can yellow the resin or damage its clarity.
- Limit curing thickness per layer to 3mm for the most uniform, bubble-free results.
- Do not use unsuitable lamps (such as low-power or household bulbs), as these may not fully cure the resin.
- If resin remains sticky, re-cure for 1–2 additional minutes under a strong lamp.
- Cure in small sections if your lamp is not large enough to cover the whole project at once.
Safety and Best Practice for UV Resin Curing
Protective equipment such as disposable dust masks and gloves are recommended throughout the process to keep your work environment safe and hygienic. Store resins in cool, dark places to maintain quality and always follow manufacturer curing instructions for best results.

- 180W UV Lamp with Automatic Sensors for Fast Resin and Gel Curing£13.15The 180W UV Lamp with automatic sensors provides efficient curing suited to UV resin and gel applications for crafts and technical projects.
- 21 LED UV Torch for Fast Acrylic Resin CuringOriginal price was: £9.85.£6.85Current price is: £6.85.A compact and portable UV torch with 21 LEDs designed for consistent acrylic resin curing in artistic and craft projects.
- "UV–Creation" – Fast Acrylic Resin, 3 Minute UV CurePrice range: £7.85 through £59.85UV–Creation is a fast curing UV gel resin suitable for jewellery making, offering a clear, glossy, and non-yellowing finish.
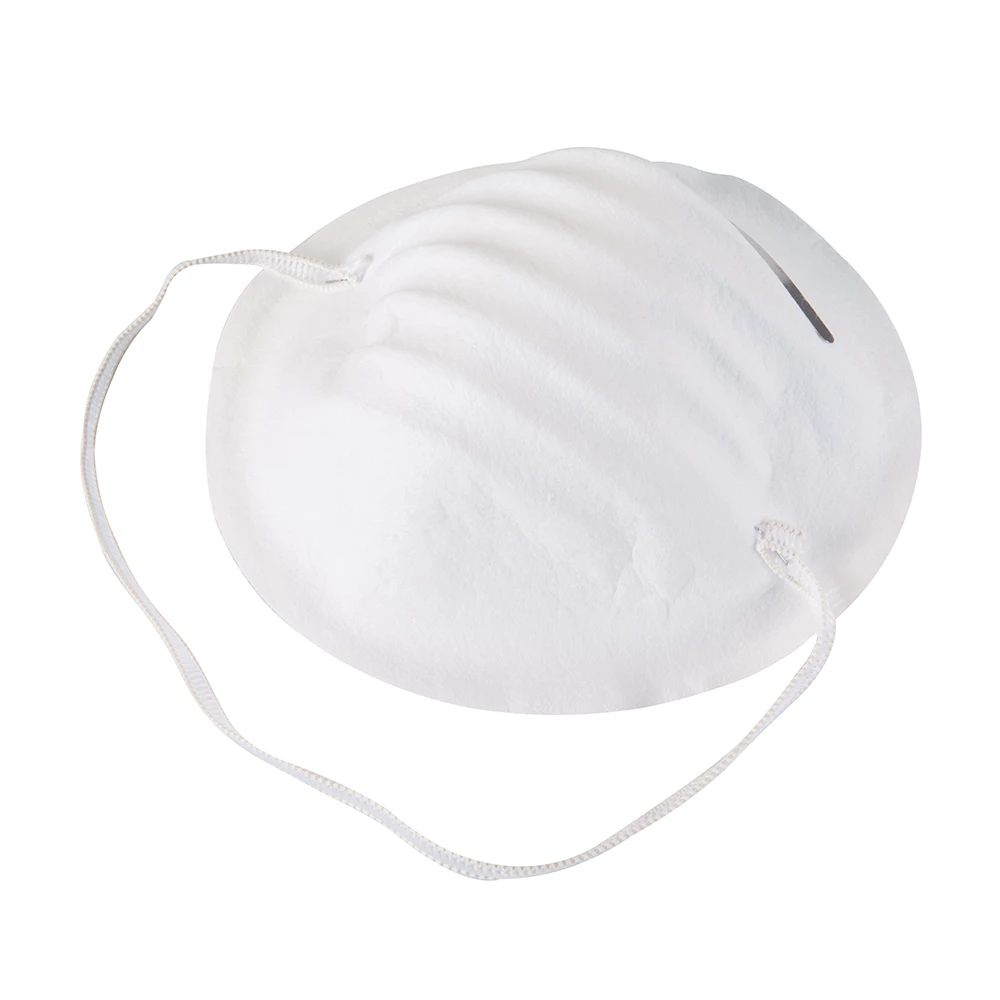 Dust Masks for Resins – Disposable Cup Masks for Light Dust ProtectionPrice range: £4.15 through £20.15Dust Masks for Resins provide light dust protection and comfort for resin crafting and sanding tasks.
Frequently Asked Questions
How long does UV resin take to cure?
Most UV resins cure in 2–3 minutes under a suitable UV lamp. Always refer to specific product guidelines.
Why is my UV resin still sticky after curing?
Sticky resin usually results from insufficient UV exposure. Re-cure for 1–2 minutes or check lamp strength.
Do I need a special lamp for UV resin?
Yes, use a UV or LED lamp designed for resin curing. Household bulbs or sunlight are unreliable.
Can I cure multiple layers of UV resin?
Yes, cure each layer individually, keeping them around 3mm thick for uniform and bubble-free results.
Is UV resin safe to handle during drying?
Wear gloves and use masks when needed. Avoid direct skin contact and handle only after full curing.
What if my UV lamp covers only part of my project?
Cure in sections, moving the lamp to cover all areas. Ensure full light exposure for complete drying.