 Free shipping on orders over £29,85


How do you make a hole in resin?
Step-by-step guidance for a neat hole in any resin piece


Making a precise hole in cured resin is a common requirement for jewellery, keyrings, decorations, and art projects. Whether you want to add a hanging loop or assemble multiple resin elements, this guide will help you achieve a neat, clean hole with minimal risk of cracking or damaging your piece.
What You’ll Need
- Drill with sharp, small-diameter bits (preferably for plastic or wood)
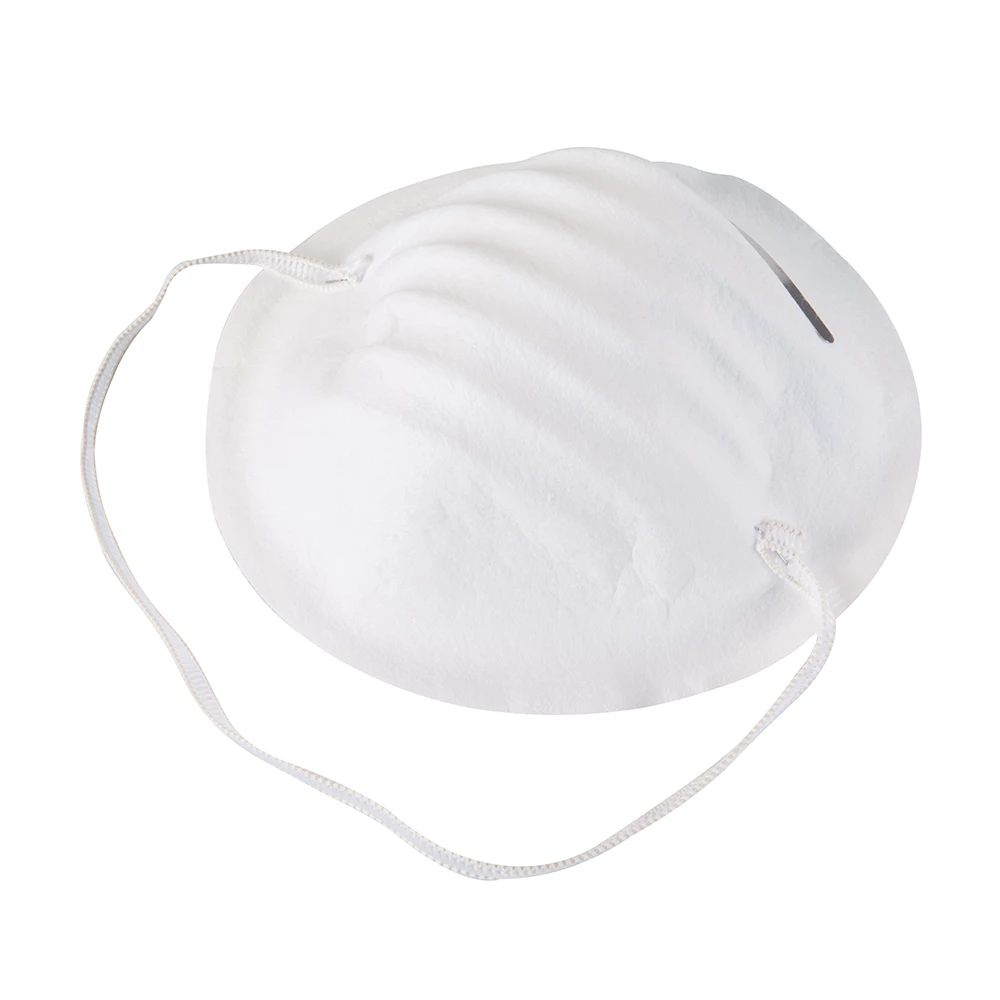
- Dust Masks for Resins – Disposable Cup Masks for Light Dust Protection to limit inhalation of resin dust
- Workbench or stable surface with a clamp
- Low-tack masking tape (optional, to mark drill points and reduce chipping)
- Water spray bottle for dust management
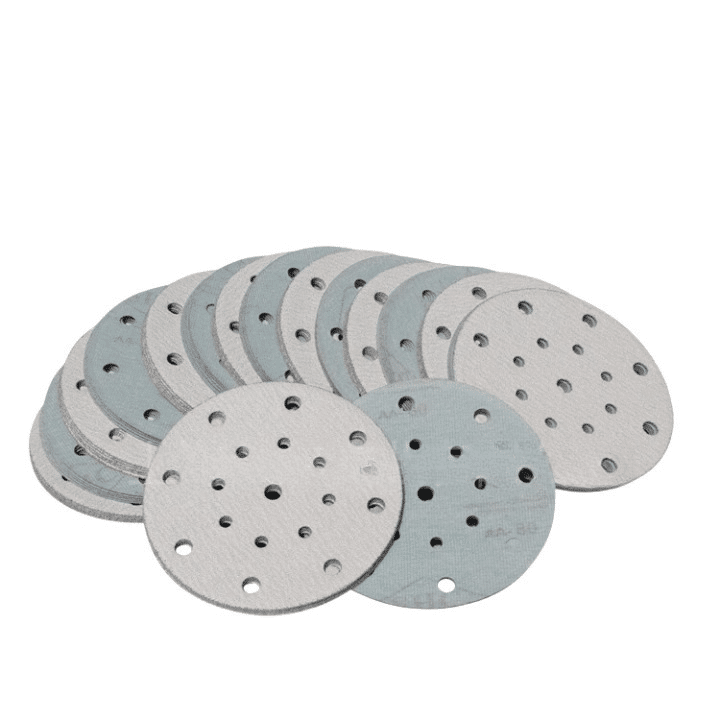
- 150mm Sanding Paper Discs – Assorted Grits for Resin & Wood Finishing, 10pcs for smoothing the edges after drilling

Choosing Your Resin Drilling Tools
Using the right tools and safety equipment makes for a cleaner drilling process and helps protect your lungs from dust. Consider disposable dust masks for convenience and assorted sanding discs to achieve a polished finish. For those just starting, work slowly and use offcuts or practice pieces to test before drilling into your final creation.

Step 1: Mark the Hole Position
Begin by carefully deciding where you want the hole in your resin piece. Use a pencil or permanent marker to place a clear dot. For items like pendants or ornaments, ensure the position offers enough material around the hole to avoid breakage. Optionally, put a small piece of masking tape over the spot and draw your mark on top—this can help reduce chipping as you drill.
Step 2: Clamp and Protect Your Workspace
Place your resin object onto a stable work surface. Use a clamp or secure support to hold your item steady, avoiding slips that could lead to a misaligned hole or injury. Ensure the drilling area is clear of obstacles. Always wear a dust mask. Dust Masks for Resins – Disposable Cup Masks for Light Dust Protection provide convenient basic protection from fine resin particles while drilling or sanding.
Step 3: Drill the Hole Slowly
Select a small drill bit suitable for plastics or wood, ideally 1–2 mm for jewellery. Place your drill bit directly over the marked spot and begin to drill slowly, using short bursts rather than continuous pressure. Use light pressure. Excess force can crack the resin. Consider starting with a smaller pilot hole before enlarging it with a larger bit for a bigger opening. You may wish to spray the area lightly with water, which helps prevent dust and keeps the resin cool. Avoid excessive heat. Friction from high-speed drilling can soften or distort resin edges.

Step 4: Smooth the Edges
Gently remove any rough material from around the hole to achieve a professional finish. 150mm Sanding Paper Discs – Assorted Grits for Resin & Wood Finishing, 10pcs are particularly useful for this job. Tear off a small piece or wrap it around a wooden stick to sand inside and around the hole, working from coarse to fine grit. This step helps prevent snags on thread, wire, or findings used in jewellery or decoration.
Step 5: Clean and Inspect the Result
Remove dust by rinsing the piece under cool running water or wiping with a damp cloth. Inspect the hole to ensure it is even and free from cracks. If needed, repeat sanding for a smoother touch or enlarge the hole incrementally with a slightly bigger drill bit. Clean and finish the hole edges.
Tips and Common Mistakes to Avoid
Take your time during each stage, as rushing often causes chips or cracks. Always drill perpendicular to the resin surface, and start with a pilot hole when making a large opening. If you notice the resin becoming cloudy or white around the hole, reduce speed and pressure immediately. Do not attempt to drill into uncured or partially set resin—wait until the surface is fully cured and hard.
Finishing Touches for Your Resin Project
Patience and attention to detail go a long way in resin crafting. Once your hole is finished, consider adding findings or decorative touches. Sand edges thoroughly for a smooth feel, and always check for structural integrity before using your resin piece in jewellery or as a hanging ornament.
- UV Resin Kit with 5 Christmas Silicone Moulds for Festive CraftingPrice range: £14.85 through £25.85The UV Resin Kit includes five Christmas-themed silicone moulds and fast-curing clear UV resin, suitable for festive crafts and easy projects.
- 150mm Sanding Paper Discs – Assorted Grits for Resin & Wood Finishing, 10pcs£8.85150mm sanding paper discs available in assorted grits, designed for resin and wood finishing tasks.
- Dust Masks for Resins – Disposable Cup Masks for Light Dust ProtectionPrice range: £4.15 through £20.15Dust Masks for Resins provide simple, disposable light dust protection suited to craft and workshop use.
Frequently Asked Questions
What type of drill bit should I use to make a hole in resin?
Use sharp, small-diameter drill bits designed for plastic or wood. Avoid metal bits that are not intended for delicate materials.
How can I avoid cracking my resin piece while drilling?
Drill slowly, use light pressure, and start with a pilot hole. Ensure the resin is fully cured before drilling.
Is it safe to drill or sand resin at home?
Yes, but always wear a dust mask and work in a well-ventilated area to avoid inhaling fine particles.
How can I fix rough or uneven edges around the hole?
Use fine sanding discs or paper to gently smooth and refine the hole until it is clean and snag-free.
Can you make a hole in resin before it’s fully cured?
No, always wait for resin to cure completely before drilling. Uncured resin is soft and will deform or tear.
Is it helpful to use water to reduce dust and heat?
A light mist of water helps control dust and reduce heat, but avoid soaking the resin, especially for small pieces.