 Free shipping on orders over £29,85


How do you paint resin components for a motorcycle?
Expert steps to achieve a smooth and lasting painted finish


Transforming raw resin parts into stunning, painted motorcycle components not only boosts aesthetics but also protects them against weather and daily wear. With the right step-by-step technique, it’s easy to achieve a professional, durable finish that endures road conditions. Whether restoring, customising, or building from scratch, this guide will take you from surface preparation to final wet-sanding, ensuring your paintwork truly stands out.
What You’ll Need
- Resin Fibreglass Repair Kit – Complete Polyester Resin and Hardener Set: For repairing or reinforcing damaged or uneven resin surfaces.
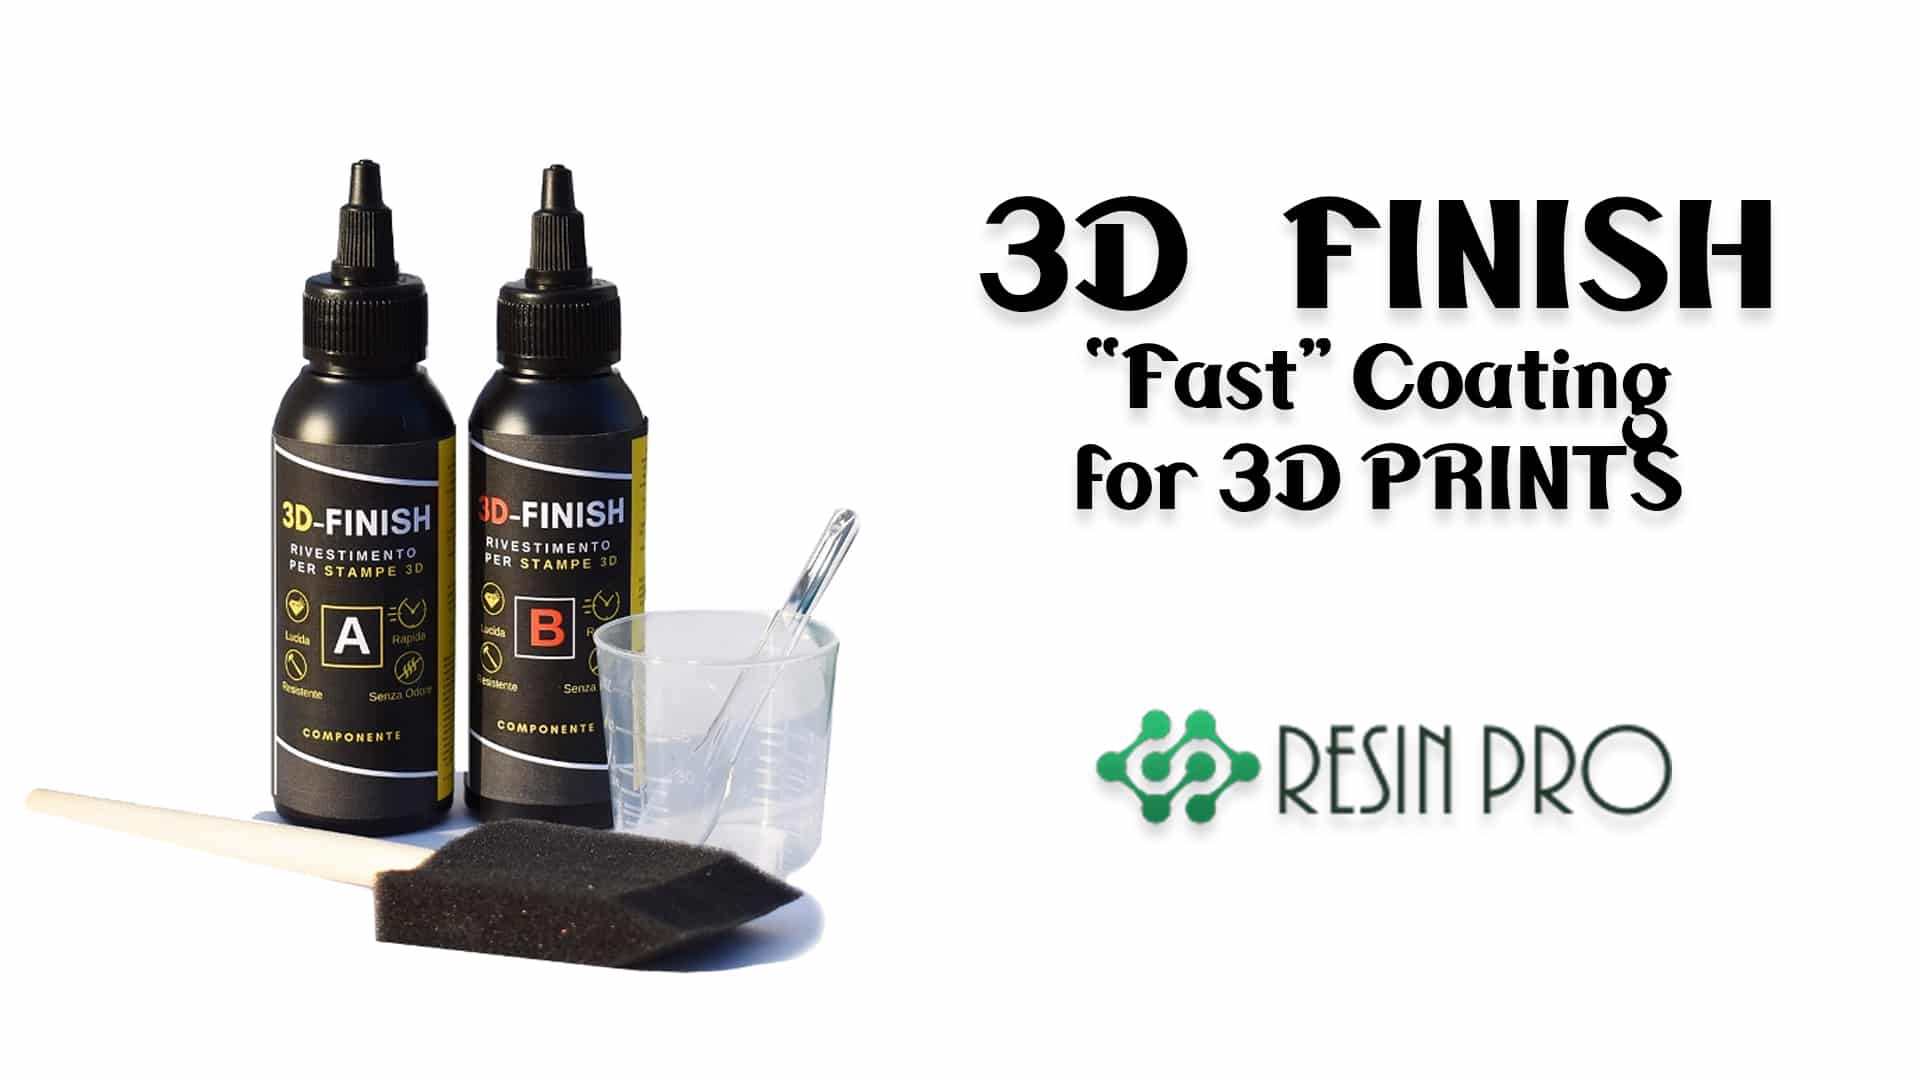
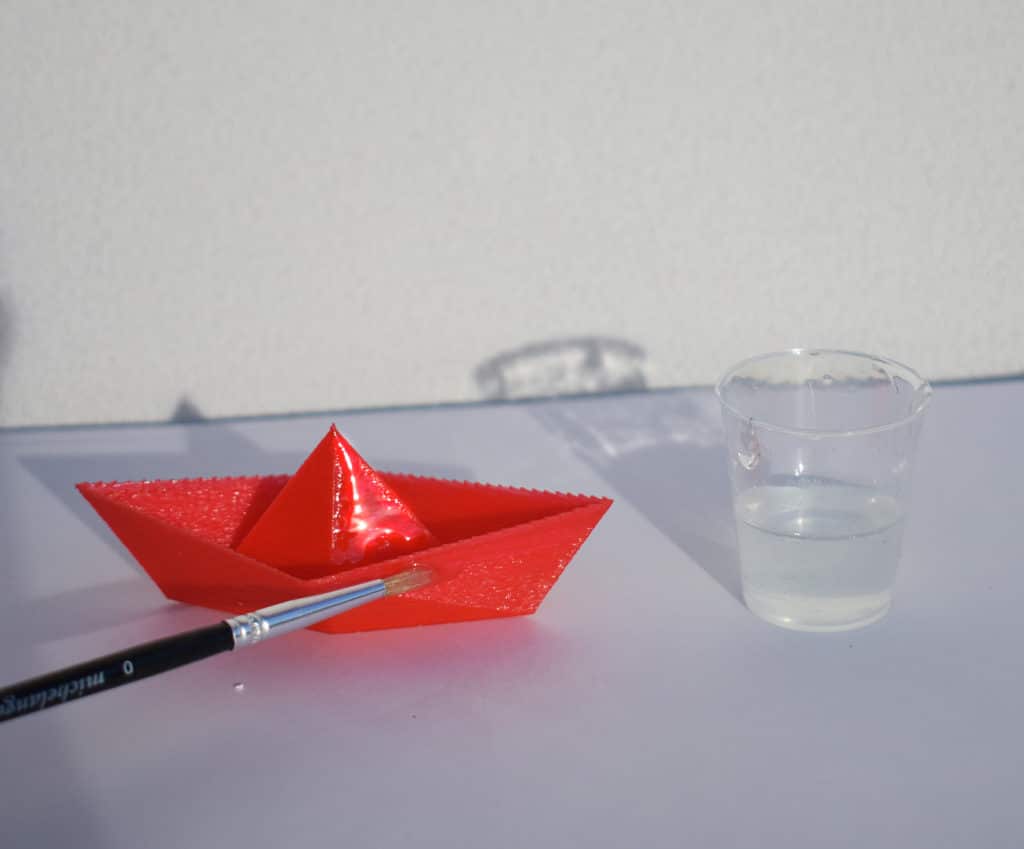
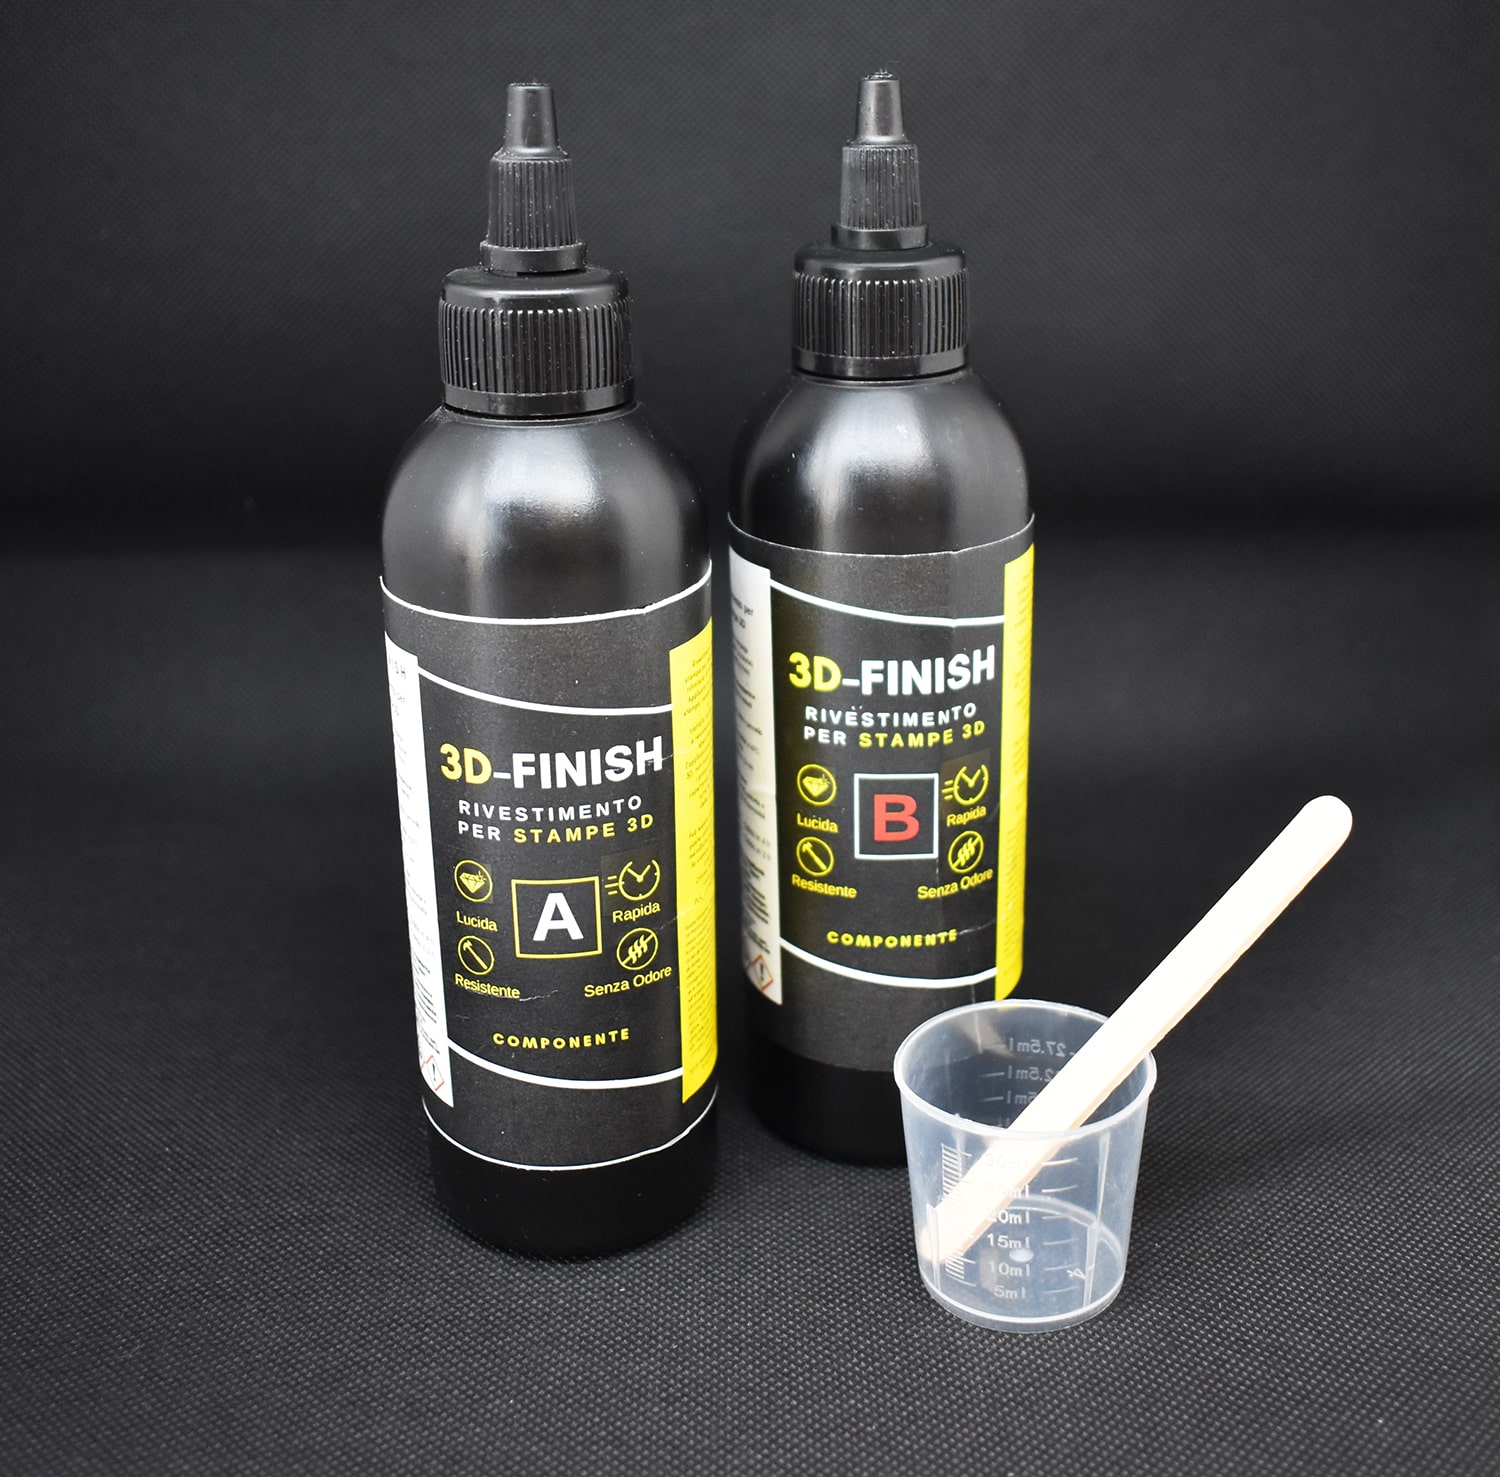
- “3D Finish” – Fast Coating Epoxy Resin for 3D Prints: To build a detail-preserving, sandable and paintable foundation.
- “Carbon Resin” – Epoxy Resin for Carbon Fiber & Fiberglass Coating: As a base layer for composite or technical surfaces.
- “Art Pro” – Clear Epoxy Resin for Artists and Surface Coating: For a high-gloss, protective final coat if desired.
- Sandpaper (various grits, from 240 up to 1200, wet and dry)
- Plastic-compatible primer
- Automotive paint (your chosen colour)
- Microfibre cloth and acetone (for cleaning)
- Protective gloves, mask, and work area
See Examples of Custom Painted Resin Motorcycle Parts
View expert-painted resin motorcycle panels, fuel tanks and more, all finished using compatible resins and careful surface preparation. Notice the difference in gloss and colour depth when resin coatings are used under and over paint layers.
Step 1: Prepare and Clean the Resin Surface
The first step for an outstanding paint finish is meticulous surface preparation. Begin by washing the resin component with warm soapy water to remove dust, grease, or contaminants. Rinse and allow the part to dry thoroughly. Any existing gloss or residue on the resin will inhibit paint adhesion, so sanding comes next. Use 240–320 grit sandpaper to evenly abrade the surface, focusing on curved or intricate sections. This not only dulls any shine but also provides a ‘key’ for the primer and paint to lock onto the material.
If you spot cracks, chips, or imperfections, make repairs before proceeding. The Resin Fibreglass Repair Kit – Complete Polyester Resin and Hardener Set allows you to reinforce or rebuild damaged areas, ensuring the surface is smooth, strong, and ready for paint.
Thorough surface cleaning is essential for paint adhesion; always remove sanding dust with a tack cloth or damp microfibre and wipe with acetone if needed before moving on.
Step 2: Prime the Component
Once the surface is clean and even, apply a plastic or resin-compatible primer. This step is crucial in binding paint to the resin and preventing issues such as peeling or flaking over time. Hold the part in a dust-free, well-ventilated environment and use light, sweeping motions to lay down a thin, even primer layer. Two coats may be necessary.
After the primer has dried, sand with a finer 600–800 grit paper to smooth out imperfections. If you’re looking to achieve an especially even coating, you can prepare the base further using the “3D Finish” – Fast Coating Epoxy Resin for 3D Prints—this product provides a polishable, detail-preserving surface, particularly helpful for 3D-printed or intricate components. Let it cure fully according to the instructions, then sand lightly before continuing.
Use a compatible primer made for plastics or resin for maximum paint adhesion and a flawless base.
Step 3: Apply Paint in Thin Layers
With your primer fully dry and lightly sanded, you’re ready to begin painting. Use automotive-grade paint of your chosen colour, applying in several thin, even coats rather than one thick layer. Allow each coat to dry as recommended by the manufacturer before adding the next. Working slowly will reduce the risk of drips and runs and result in a more even, vibrant finish. For components that will undergo heavy use or exposure, multiple coats are recommended for greater durability.
If your component is made from a composite or technical fabric, pre-treat the piece for extra smoothness and toughness by first coating with “Carbon Resin” – Epoxy Resin for Carbon Fiber & Fiberglass Coating. Once it cures and is lightly sanded, it delivers a robust, flat surface that enhances paint performance.
Apply thin, even coats for professional results – this method helps prevent sagging, orange peel, and unevenness.
Step 4: Finish and Protect the Painted Surface
After your final paint coat has dried completely, it’s time to focus on the finishing. Wet-sand the painted surface with 1200-grit paper, using plenty of water for lubrication, to gently smooth out dust nibs or minor surface inconsistencies. When satisfied, clean the panel thoroughly and, if desired, add a protective clear resin topcoat.
For a high-gloss, scratch-resistant result, apply a thin layer of “Art Pro” – Clear Epoxy Resin for Artists and Surface Coating. This non-drip coating cures to a glass-like shine, helping to protect your paintwork from UV and daily wear. Let the topcoat cure fully before handling or installing the component.
Allow ample drying time between coats and always follow recommended curing times for both paint and resin. Wet sanding creates a perfectly smooth final layer that sets apart a true professional finish.
Tips, Common Mistakes, and Troubleshooting
- Take your time with sanding; any blemish left behind will be magnified by paint.
- Wear gloves and a mask when sanding, priming, or painting to protect from dust and fume exposure.
- If paint won’t adhere, double-check cleaning steps—a contaminated surface is a common pitfall.
- Use compatible primers and paints; consult product datasheets for best match to resin type.
- Work in a dust-free space and keep air movement gentle to avoid debris settling on wet surfaces.
- When using resins as base or topcoats, ensure full curing before sanding or recoating.
Surface Preparation and Paint Application Gallery
Visual step-by-step demonstrations highlight the importance of each stage: sanding, priming, painting and resin topcoating. Explore side-by-side views of raw versus finished motorcycle resin components to understand the impact of thorough preparation.
- "3D Finish" – Fast Coating Epoxy Resin for 3D PrintsPrice range: £13.95 through £19.95"3D Finish" offers a fast curing, non-drip coating designed for 3D printed models, suitable for painters working with motorcycle resin components.
- Resin Fibreglass Repair Kit – Complete Polyester Resin and Hardener SetResin Fibreglass Repair Kit provides structural reinforcement with user-friendly guidance, suitable for various rigid materials including those used…
 "Carbon Resin" – Epoxy Resin for Carbon Fiber & Fiberglass CoatingPrice range: £19.95 through £37.95"Carbon Resin" epoxy is formulated for carbon fibre and fibreglass, providing durable impregnation and a glossy finish suited for motorcycle…
 "Art Pro" – Clear Epoxy Resin for Artists and Surface CoatingPrice range: £19.95 through £267.95Art Pro clear epoxy resin offers durable, clear coatings suitable for artists and DIY projects needing high-gloss, UV-protected finishes.
Frequently Asked Questions
Should I sand between paint coats on resin motorcycle parts?
Lightly sanding between coats with fine grit paper improves adhesion and results in a smoother final finish.
What is the best primer for resin motorcycle parts?
Use a high-quality plastic or resin-specific primer to ensure strong adhesion and long-lasting results.
Can I use automotive paint on resin components?
Yes, as long as you use a compatible primer and allow each layer to cure properly, automotive paints are suitable for resin motorcycle parts.
How do I fix paint peeling on resin motorcycle parts?
Remove peeling paint, re-sand the area, clean thoroughly, apply proper primer, then repaint using thin layers.
How long should I let paint dry between coats?
Refer to the paint manufacturer's instructions; generally, 15–30 minutes for touch-dry, but always let each coat cure fully.
What is the best way to get a glossy finish on resin motorcycle parts?
Finish with light wet sanding and a clear resin topcoat to achieve a deep gloss with strong protection.
Can I use epoxy resin as a motorcycle topcoat?
Yes, using a clear epoxy topcoat can enhance gloss and provide excellent protection against scratches and UV.