 Free shipping on orders over £29,85

How do you use epoxy paint?
Techniques and tips for flawless epoxy paint application


Epoxy paint can transform surfaces with its remarkable durability, sleek aesthetics, and resilience to wear. Whether renewing a concrete floor, adding a clear finish to kitchenware, or creating eye-catching decorative projects, understanding the steps to achieve a smooth and long-lasting result is essential. This guide walks you through each stage of the epoxy painting process, ensuring you avoid common pitfalls and get the best finish—whether you’re a DIY enthusiast or a professional.
What You’ll Need
- “Epoxyprimer” – Universal Water-Based Two-Component Epoxy Floor Primer – for preparing concrete, wood, tile, or screed floors before epoxy paint.
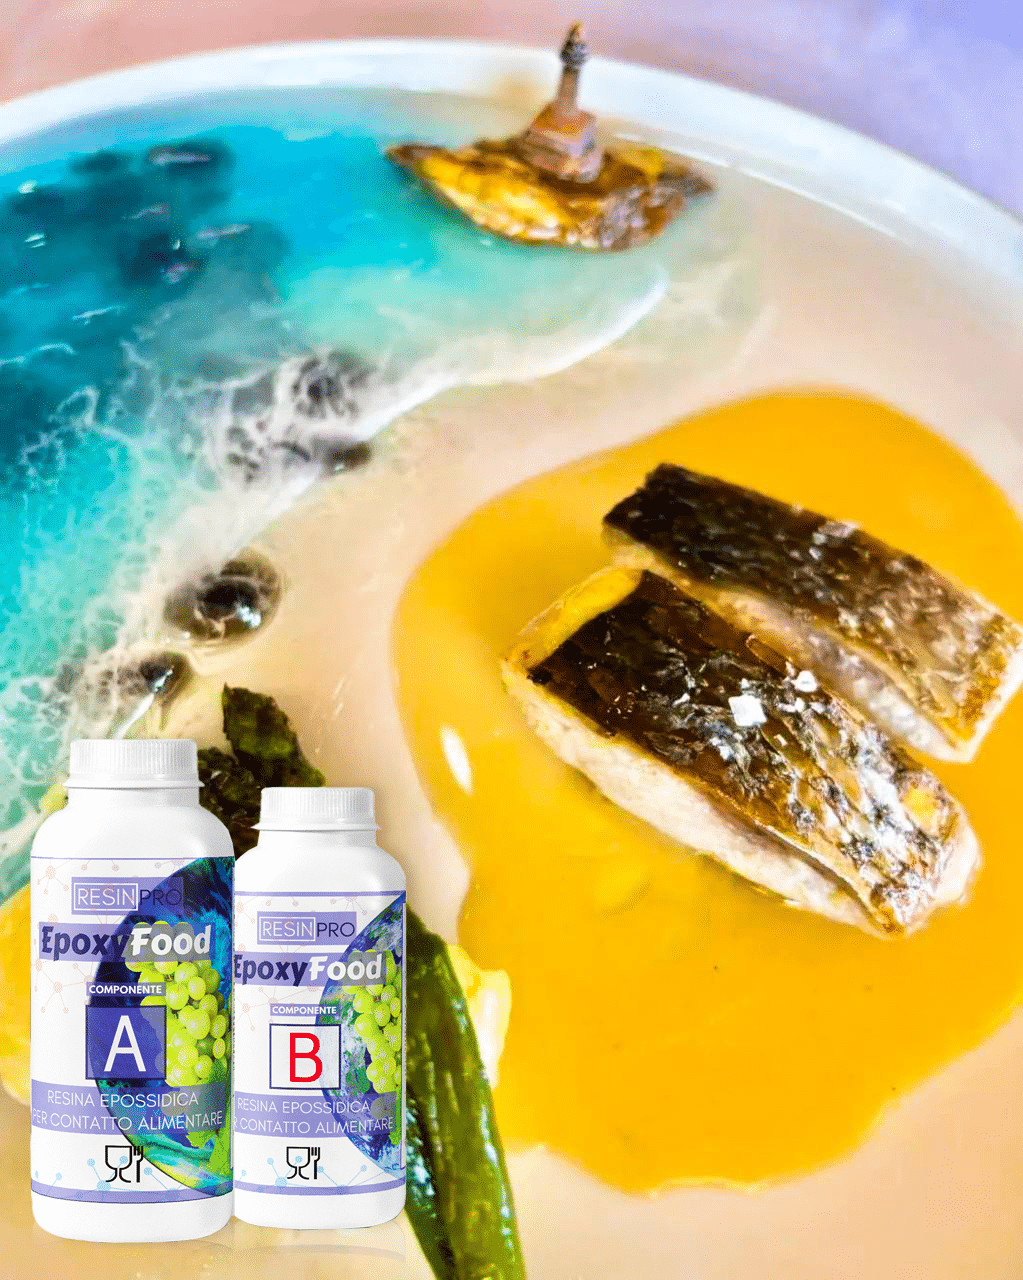
- “EpoxyFood” – Certified Clear Food Contact Epoxy Resin for Coating – for food-safe, clear coatings on kitchenware or decorative pieces.
- “Trasparente” – Epoxy Binder for Coloured Pebbles and Grits – for decorative pebble or grit finishes.
- Resin & Paint Application Rollers – Short-Pile, Large, and Sponge Types – for even application of epoxy resins and paints.

Essential Tools for a Professional Epoxy Finish
Investing in the correct application rollers and high-quality mixing tools will make epoxy paint application smoother and more consistent. Primers such as “Epoxyprimer” help achieve the best adhesion and longevity for your project.

Step 1: Clean, Dry, and Prepare the Surface
Start by ensuring your chosen surface—be it concrete, timber, tiles, or decorative aggregates—is completely clean, free of dust, oil, or loose particles. A properly prepared substrate is critical for optimum adhesion and professional-looking results. For floors or porous materials, consider lightly sanding to promote mechanical bonding and then vacuum away all residues.
If you’re coating a floor, applying a primer like “Epoxyprimer” helps seal the surface and maximises the bond between substrate and epoxy paint. Allow the primer to cure thoroughly as recommended, typically 24–48 hours.
Step 2: Mix and Apply Your Epoxy Paint Evenly
Carefully measure and mix your chosen epoxy paint or coating, following the manufacturer’s specified ratios. Stir the two components slowly and thoroughly to avoid introducing bubbles. Work efficiently to make use of the mixture’s pot life, as epoxy starts to cure once mixed.
For large or intricate surfaces, use application tools suited to your project. Resin & Paint Application Rollers – Short-Pile, Large, and Sponge Types are ideal for ensuring a consistent and streak-free layer. Start painting from one corner, working methodically in sections, and avoid overworking previously applied areas to maintain a glass-like finish. For decorative pebble surfaces, mix aggregate with the epoxy binder and spread evenly.

Step 3: Allow for Proper Curing and Final Inspection
After application, protect the freshly painted surface from dust, moisture, and traffic as it cures. Epoxy coatings may take from several hours to a full day (or longer in some cases) to reach tack-free status and up to several days for full chemical and mechanical resistance. Respect the recommended curing times for your chosen product to avoid marking or compromising the finish.
Once cured, visually inspect and, if needed, gently sand any uneven areas or drips. For kitchenware, only use coatings with suitable food-safety certifications and ensure the resin is fully cured before contact with food.
Tips, Common Mistakes, and Troubleshooting
Avoid mixing more resin than you can apply within the work time; excess can cause premature curing or wasted product. Always measure mixing ratios accurately—improperly proportioned mixtures may remain tacky or not cure fully. Protect your workspace from dust and maintain room temperature as advised in the product instructions for an optimal cure. If issues such as bubbles or uneven gloss appear, they can often be minimised by using a foam roller designed for self-levelling application and by working in thin, even coats with good ventilation.
Showcasing Epoxy Paint Success Stories
From polished kitchenware to seamless industrial floors, epoxy paints offer incredible versatility and performance. Clear resin coatings like “EpoxyFood” are highly prized for aesthetic clarity and safety in food-contact scenarios, while decorative binders “Trasparente” deliver striking finishes for bespoke surface designs.

- "Epoxyprimer" – Universal Water-Based Two-Component Epoxy Floor PrimerPrice range: £156.45 through £286.45"Epoxyprimer" is a water-based two-component floor primer designed for reliable adhesion and durability on various substrates in epoxy paint projects.
- "EpoxyFood" – Certified Clear Food Contact Epoxy Resin for CoatingPrice range: £20.95 through £146.95"EpoxyFood" is a transparent, food-safe resin designed for coating plates and cutting boards with clarity and a gloss finish.
 "Trasparente" – Epoxy Binder for Coloured Pebbles and GritsPrice range: £33.45 through £397.95"Trasparente" is a transparent epoxy binder designed for coloured pebbles and grits, suitable for clear, UV-resistant finishes on decorative flooring.
 Resin & Paint Application Rollers – Short-Pile, Large, and Sponge TypesPrice range: £3.62 through £5.09Rollers designed for precise and uniform application on epoxy resin surfaces, suitable for various resin projects.
Frequently Asked Questions
How should I prepare a surface before using epoxy paint?
The surface must be clean, dry, and free from dust, grease, or debris for proper bonding. Priming porous substrates often improves adhesion.
How long does epoxy paint take to cure?
Epoxy coatings generally require 24–48 hours for full cure but may reach touch-dry status sooner. Always check your product's instructions for precise times.
Should I use a roller or brush for applying epoxy paint?
Rollers provide smoother, more even coverage for most surfaces. Brushes are best for detail work, edges, and small areas.
Can I use epoxy paint on kitchenware?
Only use food-safe certified resins, such as clear coatings with suitable certification, and allow full cure before any food contact.
How do I avoid or fix bubbles in epoxy paint?
Mix slowly and apply in thin coats. If bubbles appear, a foam roller or light heat with a torch can usually help remove them before the coating sets.
Is it possible to apply multiple coats of epoxy paint?
Yes, but allow the prior coat to cure and lightly sand for adhesion before the next application.