 Free shipping on orders over £29,85

How to Avoid Bubbles in Brush-On Resin
Expert methods to achieve a flawless, bubble-free resin finish

Achieving a glassy, professional-looking resin finish without bubbles can be challenging, especially when using the brush-on technique. Whether you’re working on resin art, jewellery, or woodworking, this guide shows you how to minimise and eliminate bubbles, leading to smooth, clear surfaces for any creative project.
What You’ll Need
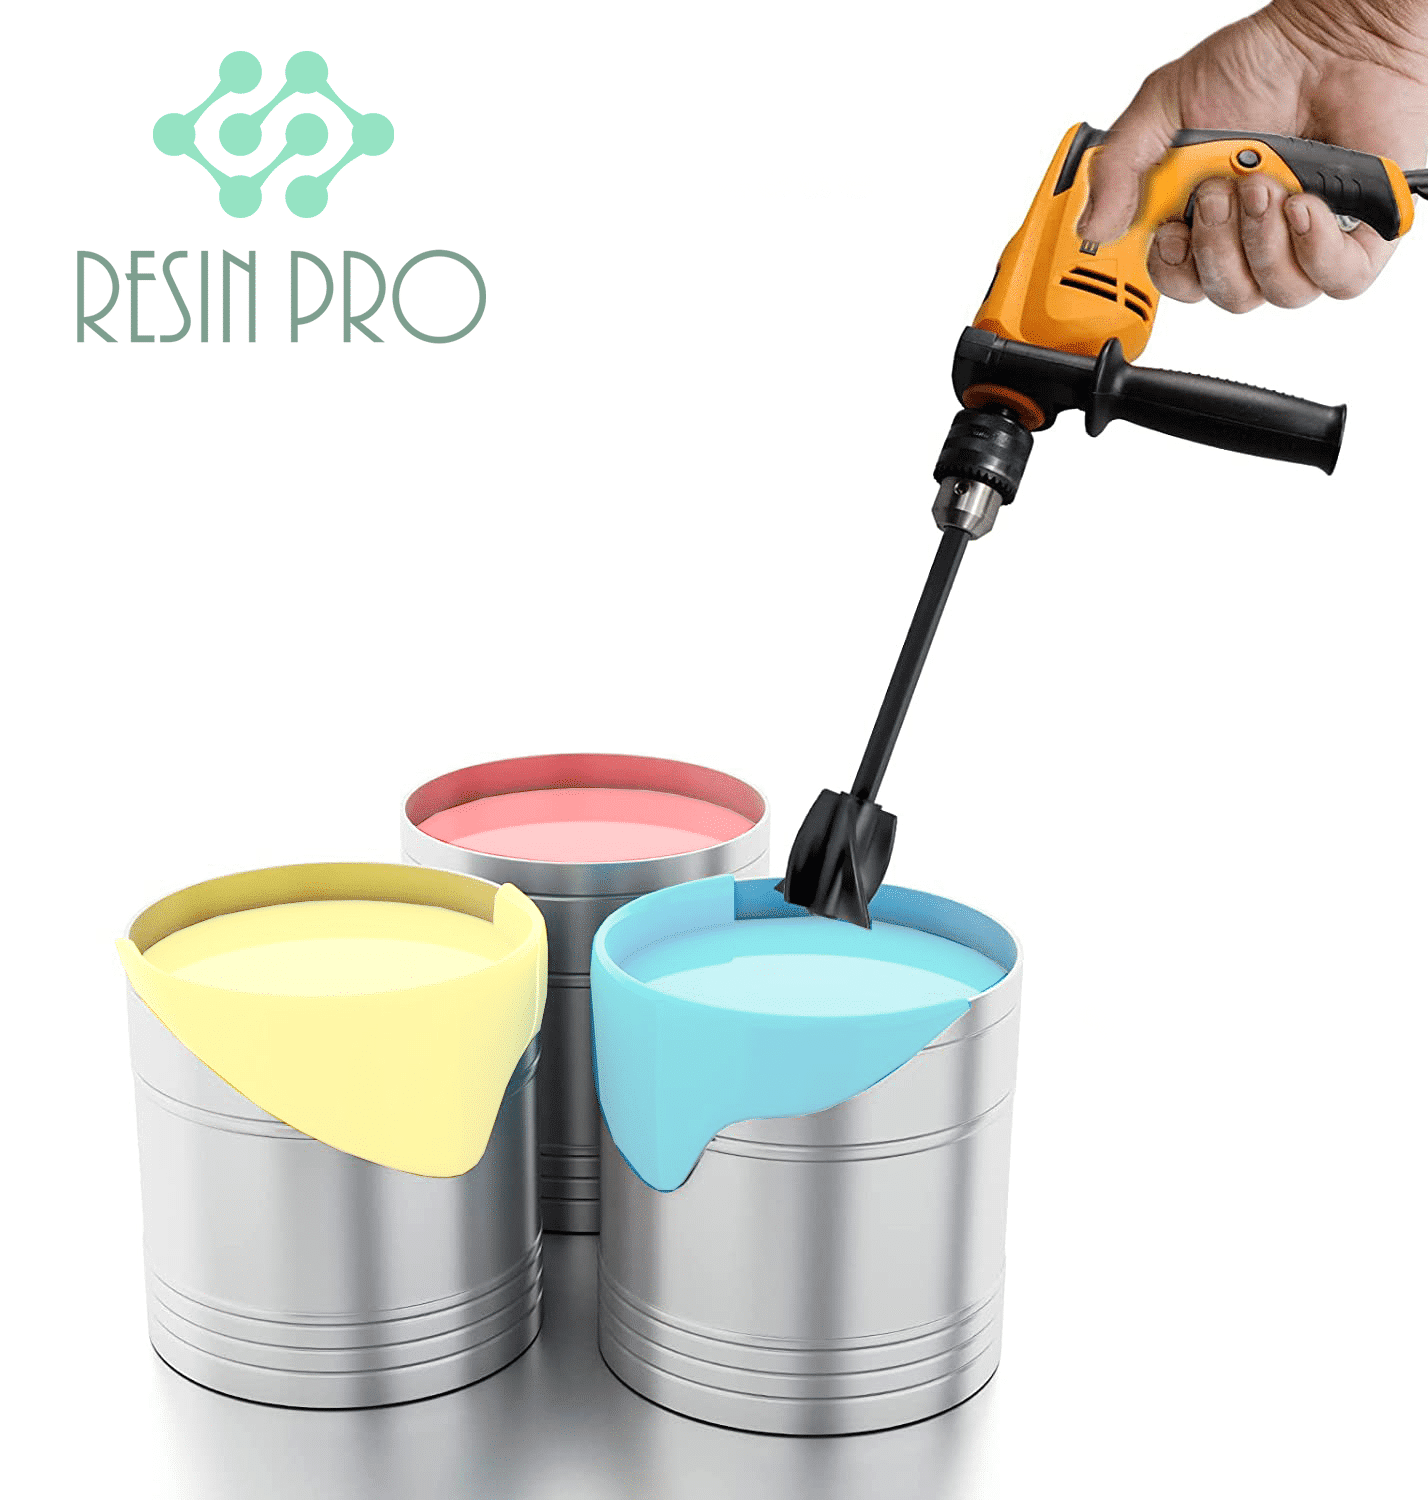
- Anti Bubble Mixer for Epoxy Resin – Reusable Mixing Tool: A gentle, reusable stirring tool designed to mix resin with reduced bubble formation.
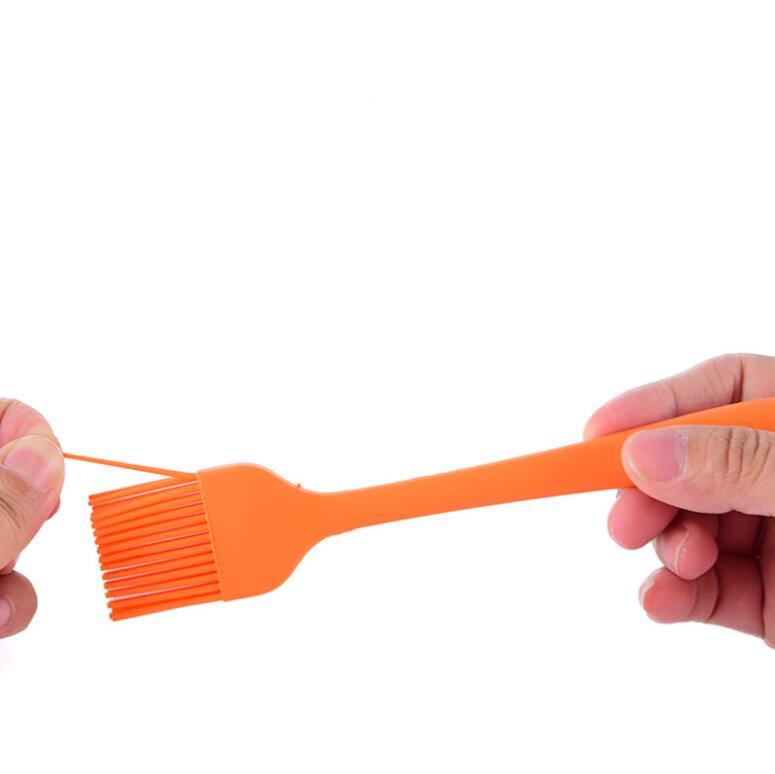
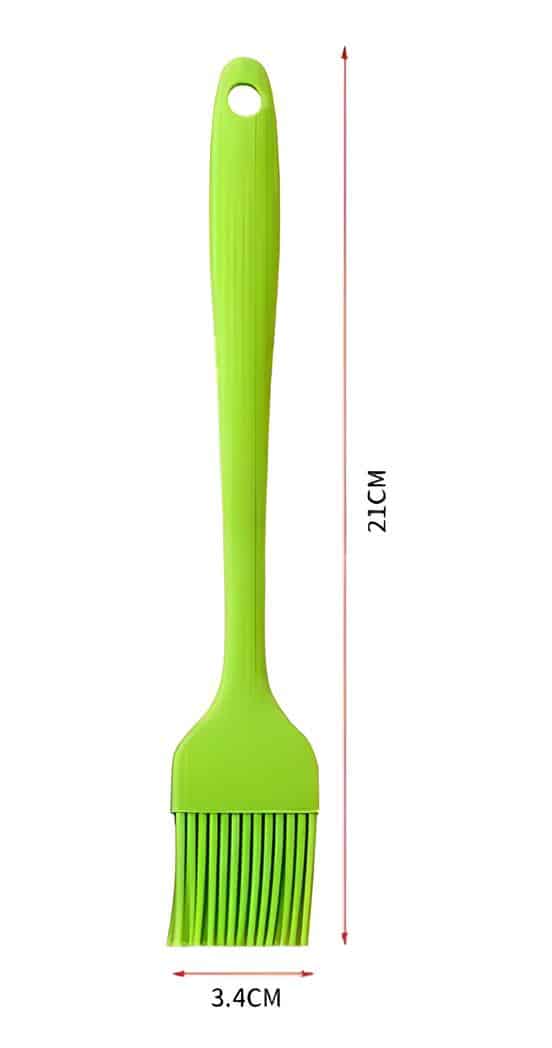
- Reusable Silicone Resin Brush for Epoxy Art and Wood Applications: For precise and smooth resin application.
- Pure Isopropyl Alcohol 99.9% – 1000ml Bottle for Epoxy Resin Projects & DIY: To help remove bubbles from the surface after application.
- Disposable gloves and protective clothing
- Lint-free cloths for cleaning
- Mixing containers

Essential Tools to Help Prevent Bubbles
Using the proper equipment streamlines your resin process. A gentle mixer helps create a smooth blend, while a reusable silicone brush ensures even application. Keep isopropyl alcohol on hand to deal with any bubbles that appear on the surface.
Step 1: Start with clean materials
Before you begin, make sure your brushes, mixing tools, and work surfaces are entirely clean and free of dust or oils. Contaminants can trap air and worsen bubble issues. Work in a dust-free, well-ventilated environment at the recommended temperature for your resin type, as ambient conditions can also affect bubble formation. Avoid using wet or damp tools.
Step 2: Mix slowly and gently
Bubbles often start during the mixing process. Pour both resin and hardener slowly into your mixing container. Stir carefully with a flat-edged stick or, for best results, use a dedicated tool designed to minimise air introduction. Slow, steady stirring reduces the amount of trapped air and is crucial to achieving bubble-free mixtures.
If you want to make mixing more efficient and reduce bubbles further, opt for the Anti Bubble Mixer for Epoxy Resin – Reusable Mixing Tool. Its gentle action is specifically engineered to keep your mixture smooth and consistent, saving you time while delivering clearer results.
Step 3: Pour resin in thin layers
Piling resin on too thickly can trap air and make it difficult for bubbles to escape to the surface. Instead, pour your mixed resin into your project in thin, controlled layers. This allows trapped bubbles to rise and pop naturally before the next layer is added. Patience between layers pays off for a crystal-clear finish.

Step 4: Apply resin with the right brush
The tool you use for application is vital. Bristle brushes can introduce extra air and are harder to clean, sometimes leaving residue that creates more bubbles. A smooth, non-absorbent brush ensures the resin glides beautifully across the surface with fewer air pockets.
The Reusable Silicone Resin Brush for Epoxy Art and Wood Applications is ideal for this task, letting you spread resin evenly while reducing unwanted bubbles. It’s also easy to clean for immediate reuse.
Step 5: Check for and remove surface bubbles
Even with perfect preparation, a few bubbles may still rise to the surface after application. Examine the freshly spread resin for visible bubbles. Small bubbles can often be burst using the tip of your brush, or by gently tapping the project.
For stubborn or widespread bubbles, lightly mist the resin surface with Pure Isopropyl Alcohol 99.9%. A fine spray evaporates quickly and breaks the surface tension, causing bubbles to pop without disturbing your finish. Avoid overuse to prevent cloudiness.
Tips and Common Mistakes
- Always mix in a clean, dust-free space — particles can form nucleation points for bubbles.
- Don’t rush the process — rapid mixing or pouring increases bubble risk.
- Avoid using hairdryers or heat guns too close to the resin, as excessive heat can create waves and more bubbles.
- Let each layer cure briefly before adding the next — this prevents new bubbles from forming in deeper layers.
- Choose application tools suitable for epoxy resin — silicone is far less likely to introduce problems than conventional bristle brushes.
Achieving Crystal-Clear Results Every Time
With care and the right approach, bubble-free brush-on resin finishes are achievable for any skill level. Focus on slow mixing, thin layering, and vigilance in spotting bubbles for a result you’ll be proud to display.
- Anti Bubble Mixer for Epoxy Resin – Reusable Mixing Tool£4.45The Anti Bubble Mixer is designed for epoxy resin projects to mix gently and help achieve a finish without bubbles.
- Reusable Silicone Resin Brush for Epoxy Art and Wood Applications£3.45This brush supports precise application of resin in art and woodwork, featuring easy cleaning and reusable design.
- Pure Isopropyl Alcohol 99.9% – 1000ml Bottle for Epoxy Resin Projects & DIYPrice range: £9.85 through £19.85Pure Isopropyl Alcohol 99.9% in 1000ml is suitable for epoxy resin projects, aiding bubble removal and creative effects.
Frequently Asked Questions
Can I fix bubbles once resin is cured?
You may be able to sand down surface bubbles and reapply a thin resin layer, but deep bubbles are harder to repair.
What temperature is best for applying brush-on resin?
Room temperature (about 20-25°C) is ideal, as extremes of heat or cold can worsen bubble issues.
Is a silicone brush better than a bristle brush?
Yes, silicone brushes reduce trapped air, spread resin smoothly, and are easy to clean, helping prevent bubbles.
How soon should I remove bubbles after application?
Act within the resin's working time, typically up to 30 minutes, before it starts to cure and harden.
Why are bubbles forming despite careful mixing?
Moisture, dirty tools, or mixing too quickly can still introduce bubbles. Ensure all materials are dry and clean.
Does isopropyl alcohol leave residue on resin?
When used sparingly and allowed to evaporate fully, 99.9% isopropyl alcohol leaves no residue on cured resin surfaces.