 Free shipping on orders over £29,85

How to build a wood and epoxy resin table?
A step-by-step guide for crafting your own unique resin masterpiece


Creating your own wood and epoxy resin table is a rewarding project that allows you to blend natural timber with glossy, colourful resin for a truly one-of-a-kind centrepiece. Whether you’re a DIY beginner or an experienced maker, this guide will walk you through each key stage—from material selection through to the final finish—so you can craft a professional-quality piece for your home or workspace.
What You’ll Need
- MDF Board Base for Epoxy Resin Table and Art Projects – provides stable and reliable support for your tabletop.
- “EpoxyTable 5-Five” – Deep Pour Epoxy Resin for Tables and Large Projects – Up to 5cm – ideal for clear, bubble-free pours up to 5cm thick.
- “Epoxytable 10-Ten” – Deep Pour Epoxy Resin for Tables, Up to 10cm Casting – for extra-deep pours or larger castings.
- “River-Table” – Complete Kit for Creating Your First Epoxy Resin Table – convenient choice for beginners, includes resin, pigments, sealing paste, and polishing kit.

Mixing Resin and Preparing Materials
Accurate mixing and thoughtful preparation are crucial for epoxy resin tables. Always wear gloves and a respirator, use digital scales for weighing resin and hardener, and maintain a dust-free workspace to avoid imperfections in your final result.

Step 1: Choose the Right Materials for Your Table
Start by selecting a high-quality timber slab—live edge pieces or reclaimed wood are especially popular for river tables. Ensure the wood is dry, flat and free from excessive knots or cracks. This not only provides a sturdy base but also helps the epoxy adhere properly and reduces the risk of future movement or splitting. For the main support, a sturdy MDF Board Base for Epoxy Resin Table and Art Projects is recommended, as it offers stability and works well with various resin techniques.
It’s also essential to consider your desired resin pour depth. For casts up to 5cm, opt for “EpoxyTable 5-Five” – Deep Pour Epoxy Resin. For extra-thick or large surface areas, “Epoxytable 10-Ten” is suited to pours up to 10cm per layer, ensuring optimal curing and clarity.
Step 2: Prepare the Wood and Workspace
Begin by thoroughly sanding your wood—remove surface imperfections and dust. Seal any cracks with masking tape or putty on the underside to prevent resin leakage. Clean the area and ensure your workspace is dust-free and ventilated, as this will directly impact the finish of your table. Prepare your formwork using the MDF base, ensuring it’s level on a flat surface and edges are sealed tightly to prevent resin leaks. Silicone or release tapes can be used along mould edges for extra security.
Dry-fit your timber in the form to confirm positioning and space for resin channels. Double-check all seals and don your protective gloves and respirator before moving to the resin stage.
Step 3: Mix and Pour the Epoxy Resin Correctly
Carefully read the instructions for your chosen resin and measure each component accurately by weight. Mix the resin and hardener slowly in a clean container to minimise bubble formation, thoroughly scraping the sides and bottom for a uniform blend. Always work within the recommended temperature and humidity range for best curing results. If you are unfamiliar with mixing and colouring, the “River-Table” – Complete Kit for Creating Your First Epoxy Resin Table supplies all pigments and step-by-step instructions needed for coloured river effects or custom tints.
Pour the resin in a steady stream along the river gap or designated area, working in layers if necessary for thick pours. Eliminate bubbles with a heat gun or torch, passing it lightly over the surface. Allow each layer to cure adequately before adding the next.

Step 4: Finish and Polish the Table for a Lasting Shine
Once fully cured, remove the table from the formwork. Sand the edges and surface incrementally, starting with coarse grit and finishing with fine. For a mirror-like finish, use a polishing kit or high-quality polishing cream, which is included in some starter sets such as the “River-Table” – Complete Kit. Buff to your desired gloss, paying attention to any cloudy or uneven areas. Finally, apply furniture oil or wax to wood surfaces for added protection and aesthetic appeal.

Tips, Common Mistakes & Troubleshooting
- Always check your formwork for leaks before pouring; a water test can reveal potential gaps.
- Avoid rushing cures—thicker pours may require extra time between layers to prevent overheating.
- Keep your workspace clean and wear all safety gear when handling resin components.
- If bubbles persist, ensure thorough mixing and use a heat gun promptly after pouring.
- Don’t skip sanding stages for finishing; each step impacts the final clarity and shine.
Showcase: River Tables and Artistic Resin Projects
Be inspired by a gallery of unique wood and epoxy tables crafted by creators like you. Explore varied colour blends, pour techniques, and creative uses of natural timber for a statement piece in any setting.

- "River-Table" – Complete Kit for Creating Your First Epoxy Resin TablePrice range: £188.85 through £444.85"River-Table" kit includes resin, sealing paste, pigments and polishing materials with instructions under the 'How to build a wood and epoxy resin…
- "EpoxyTable 5-Five" – Deep Pour Epoxy Resin for Tables and Large Projects – Up to 5cmPrice range: £16.85 through £1,099.85"EpoxyTable 5-Five" is suitable for deep pouring up to 5cm, designed for tables and large projects with strong UV filters and scratch resistance.
 “Epoxytable 10-Ten” – Deep Pour Epoxy Resin for Tables, Up to 10cm CastingPrice range: £33.85 through £334.85“Epoxytable 10-Ten” is a deep pour epoxy resin for tables, suitable for castings up to 10cm with a low exothermic reaction and UV resistance.
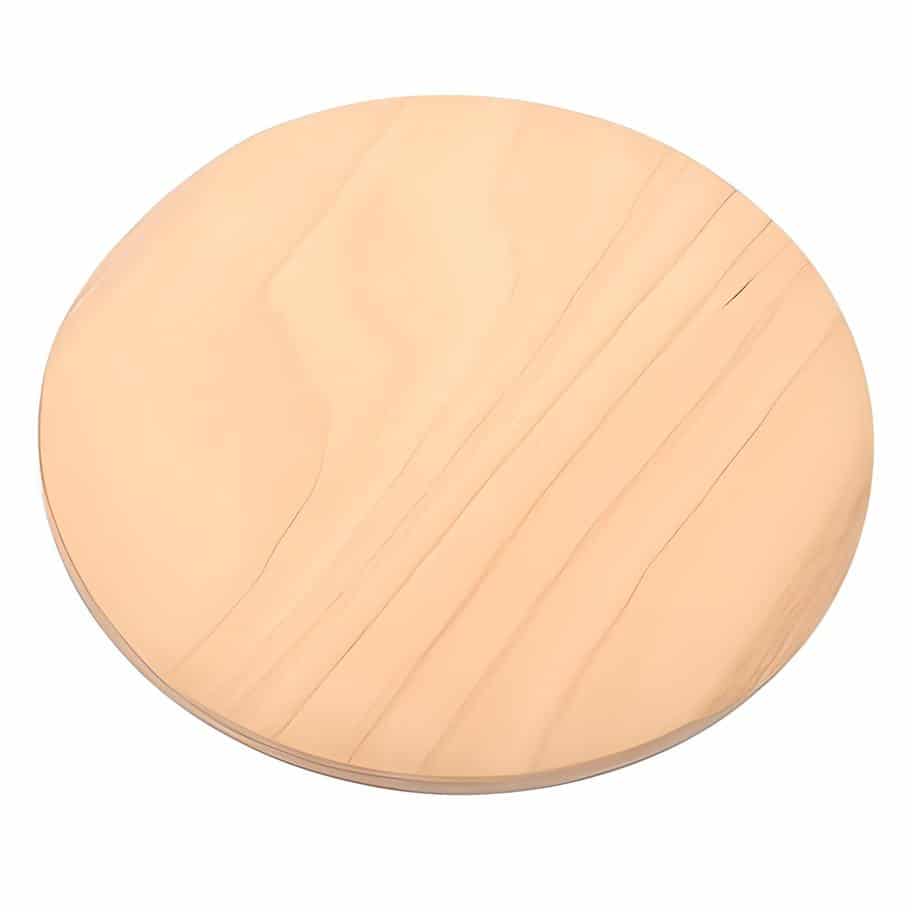 MDF Board Base for Epoxy Resin Table and Art ProjectsOriginal price was: £25.00.£17.85Current price is: £17.85.MDF Board Base offers a stable MDF surface suitable for various epoxy resin techniques in table and art projects.
Frequently Asked Questions
What is the best resin for wood and epoxy tables?
Epoxy resins designed for deep pours, such as EpoxyTable 5-Five or Epoxytable 10-Ten, provide clarity and strong bonding for table projects.
How do I seal my formwork before pouring resin?
Seal with silicone or release tape so epoxy stays contained and doesn't leak beneath or around the slab.
How can I prevent bubbles in my epoxy resin table?
Mix resin slowly, pour steadily, and pass a heat gun over the surface to remove air bubbles promptly after pouring.
Which MDF board is suitable for an epoxy table base?
A robust, stable MDF board designed for resin use is recommended to create a flat and durable foundation.
Is there a kit for beginners building resin tables?
Yes, the River-Table Complete Kit includes resin, pigments, sealing paste, polishing accessories, and detailed instructions.
How thick can I pour resin for an epoxy table at once?
Use EpoxyTable 5-Five for up to 5cm or Epoxytable 10-Ten for up to 10cm per application, layering if greater thickness is needed.