 Free shipping on orders over £29,85

How to build a wood and resin table?
Building a wood and resin table is a rewarding project that combines craftsmanship with creativity. Whether you are drawn to the dramatic look of a river table or want to explore contemporary resin inlays, this guide will walk you through the essential steps, best practices and practical tips for stunning results—even if you are a complete beginner.
A comprehensive DIY guide for stunning resin river tables


What You’ll Need
- “River-Table” – Complete Kit for Creating Your First Epoxy Resin Table — all-in-one kit including epoxy resin, pigments, sealant and polishing kit for a seamless start.
- “EpoxyTable 5-Five” – Deep Pour Epoxy Resin for Tables and Large Projects – Up to 5cm — for those tackling thicker or larger areas.
- “Epoxytable 10-Ten” – Deep Pour Epoxy Resin for Tables, Up to 10cm Casting — ideal for very deep river sections or dramatic designs.
- MDF Board Base for Epoxy Resin Table and Art Projects — provides a stable work surface for your project.
- Wood slabs (e.g. oak, walnut, or other hardwood)
- Formwork materials (acrylic, melamine board or HDPE sheet)
- PPE (gloves, eyewear, respirator for safety)
- Mixing containers, stirring sticks and clamps
- Sanding and finishing equipment (various grit sandpapers, polishing machine if available)

Workspace and Materials in Action
See how MDF boards, clamps, and protective gear contribute to a clean, stable workspace when building your first resin table. Explore the MDF Board Base for a reliable start to your project.

Step 1: Prepare the Workspace and Wood
Ensure your workspace is flat and dust-free—this is key for a smooth, level table surface. Place your MDF Board Base for Epoxy Resin Table and Art Projects on your workbench for stability. Choose and cut your wood slabs, making sure they are completely dry and free of bark. Flatten both the top and bottom; any warp or twist will show up in the finished piece. Sand the wood surfaces and pay special attention to cleaning out cracks or voids that the resin will fill.
Step 2: Build and Seal Your Mould
Construct a formwork (mould) from melamine board or similar material, sized to fit your table. The walls should be sealed tightly at every corner—use clamps to hold everything steady and check for gaps. A release agent or tape should be applied to the inside surfaces to prevent the resin from sticking. This is crucial for removing your project after curing.
If you are using the “River-Table” – Complete Kit for Creating Your First Epoxy Resin Table, the included silicone rubber is designed for easy and reliable sealing of your formwork edges, minimising any risk of leaks.
Step 3: Mix and Pour the Epoxy Resin
Accurate measurement and mixing is vital. Follow the manufacturer’s instructions for resin-to-hardener ratio. Mix slowly but thoroughly to minimise bubbles. If you are using deep pour sections (thickness up to 5cm or even 10cm), opt for “EpoxyTable 5-Five” or “Epoxytable 10-Ten” as they are engineered for thick, bubble-free layers.
Add pigments if desired and pour the resin carefully into your mould. Take your time pouring the resin; for dramatic clear rivers or inlay, work in layers if needed. Remove surface bubbles immediately using a heat gun or torch with a gentle wave motion.

Step 4: Curing and Demoulding
Allow the resin to cure fully rather than rushing the process. Temperature and humidity affect cure times, but most deep pour epoxies will need at least 48–72 hours to become firm enough to demould. Check manufacturer guidelines for exact timing. Do not move or disturb the piece until it is fully cured. Once set, gently release it from the mould edges and lift it free.

Step 5: Sanding and Finishing
Begin smoothing by sanding with coarse grits, then progressively move to finer sandpaper for a clean finish. Polish the resin surface for a high-gloss effect, taking care to avoid over-sanding any one area. If you have the “River-Table” – Complete Kit, use the polishing kit included for best results. Sand and finish gradually for a professional look that catches the light and emphasises the contrast between wood and resin.
Tips, Common Mistakes and Troubleshooting
Always wear gloves and eye protection when mixing and pouring resin. Make sure your workspace is protected from dust and drafts—particles settling into wet resin are difficult to fix.
Calculate total resin volume before you start. Avoid overfilling the mould, which can cause overflow and waste. For deep pours, monitor for temperature build-up and be patient with curing times to prevent bubbles or cracks. When sanding, keep the surface damp or use extraction to avoid airborne dust. If in doubt, test processes on scrap material before attempting your final table.
Finishing Touches and Showcasing Results
A high-quality finish is what elevates your table from DIY to showroom standard. Polishing, patient curing and careful sanding bring clarity and depth to every wood and resin creation.

- "River-Table" – Complete Kit for Creating Your First Epoxy Resin TablePrice range: £188.85 through £444.85This complete kit provides everything needed to start creating wood and resin tables, including resin, sealant, pigments and polishing materials.
- "EpoxyTable 5-Five" – Deep Pour Epoxy Resin for Tables and Large Projects – Up to 5cmPrice range: £16.85 through £1,099.85EpoxyTable 5-Five is a deep pour resin designed for tables and large projects, offering clarity and UV resistance for wood and resin tables.
 “Epoxytable 10-Ten” – Deep Pour Epoxy Resin for Tables, Up to 10cm CastingPrice range: £33.85 through £334.85Epoxy resin designed for deep pouring up to 10cm, suitable for wood-and-resin tables in precise, low-exothermic projects.
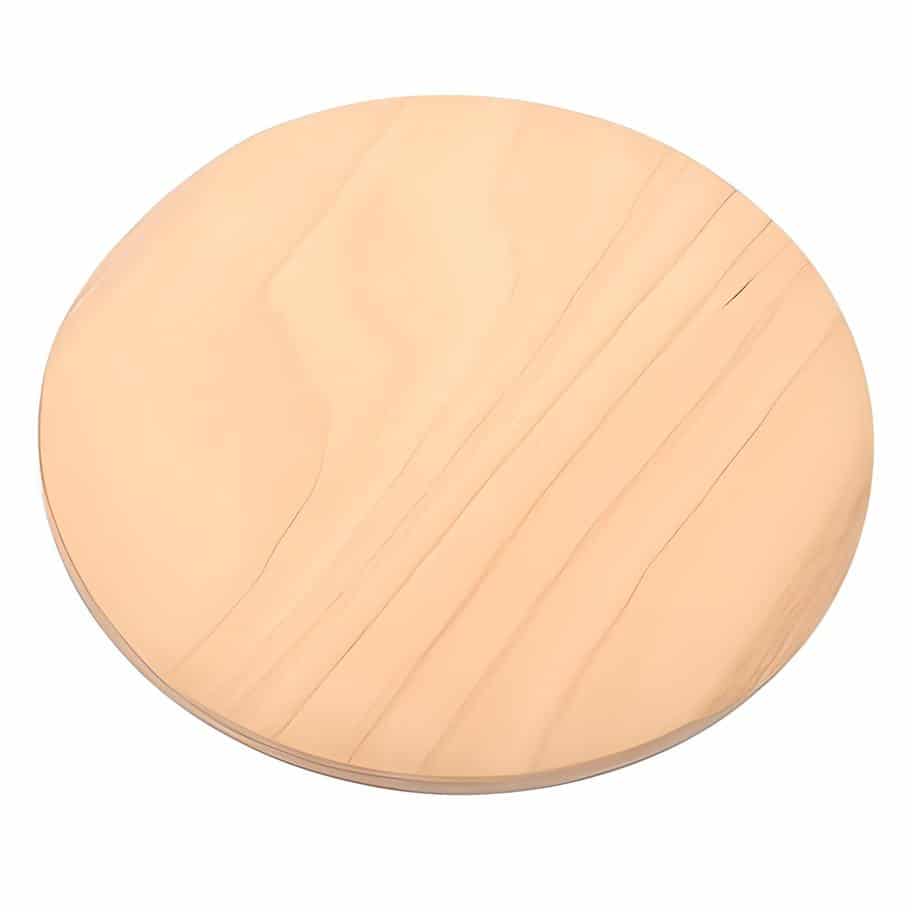 MDF Board Base for Epoxy Resin Table and Art ProjectsOriginal price was: £25.00.£17.85Current price is: £17.85.Sturdy MDF board base suitable for epoxy resin tables and art projects, designed for stability and versatile resin techniques.
Frequently Asked Questions
What depth of epoxy resin pour is recommended for wood and resin tables?
Pour thickness will depend on the resin used; standard pours use 2–5cm, while specific deep-pour resins allow up to 10cm in a single application.
Is it realistic for a beginner to make a wood and resin table?
Yes, especially with a comprehensive kit and clear instructions. Care and attention to detail are most important for success.
How do I deal with bubbles appearing in my resin pour?
Remove surface bubbles with a heat gun or torch immediately after pouring. Mix slowly and pour in layers if possible to reduce bubbles.
How important is workspace setup for building a resin table?
A flat, dust-free, and sheltered workspace is essential for a level table and clear, contaminant-free resin finish.
When should I demould my resin table top?
Demould only once the resin has cured fully and feels firm. This often takes 48–72 hours for deep pour resins, but always check product guidance.
What is the best base material for a resin table project?
MDF boards, treated wood or melamine are sturdy and commonly used for creating resin table bases.
What are common mistakes when mixing epoxy resin for tables?
Incorrect ratio or poor mixing can lead to soft spots or tackiness. Mix thoroughly at the correct ratio and scrape container sides when blending.