 Free shipping on orders over £29,85


How to calculate resin quantity?
Step-by-step guide to measure, mix, and plan your resin use.


Planning a resin project requires accuracy, especially when it comes to working out exactly how much resin you will need. Knowing how to calculate resin quantity will help ensure a flawless finish, avoid running out of material mid-project, and save you both time and money. Whether you are preparing a river table, making resin crafts, or coating surfaces, this clear guide covers all the essential steps for precise resin calculation.
What You’ll Need
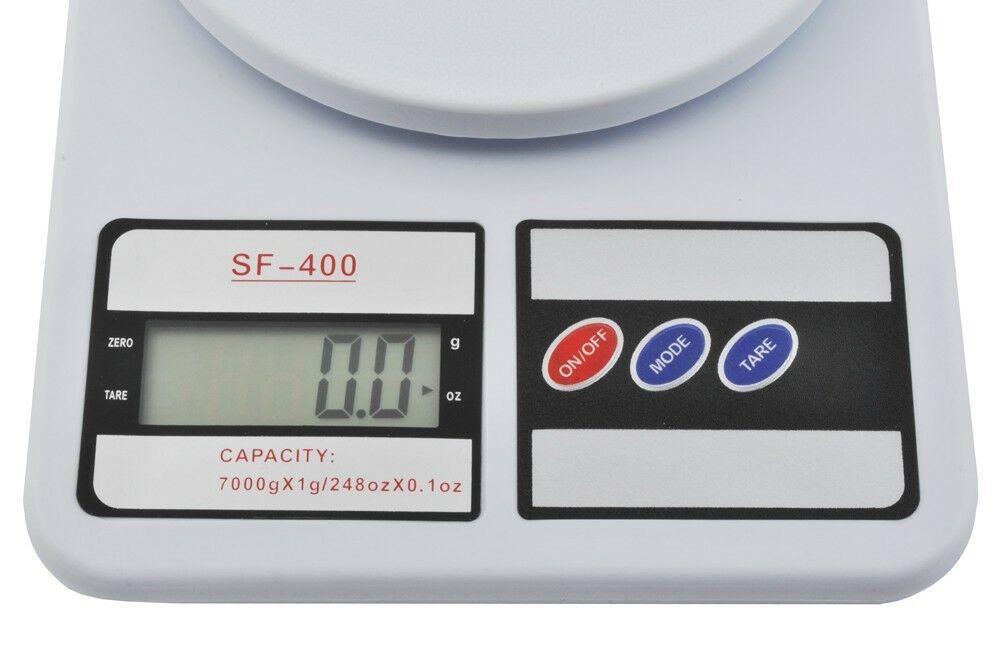
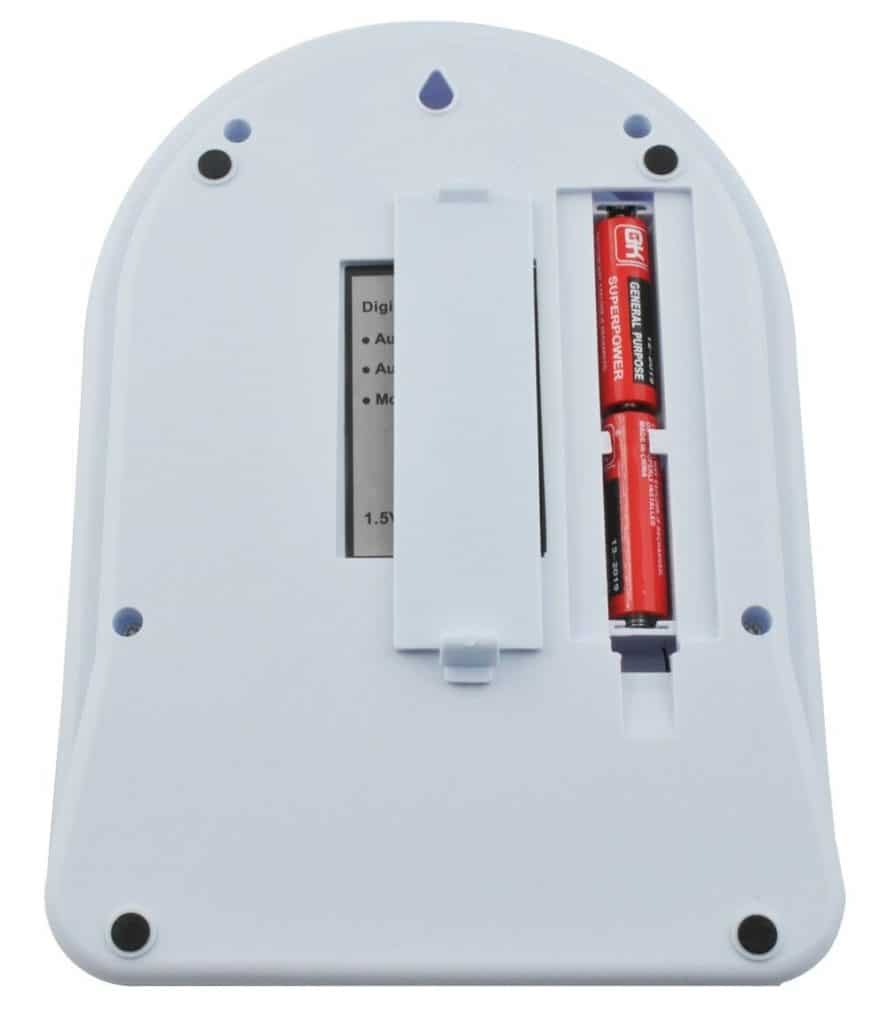
- Precision Digital Scales for Resin and Crafting, 1g–7kg – For accurate weighing.
- 2L Graduated Measuring Cup for Resin – Precise Epoxy Dosing Tool – For clear volume measurements.
- “EpoxyTable 5-Five” – Deep Pour Epoxy Resin for Tables and Large Projects – Up to 5cm – Suitable for large or thick castings.
- “Trasparente” – Multipurpose Clear Epoxy Resin for Casting – Up to 2cm – Ideal for smaller or thinner projects.
Visual Guide: Measuring and Planning Resin Volume
Accurately measuring your project’s dimensions and planning resin quantities are crucial steps. Using a graduated measuring cup or precision scales provides a clear visual of the required volume or weight, reducing the risk of costly errors and insufficient coverage during casting.
Step 1: Measure the Project Dimensions
The foundation of accurate resin calculation is knowing the exact size of your project. Use a reliable tape measure or ruler to obtain the length, width, and depth of the area you wish to fill or coat. Take several measurements if your shape is irregular and note these down. Record measurements in centimetres or millimetres for best accuracy.
For river tables or deep pours, be sure to account for embedded objects or inclusions which displace volume. Being precise at this stage minimises waste and ensures even coverage.
Step 2: Calculate the Required Volume
Multiply the length, width, and depth (all in centimetres) to obtain the required volume in cubic centimetres (cm3). For example, a 100cm × 30cm × 2cm tray requires 6000cm3 of resin.
To convert cubic centimetres to millilitres (ml), remember that 1cm3 equals 1ml. If you need to calculate litres, divide the total by 1000. Always round up slightly to account for any small absorption by wood or leaks.
The 2L Graduated Measuring Cup for Resin – Precise Epoxy Dosing Tool makes it simple to check your total volume as you mix, ensuring you stay on target.
Step 3: Check Your Resin’s Mix Ratio and Pour Limits
Every resin system has a recommended mix ratio, usually by weight or volume, and a maximum layer thickness per pour. Confirm whether your product uses a simple 1:1 ratio or something more specific – for example, the “EpoxyTable 5-Five” utilises a 100:55 ratio by weight and supports up to 5cm per layer, while the “Trasparente” is designed for pours up to 2cm.
Assess whether your planned thickness requires multiple pours, and spread your total calculated quantity accordingly. Always consult the resin’s instructions for best results and breaking a deep pour into safe layers.

Step 4: Weigh and Mix with Precision
Now that you know your volume and mix ratio, use the Precision Digital Scales for Resin and Crafting, 1g–7kg to weigh both resin and hardener with meticulous accuracy. For example, if using a 100:55 by weight system and you need 1000g of mixed resin (resin + hardener), divide the total by the sum of the parts (e.g., 100 + 55 = 155 parts). Calculate how much of each you need to make up your intended total.
Slowly mix the resin and hardener together, scraping the sides and bottom of your mixing container to ensure a complete blend. The right tools help prevent under- or over-mixing, which can cause cloudiness or incomplete curing.

Tips and Common Mistakes to Avoid
- Always check resin layer thickness guidelines for your specific resin.
- Double-check your calculations before mixing.
- Avoid estimating by eye – precise measurement prevents waste and curing problems.
- Mix slowly and pour in stages to reduce errors.
- Allow for a small extra quantity in your calculation to cover potential drips or absorption.
- Clean your equipment as soon as possible to keep graduations and scale displays clear and legible for next time.
Preventing Waste and Achieving Quality Results
Precise calculation and measurement safeguards against running short or mixing excess resin, saving both material and money. Attention to detail ensures your project cures correctly and achieves a high-quality, professional finish every time.
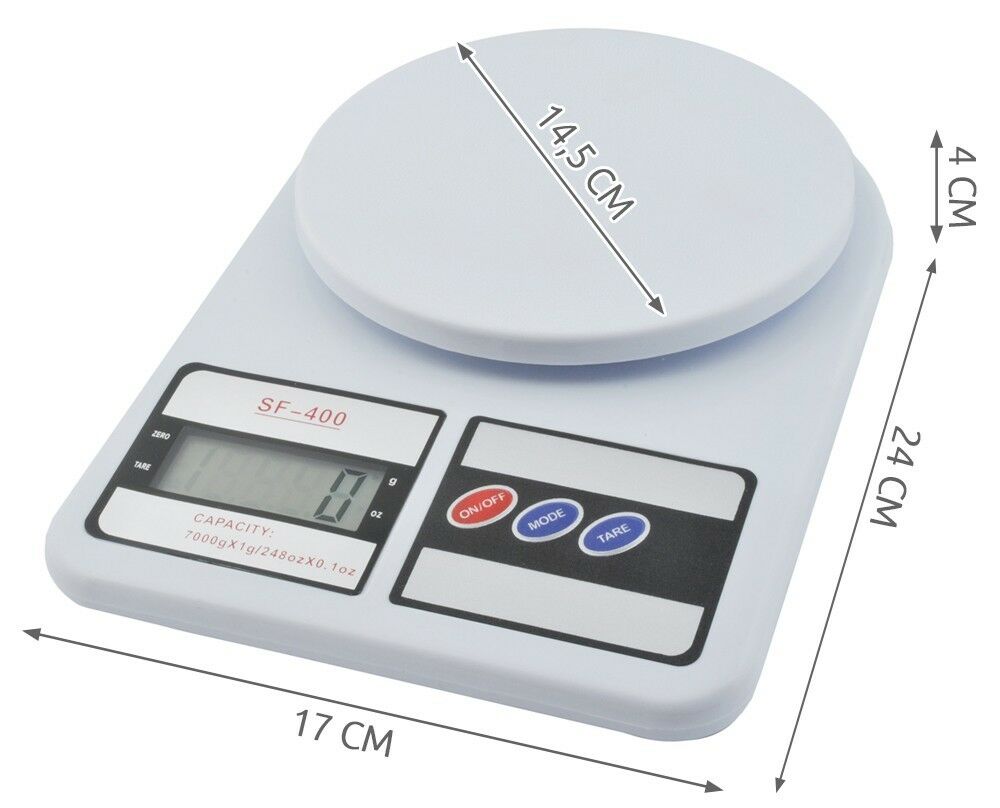
- Precision Digital Scales for Resin and Crafting, 1g–7kgPrice range: £7.85 through £22.85Digital scales suitable for resin weighing ensure careful mixing with a clear display and compact design.
- 2L Graduated Measuring Cup for Resin – Precise Epoxy Dosing Tool£3.85The 2L Graduated Measuring Cup offers precise resin dosing with clear graduations from 100ml, suited for accurate epoxy measurements.
- "EpoxyTable 5-Five" – Deep Pour Epoxy Resin for Tables and Large Projects – Up to 5cmPrice range: £16.85 through £1,099.85"EpoxyTable 5-Five" is a deep pour epoxy resin suitable for tables and large projects, designed to support high-thickness casting up to 5cm.
 "Trasparente" – Multipurpose Clear Epoxy Resin for Casting – Up to 2cmPrice range: £8.45 through £948.85Ultra-clear epoxy resin suitable for casting layers up to 2cm, offering a glossy, self-levelling finish for various DIY and professional projects.
Frequently Asked Questions
Why is it important to calculate resin quantity precisely?
Accurate calculation prevents waste and ensures your project is fully covered and cures without defects.
Which resin should I use for different pour thicknesses?
Use "Trasparente" for pours up to 2cm thick and "EpoxyTable 5-Five" for pours between 2cm and 5cm.
How do I convert cubic centimetres to litres for resin?
1,000 cubic centimetres (cm³) equal 1 litre; simply divide your total cm³ by 1,000.
Why does resin mix ratio matter?
Correct mix ratios ensure a strong, fully cured result; incorrect ratios can cause sticky or weak resin.
Which tools help measure resin quantity accurately?
Precision digital scales and graduated measuring cups are essential for accurate weighing and measuring.
How do I calculate resin volume for irregular shapes?
Break the shape into smaller rectangles or cylinders, calculate each part separately, then add them together.