 Free shipping on orders over £29,85


How to make a resin coffee table for the living room?
Step-by-step guide for crafting a unique resin and wood table


A resin coffee table brings warmth and individuality to any living room, blending artistic resin pours with natural wood for a truly bespoke result. In this guide, you’ll learn every step required to create your own resin table, from preparing the base to the final finishing touches. Whether you are a beginner or looking to refine your skills, this process will help you craft a centrepiece you’ll be proud of.
What You’ll Need
- MDF Board Base for Epoxy Resin Table and Art Projects – A stable, sturdy surface for your table design
- “River-Table” – Complete Kit for Creating Your First Epoxy Resin Table – Comprehensive starter kit including resin, pigments, sealant and polishing materials
- “EpoxyTable 5-Five” – Deep Pour Epoxy Resin for Tables and Large Projects – Up to 5cm – For medium-depth resin pours
- “Epoxytable 10-Ten” – Deep Pour Epoxy Resin for Tables, Up to 10cm Casting – For deep casting projects up to 10cm
- Protective gloves and mask
- Mixing containers and stirring sticks
- Measuring scales
- Polishing pads and sanding paper (various grits)
- Wood of your chosen variety for the table design
- Release film or tape (for formwork)

See Resin Coffee Table Projects in Progress
View examples of resin coffee tables from preparation and moulding to the stunning final results. See the depth and clarity achievable with quality resin systems and gather inspiration for your own living room project.

Step 1: Prepare the Table Base and Formwork
Begin by preparing your workstation and ensuring excellent ventilation. Choose a stable, flat board base, such as the MDF Board Base for Epoxy Resin Table and Art Projects, to ensure your resin pour remains level during curing. Plan your layout, positioning wood slabs, decorative stones, or other inlays to achieve your desired look. Build a simple mould around the base using melamine board or similar material, making sure it’s slightly larger than your final table size.
Seal all joints with silicone or tape to prevent resin leakage. Ensure the area is dust free and lay down a release film or special tape inside the formwork for easy table removal later.
Step 2: Mix and Pour the Resin
Carefully read the instructions connected to your chosen epoxy resin system for the best results. If you are just starting, the “River-Table” – Complete Kit for Creating Your First Epoxy Resin Table is an excellent choice, as it includes comprehensive guidance, pigments, and all core materials. For deeper pours, opt for “EpoxyTable 5-Five” up to 5cm or “Epoxytable 10-Ten” for pours up to 10cm thick.
Measure and mix epoxy resin precisely according to the ratios provided. Once fully blended, add pigment if desired and mix thoroughly. Pour resin slowly in layers if required to prevent overheating, especially for thick castings. Use a heat gun or torch gently to remove surface bubbles. Allow sufficient curing between pours if you are layering.
Step 3: Demould and Finish the Table
Once your resin has set as recommended by your chosen system (usually 24–48 hours), gently remove the formwork and release film. Inspect for sharp edges and trim where necessary. Begin sanding the cured resin, starting with coarse grit and progressing to finer grits for a smooth surface. Sand using gradual grits, then polish using polishing pads–many kits include advanced polishing creams and pads designed for resin furniture finishing.
Clean any dust from the table and assess whether a final topcoat or further polishing is needed. For best results, follow polish-specific instructions provided in your resin kit.

Step 4: Allow to Cure and Protect
Let the finished table cure completely in a dust-free environment. This ensures maximum hardness and clarity. Protect from dust while curing by covering the piece with a clean, breathable sheet. When fully set, attach table legs or other components to complete your living room centrepiece. Carefully move the table into place and enjoy your unique creation!

Tips and Common Mistakes to Avoid
Work at a consistent room temperature to avoid issues with curing and bubbles. Secure all formwork tightly, and resist the urge to rush the pouring or demoulding process, which can result in edge leaks and imperfections. Always wear protective equipment and work in a well-ventilated space. Remember, some resins are formulated for deep pours–make sure to choose the right resin for your intended casting thickness. If you notice surface imperfections, an additional light polish may restore a glasslike finish.
Key Things to Remember for Resin Table Success
Plan your pour, layer when needed, and let each stage fully cure. Take your time with polishing and finishing for flawless results. Proper preparation leads to centrepieces you can enjoy for years.

- "River-Table" – Complete Kit for Creating Your First Epoxy Resin TablePrice range: £188.85 through £444.85"River-Table" kit contains materials and instructions suitable for creating wood and resin tables following the chosen theme.
- "EpoxyTable 5-Five" – Deep Pour Epoxy Resin for Tables and Large Projects – Up to 5cmPrice range: £16.85 through £1,099.85"EpoxyTable 5-Five" is designed for deep pouring up to 5cm and suitable for creating tables and large artistic projects.
 “Epoxytable 10-Ten” – Deep Pour Epoxy Resin for Tables, Up to 10cm CastingPrice range: £33.85 through £334.85“Epoxytable 10-Ten” is designed for deep pouring projects up to 10cm, suitable for resin coffee tables following the living room theme.
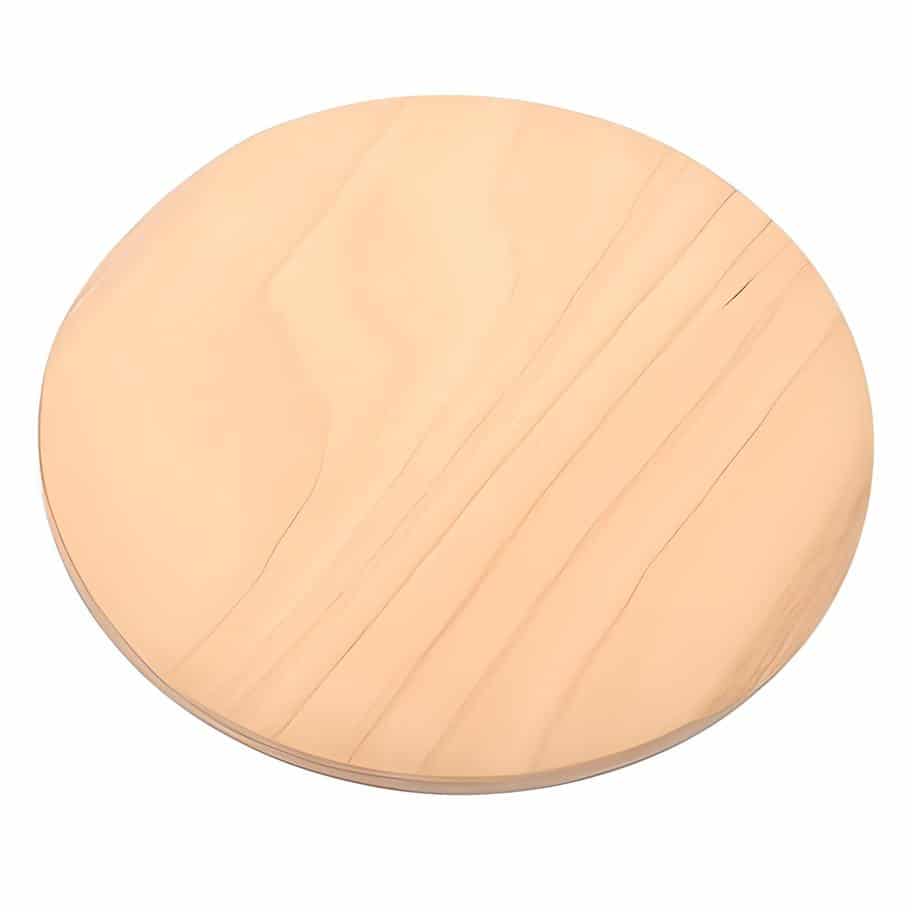 MDF Board Base for Epoxy Resin Table and Art ProjectsOriginal price was: £25.00.£17.85Current price is: £17.85.MDF Board Base provides a stable and sturdy surface suitable for various resin techniques, following the theme of making a resin coffee table.
Frequently Asked Questions
What type of resin should I use for a resin coffee table?
For living room coffee tables, deep pour epoxy resins designed for furniture provide clarity and durability. Match the resin type to your intended casting thickness.
How do I prevent bubbles in my resin coffee table?
Mix resin thoroughly and pour slowly. Use a heat gun or torch to release surface bubbles immediately after pouring.
How long should I wait before demoulding my resin table?
Epoxy resins typically require 24–48 hours to cure before safe demoulding. Thicker pours or low temperatures may extend this time.
Can a beginner successfully make a resin coffee table?
Yes. Comprehensive kits with instructions make resin table projects accessible for beginners. Take time to follow each step carefully.
Should I pour all the resin at once or in layers when making a table?
For thicknesses above the product's single-cast limit, pour in layers allowing each to cure. This prevents overheating and defects.
How can I achieve a high-gloss finish on my resin coffee table?
Progressively sand with finer grits, then use a purpose-designed resin polishing cream and pads to achieve a glossy surface.