 Free shipping on orders over £29,85

How to use epoxy paint?
Guide to preparing, applying, and perfecting epoxy paint surfaces


Epoxy paint delivers incredible durability and a seamless, attractive appearance across floors, walls, and various creative projects. Applying epoxy paint correctly is essential to prevent defects and ensure a lasting, professional result. This guide provides step-by-step instructions—from surface prep to final touches—so DIYers and professionals alike can achieve a flawless finish every time, regardless of skill level.

What You’ll Need
- “Epoxyprimer” – Universal Water-Based Two-Component Epoxy Floor Primer – For reliable adhesion across substrates such as concrete, tiles, and wood
- Resin & Paint Application Rollers – Short-Pile, Large, and Sponge Types – For smooth and even application of the primer and epoxy paint
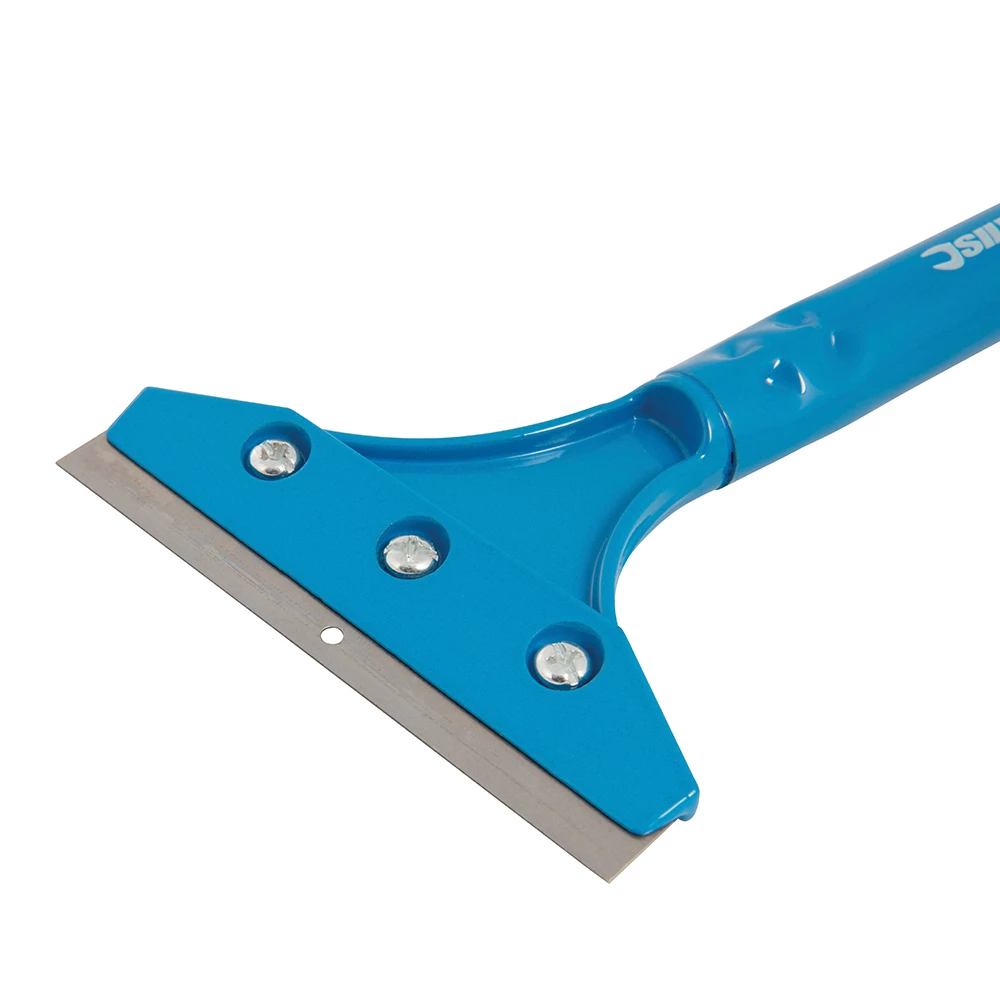
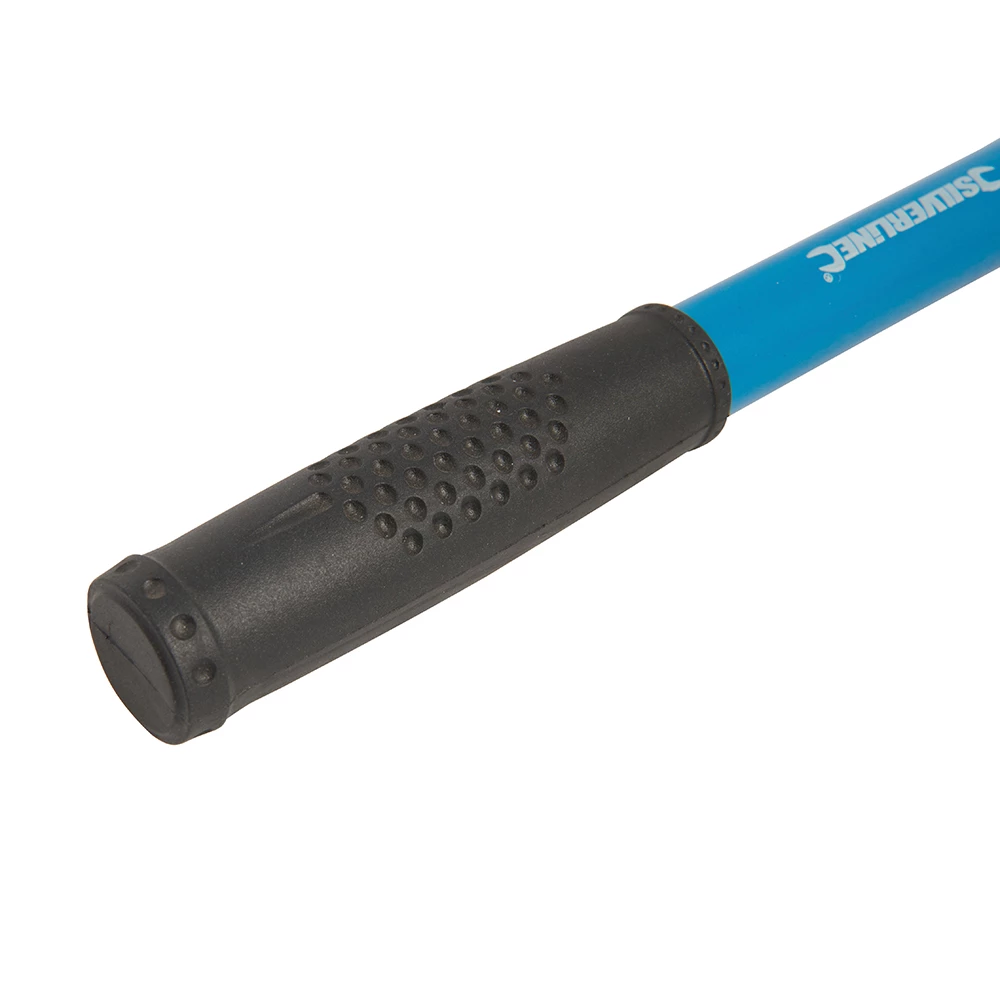
- Heavy Duty Scraper for Paint and Epoxy Resin Removal – Ideal for removing old paint, adhesives, and debris from surfaces before painting
- Reusable Silicone Resin Brush for Epoxy Art and Wood Applications – Useful for precise edges and touch-ups
- Protective gloves and safety goggles
- Suitable mixing containers
- Lint-free cloths

Key Equipment for a Smooth Epoxy Paint Application
Choosing the right tools, such as precision rollers for epoxy paint or a durable scraper for preparation, streamlines your workflow and improves results. Quality brushes ensure detailed control along edges and corners, while an effective primer guarantees lasting adhesion and colour consistency across the project.
Step 1: Prepare the Surface Properly
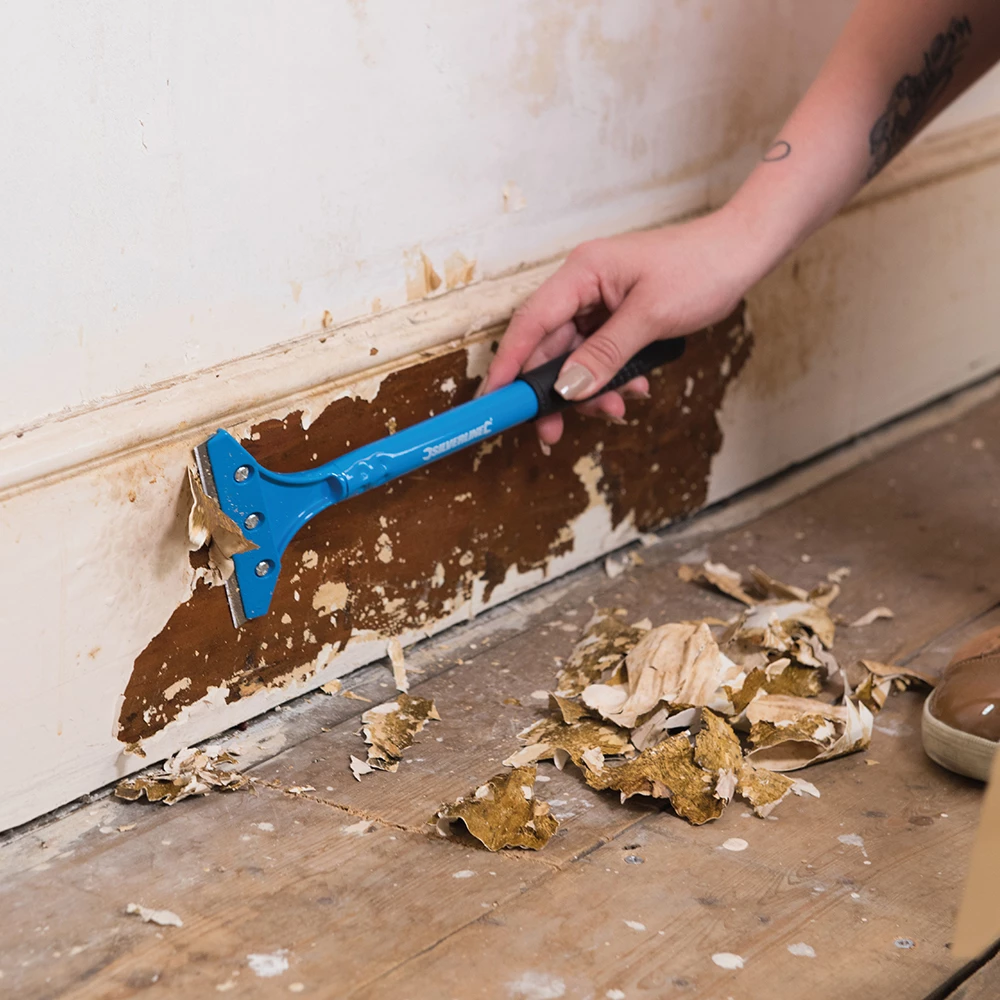
Always start with thorough surface preparation to ensure your epoxy paint adheres perfectly. Remove any loose paint, dust, grease, or contaminants. Surfaces such as concrete or tiles may require mechanical abrasion or degreasing. For areas with flaking coats or stubborn residue, use a Heavy Duty Scraper for Paint and Epoxy Resin Removal to ensure a smooth, clean base for your new finish.
If the area is particularly porous or has been painted before, sweep, vacuum, and wipe with a lint-free cloth. Allow surfaces to fully dry before continuing. This attention to preparation prevents delamination and bubbles in the finished coating.


Step 2: Prime the Substrate
Priming is essential for both adhesion and longevity, helping to seal absorbent surfaces and prevent issues like discolouration or uneven curing. Mix and apply a dedicated primer such as “Epoxyprimer” – Universal Water-Based Two-Component Epoxy Floor Primer according to the manufacturer’s instructions, ensuring a consistent mixture.
Use an application roller or brush to cover all areas with a thin, even coat. Allow the primer to cure fully—usually 24 to 48 hours—before proceeding. Skipping this step shortens the system’s lifespan and may cause peeling down the line.
Step 3: Apply the Epoxy Paint
Once the primer is cured and the workspace is dust-free, you’re ready for epoxy paint application. Thoroughly mix the two paint components, following exact ratios for optimal performance and finish. Work methodically in manageable sections to maintain a wet edge and avoid lap marks.
Apply the epoxy paint using Resin & Paint Application Rollers – Short-Pile, Large, and Sponge Types for larger areas, or use a Reusable Silicone Resin Brush for Epoxy Art and Wood Applications for detailed edges and corners. Maintain an even, steady pressure for a consistent layer. Avoid overworking or excessive back-and-forth, which can trap bubbles.
Step 4: Curing and Aftercare
Allow each layer to cure before proceeding to additional coats or regular use. Most epoxy paints require at least 24 hours between coats, and a full cure may take up to a week depending on thickness and ambient conditions.
During curing, keep the area protected from foot traffic, dust, and moisture. Maintain the correct room temperature and humidity for predictable results—avoid painting if the area is too cold or damp, as this can affect adhesion and gloss.
Once fully cured, your surface will be highly resistant to abrasion and easy to clean. Protect freshly painted areas from dust and moisture during curing for the best finish possible.
Tips and Common Mistakes to Avoid
Check the manufacturer’s instructions for all materials, particularly for mixing ratios, pot life, and working time. Never rush surface preparation—improper cleaning leads to defects and premature paint failure. Avoid skimping on primer, as it’s a crucial bond-promoting layer. Be patient: layering too early or applying paint in poor weather can ruin your finish. If mistakes occur, let the coat cure completely, then sand and reapply as needed.
Troubleshooting and Surface Perfection
Address imperfections promptly by lightly sanding cured epoxy and reapplying paint where necessary. For persistent bubbles or dust, always revisit your preparation routine. When in doubt, consult materials data sheets, and allow for the recommended curing time before exposing surfaces to stress or cleaning agents.

- "Epoxyprimer" – Universal Water-Based Two-Component Epoxy Floor PrimerPrice range: £156.45 through £286.45Epoxyprimer is a water-based two-component floor primer designed for reliable adhesion and durability in epoxy flooring projects.
- Resin & Paint Application Rollers – Short-Pile, Large, and Sponge TypesPrice range: £3.62 through £5.09Rollers designed for precision and uniform application of epoxy resin, suitable for both detailed and larger tasks.
- Heavy Duty Scraper for Paint and Epoxy Resin Removal£8.95A versatile scraper designed for effective removal of paint and coatings, suitable for users following epoxy paint guidance.
 Reusable Silicone Resin Brush for Epoxy Art and Wood Applications£3.62Reusable Silicone Resin Brush offers easy cleaning and versatility for various epoxy resin and wood applications.
Frequently Asked Questions
Can epoxy paint be applied on tile or wood?
Yes, epoxy paint can be used on both tiles and wood when properly prepared and primed. Always follow surface preparation best practices.
How long should I wait for epoxy paint to cure?
Typical curing times range from 24 hours between coats up to a full week for maximum durability. Always check the specific product label.
Do I need to use a primer before epoxy painting?
A primer is strongly recommended, especially on porous or previously painted surfaces, to maximise adhesion and prevent peeling.
What can I use to remove old paint before applying epoxy?
A heavy duty scraper is ideal for removing old paint and ensuring the surface is clean and smooth prior to application.
How can I achieve a bubble-free epoxy finish?
Work in thin layers, avoid overworking the roller, and keep the environment dust-free. Ensure surfaces are completely dry before starting.
What protective gear should I use with epoxy paint?
Wear gloves and safety goggles at all times to protect your skin and eyes from splashes and fumes.