Polishing epoxy resin is a crucial step in achieving that high-gloss, crystal-clear finish that makes your resin art, river tables, jewelry, and DIY projects truly stand out. In this guide, we’ll explain how to polish resin properly, which tools and materials to use, and give professional tips to help you avoid common mistakes.
Whether you’re a beginner or an experienced crafter, mastering resin polishing will significantly improve the final result of your work.
Select options
This product has multiple variants. The options may be chosen on the product page
🛠️ You can polish and sand by hand or using machinery (like a rotary polisher or orbital sander). Manual work gives you more control, especially on small or detailed items, but using equipment will save time and energy, especially for large surfaces.
Before you even think about sanding or polishing, ensure your epoxy resin has cured completely. This typically takes 72 hours, depending on the brand and room conditions. Working with uncured resin can result in smearing or damage.
Step 2: Sanding Resin – Smooth Before You Shine
Sanding is the foundation of resin polishing. It removes surface imperfections, dust nibs, uneven edges, and prepares the resin for polishing.
How to Sand Resin:
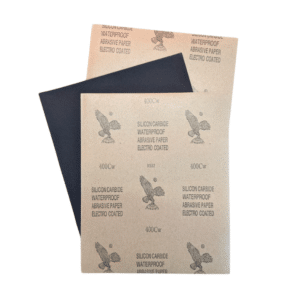
Start with a coarse grit like 180 or 240 if the surface is uneven.
Use Mirka Abralon® Pads or sanding discs, applying light, circular pressure.
Gradually move to higher grits: 400 → 800 → 1200 → 2000 → up to 4000.
Always clean the surface between grits to avoid scratching with leftover particles.
Wet sanding is best – it’s recommended to regularly add water to the surface or dampen the sanding pad — this helps prevent overheating, reduces dust, and improves overall sanding efficiency.
🖐️ Manual sanding is suitable for small resin crafts, jewelry, or delicate pieces. ⚙️ Orbital sanders or rotary machines help make sanding faster and more consistent on large surfaces like resin tables, trays, or panels.
💡 Pro Tip: If you notice white swirls or foggy areas, you may have skipped a grit. Go back one step and re-sand gently.
Step 3: How to Polish Epoxy Resin to a Mirror-Like Finish
Once your surface is smooth and matte from sanding, it’s time to polish the resin to bring out the shine.
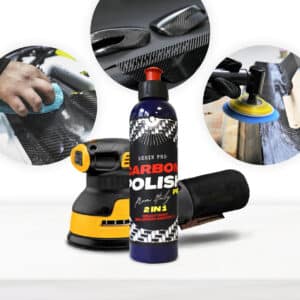
How to Apply Epoxy Polish Cream:
Add a small amount of Resin Pro Epoxy Polish Cream directly onto the surface or polishing disc.
Use Polishing Sponge Discs with a rotary polisher or a hand drill.
Work in small sections, using overlapping circular motions.
Start with medium-firm sponge discs, then switch to ultra-soft for the final pass.
Keep your tool at low to medium speed to avoid overheating the resin.
🖐️ You can polish by hand using a microfiber cloth or a sponge pad, but for best results, especially on larger items, we recommend using a low-speed polishing machine or drill attachment. This reduces effort and gives a more uniform shine.
Optional Final Step:
For that ultra-gloss finish, use a fine-grade anti-hologram polish as a second round, especially if you’re polishing tabletops or large flat surfaces.
Step 4: Clean and Inspect
After polishing:
Wipe off all residue with a clean microfiber cloth.
Check under a strong light for swirls or haze.
If necessary, repeat polishing with a finer disc and less product.
⚠️ Avoid over-polishing in one spot. Heat buildup can soften the resin and ruin the finish.
Step 5: Finishing Wood Elements
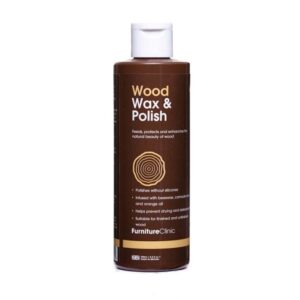
If your resin project includes wood components — such as in river tables, coasters, or trays — consider applying a protective oil or lacquer to enrich the grain and enhance contrast between the resin and the wood.
Using high-quality finishes like Osmo oils, natural waxes, or polyurethane lacquers will:
Deepen the wood’s natural color
Add a subtle sheen or rich matte look
Provide protection from moisture, UV, and wear
Explore our selection of lacquers and oils to give your wooden surfaces a premium, long-lasting finish.
Polishing is the final step — but the quality of your resin from the beginning makes a big difference. At Resin Pro, we offer a full range of high-performance resins for casting, coating, molds, and resin art.
✅ Crystal-clear ✅ Bubble-free ✅ Trusted by professionals worldwide
 Free shipping on orders over £29,85