 Free shipping on orders over £29,85


How to build a small resin storage shed?
A step-by-step guide for practical DIY resin construction
Building your own resin storage shed is a rewarding DIY project that delivers both functionality and durability. Unlike timber or metal, resin sheds offer great weather resistance, low maintenance, and simple assembly, making them a practical choice for garden storage or outdoor equipment. This comprehensive guide will walk you through each stage of the shed-building process, helping you avoid common pitfalls and achieve a professional finish.
What You’ll Need
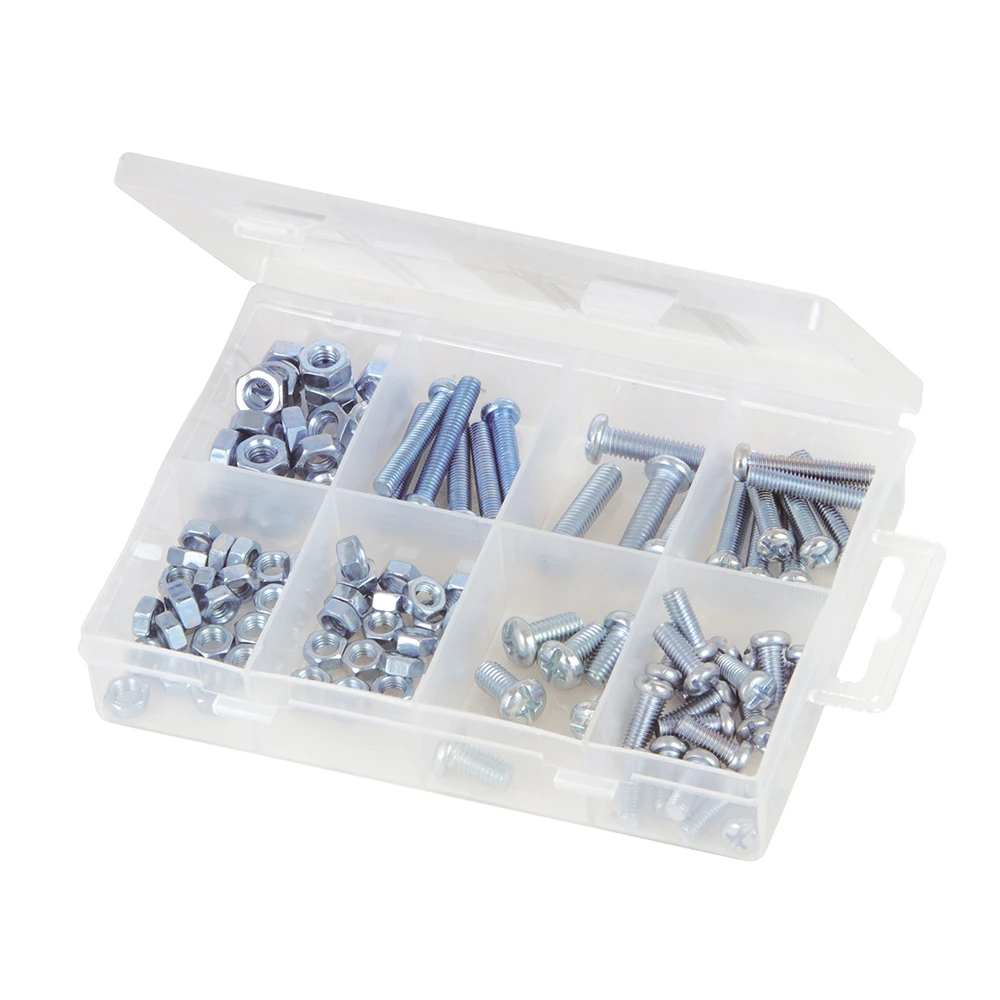
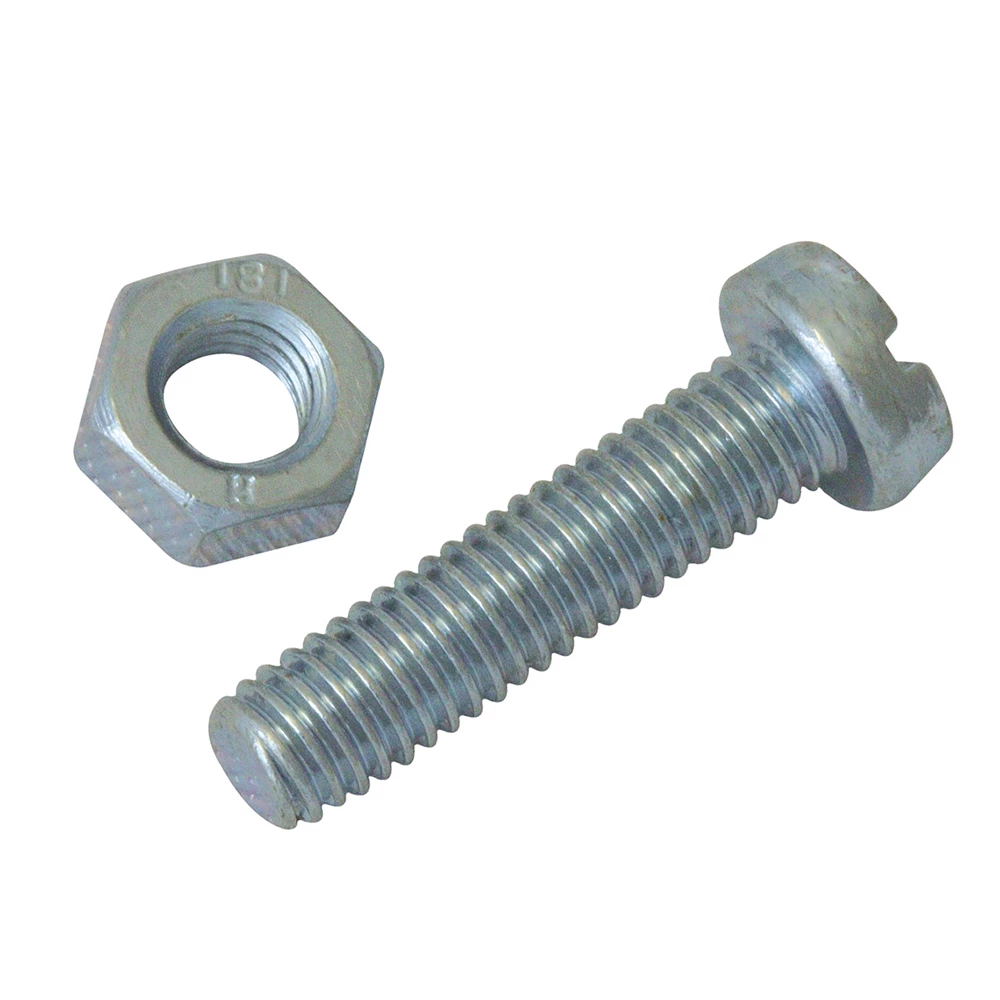
- 105pcs Self-Tapping Screws Pack for DIY Assembly with Storage Case – for simplified, corrosion-resistant fastenings
- “Klebfix” – Two-Component Fast Epoxy Glue 2K, 25g Syringe – for fast, tough adhesive bonding
- Resin Fibreglass Repair Kit – Complete Polyester Resin and Hardener Set – for reinforcing and waterproofing panel joins
- Mixing Buckets Kit for Epoxy Resin Art – Easy Clean Flexible Design – for efficient mixing of resin and adhesives
- Electric or hand screwdriver
- Level and measuring tape
- Protective gloves and mask
- Shed panels or resin boards (prefabricated or custom-cut)
- Firm, level base (such as concrete, paving slabs, or treated timber frame)

Essentials for Resin Shed Builds
Selecting quality resin adhesives and fasteners is crucial for a robust, weatherproof shed. Choose tools that simplify assembly and withstand harsh outdoor environments for years of reliable storage. Always lay out your tools and components beforehand for a smooth build process.

Step 1: Prepare the Site and Base
Choose a flat, stable area in your garden for the shed. Make sure the base is level and firm—this is essential for long-term durability and alignment. Clean away debris and lay a solid foundation, using concrete slabs or a pressure-treated timber frame. Measure your space and mark out the area, ensuring it’s large enough for the panels and door clearance. Take extra care to check for drainage, so water does not collect under the shed.
Step 2: Assemble the Shed Panels
Lay out all resin shed panels according to the assembly instructions. Align corners accurately and start by securing the bottom panels together, gradually building up the walls. Using a reliable fastener is crucial for resin materials. For effortless and durable joins, use the 105pcs Self-Tapping Screws Pack for DIY Assembly with Storage Case, which offers strong, self-threading hold without the need for pre-drilling. Make sure all screws are tightened firmly to avoid movement over time.
Periodically check that panels remain level and square as you go. If included, install support beams or internal brackets at this stage.
Step 3: Bond and Reinforce Key Joints
For extra strength, especially in high-stress corners or roof joints, reinforce the joins with an appropriate adhesive. The “Klebfix” – Two-Component Fast Epoxy Glue 2K, 25g Syringe is ideal for creating fast, waterproof bonds. Apply a thin, even layer and join the panels firmly, working quickly as this adhesive sets in just five minutes. Wipe away any excess to maintain a neat finish.
Allow all adhesives to fully cure before proceeding to the next steps to ensure joint stability.

Step 4: Seal and Weatherproof the Structure
Once the shed body is assembled, reinforce any seams or areas exposed to the elements. For this, the Resin Fibreglass Repair Kit – Complete Polyester Resin and Hardener Set can be used to apply a waterproof layer along roof seams and baseboards. Prepare the resin mixture in your Mixing Buckets Kit for Epoxy Resin Art – Easy Clean Flexible Design, and use the included fibreglass mat as needed for structural reinforcement. This not only adds durability but also guards against leaks and impact damage.
Work in a well-ventilated area and ensure personal protective equipment is worn during this process.

Step 5: Install Doors and Final Accessories
Hang the shed doors according to their hinge design, ensuring they open and close smoothly. Attach any window panels, vents, shelving, or hooks as needed. Use the appropriate screws from the 105pcs Self-Tapping Screws Pack for DIY Assembly with Storage Case to secure fittings, ensuring all hardware is corrosion-resistant for outdoor use.
Give your finished shed a final inspection, tightening any loose fasteners and double-checking for full weatherproofing before use.
Tips and Common Mistakes
- Secure all fasteners tightly to prevent movement – loose screws can cause misalignment and water ingress.
- Avoid assembling on soft or uneven ground, which may compromise structural integrity.
- Allow adhesives or resin to fully cure before use – rushing may result in weak joints and leaks.
- Always use gloves and a mask when handling resins or adhesives to protect skin and respiratory health.
- Consult manufacturer instructions for mixing ratios and setting times, especially when using resin repair kits.
Expert Tips for Stronger Resin Sheds
Ensure every joint and seam is properly reinforced and sealed. Use a fibreglass repair kit to further protect against the elements, and opt for corrosion-resistant screws and adhesives for maximum longevity.

- 105pcs Self-Tapping Screws Pack for DIY Assembly with Storage Case£5.15Self-tapping screws designed for resin art and DIY assembly, including various sizes in a storage case for organised, corrosion-resistant use.
- "Klebfix" – Two-Component Fast Epoxy Glue 2K, 25g Syringe£22.85The Klebfix 2K Fast Epoxy Glue is a professional-strength adhesive designed for strong, fast bonding in indoor and outdoor settings.
- Resin Fibreglass Repair Kit – Complete Polyester Resin and Hardener SetPrice range: £13.85 through £22.85The Resin Fibreglass Repair Kit is designed for structural repairs with waterproof and impact-resistant bonds, applicable in various rigid materials.
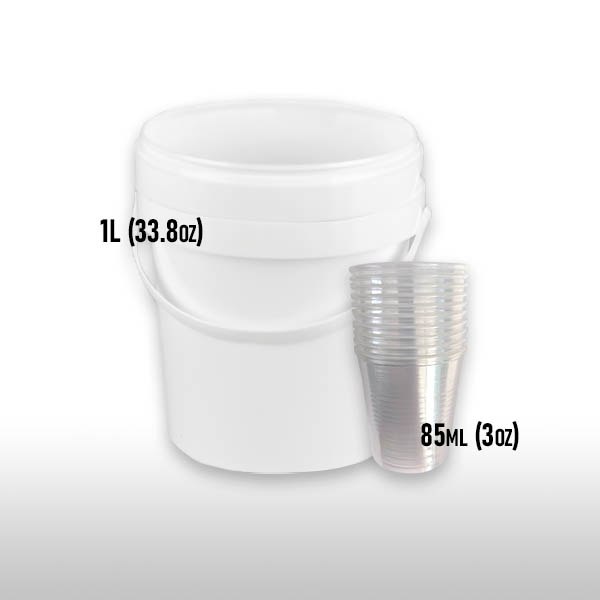 Mixing Buckets Kit for Epoxy Resin Art – Easy Clean Flexible DesignPrice range: £1.95 through £8.35Mixing Buckets Kit offers a flexible design suited for epoxy resin art and crafts, supporting easy cleaning and durability.
Frequently Asked Questions
Can I build a resin shed with basic DIY tools?
Yes, most small resin sheds can be assembled using standard hand tools such as a screwdriver, level, and basic measuring equipment.
What type of base is needed for a resin shed?
A flat, solid base like concrete slabs, paving, or a timber frame is recommended to ensure stability and weather resistance.
How do I waterproof the joints of a resin shed?
Use resin-based adhesives or fibreglass repair kits to seal seams and reinforce joints for long-term waterproofing.
Do I need special screws for assembling resin sheds?
Self-tapping, corrosion-resistant screws are best for resin sheds as they simplify assembly and prevent rusting.
How long do resin shed adhesives take to cure?
Fast-setting epoxy adhesives typically cure in about five minutes, but always allow full curing before using the shed.
Can I use a resin repair kit on metal supports?
Yes, many polyester resin kits adhere well to metal surfaces to reinforce or repair joints and seams.