 Free shipping on orders over £29,85


How to make resin cabochon pendants?
Detailed steps for creating beautiful epoxy cabochon jewellery

Designing your own resin cabochon pendants opens up a world of bespoke jewellery making, perfect for both beginners and experienced crafters. This step-by-step guide will walk you through the process, ensuring a clear, glossy finish that stands out in any collection. Whether you’re drawn to colourful inclusions or minimalist designs, making cabochons with resin is rewarding and versatile.
What You’ll Need
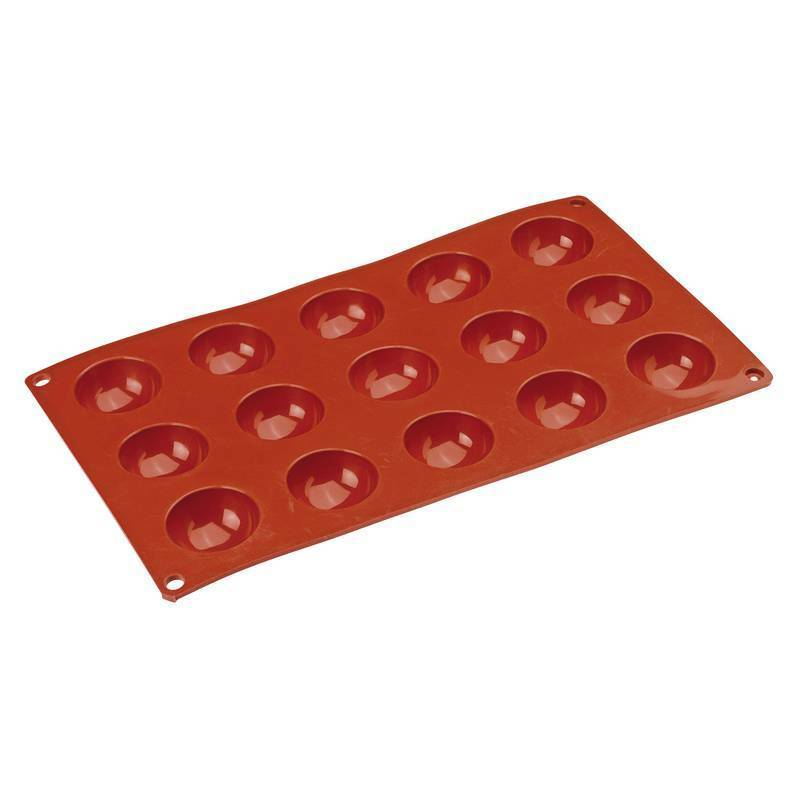
- “Cabochon-15” – Silicone Mould for Resin, Chocolate, Soap, Plaster – Ø40mm: Silicone mould designed for cabochons and jewellery pieces.
- “Evershine Collection” – Artisan Jewellery Epoxy Resin Kit with 100+ Accessories: All-in-one kit ideal for both new and experienced jewellery crafters.
- “UV–Creation” – Fast Acrylic Resin, 3 Minute UV Cure: Quick-curing UV resin suited for speedy projects.
- “One-2-One” – Epoxy Resin for Handcraft, 1:1 Mixing Ratio: Medium viscosity clear epoxy, straightforward mixing for detailed cabochons.
- Protective gloves and eye protection
- Mixing cups, stirring sticks, toothpicks
- Optional: pigments, dried flowers, glitter, pendant bails or findings
- UV lamp (if using UV-curing resin)
Tools and materials for resin cabochon jewellery
Gathering the right tools—from a high-shine silicone mould to your preferred resin kit—lays the foundation for professional cabochon results. Keep your materials close at hand and pre-select any inclusions like pigments or dried flowers for smoother crafting.
Step 1: Choose a suitable workspace and gather materials
Set up a well-ventilated area with a level surface free from dust and direct sunlight. Protect the workspace with disposable covers or parchment paper for easy clean-up. Organise all your materials within arm’s reach, preparing accessories or decorative items for inclusion. Taking the time to plan your workspace will help you avoid last-minute mishaps and ensure a tidy process from start to finish.
Step 2: Prepare your silicone mould
Ensure your mould is clean and completely dry before use. If there is any leftover residue from previous projects, gently wash and let it air dry, as even tiny bits of dust can affect the shine of your finished cabochons. If using the “Cabochon-15” – Silicone Mould, lay it flat and ensure it sits securely on your surface; the glossy silicone finish will help release pieces easily.
Step 3: Mix and pour the resin
Decide which resin formula suits your project. For traditional glossy cabochons, a two-part epoxy such as the “Evershine Collection” – Artisan Jewellery Epoxy Resin Kit or “One-2-One” – Epoxy Resin provides excellent clarity and an easy 1:1 mixing ratio. Measure equal parts of both resin and hardener in separate cups, then combine and stir slowly to reduce bubble formation. Scrape the sides and base thoroughly to ensure a consistent mix.
If opting for a quick project, “UV–Creation” – Fast Acrylic Resin allows for single-component, no-mix application. Simply fill the mould cavities directly and remove air bubbles with a toothpick if needed.
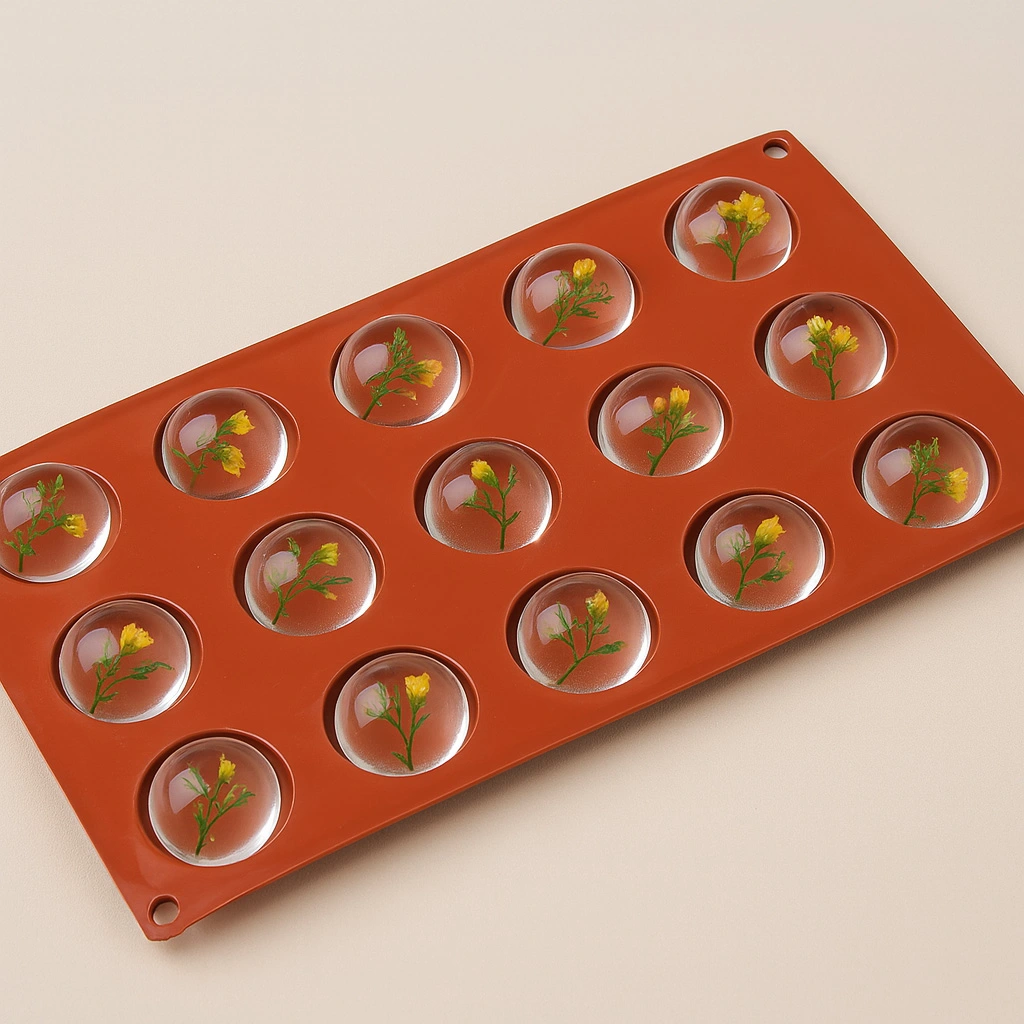
Pour the resin gently into each mould cavity, filling to your desired thickness. Add inclusions or colourants at this stage, pushing them into place with a toothpick. Cover the mould with an upturned box or container to keep dust away while curing. For UV resins, cure each cabochon under a UV lamp for 2–3 minutes; for two-part epoxies, leave to cure as recommended by the product instructions, usually between 12–24 hours.

Step 4: Demould and finish your cabochons
Once fully cured, carefully flex the mould to release your cabochons. Avoid using sharp tools to prevent scratching the glossy surface. If the edge feels rough, smooth it with a fine-grit sanding block and wipe away any dust. Attach pendant bails with jewellery adhesive or by drilling a small hole if your design requires. Your cabochon pendant is now ready for use or gifting!

Tips and Common Mistakes
Avoid overmixing or stirring too vigorously, as this can trap air bubbles. Work methodically and measure precisely for best clarity and hardness. If using inclusions, ensure they are fully dry before embedding in resin to prevent discolouration or cloudiness. Allow two-part epoxies enough time to cure before demoulding—rushing this stage can result in surface marks or sticky finishes. Always follow safety instructions and wear gloves to protect your skin.
Perfecting your resin cabochons
Work in thin layers for best clarity and use a dust cover during curing to avoid flaws on the pendant’s surface. Small mistakes like trapped air or unmixed resin are easily avoided with slow, careful preparation.
- "Cabochon-15" – Silicone Mould for Resin, Chocolate, Soap, Plaster – ø40mm£13.85Silicone mould for resin, chocolate, plaster and soap, designed for crafting cabochons and jewellery in a DIY setting.
- "Evershine Collection" – Artisan Jewellery Epoxy Resin Kit with 100+ Accessories£20.85The "Evershine Collection" kit provides a complete epoxy resin set with 500g of clear resin and over 100 accessories, suitable for creating jewellery…
 "UV–Creation" – Fast Acrylic Resin, 3 Minute UV CurePrice range: £7.85 through £59.85"UV–Creation" fast acrylic resin cures quickly under UV light and offers a clear, glossy finish suitable for jewellery making.
 "One-2-One" – Epoxy Resin for Handcraft, 1:1 Mixing RatioPrice range: £14.85 through £56.85"One-2-One" epoxy resin offers a medium viscosity and easy 1:1 volume mixing, suitable for cabochons and decorative jewellery projects.
Frequently Asked Questions
How do I choose the right resin for cabochon pendants?
Epoxy resin is ideal for high-gloss and bubble-free cabochons, while UV resin offers instant curing for quick projects.
How can I prevent bubbles in my resin cabochons?
Stir your resin slowly, use a toothpick to release trapped air, and keep work surfaces level and dust-free.
What’s the safest way to demould resin cabochons?
Gently flex the silicone mould to pop out hardened cabochons. Avoid metal tools to prevent scratching.
How long does resin take to cure for cabochon pendants?
UV resin sets in minutes under a lamp; most epoxy resins require 12–24 hours for a durable, glass-like finish.
How do I achieve a glossy finish on my resin cabochons?
Use glossy-finish silicone moulds and allow full curing. Minor surface flaws can be buffed out or coated with a thin layer of resin.
Can I embed objects like flowers or glitter in resin cabochons?
Yes, ensure inclusions are fully dry and add them during the pour to avoid bubbles or clouding.
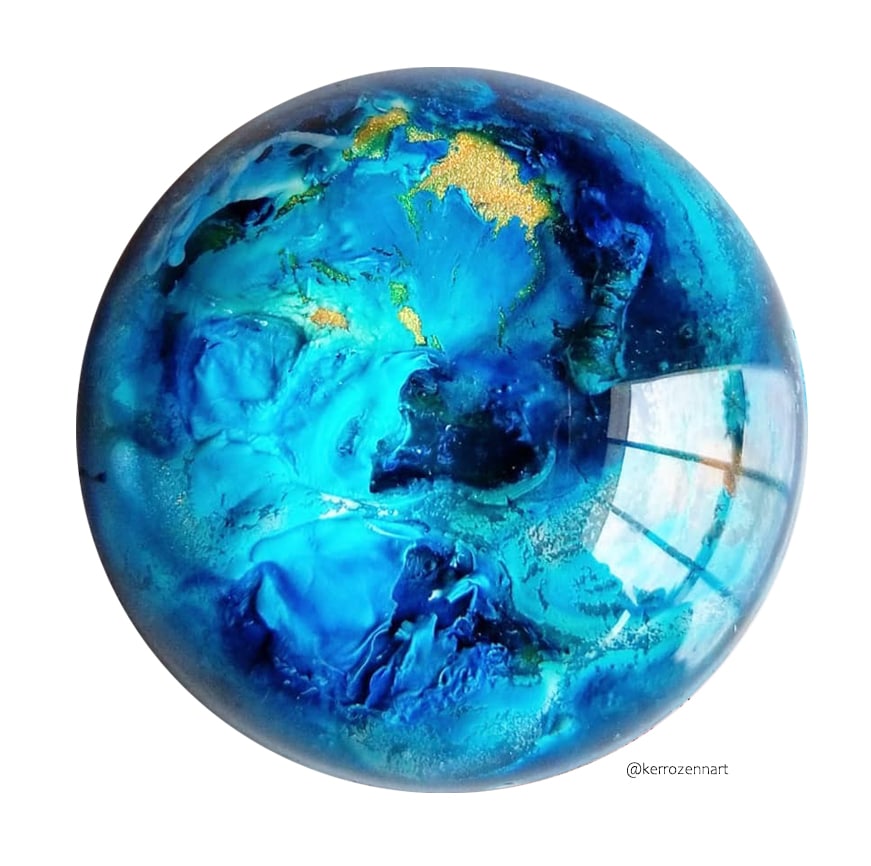
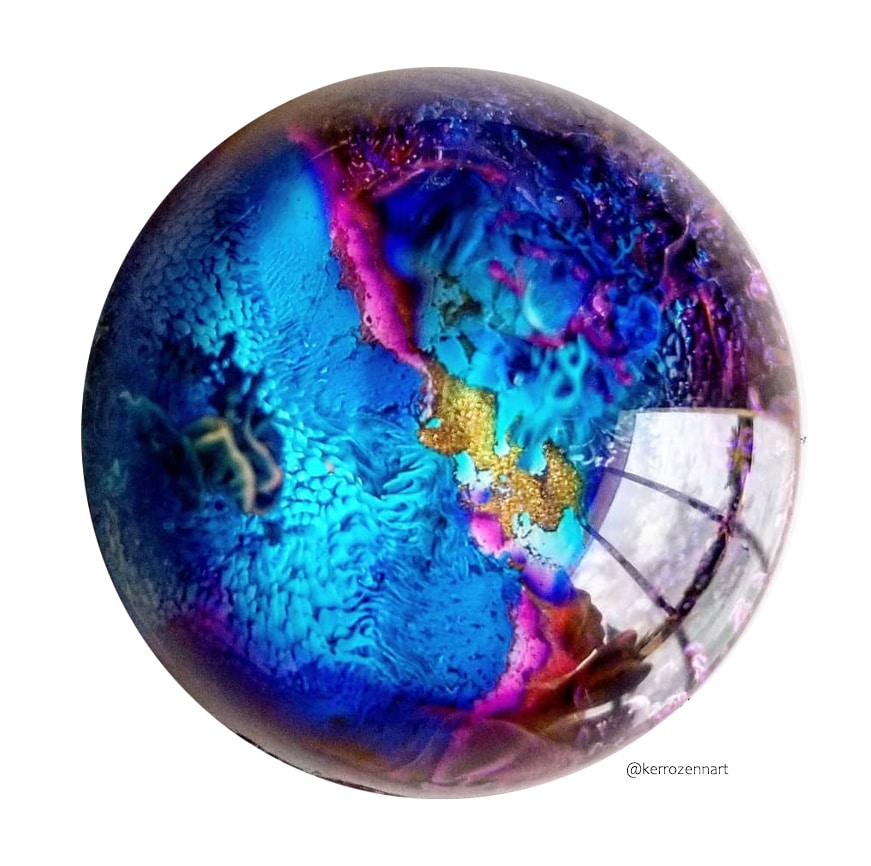
How do I colour my resin cabochon pendants?
Mix in pigments or dyes compatible with your chosen resin before pouring into the mould.