 Free shipping on orders over £29,85


how to make a custom resin helmet
Crafting your own custom resin helmet combines creativity, technical skill, and meticulous attention to detail. This guide is ideal for hobbyists, cosplayers, and anyone looking to design a sturdy, standout helmet for display, performance, or collection. Follow these steps to achieve a professional result while prioritising safety at every stage.
Step-by-step guide for creating unique and durable resin helmets


What You’ll Need
- “Epoxytable 10-Ten” – Deep Pour Epoxy Resin for Tables, Up to 10cm Casting: Deep casting resin for thick, strong helmet shells.
- “EpoxyTable 5-Five” – Deep Pour Epoxy Resin for Tables and Large Projects – Up to 5cm: For helmets requiring thinner layers or detailed inlays.
- “Climax” Mask with “ABEK” Filters for Resins – Certified Protective Respirator: Essential to protect against vapours and fumes.
- “Polyform” – Polyurethane Casting Resin, Beige, Fast-Setting for Prototyping: Ideal for building fast-setting prototypes or internal supports.
- Silicone or rigid mould for helmet shaping
- Mixing containers and stirring sticks
- Nitrile gloves, protective eyewear, apron

Key Materials for Resin Helmet Construction
Use deep pour epoxy resins for robust, crystal-clear helmets, and Polyform Polyurethane Casting Resin for fast-setting sections needing precise detail. Always wear a certified protective respirator to safeguard your health while working with resin materials.

Step 1: Prepare Your Helmet Mould
Start by selecting or making a mould in your desired helmet shape. Moulds can be constructed from silicone for detailed results or rigid plastic for simple, repeatable forms. Ensure the mould is clean, dry, and free of debris. If reusing a mould, check there are no cracks or warping which might distort your cast. Surface preparation is crucial; a light coating of mould release agent will aid in demoulding and help avoid any surface tears or imperfections.
Carefully inspect inside the mould for trapped air or moisture before pouring. Planning for vent holes in complex designs can help minimise bubbles. Set your mould on a stable, level surface and double-check it is fully supported to prevent resin leaks or deformation during curing.
Step 2: Mix and Pour the Resin Carefully
Choose your resin type based on helmet thickness and desired finish. For substantial or visually striking helmets, “Epoxytable 10-Ten” – Deep Pour Epoxy Resin for Tables, Up to 10cm Casting works excellently for pours up to 10cm, offering crystal clarity and strength for main shells. If your design uses thinner layers or intricate finishing, “EpoxyTable 5-Five” – Deep Pour Epoxy Resin for Tables and Large Projects – Up to 5cm is suitable.
Measure the resin parts precisely following the product’s instructions. Mix slowly to combine thoroughly while avoiding air bubbles. Wear suitable PPE: “Climax” Mask with “ABEK” Filters for Resins – Certified Protective Respirator, gloves, and goggles. Pour steadily into the lowest part of the mould and allow the resin to flow naturally, pausing if bubbles appear. Tapping the mould can gently release trapped air. Pour in layers if your helmet mould is especially large to reduce heat build-up and improve consistency.
Step 3: Allow Full Curing, Demoulding, and Initial Inspection
Leave your resin to fully cure undisturbed. Curing time will depend on the product and temperature of your workspace. For rapid prototypes or interior supports, “Polyform” – Polyurethane Casting Resin, Beige, Fast-Setting for Prototyping is helpful as it sets quickly and retains fine moulded details.
Once cured, gently remove the helmet from the mould. Inspect all areas for surface blemishes, incomplete curing, or air pockets. A sharp blade or sandpaper can help tidy up seams or minor imperfections. Do not rush this step—handling partially cured resin may deform the shape or introduce unwanted fingerprints and dents.

Step 4: Finish, Assemble, and Customise Your Helmet
Sanding and polishing the helmet smooths out edges for a comfortable fit. Use progressively finer sandpaper and optionally polish with resin-safe compounds. Drill small holes as needed for ventilation or fittings. If your helmet is a display piece, consider painting detailed designs, airbrushing, or adding coloured resin overlays.
Attach any internal padding, visors, or fastening mechanisms. Ensure all additions are securely bonded or fixed, as loose elements could compromise comfort or safety when worn. For best structural results, allow an additional few days for the resin to fully harden before extensive handling or use.

Tips, Common Mistakes, and Troubleshooting
- Always use certified protective equipment when working with resin. Ensure excellent ventilation and never inhale fumes directly.
- Allow adequate curing time for strength and clarity. Demoulding too early can cause warping or stickiness.
- Avoid moisture in your moulds or mixing area. Even slight dampness can cause cloudiness or imperfect results.
- Temperature matters: Resins cure best in warm, stable environments (ideally above 18°C).
- If bubbles or surface flaws occur, a heat gun waved gently across the surface can often remedy the issue in the first hour of curing.
- Carefully read product-specific instructions for mixing ratios and recommended thicknesses. Cutting corners can lead to costly mistakes.
Finishing Details and Creative Effects
Sanding and polishing bring your helmet to a high gloss, while paint or layered resins enable eye-catching custom effects. Take your time with finishing touches for long-lasting durability and a truly unique result.

- “Epoxytable 10-Ten” – Deep Pour Epoxy Resin for Tables, Up to 10cm CastingPrice range: £33.85 through £334.85“Epoxytable 10-Ten” epoxy resin is suitable for deep pours up to 10cm, designed for creating tables and artistic projects.
- "EpoxyTable 5-Five" – Deep Pour Epoxy Resin for Tables and Large Projects – Up to 5cmPrice range: £16.85 through £1,099.85"EpoxyTable 5-Five" is a deep pour epoxy resin designed for tables and large projects, suitable for casting up to 5cm with a clear, bubble-free…
 "Climax" Mask with "ABEK" Filters for Resins – Certified Protective RespiratorOriginal price was: £39.85.£29.85Current price is: £29.85."Climax" mask with ABEK filters offers protection against gases and vapours for epoxy resin projects.
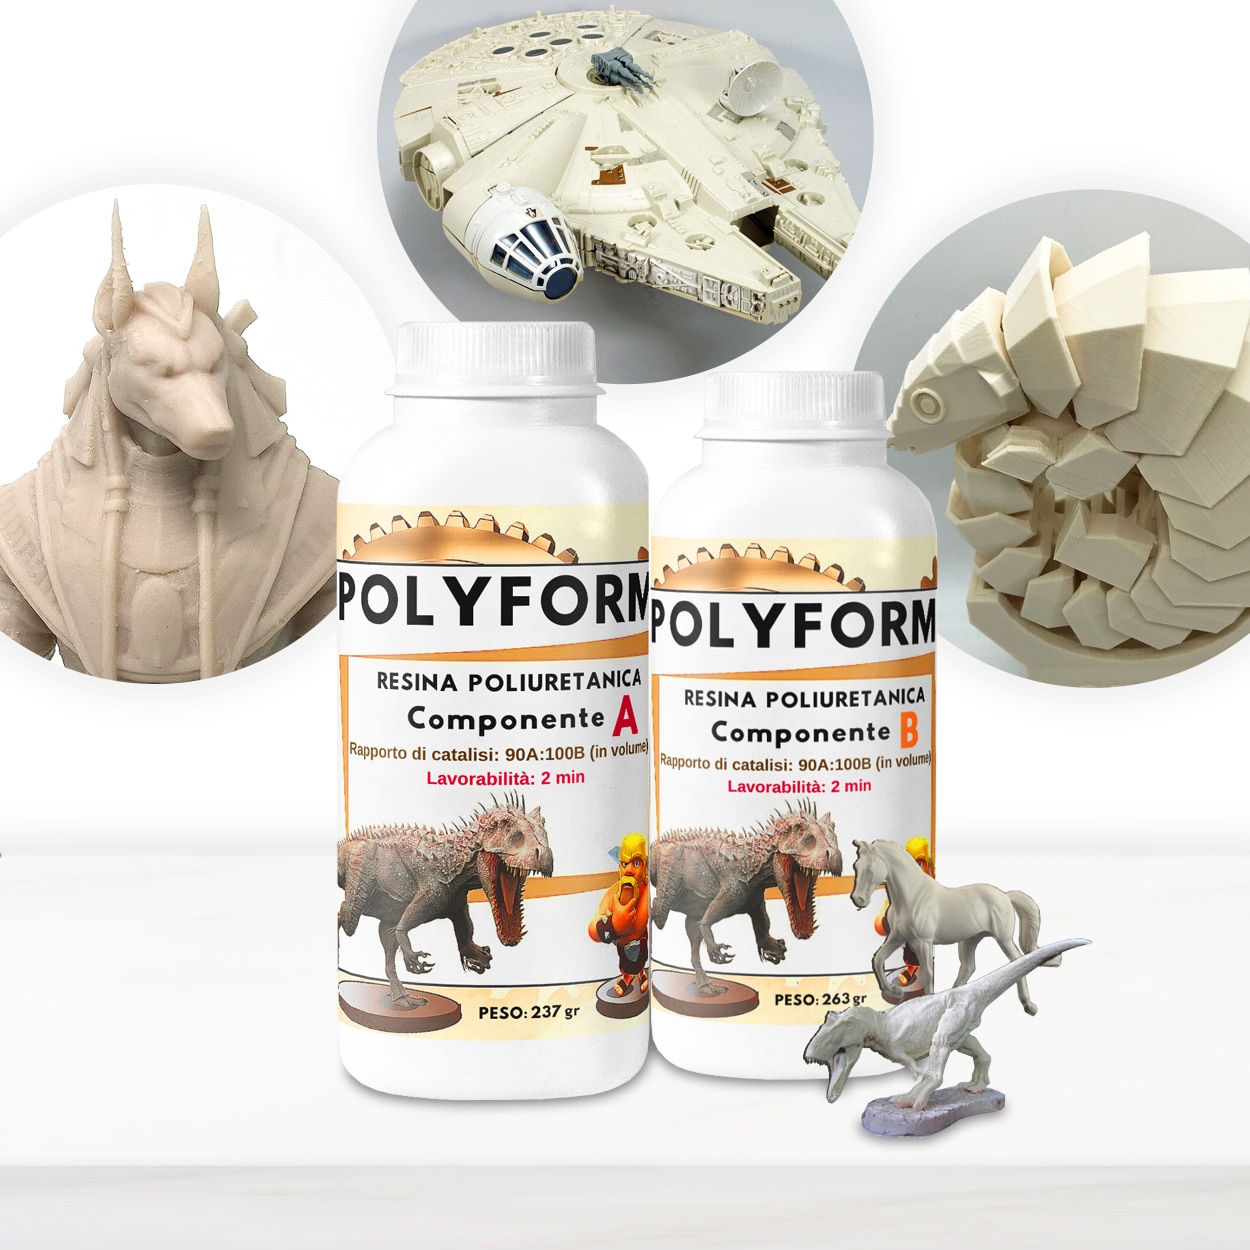 “Polyform” – Polyurethane Casting Resin, Beige, Fast-Setting for PrototypingPrice range: £19.85 through £134.85Polyform polyurethane casting resin is a beige, fast-setting material suitable for detailed prototyping and small batch production.
Frequently Asked Questions
Which resin type should I use for a durable helmet?
For deep, strong casts use a purpose-designed epoxy such as Epoxytable 10-Ten. For thinner or more detailed work, EpoxyTable 5-Five is well suited.
How long does curing usually take?
Curing time varies by resin and thickness. Most deep pour resins require 24–72 hours; always refer to the specific product instructions.
Do I need to wear a mask when working with resin?
Yes, use a certified respirator with gas filters, such as the Climax Mask with ABEK filters, to protect from harmful fumes.
How can I minimise air bubbles in the resin?
Mix slowly, pour in stages, and use a mould-release agent. Tapping the mould or using a gentle heat gun early during cure helps remove bubbles.
Can the finished helmet be painted?
Yes, once fully cured and sanded, resin helmets can be painted or decorated as desired.
Is a resin helmet suitable for wearing?
A properly cast and cured resin helmet is strong for cosplay or display, but always check fit, padding, and safety for practical use.