 Free shipping on orders over £29,85


How to spread GLS 50 silicone rubber?
Step-by-step guide for smooth, even silicone rubber application

Spreading GLS 50 silicone rubber correctly is crucial for achieving high-quality, detailed moulds that are free from imperfections. This step-by-step guide will walk you through best practices, offer advice on tools and techniques, and help you avoid the most common pitfalls so you get professional, repeatable results every time.

What You’ll Need
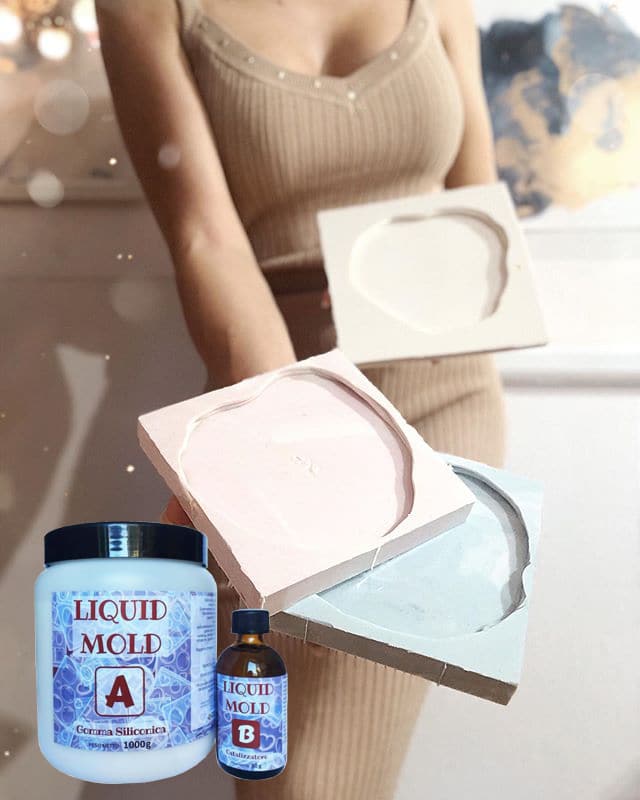
- “Liquid Mould” – Casting Liquid Silicone Rubber, 5-40 Shores, Bi-Component A+B – reliable option for detailed, flexible moulds
- “Pure Mould” – Translucent Liquid Silicone Rubber for Mould Making – offers transparency and fast curing
- “Liquid Mould” – Casting Liquid Silicone Rubber, 15 Shores 20.8 kg – ideal for fine detail and larger batch pouring
- Tooth Shaped Spatula for Epoxy Resin Application – ensures a smooth, even spread
- Mixing containers and stirrers
- Nitrile gloves and safety gear
Essential tools for perfect silicone spreading
Using a specialised spatula, such as the Tooth Shaped Spatula for Epoxy Resin Application, ensures even dispersion of silicone across your mould, reducing trapped air and supporting detailed reproduction. Combine with accurate measuring and mixing tools for the best results.
Step 1: Prepare Your Work Surface and Tools
Start by clearing your workspace and ensuring it is free from dust and debris. Cleanliness is vital, as any contamination may affect the final quality of your silicone mould. Cover the area with a protective sheet and gather all necessary tools, including mixing containers, stirring implements, and your spatula.
Ensure surfaces are clean and dry before pouring. This minimises the risk of trapped dirt or oils which can create unwanted defects in your cured silicone rubber.


Step 2: Measure and Mix the Silicone Components
Read the manufacturer’s instructions for your chosen silicone product and weigh the required amount of Part A and Part B. For example, products like “Pure Mould” – Translucent Liquid Silicone Rubber for Mould Making typically use a 1:1 mixing ratio, making it straightforward for both beginners and experienced users.
Mix the two components thoroughly using a clean stirrer, scraping the sides and bottom of the container to ensure a homogenous blend. Pay close attention to mixing times to avoid incomplete curing and surface imperfections.
Step 3: Pour and Spread the Silicone Rubber Evenly
After mixing, pour the silicone rubber gently into the prepared mould frame. Pour slowly from one corner to help expel air bubbles. Use a spatula such as the Tooth Shaped Spatula for Epoxy Resin Application to guide and distribute the silicone evenly over the surface, especially when coating items with fine details or large, flat sections.
Use gentle, slow movements for even coverage. Avoid rapid spreading, which may introduce bubbles or streaks. Move the spatula consistently to create a uniform layer, reaching into corners and undercuts for precise detail capture.


Step 4: Allow the Silicone to Set and Layer if Needed
Leave your silicone to cure as per the product’s recommended time (usually between 3–12 hours, depending on formulation). For complex or thicker moulds, you may need to apply several layers. If so, ensure the previous layer is tack-free but not fully cured before adding the next, which promotes ideal bonding.
Do not rush curing between layers; giving each layer the correct curing environment increases your mould’s strength and detail quality. Avoid moving or disturbing the mould during this period, as this can lead to surface imperfections.
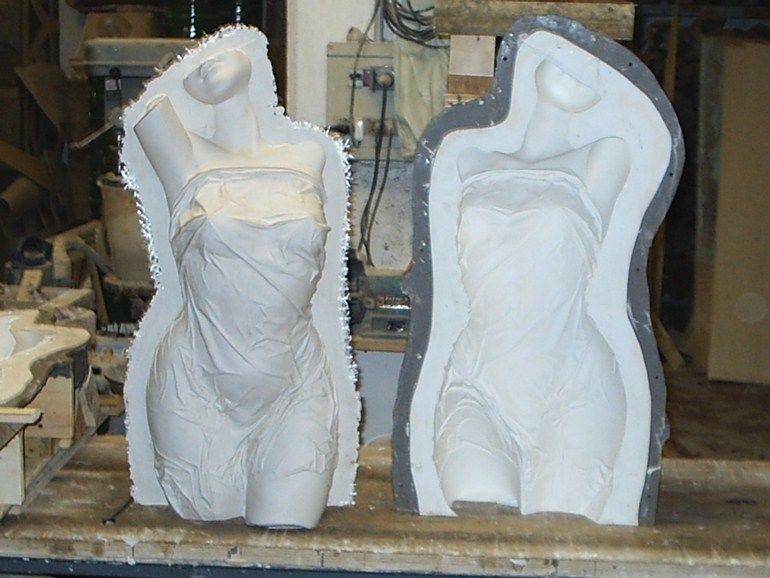
Step 5: Demould and Inspect Your Silicone Mould
Once the silicone is fully cured, carefully remove it from the frame or object. Flex the silicone gently to release your original, taking care not to damage delicate details. Inspect your mould for any trapped air bubbles or surface flaws. Minor surface blemishes can sometimes be trimmed, but major imperfections may require a new attempt.
Avoid overworking the silicone to reduce bubbles. Handle with patience to achieve the best replication of original detail.


Tips, Common Mistakes & Troubleshooting
Work in a well-ventilated area and always wear gloves to protect your hands. Check ambient temperature for optimal curing—colder environments may slow the cure, while excessive heat could cause premature setting. If you notice surface bubbles, you can gently tap or vibrate the mould frame just after pouring to help them escape.
Always mix your silicone thoroughly and never alter the recommended mixing ratio. Avoid overworking the silicone to reduce bubbles—working quickly but methodically aids both accuracy and finish. For large or complex shapes, consider building up in several thin layers rather than one thick pour to enhance detail and reduce the risk of internal bubbles.
Visual cues for a flawless silicone rubber surface
Watch for a consistently smooth, glossy finish as silicone cures. Any matte patches or visible bubbles indicate incomplete mixing or potential contamination. Allow full curing before handling to preserve perfect detail and reusability in your finished mould.
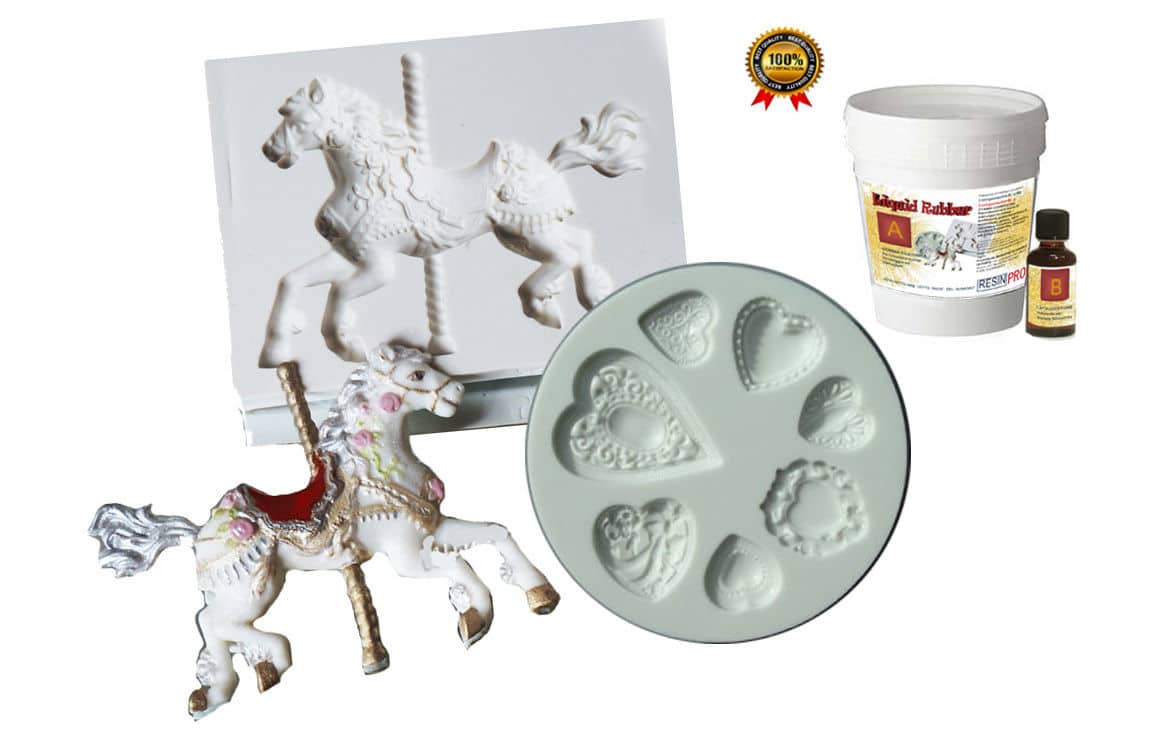
- "Liquid Mould" – Casting Liquid Silicone Rubber, 5-40 Shores, Bi-Component A+BPrice range: £14.45 through £387.45"Liquid Mould" casting liquid silicone rubber is suitable for detailed moulds and multiple reproductions, used with resin and other materials.
- "Pure Mould" – Translucent Liquid Silicone Rubber for Mould MakingPrice range: £23.95 through £166.95"Pure Mould" is a platinum-based translucent silicone rubber designed for mould making, suitable for various casting materials.
- "Liquid Mould" – Casting Liquid Silicone Rubber, 15 Shores 20.8 kg£348.85"Liquid Mould" is a casting liquid silicone rubber designed to create detailed moulds suitable for small, intricate objects.
- Tooth Shaped Spatula for Epoxy Resin Application£3.45The Tooth Shaped Spatula allows precise, even application of epoxy resin on various surfaces, supporting consistent results.
Frequently Asked Questions
Can I apply GLS 50 silicone in multiple layers?
Yes, layered application is common. Allow each layer to become tack-free before applying the next to ensure strong bonding.
How can I prevent bubble formation?
Pour slowly into one corner and gently use a spatula to spread and release trapped air. Vibrate or tap the mould after pouring to help bubbles escape.
What is the typical cure time?
Cure time depends on the exact product and ambient temperature, but most silicone rubbers set within 3 to 12 hours.
What tools create an even silicone spread?
Notched spatulas are ideal as they provide controlled, uniform layering across both small and large surfaces.
Does temperature impact how GLS 50 silicone rubber cures?
Yes, cooler environments slow down curing while warmer conditions speed it up. Always work within the recommended temperature range.