Free shipping on orders over £29,85

Diving into the world of epoxy resin crafting is both exciting and rewarding. Whether you’re aiming to create stunning art pieces, jewellery, or unique home décor, having the right materials and tools is crucial. Here’s a friendly guide to help you get started on your epoxy resin journey.
1. Epoxy Resin

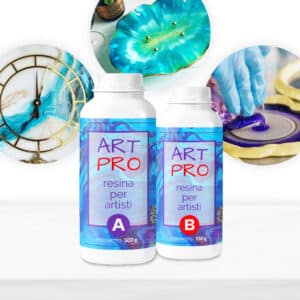
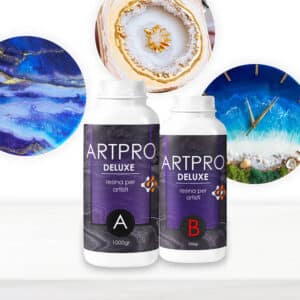
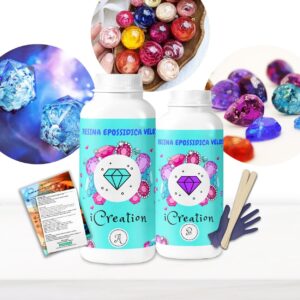
First and foremost, you’ll need high-quality epoxy resin. It’s a two-part liquid that, when mixed, hardens into a durable, glossy finish. Depending on your project—be it art, jewellery, or furniture—select a resin that suits your specific needs. For instance, ResinPro offers a variety of resins tailored for different applications.


2. Colourants: Dyes and Pigments

Adding colour to your resin brings your creations to life. You can choose from a range of options like liquid dyes for transparent hues or mica powders for a shimmering effect. ResinPro’s “COLOURFUN” liquid colourants and “SAHARA” metallic pigments are popular choices among crafters.


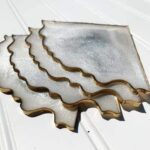
3. Silicone Moulds

Silicone moulds are perfect for shaping your resin into desired forms, whether you’re making coasters, jewellery, or decorative items. They’re flexible, reusable, and come in various shapes and sizes. ResinPro offers a wide selection of silicone moulds suitable for different projects.

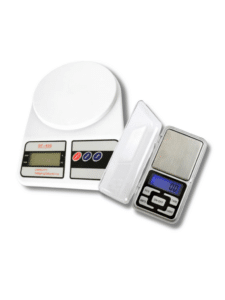
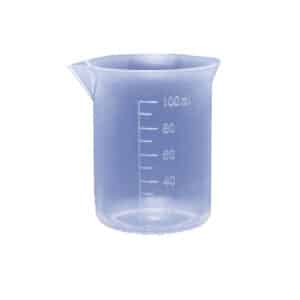
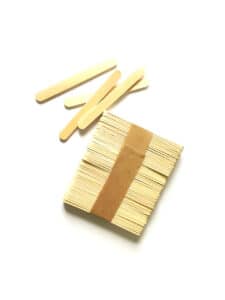
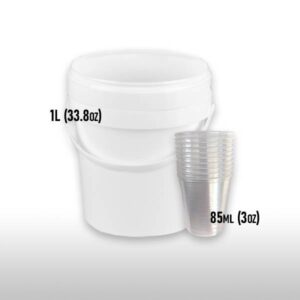
4. Mixing Tools

Achieving the right consistency and bubble-free resin requires proper mixing. Here’s what you’ll need:
- Mixing Cups: Clear, graduated cups help you measure and mix accurately.
- Stirring Sticks: Opt for silicone or wooden sticks to stir your resin and hardener thoroughly.
- Electronic Scale: Ensures precise measurement of resin and hardener ratios.
These tools are essential for a smooth crafting experience.

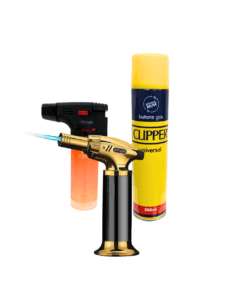
5. Heat Gun or Gas Torch

To eliminate air bubbles that may form during mixing, a heat gun or small gas torch is handy. Gently applying heat helps bubbles rise to the surface and pop, ensuring a clear finish. ResinPro’s “SUCHAGOOD” gas heat gun is a reliable option for this purpose.

6. Protective Gear

Safety first! Working with epoxy resin requires:
Gloves: Protect your skin from direct contact with resin.
Apron or Old Clothing: To shield your clothes from spills.
Respirator Mask: Especially important in areas with limited ventilation to avoid inhaling fumes.
ResinPro provides protective gloves with their resin sets, but it’s wise to have extras on hand.


7. Workspace Preparation

Setting up a suitable workspace enhances your crafting experience and helps you achieve the best results. Here’s what to keep in mind:
- Coverings: Use plastic sheets or disposable tablecloths to protect surfaces from spills and drips.
- Levelling: Ensure your workspace is level to prevent resin from pooling unevenly.
- Ventilation: A well-ventilated area helps dissipate fumes and speeds up curing.
- Temperature Control: Keeping the room temperature between 20-22°C is crucial for proper curing. If it’s too cold, the resin may not cure properly, and if it’s too warm, it might set too quickly.
- Humidity Control: High humidity can cause cloudiness, sticky surfaces, or even prevent proper curing. Maintaining low humidity ensures a clear and strong final product.
💡 Pro Tip: The Rhino Heater is a great tool to keep your workspace at the optimal temperature while also reducing excess moisture in the air. This helps avoid curing issues and guarantees a smooth, glossy finish for your resin projects.


8. Additional Accessories

Depending on your project, consider the following:
- Measuring Pipettes: For adding precise amounts of colourants.
- Tweezers: To place or adjust small inclusions like dried flowers or glitter.
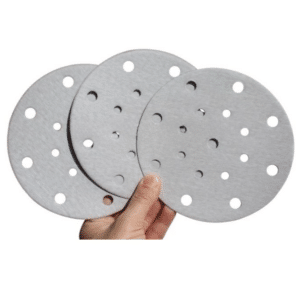
- Sandpaper: For smoothing edges or surfaces once the resin has cured.
Embarking on epoxy resin crafting is a delightful adventure. With these essentials in hand, you’re well-equipped to create beautiful, personalised pieces. Remember, practice makes perfect, so don’t hesitate to experiment and find your unique style. Happy crafting!