 Free shipping on orders over £29,85


How do you apply resin using a brush?
Step-by-step guide for smooth, controlled resin finishes


Brushing resin is an excellent way to achieve smooth, precise coatings on a variety of art, craft, and DIY projects. Whether you are aiming for crystal-clear finishes, detailed touch-ups, or adding a protective layer, learning to apply resin with a brush can help you gain control and achieve professional-looking results. This guide walks you through brush application techniques, vital preparation steps, and essential best practices.
What You’ll Need
- 12-Piece Artists Paint Brush Set for Epoxy Resin Art & DIY Projects – A versatile set for detailed and broad applications.
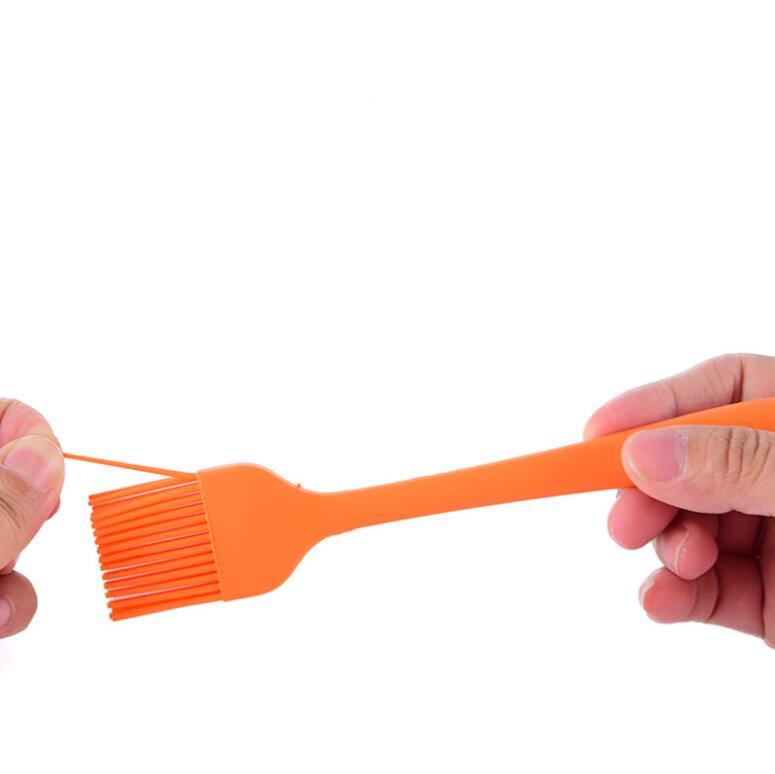
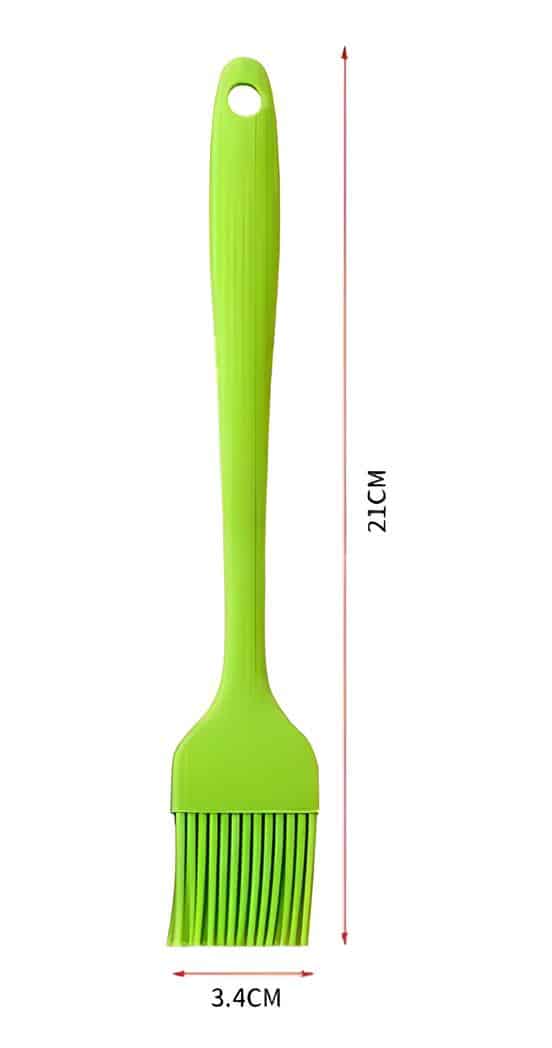
- Reusable Silicone Resin Brush for Epoxy Art and Wood Applications – Ideal for eco-conscious users needing precision and easy cleaning.
- 5-Piece Disposable Paint Brush Set for Art, Crafting & DIY Projects – Perfect for quick projects and intricate details.
- Tooth Shaped Spatula for Epoxy Resin Application – Use for spreading resin evenly before brushing for a flawless finish.
- Protective gloves, apron, and a clean workspace
- Resin (prepared following manufacturer’s instructions)
- Cups or trays for mixing and holding resin
- Lint-free cloths for clean-up

Brush Selection for Flawless Resin Application
Choose a brush with synthetic or silicone bristles for optimal resin results. 12-Piece Artists Paint Brush Set for Epoxy Resin Art & DIY Projects and Reusable Silicone Resin Brush for Epoxy Art and Wood Applications are well-suited for both beginners and experienced resin artists who demand control and clean application.
Step 1: Prepare Your Surface and Workspace
Start with a clean, dust-free surface, as any impurities or debris can affect the final result and compromise adhesion. Place your project on a protected, level workbench and ensure adequate ventilation. Put on gloves and protective clothing to avoid accidental contact with uncured resin.
Organise all your materials within reach. If you wish to achieve ultra-smooth coatings, pre-sand and wipe the surface with a lint-free cloth before starting.
Step 2: Mix and Pour Your Resin
Follow the specific resin manufacturer’s instructions for measuring and mixing. Mix thoroughly, scraping the sides of your container to blend resin and hardener completely. Only prepare the amount you can use within the product’s working window, as resin will start to cure.
Pour a small amount of prepared resin into a flat tray or dish for easier brush loading. This helps you avoid introducing too many bubbles and provides better control as you work.
Step 3: Apply Your Resin Using a Brush
Choose a brush suited to your task: a flat or round synthetic brush gives control for most applications. The 12-Piece Artists Paint Brush Set for Epoxy Resin Art & DIY Projects is especially useful for detailed or broad surfaces, while a Reusable Silicone Resin Brush for Epoxy Art and Wood Applications allows for easy cleaning if you want to keep your brushes long term.
Work in thin, even layers and load only a small amount of resin onto the brush at a time. Spread gently with overlapping strokes, following the direction of the grain if working on wood or large panels. Use slow, gentle strokes to avoid bubbles and prevent streaks. For edges and fine details, a smaller brush is preferable—the 5-Piece Disposable Paint Brush Set for Art, Crafting & DIY Projects is ideal for these areas.

Step 4: Finishing Touches and Curing
Once the resin is applied smoothly, inspect it for any uneven spots or excess pooling and adjust as needed with your brush. If you’d like to achieve a particularly uniform thickness, you may wish to spread the resin first with a Tooth Shaped Spatula for Epoxy Resin Application and finish with the brush for fine smoothing.
Allow your project to cure in a dust-free environment as specified by your resin’s instructions. Avoid touching or moving the object during cure, and always keep unused brushes away from resin fumes to preserve their condition.

Tips and Common Mistakes When Brushing Resin
- Dispose of brushes properly or clean them promptly – Resin can harden rapidly, so clean reusable brushes immediately after use with warm, soapy water or follow resin-specific cleaning methods.
- Do not overload the brush – Excess resin overwhelms brush control and leads to dripping or streaking.
- Protect all areas from dust while curing to avoid contamination.
- Test on a scrap surface if you are attempting a new brush or technique to reduce surprises.
- Always wait for resin to fully cure before adding further layers.
Maintaining Your Brushes and Workspace
Quickly clean brushes after use to avoid hardened resin. Rinse silicone brushes with soapy water, and dispose of one-time-use brushes responsibly. Well-maintained tools ensure professional finishes on every project.
- 12-Piece Artists Paint Brush Set for Epoxy Resin Art & DIY Projects£6.45The 12-Piece Artists Paint Brush Set offers versatile shapes and durable synthetic bristles suitable for epoxy resin art and DIY projects.
- Reusable Silicone Resin Brush for Epoxy Art and Wood Applications£3.45The Reusable Silicone Resin Brush supports precise resin application with easy cleaning, suitable for art and wood projects.
- 5-Piece Disposable Paint Brush Set for Art, Crafting & DIY Projects£5.85This 5-piece disposable brush set offers versatile sizes and durable bristles, suited for precise resin and craft projects.
 Tooth Shaped Spatula for Epoxy Resin Application£3.15This spatula is designed for precise and even application of epoxy resin on various surfaces suited to the theme of brush resin application.
Frequently Asked Questions
Which brush is best for applying resin?
Synthetic or silicone brushes offer smooth application and are easy to clean, making them ideal choices for most resin projects.
Can I reuse brushes after resin application?
Reusable silicone brushes can be cleaned easily and used multiple times, while conventional brushes often need to be disposed of after use.
How do I avoid bubbles when brushing resin?
Work slowly with gentle strokes and avoid overmixing the resin to reduce the chance of bubbles forming during application.
Do I need special brushes for epoxy resin?
It is best to use brushes specifically intended for resin to achieve a smooth finish and avoid bristle shedding.
How do I clean silicone brushes used for resin?
Clean silicone brushes promptly with warm, soapy water before resin cures for best results and repeated use.
Can you use disposable brushes for resin?
Disposable brushes are suitable for resin and convenient for one-time projects, as they require no cleaning after use.