 Free shipping on orders over £29,85

How do you calculate the exact amount of resin needed?
Master resin calculation for tables, floors, and craft projects


Calculating the exact amount of resin you need is essential for flawless results, whether you are crafting, making river tables, or pouring decorative floors. This guide explains how to determine the right quantity for your project, helping you avoid unnecessary wastage and ensuring you never run short mid-pour.
What You’ll Need
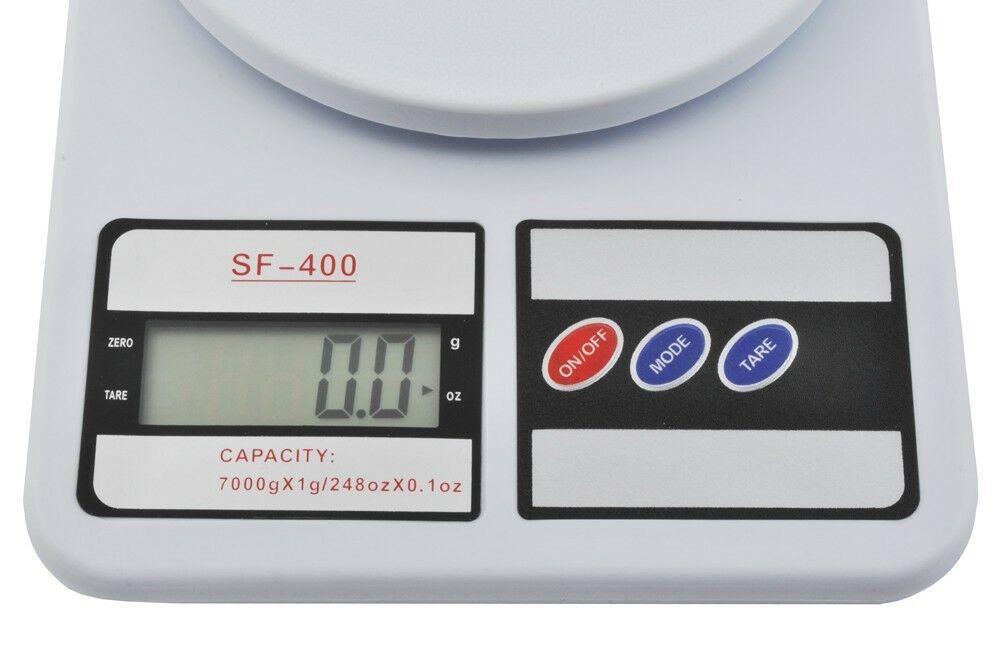
- Precision Digital Scales for Resin and Crafting, 1g–7kg – For weighing resin and hardener accurately
- 2L Graduated Measuring Cup for Resin – Precise Epoxy Dosing Tool – Ideal for measuring by volume
- “River-Table” – Complete Kit for Creating Your First Epoxy Resin Table – Suits river tables with volume guides included
- “Trasparente” – Epoxy Binder for Coloured Pebbles and Grits – Useful for pebble and grit floor applications
- Pencil and paper or calculator
- Protective gloves and workspace covering
Why Getting Resin Measurement Right Matters
Accurate calculation means you avoid resin wastage and guarantee smooth, bubble-free results. Professional results rely on careful measurement at every project stage, ensuring your project cures properly and meets your expectations.
Step 1: Measure the Project Area or Volume
The first step is understanding exactly how much space you need to fill with resin. For flat projects, measure the length and width of the area. For three-dimensional objects, include depth. Record all measurements in centimetres or millimetres for accuracy. Always double-check, as mistakes at this stage mean inaccurate resin estimation later on.
For complex shapes, break them into simpler parts (rectangles, cylinders, etc.) and calculate each one’s volume before adding them together.
Step 2: Calculate Required Resin Volume
Use your measurements to determine the total volume. For a rectangular pour, multiply length × width × depth (in cm) to find cubic centimetres (1cm3 = 1ml). Convert to litres if working with larger quantities (1000ml = 1L). For round or irregular areas, use appropriate geometric formulas or fill your mould with water and measure the displaced volume with a 2L Graduated Measuring Cup for Resin – Precise Epoxy Dosing Tool for reference.
Accurate measurement is vital for resin projects. If your project includes pieces (rocks, wood), subtract their approximate volume from the total, or check your kit’s guidelines for common project ratios.
Step 3: Weigh or Measure Resin and Hardener Precisely
Once you know the total resin volume, refer to your product’s mix ratio (typically written as resin:hardener, e.g., 100:60). Weigh each component with Precision Digital Scales for Resin and Crafting, 1g–7kg for best accuracy, or use a graduated cup if the ratio is volumetric. Mix according to the instructions to avoid curing issues.
Always allow for a small overage—about 5–10% extra—to cover minor errors, edges, or porous surfaces that may absorb more resin than expected.

Step 4: Double-Check Against Your Project Type
Some specialised kits, like the “River-Table” – Complete Kit for Creating Your First Epoxy Resin Table or “Trasparente” – Epoxy Binder for Coloured Pebbles and Grits, come with guidelines or volume calculators. These tools make estimation easier, especially for beginner river tables or pebble flooring—follow the instructions for those kits, referencing the included measurement guidance.
For floors or large surfaces, check if your product supplier offers online calculators or standard usage charts for your surface type and thickness, adjusting as needed for your specific design.

Tips, Common Mistakes, and Troubleshooting
Incorrect ratio of resin and hardener causes problems such as incomplete curing, soft surfaces, or sticky spots. Always use the accurate ratios specified by your product.
Consider the project’s shape and depth—deep pours may require calculations per layer if exceeding the recommended maximum pour depth.
Never guess volumes: underestimating leads to patches, overestimating wastes expensive resin. Keep good records for each project so that you can refine your estimates next time.
Helpful Resources for Resin Quantity Estimates
Many resin products or suppliers provide online calculators, mixing charts, or handy reference guides for popular project types. Consult these resources and your product’s instructions to simplify planning, particularly for river tables and decorative pebble floors.
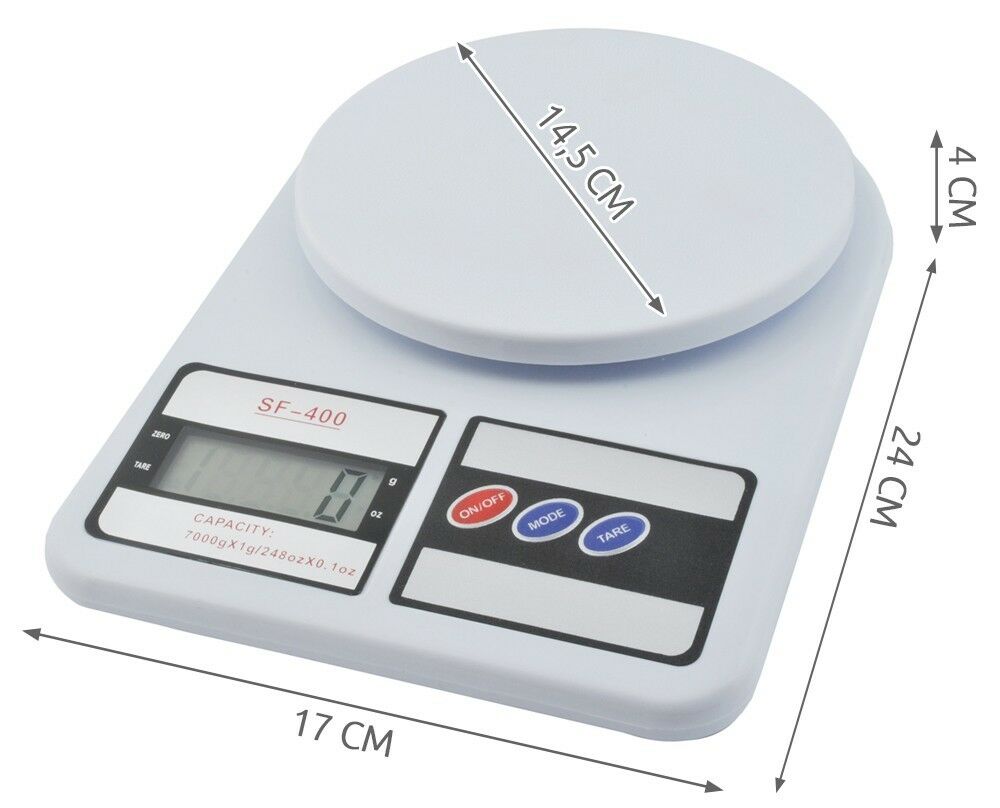
- Precision Digital Scales for Resin and Crafting, 1g–7kgPrice range: £7.85 through £22.85Digital scales designed for precise resin weighing, suitable for careful mixing in crafting.
- 2L Graduated Measuring Cup for Resin – Precise Epoxy Dosing Tool£3.85A tool for precise epoxy measurements with graduations from 100ml to 2L, suitable for resin dosing tasks.
- "River-Table" – Complete Kit for Creating Your First Epoxy Resin TablePrice range: £188.85 through £444.85Complete kit including resin, sealant, pigment and polishing kit with instructions for making a wood and resin table.
 "Trasparente" – Epoxy Binder for Coloured Pebbles and GritsPrice range: £31.85 through £948.85"Trasparente" is a transparent epoxy binder designed for coloured pebbles and grits, providing a clear, bubble-free finish ideal for decorative…
Frequently Asked Questions
How do I measure resin by weight or volume?
Use digital scales for weight-based systems or graduated measuring cups for volume-based ones, following your product's ratios closely.
How do I calculate resin for a river table?
Measure the cavity's length, width, and depth in centimetres; subtract the volume of the wood, then calculate the volume for resin filling.
What if I mix too much or too little resin?
Mixing too much leads to waste, while too little may produce gaps. Always mix a small extra amount to ensure complete coverage.
Why use digital scales for resin projects?
Digital scales deliver precise measurements, which are crucial for achieving the correct epoxy mix ratio and curing quality.
How much extra resin should I prepare?
Add 5–10% over your basic estimate to cover gaps, absorbency, and small calculation errors.
Do kits include resin calculation guides?
Many complete kits provide detailed resin usage instructions or standard ratio references for their intended project size.