 Free shipping on orders over £29,85


How do you install a resin water softener?
Step-by-step instructions for efficient water softener setup

Installing a resin water softener at home can dramatically reduce scale, extend appliance lifespans, and improve water quality for your household. This comprehensive guide walks you through every stage of the process, ensuring you achieve a reliable and trouble-free installation.
What You’ll Need
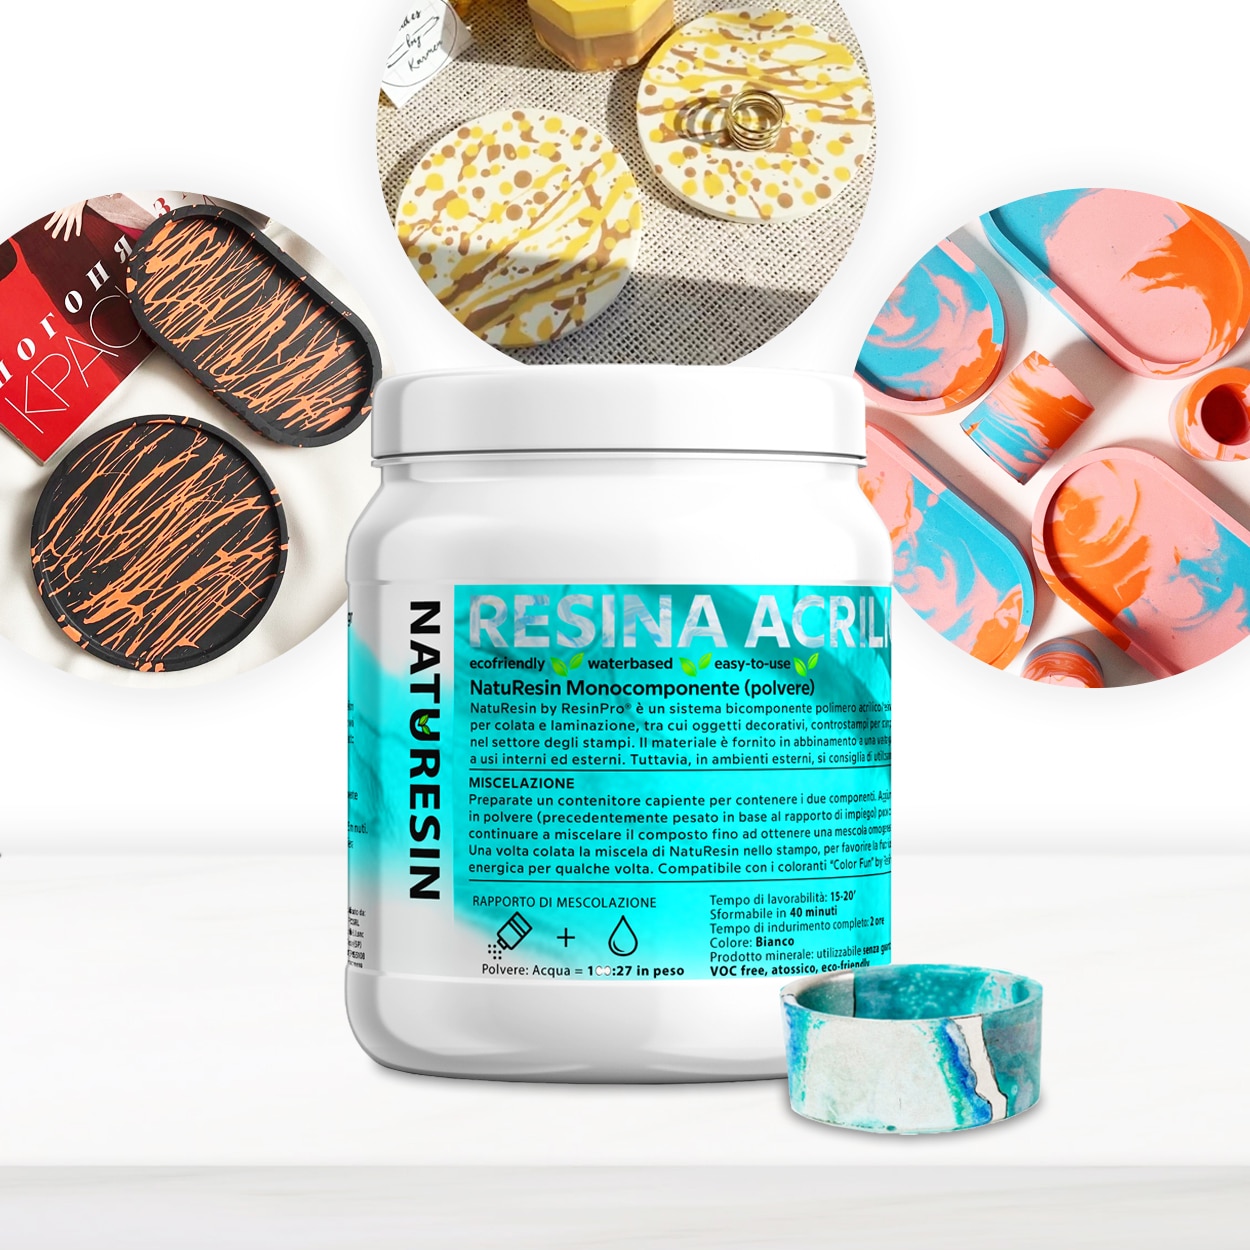
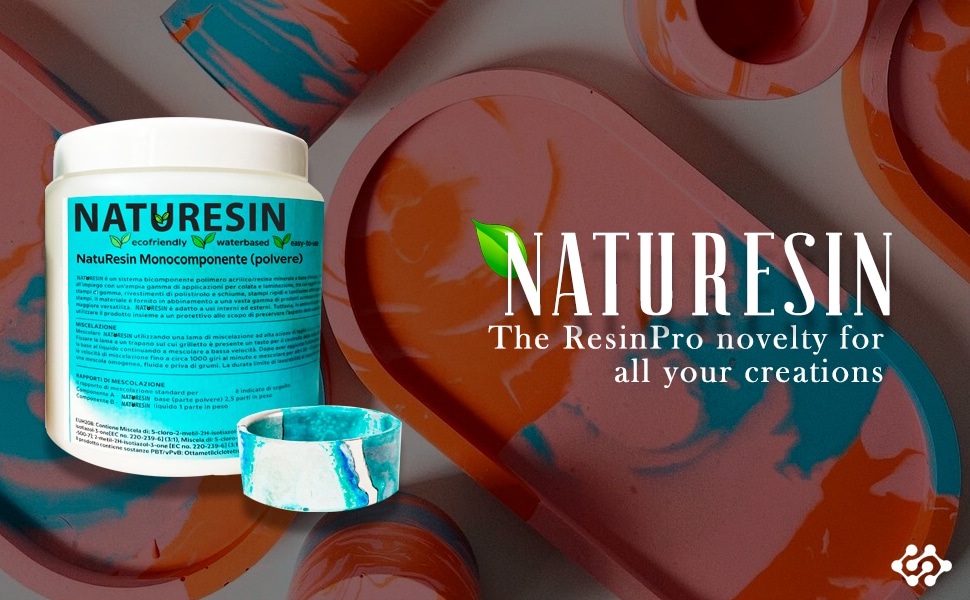
- “NatuResin” – Mineral Resin & Water System for Creative Casting and Crafts – to provide suitable resin media for certain water filtration systems.
- Resin water softener unit (manufacturer-supplied or as specified for your home)
- Appropriate plumbing fittings and tools (e.g., adjustable spanner, pipe cutter, PTFE tape)
- Buckets and cloths for managing water spillage
- Access to a nearby drain and electrical outlet if required by the device
- Protective gloves and eyewear
Essential Preparation for a Smooth Installation
Clear the work area and gather all required tools before starting. Proper planning reduces installation time and helps prevent interruptions. Confirm that all parts—including resin media, plumbing connectors, and hoses—match your equipment specifications.
Step 1: Prepare the Installation Area
Start by choosing a suitable location for your water softener, ideally close to where your home’s main water supply enters the building and near a drain for regeneration discharge. Make sure there’s enough space for the softener unit and easy access for maintenance. Turn off the main water supply and drain the plumbing system by opening nearby taps.
Remove any obstructions and thoroughly clean the area to prevent contaminants entering the softener during installation. Always work in a well-ventilated area.
Step 2: Assemble and Position the Softener
Carefully move the resin water softener unit into place. If your device requires any assembly, follow the manufacturer’s instructions for connecting the bypass valve, inlet, and outlet ports. Attach the drain hose to the waste outlet and secure it so that water can flow freely during regeneration without risk of backflow or flooding.
Check that all plumbing fittings are compatible with your household pipework. Use PTFE tape on threaded connections to minimise the risk of leaks.
Step 3: Add the Resin Media
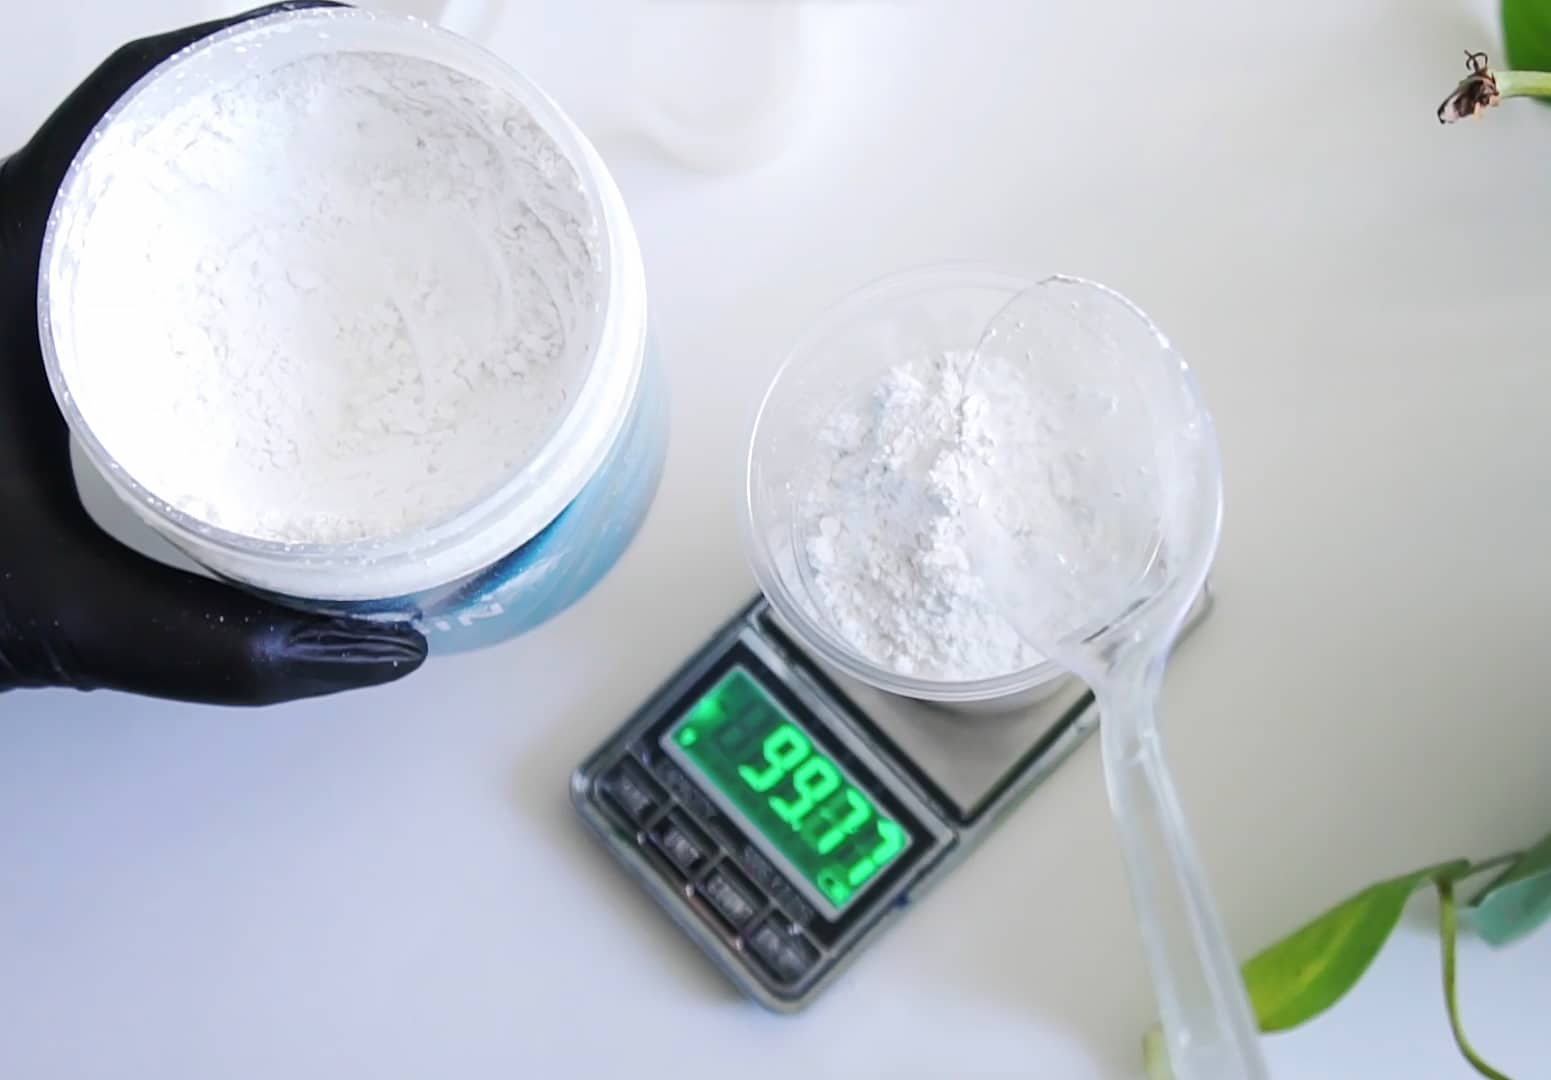
With the unit in position, install the resin media inside the softener cylinder as directed by your specific appliance instructions. For compatible systems, “NatuResin” – Mineral Resin & Water System for Creative Casting and Crafts can be used as a safe and eco-friendly medium. Gently pour the resin beads or mineral resin into the tank, avoiding spills.
If your system comes with a central distributor tube, ensure it is correctly seated in the cylinder before adding the resin. Use a funnel or scoop to help direct the resin as needed. Avoid overfilling and double-check that the tank volume matches manufacturer recommendations.
Step 4: Connect and Test the Plumbing
Connect the softener’s inlet and outlet ports to your main water supply lines. If your unit includes a bypass valve, confirm it is in the correct position to allow water flow through the system. Open the valves slowly, watching carefully for leaks at all joints.
Attach the brine tank (if separate) and check the drain hose placement once more. Ensure all connections are secure before introducing water to the system. Make any necessary adjustments before proceeding to the next stage.

Step 5: Start Up and Flush the System
With plumbing secure, turn on the water supply and very gradually fill the resin tank. Follow your softener’s start-up instructions, usually including a backwash or rinse cycle to flush out fine particles and air from the resin bed. Monitor for leaks during this step.
Pour the correct amount of salt into the brine tank if required, set the timer or electronic controls as needed, and allow the softener to complete its regeneration cycle. Do not use excessive force when tightening fittings. Flush the system with water before using softened water in your home.
Tips and Troubleshooting
Most installation issues arise from missed steps or overtightened connections. If you experience persistent leaks, switch off the water, remove and reapply PTFE tape, then retighten gently. Always check your manufacturer’s handbook for device-specific quirks, and periodically inspect the resin bed for signs of fouling or channeling.
Keep the area around the softener clear, and ensure regular maintenance for optimal water quality. If unsure about electrical work or local plumbing codes, contact a professional installer.
Key Safety Practices During Installation
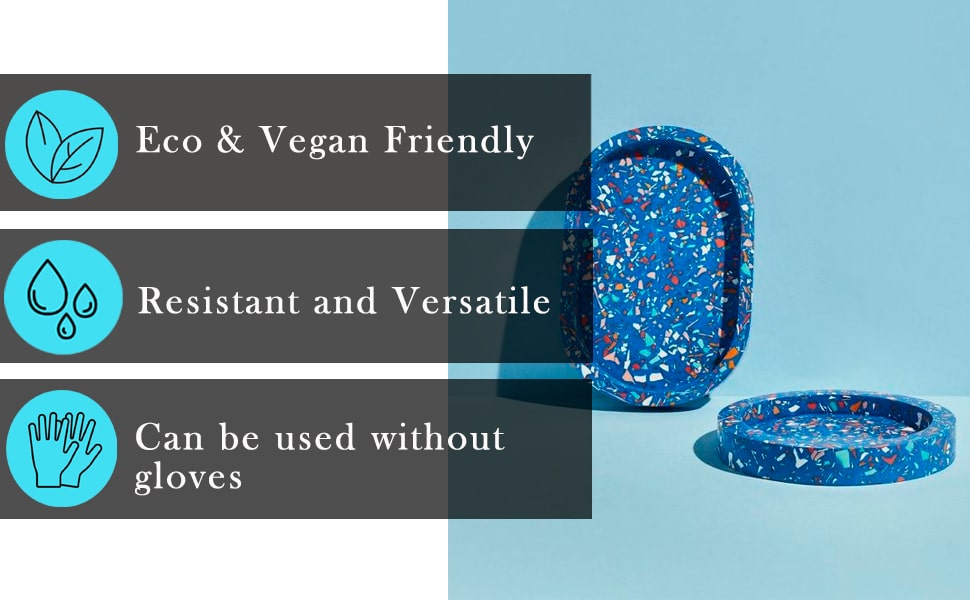
Use appropriate personal protective equipment when handling water softener resin or performing plumbing tasks. Minimise exposure to dust and always follow the manufacturer’s recommendations for handling and disposal.
- “NatuResin” – Mineral Resin & Water System for Creative Casting and CraftsPrice range: £18.95 through £104.95“NatuResin” is a water-mixed mineral resin suitable for creative casting projects, offering a safe and eco-friendly option for crafters and artists.
- "Flowstone" – Complete Permeable Floor Kit with Pebbles and ResinPrice range: £49.95 through £3,915.45Durable and permeable pebble and resin floor kit for UK driveways, patios and footpaths with simple application guidance.
 "Resinstone" – One-Component Methacrylic Resin for Concrete Floors and DrivewaysPrice range: £36.71 through £336.48RESINSTONE is a one-component methacrylic resin designed for sealing and protecting concrete floors and driveways.
 "River-Table" – Complete Kit for Creating Your First Epoxy Resin TablePrice range: £198.45 through £467.45"River-Table" Complete Kit includes resin, silicone sealant, polishing kit and pigments with instructions for creating an epoxy resin table.
Frequently Asked Questions
Can I install a resin water softener myself?
Yes, many homeowners can successfully install a water softener if they have basic plumbing skills and follow instructions closely.
What type of resin should I use in my softener?
Use the resin type recommended by your softener’s manufacturer. Some systems are compatible with eco-friendly mineral resins.
How often should resin be replaced in a water softener?
Usually every 8–10 years, but this depends on hardness and resin quality. Signs of inefficiency indicate it’s time to check or replace.
Does the resin water softener need routine maintenance?
Yes, periodic maintenance is essential. Clean the brine tank, monitor for leaks, and inspect the resin bed as recommended.
Can I use softener resin for other applications?
Water softener resin is specially formulated for ion-exchange. It is not recommended for unrelated casting or craft projects.
What are important safety tips when handling resin media?
Wear gloves and eyewear, work in a ventilated space, and avoid breathing in any dust. Follow all disposal and handling guidance.