 Free shipping on orders over £29,85


How do you mix bifasic resin?
Master each key step to achieve flawless resin mixing every time.


Mixing bifasic (two-component) resin correctly is essential for achieving durable, bubble-free, and flawless results in your creative projects. Whether you’re crafting jewellery, casting deep art pieces, or coating decorative objects, mastering the resin mixing process ensures strong, clear finishes that truly shine. This guide takes you step by step through effective methods to mix bifasic resin for projects of all sizes and complexities.

What You’ll Need
- “One-2-One” – Epoxy Resin for Handcraft, 1:1 Mixing Ratio
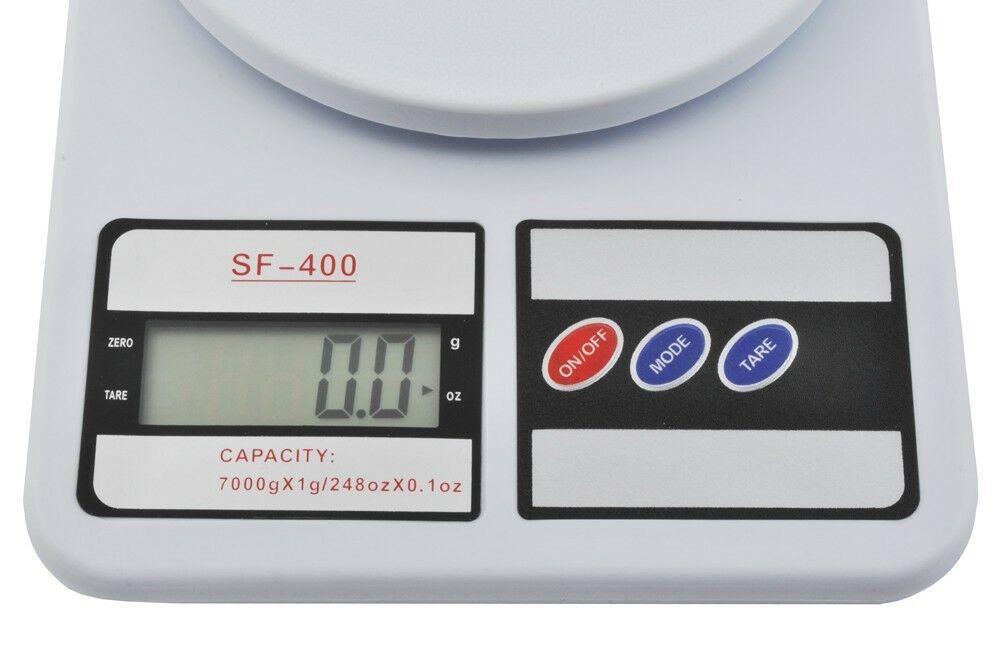
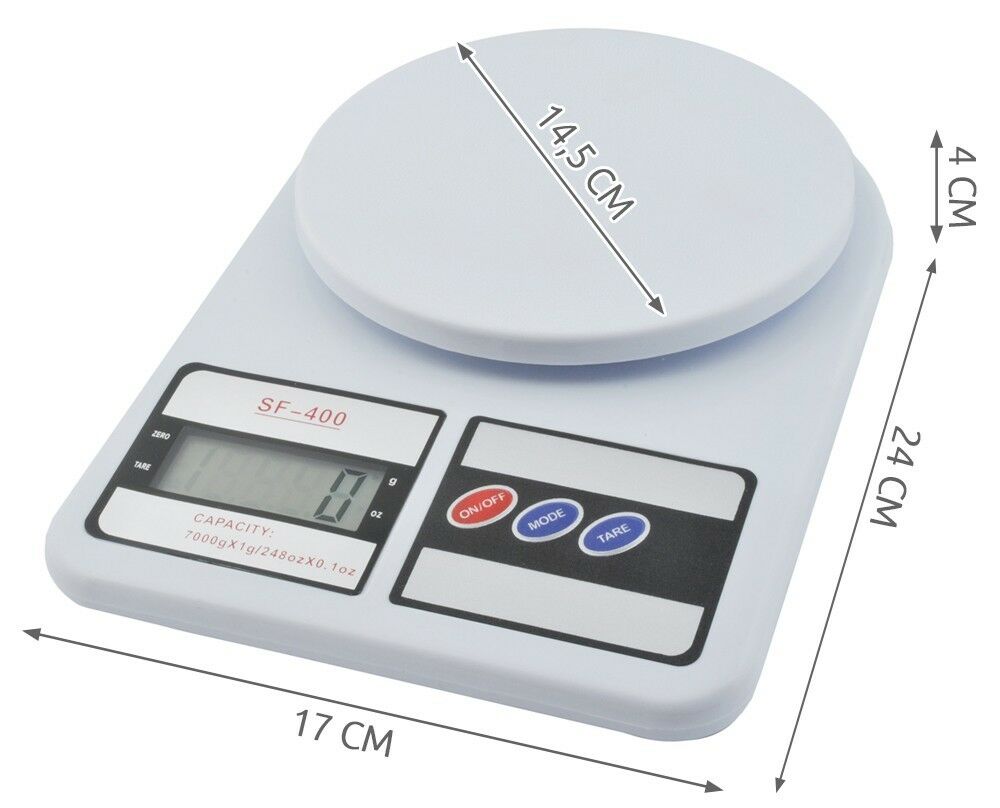
A medium viscosity, non-toxic epoxy resin mixed 1:1 by volume for handcraft and jewellery. - Precision Digital Scales for Resin and Crafting, 1g–7kg
Digital scales suitable for accurate weighing of resin and crafting materials with a range of 1g to 7kg. - “Evershine Collection” – Artisan Jewellery Epoxy Resin Kit with 100+ Accessories
A complete beginner-friendly epoxy resin kit with a 1:1 mixing ratio and comprehensive accessories for creating bespoke jewellery and crafts. - “Epoxytable 10-Ten” – Deep Pour Epoxy Resin for Tables, Up to 10cm Casting
Epoxy resin designed for deep pours up to 10cm, suitable for tables and artistic creations. - Mixing cups and stir sticks
- Protective gloves and apron
- Clean, dust-free workspace

See Measuring and Mixing in Action
Precise measuring and thorough mixing lead to flawless resin results. Observe how professionals use digital scales and clear containers to ensure the best results for jewellery and art projects.
Step 1: Measure the Resin and Hardener Accurately
The first step in mixing bifasic resin is accurate measurement of its two components: the resin and the hardener (catalyst). It is vital to follow the manufacturer’s recommended ratio exactly—often by weight or volume—to guarantee proper curing and optimal clarity. Accurate measuring tools are crucial; even a small error can cause incomplete curing or stickiness.
If your resin uses a 1:1 ratio, such as with “One-2-One” – Epoxy Resin for Handcraft, 1:1 Mixing Ratio or the “Evershine Collection” Kit, measure equal parts of both by volume using mixing cups. For resins requiring weight-based accuracy or larger batches, the Precision Digital Scales for Resin and Crafting, 1g–7kg are ideal for weighing each part independently before combining.


Step 2: Combine and Blend the Components Thoroughly
After measuring, add the hardener to the resin in a clean mixing container. Pour slowly and consistently to reduce bubble introduction. Mix with a flat stir stick, scraping the sides and bottom of the cup throughout. Mix thoroughly to avoid streaks or cloudy finishes—typically blend for at least 3–5 minutes, until the mixture is fully transparent with no visible swirls or separation.
For deep castings, like those with “Epoxytable 10-Ten” – Deep Pour Epoxy Resin, thorough mixing is especially crucial due to larger resin volumes and extended curing times.
Step 3: Prevent Common Mixing Problems
Mixing bifasic resin may introduce air bubbles or unwanted reactions if proper care is not taken. Avoid moisture contamination by ensuring all tools are dry, as water can compromise resin clarity and curing. Use only clean mixing cups and stirrers for each batch. Pour mixed resin steadily into your mould or onto your project to further minimise entrapped air.
Choose a dust-free environment for mixing and pouring, and cover the curing item to prevent particle settlement on the surface.
Step 4: Pour and Allow Resin to Cure Undisturbed
Carefully transfer the mixed resin to your project area, pouring slowly to prevent further bubbles. Gently agitate or tap your mould/project to help bubbles rise to the surface naturally. Some crafters use a heat gun or torch (with caution) to pop persistent surface bubbles.
Let the project cure at the recommended temperature and humidity stated by your resin of choice. Room temperature impacts curing; colder temperatures slow curing, while excessive heat risks premature setting or unwanted yellowing.
Tips, Troubleshooting, and Common Mistakes
- If resin remains sticky, check your measurement ratio and mixing time.
- Always mix small test batches when using a new resin type.
- Store resin components in sealed containers at room temperature and away from direct sunlight.
- Wear gloves and protect skin from direct contact at all times.
Mastering these fundamentals will help you avoid curing failures and guarantee the clarity and durability your projects deserve!
Fine-Tuning Your Resin Projects
Small changes make a difference—adjust pouring techniques and environmental controls to achieve perfectly clear, strong resin castings every time. Remember, practice improves results!

- "One-2-One" – Epoxy Resin for Handcraft, 1:1 Mixing RatioPrice range: £15.95 through £59.95"One-2-One" epoxy resin features an easy 1:1 volume mixing ratio with a clear, glossy finish, suitable for handcraft projects in this theme.
- Precision Digital Scales for Resin and Crafting, 1g–7kgPrice range: £8.45 through £24.00Digital scales designed for precise resin weighing, suitable for careful mixing in crafting and resin projects.
 "Evershine Collection" – Artisan Jewellery Epoxy Resin Kit with 100+ Accessories£21.95"Evershine Collection" kit offers 500g crystal-clear 1:1 epoxy resin with over 100 accessories, suited to jewellery makers and craft enthusiasts.
 “Epoxytable 10-Ten” – Deep Pour Epoxy Resin for Tables, Up to 10cm CastingPrice range: £35.95 through £351.95“Epoxytable 10-Ten” is suitable for creating deep resin castings up to 10cm thick, commonly used for tables and large artistic projects.
Frequently Asked Questions
What is the correct ratio for mixing bifasic resin?
Always follow the manufacturer’s instructions, as ratios can be by volume or by weight. Many resins use a 1:1 ratio for ease.
Can I mix bifasic resin by eye without scales?
It is not recommended. Accurate measuring—by volume or weight—ensures the resin cures properly and is not sticky or soft.
Why is my resin sticky after curing?
Sticky resin is often caused by incorrect component ratios or insufficient mixing. Check measurements and mix thoroughly to avoid this.
Can I add pigments or glitter to bifasic resin?
Yes, pigments, glitters, and decorative elements can be added after thorough mixing. Always mix base resin and hardener first.
What temperature is best for mixing and curing resin?
Room temperature (around 20–25°C) is usually ideal. Avoid overly cold or hot environments as they affect curing speed and quality.
Should I mix bifasic resin fast or slow?
Mix at a moderate, steady pace. Mixing too quickly introduces bubbles; too slow may lead to incomplete blending.