 Free shipping on orders over £29,85


How do you use moldable silicone rubber?
Step-by-step guide for making detailed custom moulds


Mouldable silicone rubber is a versatile material perfect for creating bespoke moulds for casting resin, plaster, wax, and more. Whether you’re a hobbyist making custom jewellery pieces or a professional aiming for accurate duplicates, mastering silicone rubber opens new creative avenues. This guide walks you through each stage, from preparation to demoulding, so you can achieve precise, bubble-free results every time.
What You’ll Need
- “I–Gum” – Non-Toxic Silicone Putty for Mould Making: Ideal for quickly hand-shaping moulds or forms with epoxy resin and other materials.
- “Pure Mould” – Translucent Liquid Silicone Rubber for Mould Making: Best for detailed, reusable moulds where visibility is important.
- “Liquid Mould” – Casting Liquid Silicone Rubber, 5-40 Shores, Bi-Component A+B: Suited for highly detailed work, especially with fine details and undercuts.
- “Liquid Mould” – Casting Liquid Silicone Rubber, 15 Shores 20.8 kg: For larger or repeated casting projects needing consistent results.
- Mixing containers and spatula or gloves for mixing
- Your model or item to mould
- Simple tools (e.g., scales, pipettes, tape) as required by project
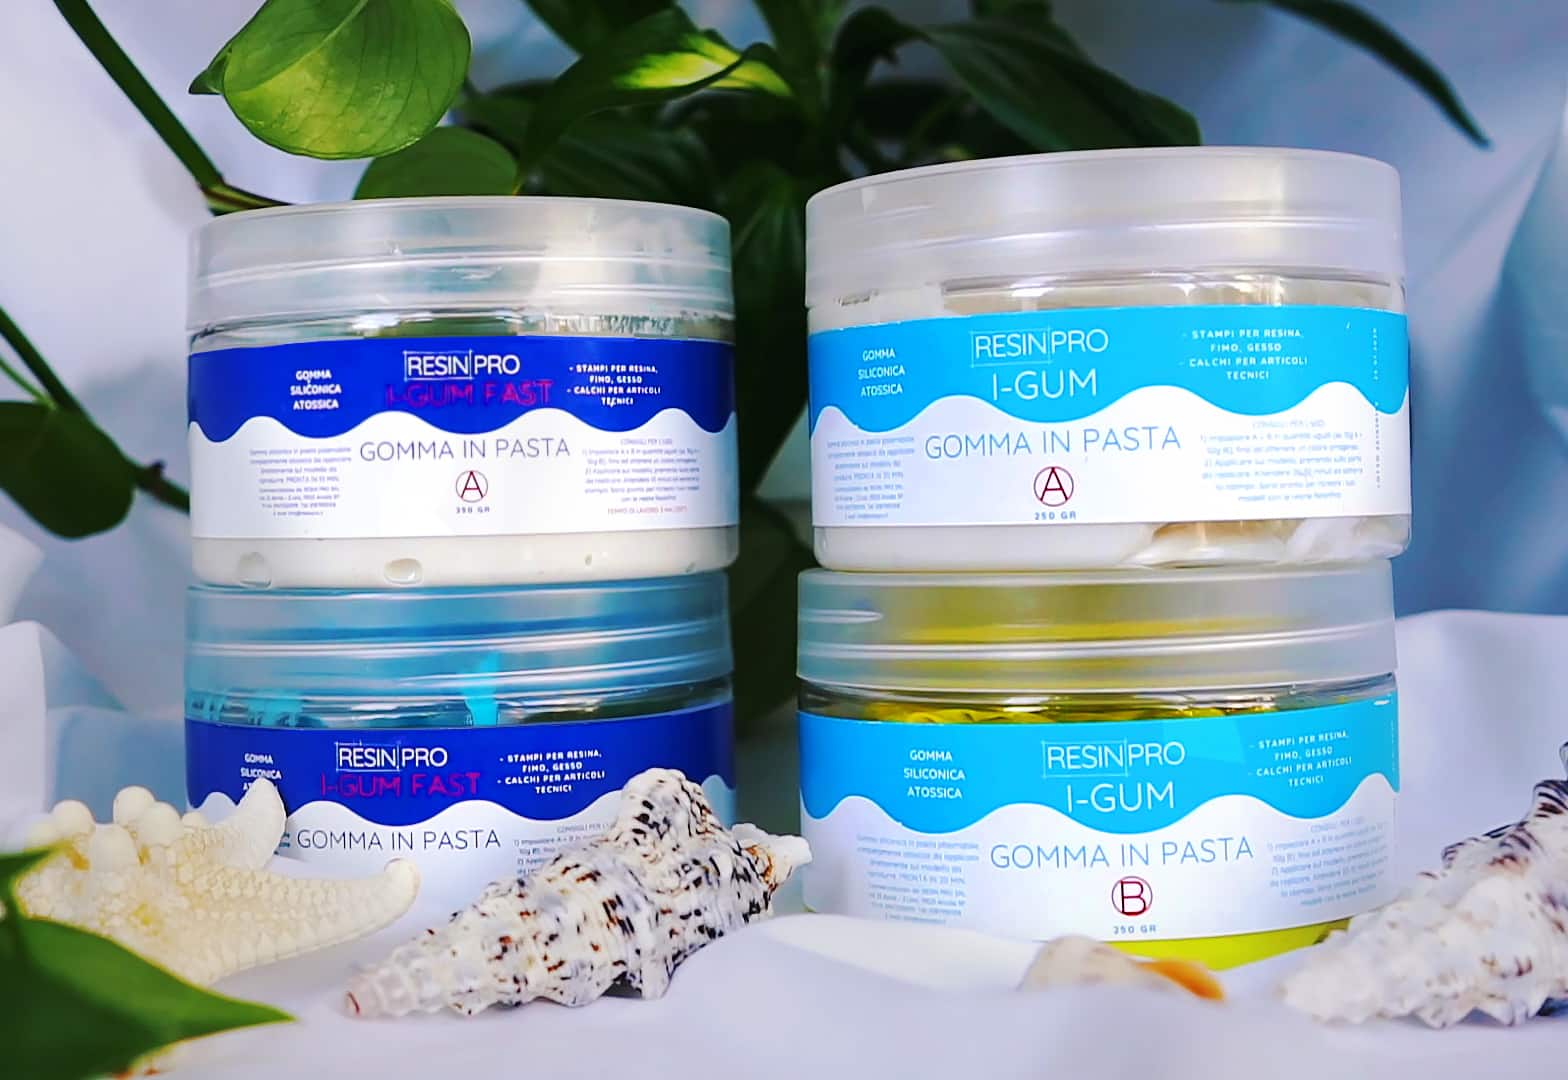
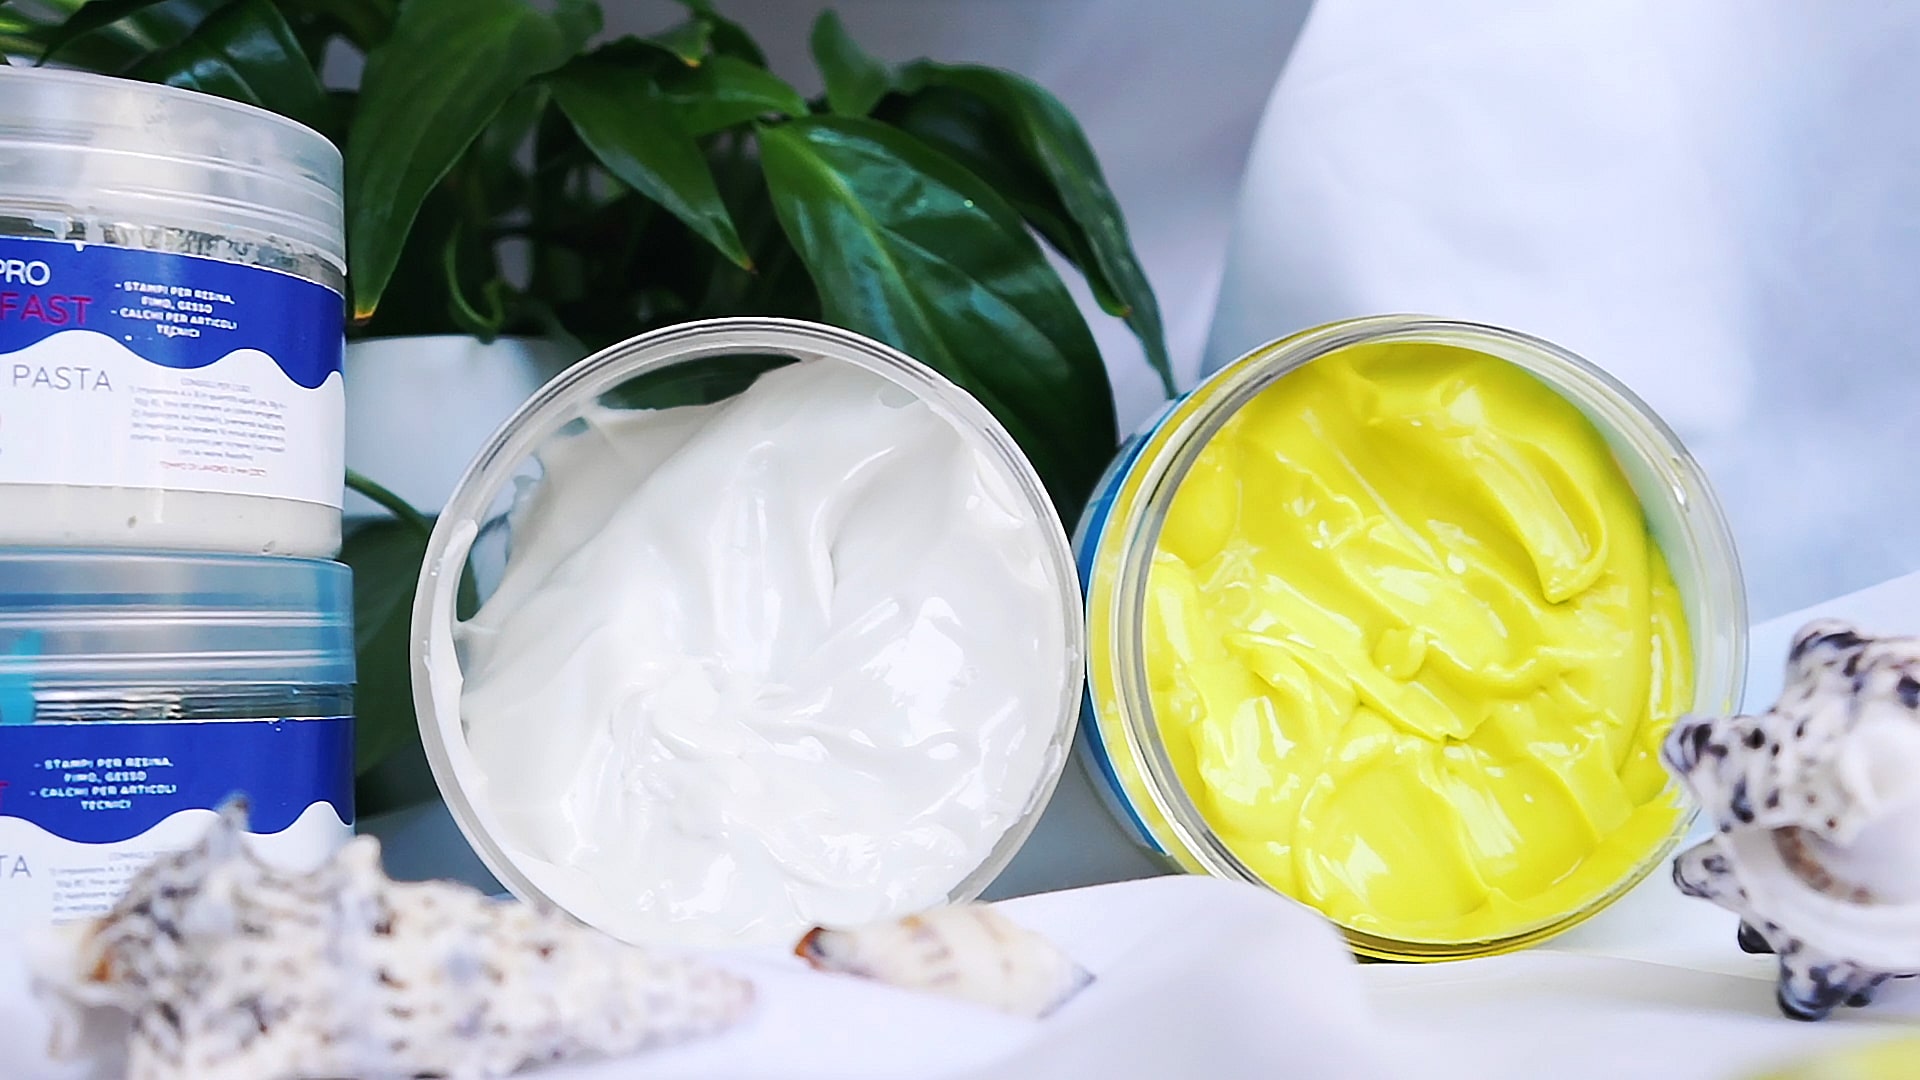
Visual Overview of Silicone Rubber Mould Types
Understanding the appearance and consistency of different silicone rubbers helps you choose the right one for any project. Putty-style products are dense and easy to hand shape, while translucent or liquid silicones flow smoothly for highly detailed reproduction. Examine samples and finished moulds to appreciate the versatility of these materials.
Step 1: Select the Right Silicone Rubber and Prepare the Model
Begin by deciding between putty or liquid silicone types depending on your project’s detail and shape complexity. Silicone putty, such as “I–Gum” – Non-Toxic Silicone Putty for Mould Making, is best if you need a mould quickly or wish to sculpt by hand. For intricate or multi-part projects, opt for liquid rubber that flows around every feature, capturing exacting details.
Clean your model thoroughly. Any dust, grease, or debris may compromise mould accuracy. If your item is porous (like plaster), seal it with an appropriate barrier to prevent sticking or air bubbles. Secure the model in a non-stick container sized to your intended mould shape, ensuring it’s stable during pouring or pressing.
Step 2: Measure and Mix the Components
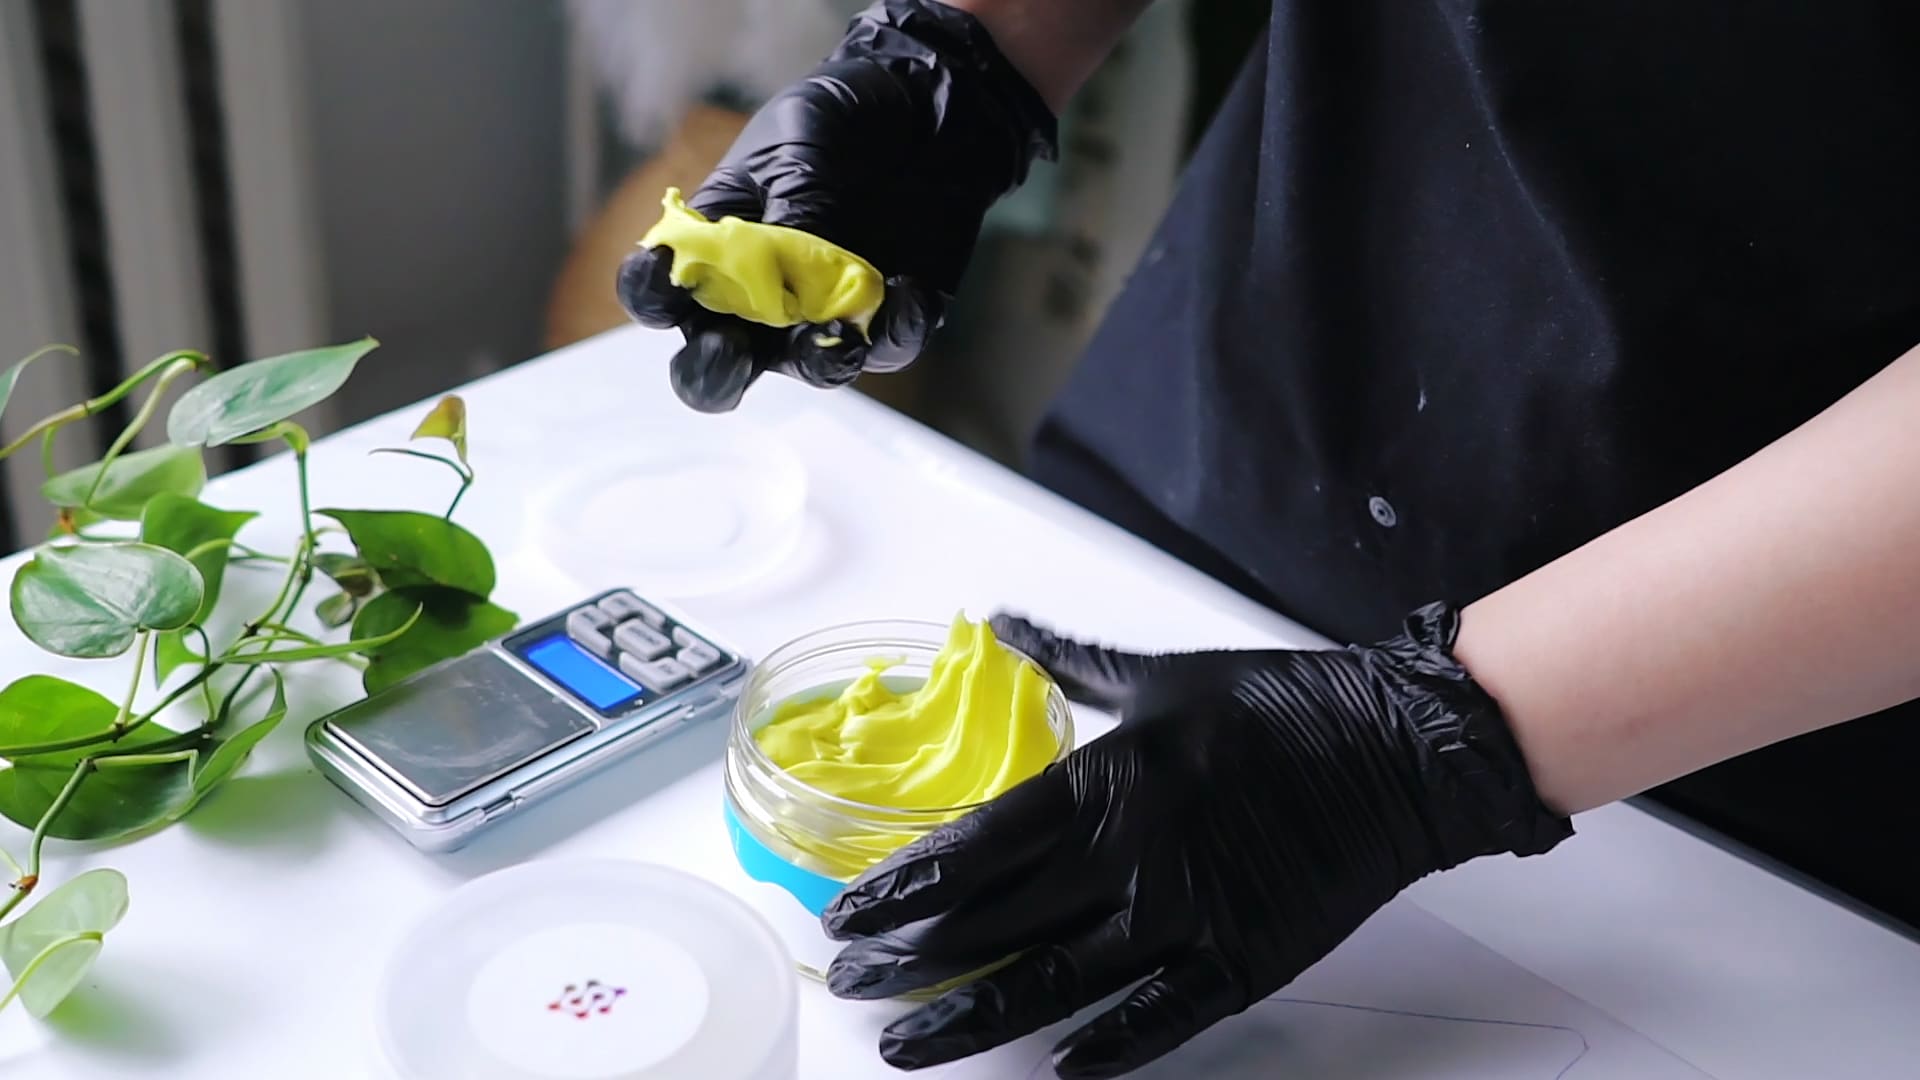
Follow your silicone product’s mixing instructions precisely. Most require a 1:1 ratio by weight or volume. Using digital scales or marked containers, carefully measure equal parts of both components.
Combine the parts in a clean container. For liquid silicones, mix slowly and steadily to minimise introducing air. With putty like I–Gum, knead by hand until you achieve a uniform colour. Be sure to work within the product’s open or working time—generally around 20 minutes for putties and 3-8 hours for fast-cure liquids.
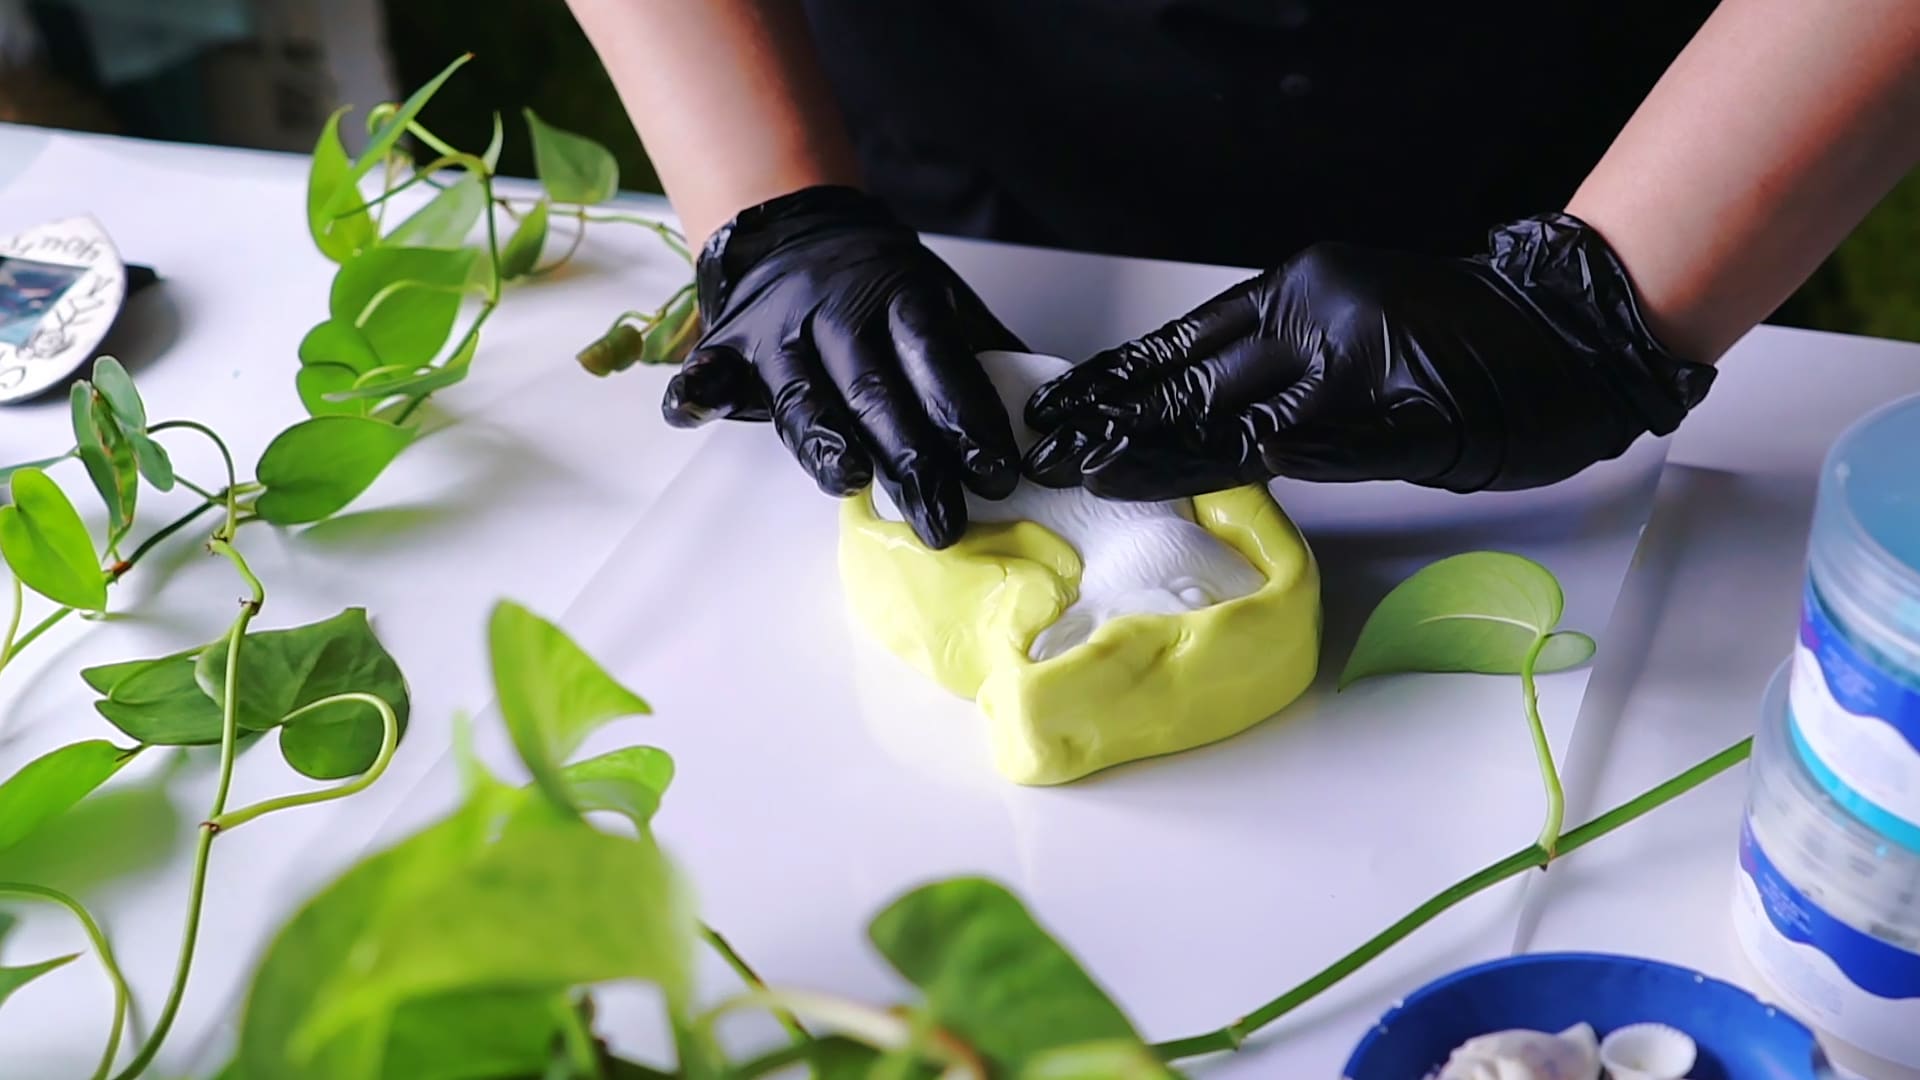
Step 3: Apply, Pour, or Press the Silicone Rubber
Using silicone putty, press and shape it directly around the model, ensuring all surface areas are covered evenly. Mouldable putties adhere well and require no additional equipment.
For liquid silicone, slowly pour the mixture into the container at one corner, letting it rise naturally around the object. This reduces trapped bubbles. You may gently tap the container or, if available, use a vacuum chamber to degas for highly detailed projects (as with Pure Mould).


Step 4: Allow the Silicone to Cure
Let the silicone rubber cure undisturbed for the recommended time—generally 20–40 minutes for putty and 3–12 hours for liquid silicone, depending on the formula. Maintain room temperature for the best results; colder environments may extend curing.
Do not demould early, as this can distort details. Refer to your chosen product’s instructions for specific times. Once cured, the mould should peel away cleanly from your model.
Step 5: Demould and Inspect
Carefully flex or peel your silicone mould away from the model. Take your time in removing it so you do not tear fine features, especially if sharp undercuts are present.
Inspect the mould for air pockets, incomplete details, or residue. If issues arise, adjust your technique or consider using a higher-detail liquid like Liquid Mould in future projects. Your finished mould is ready for casting resins, wax, or other compatible materials.


Tips and Common Mistakes When Using Silicone Rubber
- Mix by Equal Parts: Double-check ratios before mixing; incorrect measures can lead to weak or tacky moulds.
- Degas If Needed: For ultra-fine detail, degas liquid silicone to remove air trapped during mixing.
- Allow for Full Cure: Rushing the process by demoulding early can distort or tear your mould.
- Check Compatibility: Some models, especially porous or soft materials, may require a release agent or sealing to avoid bonding issues.
- Work at Optimal Temperature: Extreme cold slows curing, while very warm rooms may reduce working time.
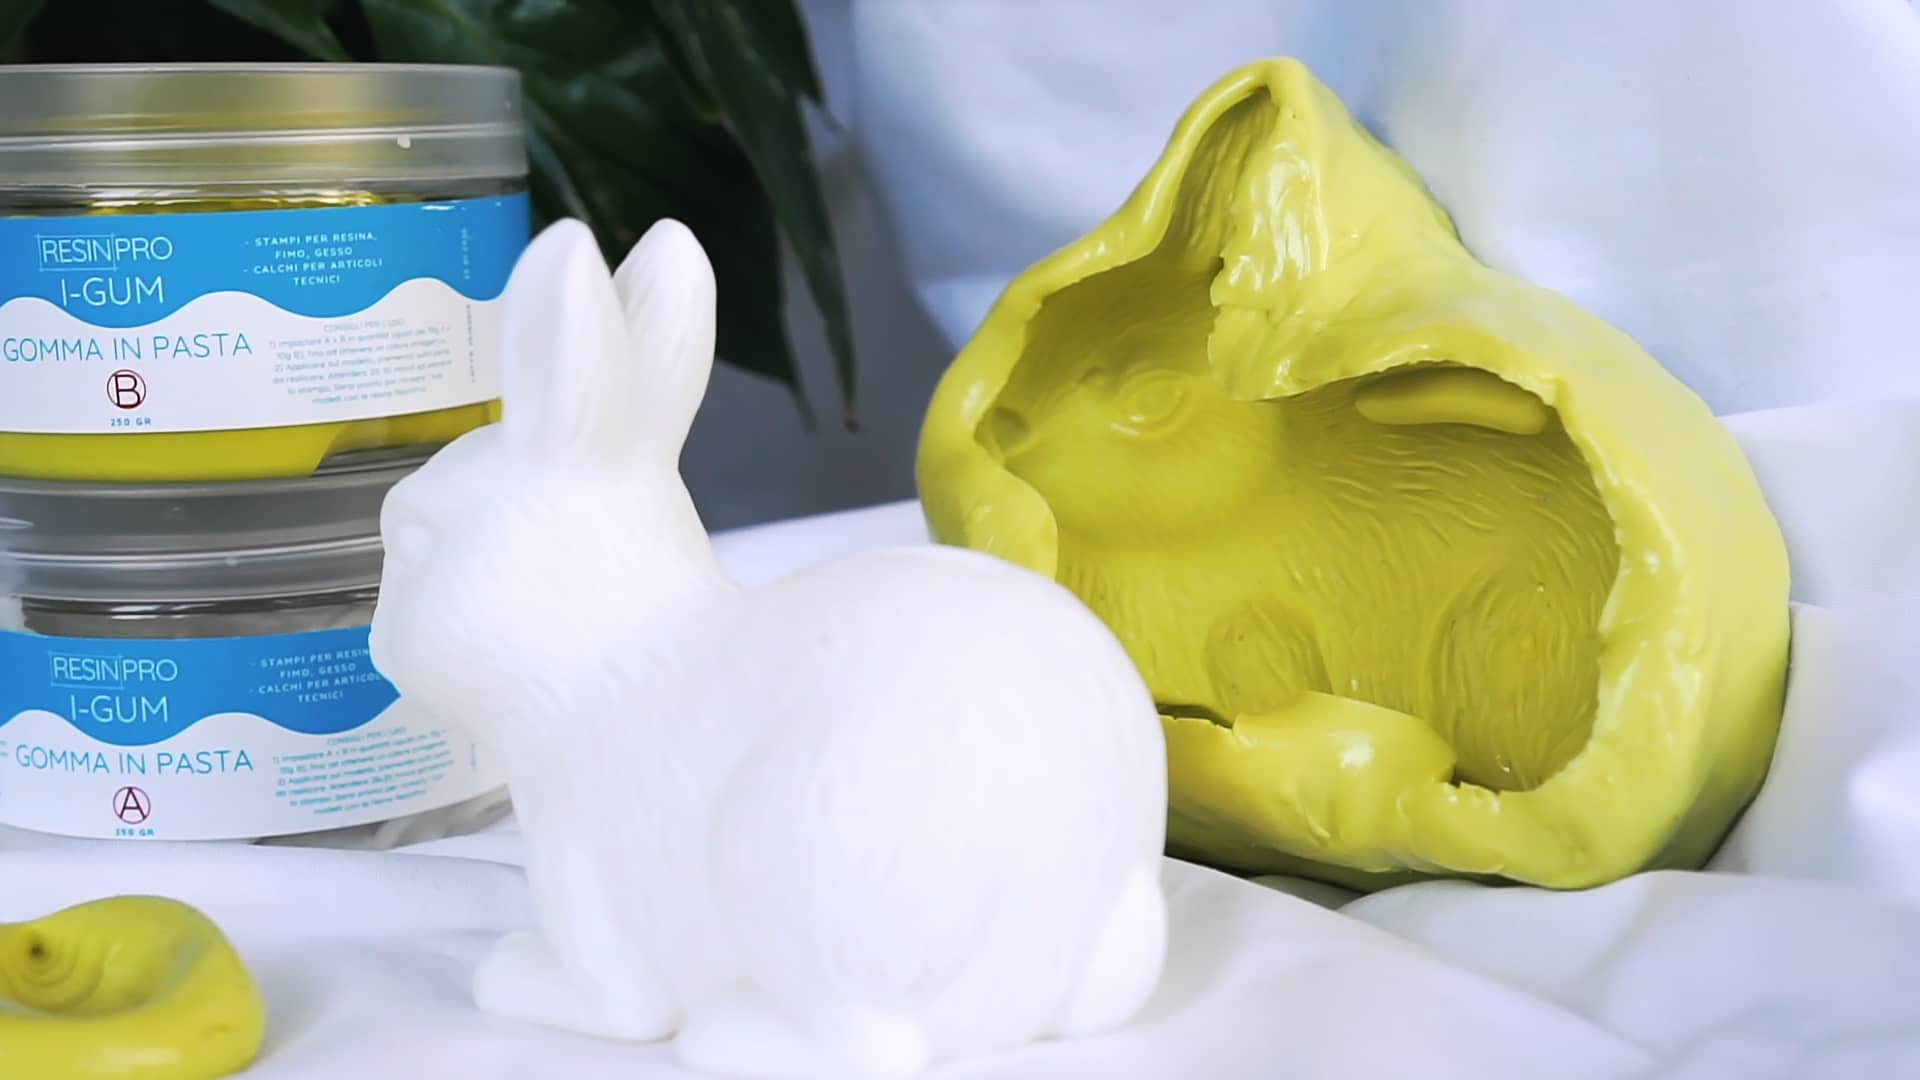
Real-World Applications and Finishing Touches
See examples of cured silicone moulds used for casting resins, waxes, and more. Notice the crispness of detail achievable with quality silicone rubber and how demoulded casts replicate every line and texture. With proper handling, your custom moulds can be reused multiple times for consistent results.
- "I–Gum" – Non-Toxic Silicone Putty for Mould MakingPrice range: £24.00 through £104.95"I–Gum" non-toxic silicone putty is designed for mould making with resin and other materials, fitting the theme of mouldable silicone rubber use.
- "Pure Mould" – Translucent Liquid Silicone Rubber for Mould MakingPrice range: £23.95 through £166.95"Pure Mould" provides translucent, fast curing liquid silicone rubber suitable for mould making with materials like resins and plaster.
 "Liquid Mould" – Casting Liquid Silicone Rubber, 5-40 Shores, Bi-Component A+BPrice range: £14.45 through £387.45"Liquid Mould" casting liquid silicone rubber is designed for moulds with fine detail and is suitable for use with resin and polymer pastes.
- "Liquid Mould" – Casting Liquid Silicone Rubber, 15 Shores 20.8 kg£348.85"Liquid Mould" casting silicone rubber suits detailed moulds and small object reproductions in line with the theme 'How do you use moldable silicone…
Frequently Asked Questions
How do I mix silicone putty for moulds?
Silicone putty is typically mixed by hand in a 1:1 ratio until you achieve a uniform colour. Work quickly to shape it before it begins to set.
Can I use resin with silicone rubber moulds?
Yes, most silicone rubber moulds are compatible with epoxy, polyurethane, and polyester resins. Always check the silicone product’s recommendations.
How long does silicone rubber take to cure?
Curing time varies: putty types are usually 20-40 minutes, while liquid silicones may require 3-12 hours. Always follow the product guidelines.
How do I prevent bubbles in liquid silicone?
Pour slowly from one corner and if possible, use a vacuum chamber to remove trapped air. Tapping the mould gently can also release bubbles.
How do I demould delicate silicone rubber shapes?
Let the mould cure completely, then gently flex and peel it away from your model. Avoid sharp tools that may damage fine details.
When should I use a release agent?
Use a release agent if working with models that are porous or likely to bond with silicone, such as plaster or some plastics.