 Free shipping on orders over £29,85


how to create a resin mould for polyurethane
Step-by-step guide to casting durable resin moulds with silicone.


Creating a resin mould suitable for polyurethane casting allows you to reproduce detailed and durable objects, whether you’re crafting unique pieces or making small production runs. This guide walks you through each essential step so you can confidently make high-quality silicone moulds ready for polyurethane use, minimising errors and ensuring lasting results.
What You’ll Need
- “Pure Mould” – Translucent Liquid Silicone Rubber for Mould Making: A translucent and fast setting silicone rubber ideal for detailed and durable moulds.
- “Liquid Mould” – Casting Liquid Silicone Rubber, 5-40 Shores, Bi-Component A+B: Bi-component silicone rubber for moulds requiring specific shore hardness or complex detail.
- “Global A2” – Release Wax for Epoxy and Resin Moulds, Liquid, Heat Resistant to 180°C: Ensures easy demoulding and protects your master from sticking.
- Object to copy (your master)
- Mould box or container (to hold your silicone and master)
- Mixing sticks and measuring tools
- Gloves and protective equipment

Choosing the Right Silicone for Your Project
The selection of silicone rubber affects the precision and durability of your mould. For intricate detail and rapid turnaround, translucent silicone offers excellent monitoring. For technical or repeated castings, pick a bi-component silicone matched to your desired hardness. Always use a dedicated release wax to prevent sticking and prolong mould life, especially when casting polyurethane.

Step 1: Prepare Your Master and Mould Box
Start by cleaning your master object thoroughly to remove dust, grease, or debris, as even small imperfections can show up in your final mould. Select a suitable mould box or container that gives a 1-2 cm margin around your object, ensuring silicone will fully surround your master. Secure your master in the centre of the box, using adhesive or clay, so it doesn’t shift when pouring the rubber.
Always wear gloves and a mask when mixing silicone. If your master is porous or could adhere to silicone, coat it with a suitable release agent to prevent sticking.
Step 2: Seal and Apply Release Agent
Seal all seams in your mould box to prevent leakage. Hot glue, plasticine, or tape can be used around box gaps. Next, apply a release agent to both the master and the inside surfaces of your mould box, especially if you’re working with materials like wood or metal. For best results with polyurethane, apply “Global A2” – Release Wax for Epoxy and Resin Moulds, Liquid, Heat Resistant to 180°C as it forms a protective film that allows easy separation after curing. Use a brush or soft cloth for even application and allow it to dry thoroughly.
Step 3: Mix and Pour the Silicone Rubber
Select the silicone rubber best suited for your purpose—if you require high transparency and a fast cure for detailed monitoring, “Pure Mould” – Translucent Liquid Silicone Rubber for Mould Making is ideal; for capturing the finest details or tailoring hardness, consider “Liquid Mould” – Casting Liquid Silicone Rubber, 5-40 Shores, Bi-Component A+B. Measure the components accurately, typically in a 1:1 ratio for Pure Mould, or as specified on your product’s instructions.
Blend the components in a clean container, scraping the sides as you mix. Mix your silicone slowly and thoroughly to avoid air bubbles. Pour the silicone slowly into one corner of the mould box, allowing it to flow over your master so bubbles rise and escape. If you have access to a vacuum chamber, degassing can further eliminate bubbles and improve details for intricate pieces.

Step 4: Cure, Demould, and Inspect
Let the silicone cure in a dust-free location, undisturbed, for the time recommended by the manufacturer—usually between 3-12 hours depending on your product and room temperature. Allow the mould to cure fully according to manufacturer instructions. Avoid demoulding too soon, as incompletely cured silicone can tear or lose definition.
Once cured, gently remove the box and extract your master from the silicone. Inspect the finished mould for clarity, flexibility, and captured detail. Your new resin mould is now ready for polyurethane casting projects.

Tips, Troubleshooting and Common Mistakes
To avoid air bubbles, always pour silicone from one spot and let it flood naturally. Double-check release agent coverage to avoid tears or sticking. If your mould pulls or distorts, reduce undercuts on your master or use a softer silicone. Be cautious with mixing ratios; inaccuracies can affect curing and final strength. Store finished silicone moulds flat, out of direct sunlight for best longevity. If demoulding proves difficult, gently flex the silicone or reapply release wax in future attempts.
Visual Inspiration: Finished Silicone Resin Moulds
Completed silicone moulds come in all shapes and sizes, suitable for jewellery, sculptural objects, and technical parts. With the right preparation and technique, your finished mould will be reliable and precise, ready to face the demands of polyurethane casting with confidence.

- "Pure Mould" – Translucent Liquid Silicone Rubber for Mould MakingPrice range: £22.85 through £158.85"Pure Mould" is a translucent, fast casting liquid silicone rubber suitable for making detailed moulds compatible with resins and polyurethane.
- "Liquid Mould" – Casting Liquid Silicone Rubber, 5-40 Shores, Bi-Component A+BPrice range: £13.45 through £368.85"Liquid Mould" is a casting liquid silicone rubber suitable for making moulds with fine details and undercuts, commonly used for highly detailed…
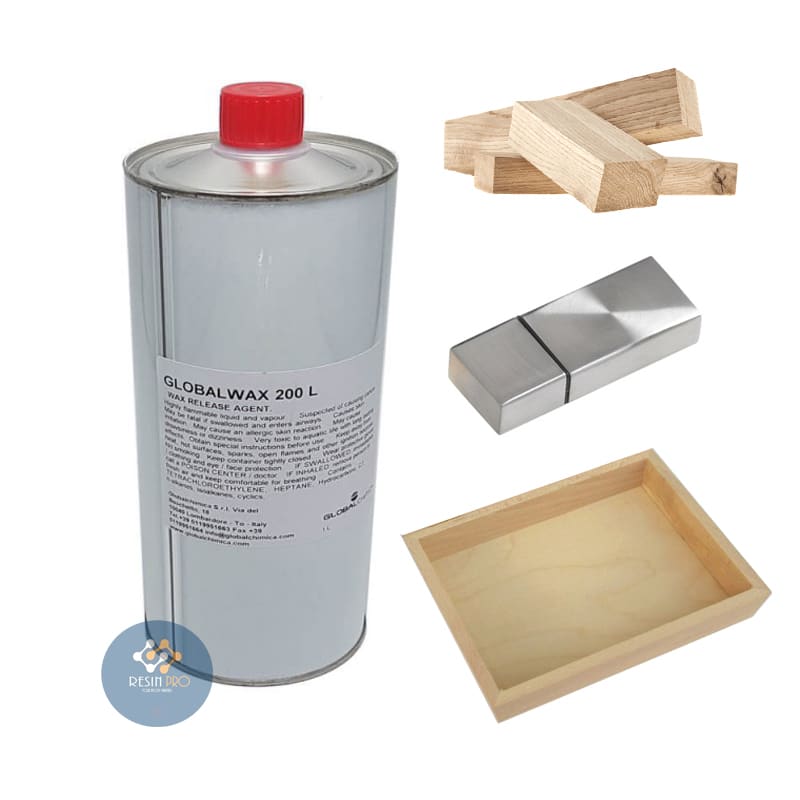 "Global A2" – Release Wax for Epoxy and Resin Moulds, Liquid, Heat Resistant to 180°CPrice range: £15.85 through £18.85"Global A2" Release Wax forms a protective film on mould surfaces, suited for epoxy and resin moulds within the how to create a resin mould for…
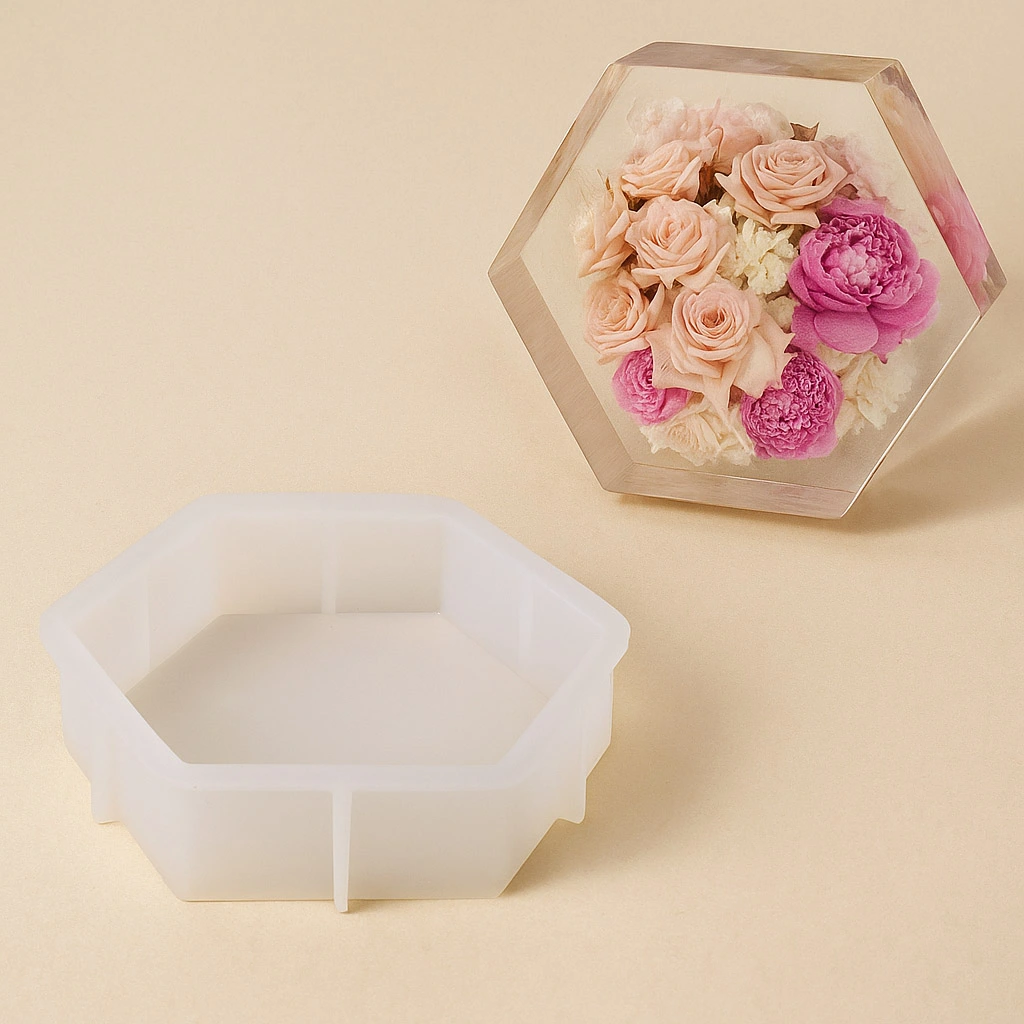 "Silicone Hexagons Mould" – For Creating with Epoxy Resin – 24x21cm£12.85Flexible silicone mould designed for decorative epoxy resin creations such as coasters and ornaments.
Frequently Asked Questions
Which silicone type is recommended for polyurethane resin moulds?
Choose a platinum-cure translucent silicone for fast results and high detail, or a bi-component system for adjustable hardness and complex shapes.
How can I avoid air bubbles when pouring silicone for moulds?
Mix slowly, pour from a height into one spot, and use a vacuum chamber if available for best bubble removal in complex or detailed moulds.
Is a release agent necessary for polyurethane casting in silicone moulds?
Yes, applying a suitable release wax prevents sticking and increases mould longevity, especially with polyurethane resins.
How long does it take for a silicone mould to cure?
Curing usually takes 3–12 hours depending on the product and room temperature. Always check the manufacturer’s instructions before demoulding.
How should I store silicone moulds for repeated use?
Store silicone moulds flat in a cool, dry place out of direct sunlight to maintain flexibility and prolong their service life.
What is the best way to clean silicone moulds after casting?
Clean with mild soapy water and avoid abrasive or harsh solvents. Allow the mould to dry fully before using again.