 Free shipping on orders over £29,85


how to create the cell effect in resins
Step-by-step guide to mastering cell effects in modern resin art
The cell effect is one of the most captivating visual techniques in resin art, known for its blooming, lacing and intricate patterns. This guide will walk you through the essential steps to develop stunning cell effects in your epoxy resin projects. Whether you’re a beginner looking for reliable fundamentals or a seasoned artist refining your process, you’ll find expert tips and practical advice for every stage of the project.
What You’ll Need
- “Resi-Blast” – Cell Effect Additive for Resin Art, 25ml – A liquid additive for achieving unique cell patterns.
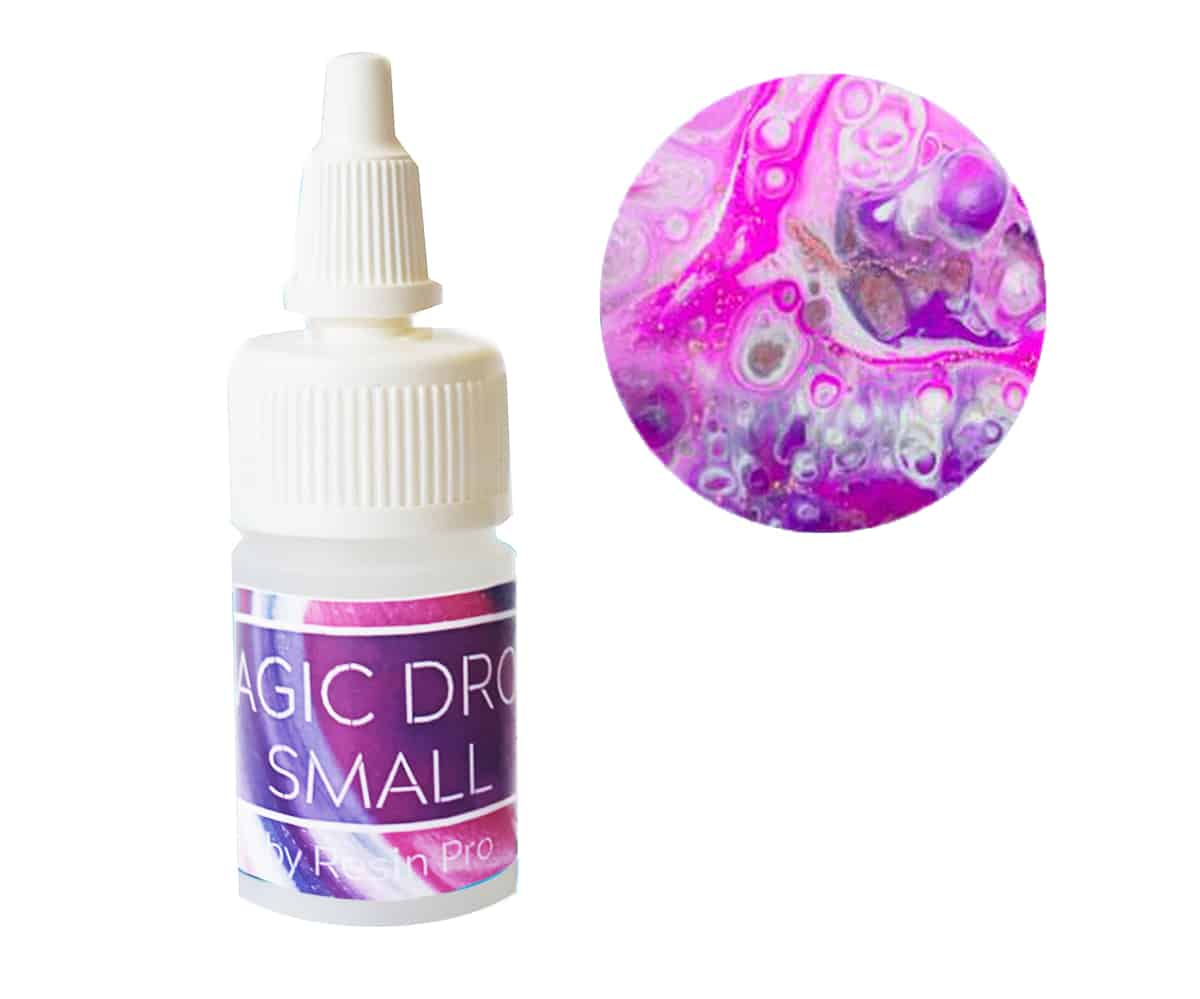
- “Magic Drops” – Cell Effect Additive for Resin Art 15ml – Creates cells, lacing and blooming effects.
- “Art Pro Deluxe” – Ultra-High Viscosity Epoxy Resin for Artists – Designed for detail and crisp line control.
- “Icrystal” – Clear Epoxy Resin – Odourless Formula – Up to 1.5cm – Ensures clarity and surface durability for cell work.
- Pigments (mica, liquid, or powder, as desired)
- Mixing tools, gloves, protective surface coverings

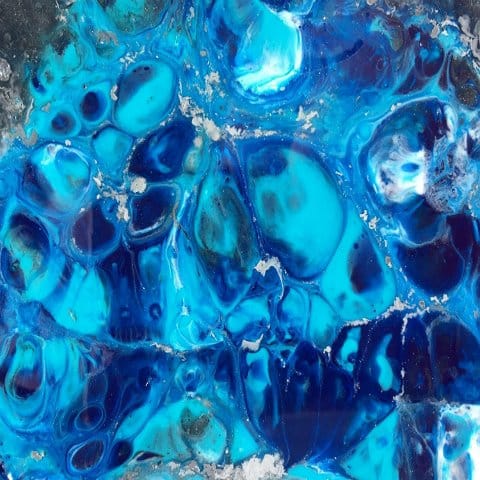
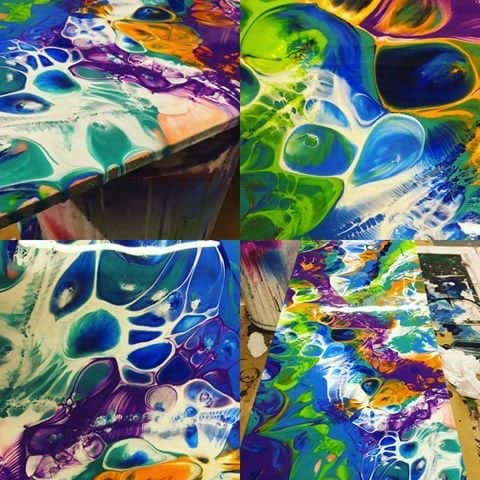
See the Cell Effect in Action
Watch mesmerising resin artworks bloom with cell effects in curated project galleries and artist demonstrations. Compare side-by-side examples where additives and resin types produce dramatically different cell sizes and patterns. Browse Glossy Finishes and Additives to see how each product shapes your creative possibilities.
Step 1: Prepare Your Workspace and Safety Gear
Safety first: work in a well-ventilated space. Lay out protective coverings over your work surface and prepare gloves to safeguard your hands. Make sure to wear old clothing or an apron, as even a small splash of resin is difficult to remove. Organising your tools in advance will keep the process smooth and uninterrupted.
Keep all your chosen pigments, additives and resins within easy reach to limit the time resin sits unmixed. This also helps avoid accidental spills or rushed mistakes.
Step 2: Mix the Resin and Add Colour
Choose a suitable resin with good clarity for visible cell patterns. High clarity resins allow cells to stand out vibrantly. For finely controlled detail, Art Pro Deluxe is ideal, while Icrystal suits projects needing a clear glass-like result.
Follow the manufacturer’s instructions for accurate mixing ratios—typically by volume for epoxy types. Mix thoroughly but gently to reduce air bubbles. Once homogeneous, split your resin into smaller batches and mix pigments into each, using either opaque or metallic pigments for more contrast within the cell effect.
Step 3: Pour Layers and Disperse Colours
Once coloured, pour your batches into the art surface (panel, board, or mould) as desired—swirling, layering or puddling as fits your design. Avoid over-manipulating the resin, as excessive blending will diminish cell definition.
Use a palette knife or stick to drag colour through the resin surface, encouraging blending at specific zones while leaving other sections untouched. This varying density is key to cell formation.

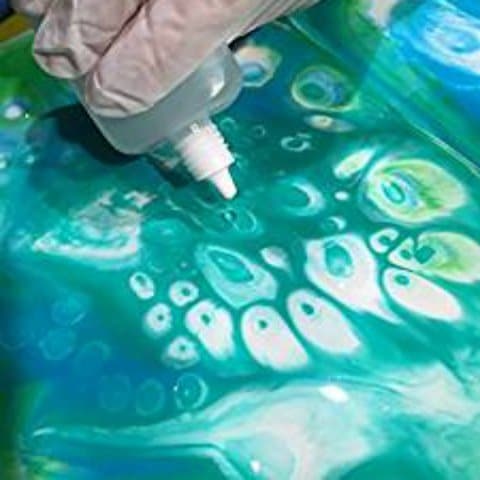
Step 4: Apply the Cell Effect Additive
Apply cell effect additives for dramatic results. Here, a dedicated product such as Resi-Blast or Magic Drops can be carefully introduced. Use a pipette or dropper to place single drops over the surface of still-liquid resin. Avoid adding excessive quantities—less is typically more for pronounced, well-formed cells.
The additive will interact with the wet resin, repelling and attracting pigments to create expanding cell and lacing effects. Allow time for the pattern to develop, resisting the urge to tilt or manipulate further. If necessary, carefully pop surface bubbles with a heat gun, taking care not to disturb the emerging pattern.

Step 5: Cure, Finish and Observe Changes
Let the resin cure undisturbed on a level surface. Movement during the initial cure phase risks distorting the cell effect. Curing times vary by resin type and thickness but usually require several hours to overnight for the first setting stage. Avoid dust contamination and direct airflow until fully hardened.
Once cured, inspect the results—cells may shift slightly as the resin levels but should remain distinct and crisp if properly prepared. If desired, apply clear coat layers or doming resin for added depth and protection.
Tips, Common Mistakes and Troubleshooting
Watch for over-mixing pigments, as this can muddy colours and collapse cell structures. Apply cell effect additive sparingly; excess can blur or merge patterns. Always test new combinations on a small sample before committing to a main artwork. If cells do not appear as strongly as hoped, try varying your quantity or sequence of pigment and additive. Finally, ensure your workspace remains dust-free, as floating debris can interrupt and mar uncured surfaces.
Real Artist Results & Advanced Techniques
Explore finished pieces and troubleshooting tips shared by experienced resin artists. Discover how to refine your timing, switch additive combinations, or layer cells for even greater depth. Explore all resins for pour art to find your ideal match for advanced cell effects.
- "Resi-Blast" – Cell Effect Additive for Resin Art, 25ml£20.50"Resi-Blast" is designed for creating cell effects in epoxy resin art with an easy-to-use non-toxic additive.
- "Magic Drops" – Cell Effect Additive for Resin Art 15mlOriginal price was: £8.00.£5.85Current price is: £5.85.Magic Drops provide a user-friendly, odourless additive designed for creating cell and lacing effects in resin art.
- "Art Pro Deluxe" – Ultra-High Viscosity Epoxy Resin for ArtistsPrice range: £33.85 through £287.85Art Pro Deluxe is an ultra-high viscosity epoxy resin designed for artists to control resin art precisely, suited to creating clear detailed effects.
 "Icrystal" – Clear Epoxy Resin – Odourless Formula – Up to 1.5cmPrice range: £11.65 through £954.85"Icrystal" clear epoxy resin offers transparent, odourless use with high scratch resistance, suitable for creating attractive resin cells.
Frequently Asked Questions
Do I need a special resin or just an additive for creating cells?
Both play a role—high-clarity, controlled-viscosity resin forms the base, while cell effect additives trigger distinctive cell and lacing patterns.
Are cell additives non-toxic and safe to use?
ResinPro's cell additives such as Resi-Blast and Magic Drops are non-toxic, solvent-free, and designed for safe indoor use.
Why have my cells not appeared in my resin piece?
Possible causes include over-mixing, using too little additive, or pigment types that do not react strongly—try using less mixing and adjusting additive amounts.
When should I add the cell effect additive?
Apply it immediately after pouring the coloured resin, while the resin is still liquid, for the strongest effect.
Do cell effect additives work with all epoxy resins?
Most additives work with standard epoxy, polyester, or polyurethane resins, but checking product compatibility is always recommended.
How can I prevent colours from muddying when creating cells?
Use high-pigment, non-water-based colours and avoid over-mixing once poured. Selectively manipulating sections helps retain contrast.
Does using a heat gun help cell formation?
Gentle heat can pop bubbles and thin the resin but too much agitation can disrupt emerging cells—use cautiously and sparingly.