 Free shipping on orders over £29,85


How to make Capodimonte-effect resin statues?
Achieve ornate, detailed statues step by step with resin techniques


Replicating the ornate elegance of Capodimonte porcelain in resin is a fantastic way to create durable, beautifully detailed statues and ornaments. This guide is for artists, crafters, and enthusiasts who want to model intricate, classic-inspired designs using modern resin and mould-making techniques. Whether you are an experienced sculptor or a hobbyist exploring decorative resin art, this step-by-step instruction covers core methods, tools, and practical advice to achieve exceptional Capodimonte-style finishes.
What You’ll Need
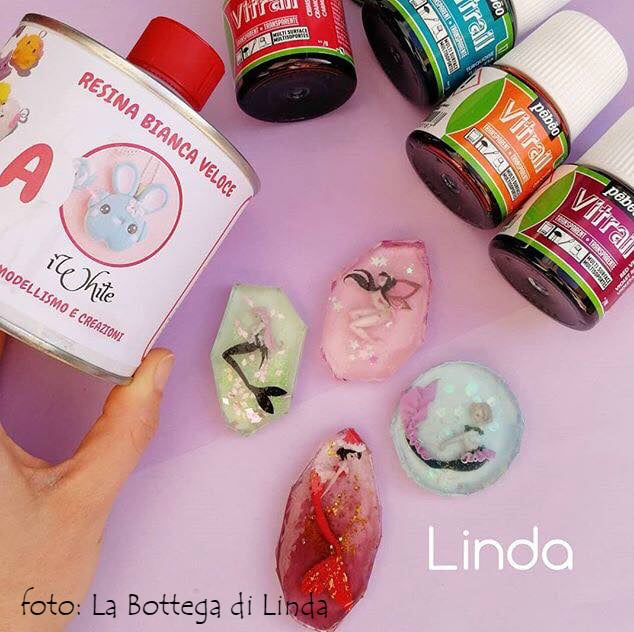
- “IWhite” – Polyurethane Casting Resin – White, Fast-Curing Two-Part System: A fast-setting resin, perfect for capturing crisp details in Capodimonte-effect work.
- “Pure Mould” – Translucent Liquid Silicone Rubber for Mould Making: For making clear, precise, and reusable moulds.
- “Liquid Mould” – Casting Liquid Silicone Rubber, 15 Shores 20.8 kg: Suitable for capturing intricate undercuts and fine features in your model.
- “Liquid Mould” – Casting Liquid Silicone Rubber, 5-40 Shores, Bi-Component A+B: Ideal for the accurate reproduction of small and finely detailed sculpture elements.
- Mixing containers, spatulas, gloves, safety goggles, dust mask, and a clean workspace
- Non-stick release agent (optional but helpful for demoulding)
- Your model or prototype (sculpted original in clay, wax, or found object)

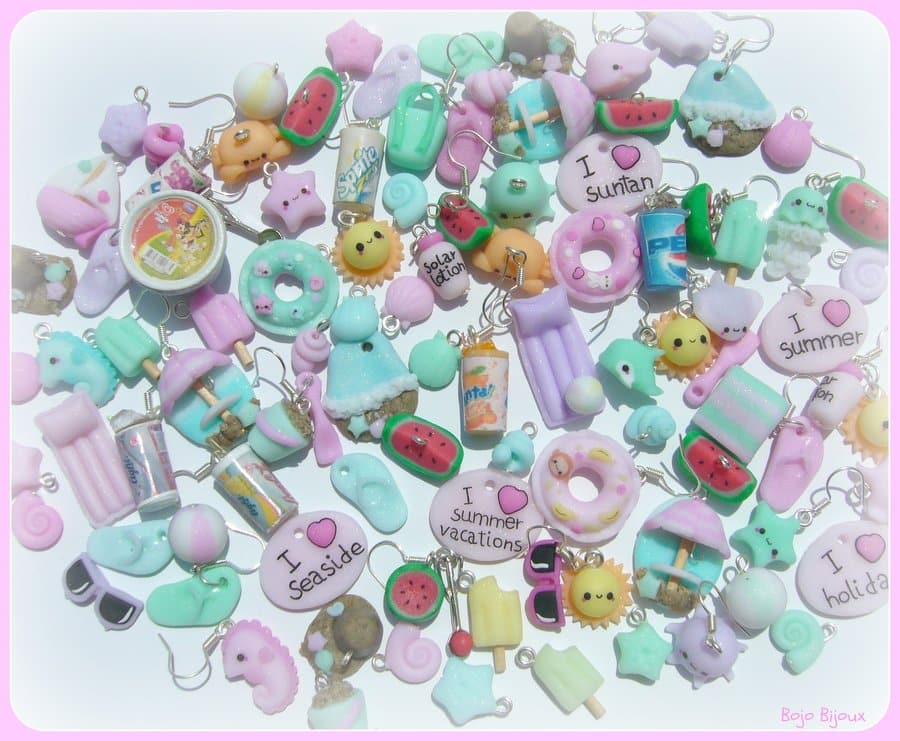
Visual Inspiration for Capodimonte-Effect Resin Art
Browse a gallery of Capodimonte-style resin statues and intricate decorative castings made with carefully crafted silicone moulds. Observe the sharp detail, elegant forms, and crisp finishes that are possible using specialist resins and moulding techniques. Classical forms shine with clean, white resin or with hand-applied antique effect paints on each piece. Use these examples to guide your own creative process and envision the possibilities for your resin artistry.

Step 1: Prepare Your Model and Workspace
Begin by ensuring the original model you intend to replicate is clean, fully dry, and free of dust or oils. Smooth away imperfections if necessary, as every detail will transfer to your resin cast. The workspace should be level, well-ventilated, and protected from spills. Ensure each tool is dry and clean before use—resin and silicone are sensitive to contamination, which can affect curing and surface quality. Secure your model in a non-porous container sized to leave at least 1–2 cm gap around the item for your mould walls.
Step 2: Create the Silicone Mould
Following the product instructions, measure equal parts of the chosen silicone rubber. For highly detailed Capodimonte effects, consider “Pure Mould” – Translucent Liquid Silicone Rubber for Mould Making for its clarity and superior detail reproduction, or “Liquid Mould” – Casting Liquid Silicone Rubber, 5-40 Shores, Bi-Component A+B for fine and complex undercuts. Mix both components slowly to reduce trapped air. Pour gently around the model, starting from the lowest point and allowing the silicone to rise over it naturally. Mix thoroughly for uniform catalyst distribution, but avoid whipping air into the mixture. Allow the mould to cure fully as per timings suggested (3-12 hours depending on product and layer depth), and then carefully remove the model.
Step 3: Prepare and Mix the Casting Resin
Once your silicone mould is ready, prepare for resin casting. Put on gloves, goggles, and a dust mask as needed—a safe environment is essential. Use proper PPE and work in a ventilated area. Carefully weigh and mix the required amounts of the two components of casting resin. For best, the “IWhite” – Polyurethane Casting Resin – White, Fast-Curing Two-Part System delivers the crisp white, fine finish reminiscent of classic Capodimonte porcelain. Mix for the time specified by the manufacturer, scraping the sides of your container, until the mixture is smooth and streak-free.
Step 4: Pour and Cure the Cast
Slowly pour the mixed resin into the prepared silicone mould, starting at one edge or corner and allowing it to flow into all crevices. This minimises the risk of trapped bubbles and ensures the resin captures every detail. Lightly tap or vibrate the mould for a few seconds after pouring. If working with large or complex pieces, pour in small batches if needed. Let the resin cure undisturbed for the full recommended duration. Avoid removing casts too early—this can lead to warping or scratches on the delicate surface. Only demould when the cast is completely set and cool to the touch.
Step 5: Finishing and Decorating
Once fully cured, gently extract the resin statue from the silicone mould. Inspect for any flash or sharp edges and trim these away with a craft knife or fine sandpaper. Wash the statue with mild soap and water if needed, and allow to dry thoroughly. The cast can be left white for a classic porcelain look or painted using acrylics and fine brushes to highlight intricate details. Sealing with a suitable lacquer or clear resin topcoat adds durability and sheen. Work in small batches for detailed pours if additional detail layers or painting is needed.
Tips and Common Mistakes
- Always follow the precise mix ratios and cure times recommended by each product to achieve optimal results.
- Air bubbles are best avoided by pouring slowly and mixing gently; a quick blast of compressed air or a vibration plate helps settle resin.
- Check your workspace temperature—extremes can speed up or slow curing unpredictably.
- Don’t rush the demoulding process; patience rewards you with unblemished surfaces.
- Test paints and finishes on a scrap piece to ensure adhesion to cured resin.
Advanced Techniques and Project Expansion
Once you’ve mastered basic Capodimonte-effect resin casting, experiment with multi-part moulds for dynamic poses or apply metallic gilding for a luxury finish. Try different silicone rubbers for complex undercuts, or mix pigments for subtle porcelain colour variations. Detailed planning and patience will elevate your projects to professional-level results.

- “IWhite” – Polyurethane Casting Resin – White, Fast-Curing Two-Part SystemPrice range: £24.00 through £36.95IWHITE is a fast-curing, highly fluid polyurethane resin designed for detailed moulding and rapid replication of handcrafted creations.
- "Pure Mould" – Translucent Liquid Silicone Rubber for Mould MakingPrice range: £23.95 through £166.95"Pure Mould" is a translucent liquid silicone rubber designed for creating detailed moulds, suitable for various casting materials.
 "Liquid Mould" – Casting Liquid Silicone Rubber, 15 Shores 20.8 kg£348.85"Liquid Mould" is a casting liquid silicone rubber designed for making detailed moulds from resin and other materials in the Capodimonte-effect resin…
- "Liquid Mould" – Casting Liquid Silicone Rubber, 5-40 Shores, Bi-Component A+BPrice range: £14.45 through £387.45"Liquid Mould" casting liquid silicone rubber is suitable for making highly detailed moulds and reproductions in line with the How to make…
Frequently Asked Questions
What is the best resin type for making Capodimonte-effect statues?
A white, fast-curing polyurethane casting resin is ideal for creating detailed, crisp Capodimonte-effect statues.
How do I choose the right silicone mould for detailed statues?
Select a highly fluid, fine-detail silicone rubber that matches your model’s size and complexity.
How can I avoid bubbles when casting resin statues?
Mix resin slowly, pour gently, and tap the mould or use vibration to release trapped air.
How long should I wait before removing the resin from the mould?
Wait until the resin is fully cured and cool; removing it too early can cause warping or surface damage.
Can I paint or decorate my finished resin Capodimonte statues?
Yes, cured resin statues can be painted with acrylics or sealed with lacquers for a porcelain-like effect.
What are common mistakes to avoid when making Capodimonte-effect resin statues?
Improper mix ratios, rushing demoulding, and not using PPE are frequent issues—always follow instructions closely.