 Free shipping on orders over £29,85


How to make fir resin dye
Fir resin dye offers a unique, glassy colour effect ideal for creating crystal-like features in resin art, jewellery and decorative crafts. This guide explains each step in making fir resin dye, helping crafters, artists, and DIY enthusiasts achieve professional-looking, vibrant results.
Step-by-step guide for vibrant transparent dye effects

What You’ll Need
- “Magic Crystal” – Set of 5 Transparent Colourants, 5 x 45ml – For a spectrum of transparent colour options.
- “Magic Crystal” – Transparent Resin Colour 45ml – For intense, glass-like effects.
- “Colourfun Set” – Liquid Epoxy Resin Colourant Set for Solid Colour Effects – For solid colour or translucent shades.
- “Colourfun” – Liquid Epoxy Resin Colourant 25-100ml – High coverage – For economical, high-concentration colour.
- Clear epoxy resin suitable for casting or art projects
- Mixing cups, stir sticks and gloves for safe handling
- Resin-safe moulds for your final pour

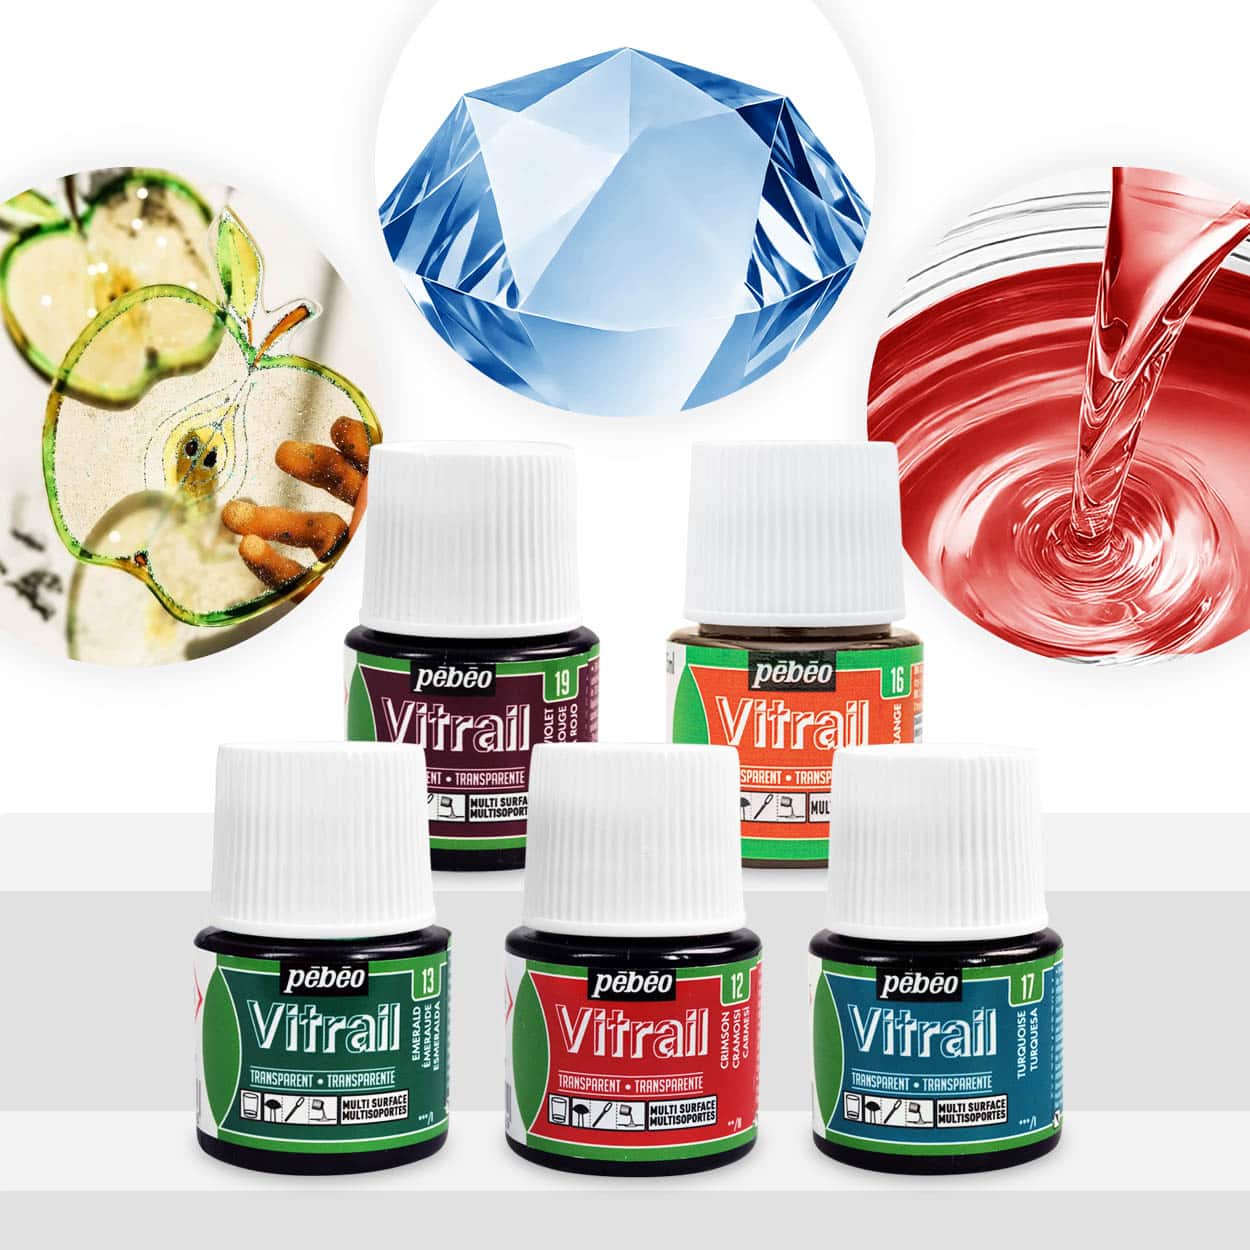
Visual Inspiration for Fir Resin Dye
Browse examples of transparent dye effects with fir resin techniques. Notice how careful colourant selection and mixing allow for vivid, crystalline results in art and jewellery projects.

Step 1: Select your resin and workspace
Start by choosing a high-quality, clear epoxy resin compatible with dye additives. Set up your workspace in a dust-free, well-ventilated area and protect surfaces with disposable coverings. Wear gloves to avoid skin contact with resin or colourant.
Measuring carefully ensures consistency and prevents unwanted reactions. Plan your project size ahead so you mix only the resin you need for the batch.
Step 2: Choose a transparent or concentrated colourant
Select a colourant designed for glassy, vibrant effects when making fir resin dye. If you seek a natural resin tint with maximum light penetration, opt for the “Magic Crystal” – Set of 5 Transparent Colourants or the “Magic Crystal” – Transparent Resin Colour 45ml. For deeper, more solid colour effects, the Colourfun Set or Colourfun Liquid Epoxy Resin Colourant can be added in varied amounts for either opaque or translucent results.
Always consult the product’s instructions regarding recommended mixing ratios to maintain resin clarity and ensure cure integrity.
Step 3: Mix the resin and dye thoroughly
Begin by mixing the two components of your clear resin as per the manufacturer’s instructions. Once blended, slowly introduce a small amount of your chosen dye, stirring gently and consistently to avoid creating bubbles or streaks.
Gradually adjust the dye quantity to build up intensity, keeping in mind that a little goes a long way with concentrated colourants. Over-mixing or adding too much can cloud the resin, so add in increments and observe transparency at each stage.

Step 4: Pour and cure with care
Pour the dyed resin mixture into your prepared moulds or directly onto your project surface. Use a slow, even motion to minimise air entrapment. If working in layers, wait for partial curing before adding additional resin to ensure colour separation or blending as desired.
Follow curing times recommended by your resin supplier. Keep your workspace warm, stable, and dust-free while the resin sets to achieve smooth, clear finishes.

Step 5: Fine-tune colours and effects
After unmoulding, inspect your resin piece for clarity and colour depth. If the result isn’t as vibrant as desired, you can apply a thin layer of tinted resin over the top or try layering different dyes for multi-tonal effects in future pours.
Experiment with different dye-to-resin ratios and colour combinations to create custom looks that suit each project’s requirements. Over time, you’ll develop a sense for the exact intensity and type of dye that works best for fir resin dye techniques.
Tips and common mistakes
Work with small quantities of dye initially to avoid oversaturating the resin and sacrificing transparency. Stir every mix slowly to reduce bubbles, and always test new colour blends before adding to your final piece. Choose a dye specifically designed for use with resin to guarantee colour stability and evenness throughout the cured project.
If you notice areas of cloudiness or inconsistent colour, check your mixing technique, temperature, and the quality of your materials. Proper curing conditions and high-quality transparent colourants are key to achieving flawless fir resin dye results.
Advanced Dyeing Techniques Gallery
See advanced uses of transparent and concentrated colourants in resin, including layering, marbling, and gradient effects achieved through precision dye application.

- "Magic Crystal" – Set of 5 Transparent Colourants, 5 x 45ml£18.85The "Magic Crystal" set includes five transparent colourants for creating custom crystals with clear resin.
- "Magic Crystal" – Transparent Resin Colour 45ml£4.65"Magic Crystal" is designed for resin artists seeking transparent, glass-like colour effects in their projects.
 "Colourfun Set" – Liquid Epoxy Resin Colourant Set for Solid Colour EffectsPrice range: £13.45 through £48.15A set of intense, translucent epoxy resin colour pastes designed for smooth blending and vibrant colour effects.
 "Colourfun" – Liquid Epoxy Resin Colourant 25-100ml – High coveragePrice range: £3.65 through £9.85Liquid colourant designed for epoxy resin art; offers intense pigments and flexible coverage in line with how to make fir resin dye.
Frequently Asked Questions
Which colourants are best for transparent fir resin dye?
Transparent colourants, such as the Magic Crystal range, preserve clarity and light transmission in resin dyes.
What is the difference between Colourfun and Magic Crystal dyes?
Magic Crystal provides transparent, glass-like colours, while Colourfun offers more intense, versatile pigment, including solid effects.
Can you mix different resin dyes together?
Yes, blending dyes lets you achieve custom shades and effects, but add gradually to maintain resin clarity.
How do you avoid cloudiness in resin dye?
Use dyes sparingly and stir thoroughly. Excess pigment or air bubbles can cause cloudiness in the cured piece.
How can I fix resin dye that is too opaque?
Thin opaque resin with clear resin and use less dye next time for improved transparency in future pours.
How do I create gradients or layers with fir resin dye?
Pour resin in stages, adjusting dye shades each time, and allow partial cure between layers for precise separation.