 Free shipping on orders over £29,85

How to make resin pendants with plants?
Crafting resin pendants with embedded plants is a rewarding way to combine natural beauty with your own creativity. This guide will show you how to encapsulate real botanicals in clear resin pendants, resulting in unique and lasting jewellery pieces. Whether you are a beginner or seeking to refine your craft, you’ll find practical tips and clear steps to achieve a flawless finish.
A step-by-step guide for botanical resin jewellery beginners


What You’ll Need
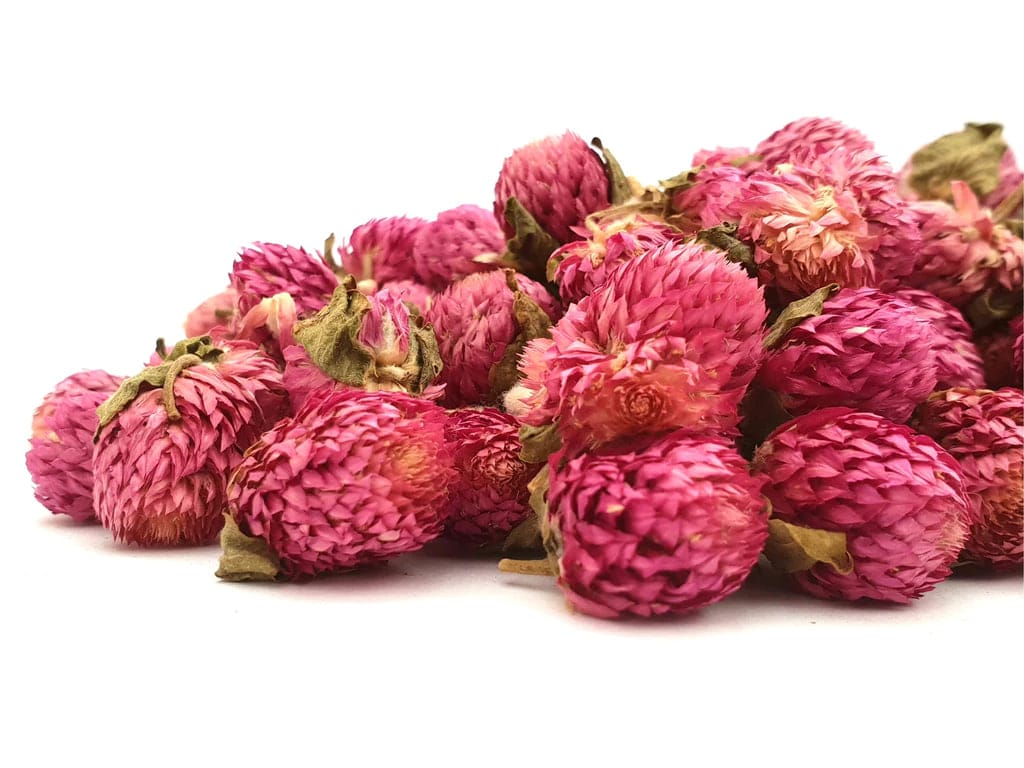
- Natural Dried Flowers for Art Projects and Epoxy Resin Casting – Choose various preserved plants or petals for unique designs.
- “Evershine Collection” – Artisan Jewellery Epoxy Resin Kit with 100+ Accessories – Includes clear resin, mixing tools, and moulds ideal for pendants.
- “UV–Creation” – Fast Acrylic Resin, 3 Minute UV Cure – Useful if you prefer a quick UV-cured pendant process.
- “One-2-One” – Epoxy Resin for Handcraft, 1:1 Mixing Ratio – For craft resin projects requiring a traditional mixing method.
- Pendant or jewellery moulds (silicone recommended)
- Mixing cups, stir sticks, gloves, pipettes
- UV lamp (if using UV resin)
- Jewellery findings (bails, chains, keyrings)
- Sandpaper or polishing cloth

Essential Tools for Botanical Resin Jewellery
Choose the right materials and equipment for a flawless result. Having premium dried flowers and a resin kit with compatible accessories ensures your pendants turn out clear, glossy and long-lasting. Investing in proper tools minimises errors and maximises your creative control.

Step 1: Select and Prepare Your Plants
Begin by choosing the plant material you want to feature in your pendant. Select small dried flowers, leaves, or pressed blooms, as moisture in fresh plants can create cloudiness in the resin. Fully dry and press your plant materials for best clarity and lasting results.
If you’re using pre-prepared options such as Natural Dried Flowers for Art Projects and Epoxy Resin Casting, your inclusions are ready to use. Otherwise, use a flower press or heavy book and parchment paper to dry fresh botanicals for one to two weeks.
Step 2: Prepare Your Workspace and Moulds
Cover your workspace with a non-stick mat, wear gloves, and ensure everything is clean. Work in a dust-free environment for best results. Select silicone pendant moulds for easy release and clean shapes. Lightly wipe the inside of each mould with a lint-free cloth to remove dust or residue.
Step 3: Mix and Pour the Resin
Depending on your product choice, mix your resin according to the instructions. For example, the “One-2-One” – Epoxy Resin for Handcraft, 1:1 Mixing Ratio requires equal parts resin and hardener.
Stir gently to avoid bubbles, then fill each mould about a third of the way. Place your prepared plant materials onto the first resin layer and use a toothpick to arrange them as desired. Add more resin until the mould is filled, making sure to cover all inclusions. With UV resin options like the “UV–Creation” – Fast Acrylic Resin, 3 Minute UV Cure, you can pour directly then cure with a UV lamp.
Slowly pour the resin to prevent bubbles. Remove any air pockets with a toothpick or by gently tapping the mould.
Step 4: Cure and Finish Your Pendants
Allow your resin to cure fully. Epoxy resins typically require 24 to 48 hours in a dust-free area, whereas UV resins cure in a few minutes when exposed to the correct UV wavelength. Carefully demould your pendants once hardened.
Remove sharp edges or irregularities using fine sandpaper or a polishing cloth. If your pendant needs a hole for a bail, use a mini drill or insert findings before the final cure (kits like the “Evershine Collection” – Artisan Jewellery Epoxy Resin Kit with 100+ Accessories include these tools and accessories).
Finish by attaching your chosen jewellery findings and polish the pendant until smooth and glossy.

Tips, Troubleshooting and Common Mistakes
Ensure botanicals are completely dry; moisture can cause the resin to turn cloudy or inhibit curing. To avoid bubbles, pour resin slowly and consider using a heat gun or torch held briefly at a distance. Always mix resin thoroughly, scraping the sides and base of your container.
If you notice surface tackiness after curing, allow more time or ensure you followed the correct ratio when mixing. For the clearest results, cure in a well-ventilated, dust-free area and avoid handling the resin before it’s fully set.
Creative Inspiration: Combining Colours and Shapes
Experiment with colour and layout to make each pendant unique. Pair contrasting blooms or try layered arrangements for added depth. Personalise your creations by combining pigments, metallic flakes, or glitter for dramatic botanical jewellery effects.

- Natural Dried Flowers for Art Projects and Epoxy Resin CastingPrice range: £5.45 through £7.85Natural dried flowers prepared for immediate use, suitable for resin pendants and creative epoxy projects.
- "Evershine Collection" – Artisan Jewellery Epoxy Resin Kit with 100+ Accessories£20.85Kit designed for jewellery makers and crafters to produce resin pieces with clear finishes and various accessories using a simple 1:1 epoxy resin mix.
 "UV–Creation" – Fast Acrylic Resin, 3 Minute UV CurePrice range: £7.85 through £59.85"UV–Creation" Acrylic Resin cures quickly under UV light, suitable for jewellery makers and crafters seeking a clear, gloss finish.
 "One-2-One" – Epoxy Resin for Handcraft, 1:1 Mixing RatioPrice range: £14.85 through £56.85"One-2-One" epoxy resin is well suited for crafting clear, glossy jewellery and decorative items with safe, non-toxic handling.
Frequently Asked Questions
Can you use fresh plants in resin pendants?
Fresh plants often release moisture, turning resin cloudy or causing incomplete curing. Dried plants are best for clarity.
How do you avoid bubbles when embedding plants in resin?
Mix resin slowly, pour carefully, and use a toothpick or heat tool to release trapped air around flowers.
What resin should I use for making plant-based pendants?
Non-toxic, clear epoxy or UV resin designed for jewellery offers optimal transparency and durability for botanical pendants.
Can you add colour or pigments when making resin pendants with plants?
Yes, dry pigments and glitters can be added, but avoid water-based colours as they may introduce moisture.
How long does it take to cure a resin pendant with plants?
Cure times vary: Epoxy resin takes 24–48 hours, while UV resin hardens in minutes under UV light.
How do I get a super glossy finish on resin plant jewellery?
Use a clear, jewellery-grade resin and polish gently with a soft cloth after full cure to enhance gloss.