 Free shipping on orders over £29,85

How to make silicone rubber at home?
Step-by-step guide for hobbyists and makers seeking perfect moulds


If you are keen to create your own silicone rubber moulds at home for crafts, resin models, or repairs, it is surprisingly accessible with modern materials. This guide explains the essential steps for mixing and casting silicone rubber, explains the process for home use, and addresses safety, timing, and key pitfalls.

What You’ll Need
- “Pure Mould” – Translucent Liquid Silicone Rubber for Mould Making – for model and general mould making at home
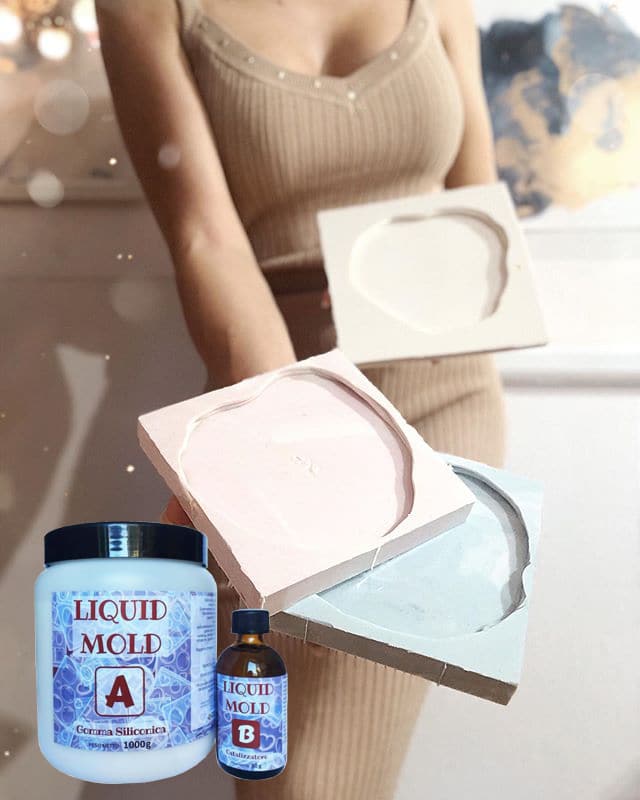
- “Liquid Mould” – Casting Liquid Silicone Rubber, 5-40 Shores, Bi-Component A+B – ideal for fine detail and jewellery
- “I–Gum” – Non-Toxic Silicone Putty for Mould Making – for simple, hand-formed shapes and smaller items
- “Liquid Mould” – Casting Liquid Silicone Rubber, 15 Shores 20.8 kg – for larger volume projects
- Mixing containers and stirring sticks
- Mould box or frame (sized for your object)
- PPE: gloves, apron, and well-ventilated workspace
- Scales or measuring cups (for accurate ratios)

Key Silicone Choices for Home Mould Making
Liquid silicone rubbers are ideal for fine detail and complex shapes, while putty types excel for quick, simple moulds. Always select a silicone tailored to your project’s needs for best results.
Step 1: Plan and Prepare Your Workspace
Start by selecting a tidy, well-ventilated area. Cover surfaces with protective sheets to shield them from spills, and ensure all needed tools are within arm’s reach. Accurately measure the volume needed by placing your object in the container and checking space around it. This helps prevent wasted material while ensuring full coverage.
Gather a mould box that holds your original model securely with minimal gaps. Secure the model to the base (with a touch of adhesive if needed) so it will not shift while casting. Prepare your PPE before mixing any silicone to avoid skin contact and accidental spills.


Step 2: Measure and Mix Your Silicone Rubber
Read product instructions carefully. Many silicone rubbers require a precise 1:1 mix of base and catalyst, such as “Pure Mould” – Translucent Liquid Silicone Rubber for Mould Making. For highly detailed or complex shapes, you might use “Liquid Mould” – Casting Liquid Silicone Rubber, 5-40 Shores, Bi-Component A+B—also mixed in equal parts.
Use digital scales or calibrated cups for accuracy. Pour both parts into a clean mixing container. Stir thoroughly, scraping the sides and base to ensure complete blending. Mixing too quickly can introduce bubbles, so take your time to fold the components together smoothly.
Always measure components precisely for best results.
Mix slowly and scrape the sides to avoid unmixed spots.
Step 3: Pour or Apply the Silicone Mix
For liquid silicone rubber, slowly pour the mixture into your mould box, starting in one corner to let the silicone flow naturally around your object. This method helps prevent air being trapped. For hand-shaped or smaller items, use a putty silicone like “I–Gum” – Non-Toxic Silicone Putty for Mould Making; simply knead the two putty parts together and press evenly around your original model.
Work quickly—many silicone mixes have limited working time. Use gloves and avoid delays for best results, especially for fast-curing types.
Let the mould cure fully before use to ensure stability.
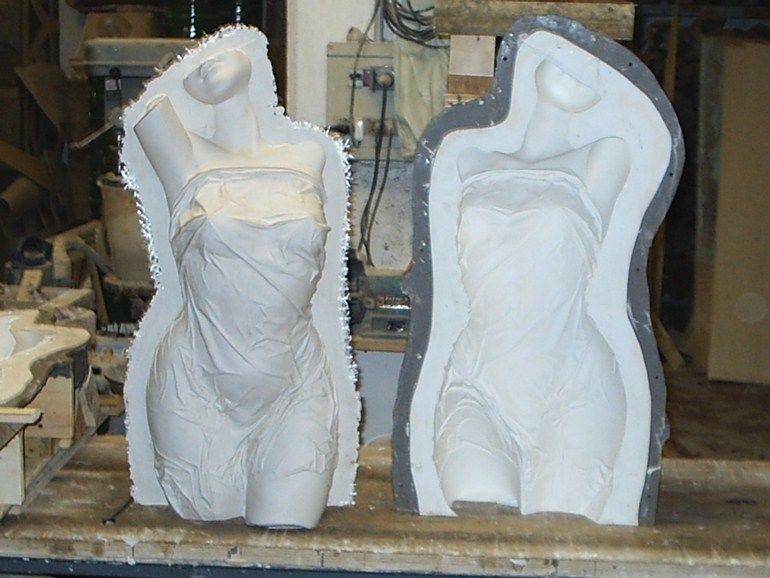
Step 4: Curing, Demoulding and Post-processing
Follow the instructions for your silicone type. Curing can range from 20 minutes (for putty) to several hours or overnight for casting types. Do not disturb the mould while curing to prevent warping or flaws. Once fully cured, gently remove the silicone mould from the box and check for any imperfections.
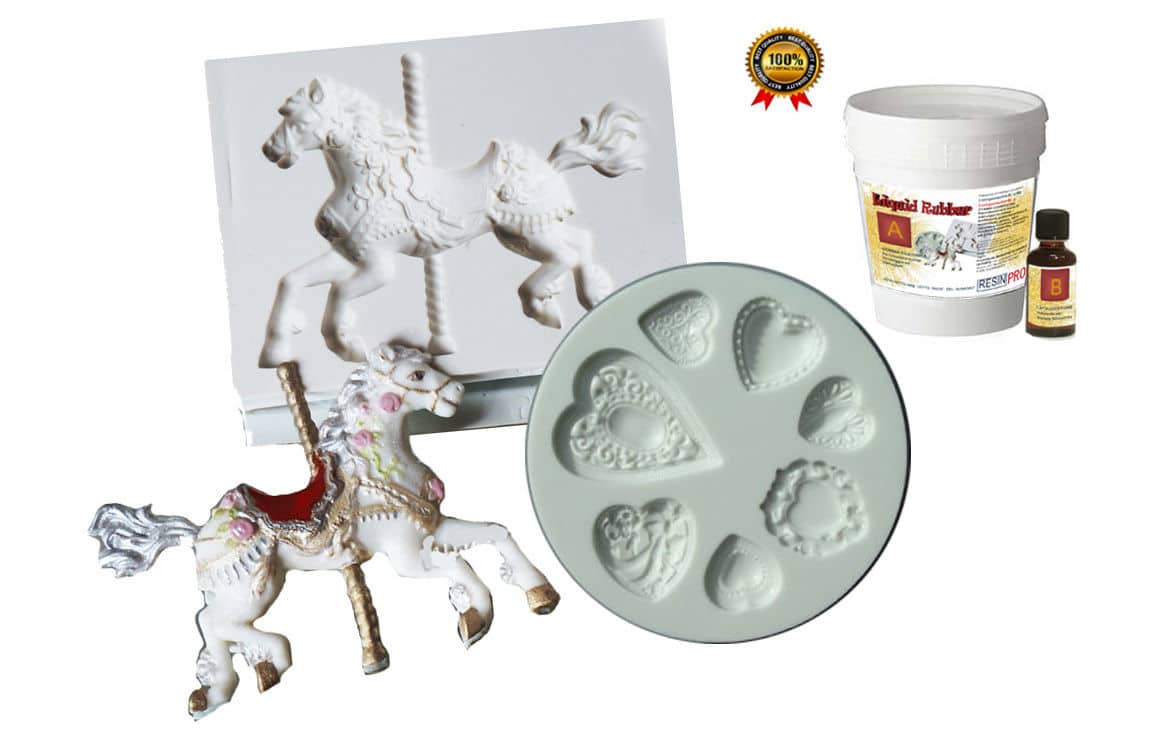
If fine details are required, products like “Liquid Mould” – Casting Liquid Silicone Rubber, 15 Shores 20.8 kg excel at capturing complex shapes. After demoulding, trim any extraneous silicone with scissors or a sharp blade. Your mould is now ready for casting resin, wax, or other creative materials.
Tips, Common Mistakes and Troubleshooting
Air bubbles are common; pour slowly and tap to release them. If bubbles persist, consider using a pressure pot to improve quality for highly detailed work.
Choose the silicone type based on your project’s complexity. Liquid types suit fine detail; putty works well for simple, quick moulds.
Check expiry dates and storage conditions. If your silicone is not curing, check your ratios and environmental temperature—it can affect setting times. Wear gloves when recommended, even with non-toxic options, for cleanliness and handling ease.
Project Examples and Results
Home silicone moulds can be used for resin casting, polymer clay, wax, and even decorative concrete. Try personalised jewellery, candle moulds, or replacement parts with your finished moulds.

- "Pure Mould" – Translucent Liquid Silicone Rubber for Mould MakingPrice range: £23.95 through £166.95"Pure Mould" is a translucent liquid silicone rubber suitable for mould making at home, compatible with various materials and usable by hobbyists.
- "Liquid Mould" – Casting Liquid Silicone Rubber, 5-40 Shores, Bi-Component A+BPrice range: £14.45 through £387.45"Liquid Mould" is a casting liquid silicone rubber designed for highly detailed moulds including fine objects and undercuts.
 "I–Gum" – Non-Toxic Silicone Putty for Mould MakingPrice range: £24.00 through £104.95"I–Gum" is a non-toxic silicone putty designed for making moulds when working with resin and various materials.
- "Liquid Mould" – Casting Liquid Silicone Rubber, 15 Shores 20.8 kg£348.85"Liquid Mould" is suitable for making detailed moulds and casts, commonly used with resin and polymers. Designed for small objects including those…
Frequently Asked Questions
Which type of silicone is best for home use?
Liquid silicone rubber is ideal for detailed moulds, while putty is best for quick, hand-shaped forms.
How can I avoid bubbles in my silicone mould?
Pour slowly from one corner, tap the mould gently, or use a pressure pot for intricate detail.
What is the safest mixing ratio?
Mixing ratios are typically 1:1 by weight or volume for home silicone rubbers, but always verify your specific product.
How long does silicone rubber take to cure?
Curing times range from 20 minutes for putty to 12 hours for some liquid silicones; check your product instructions.
What surfaces can I mould using home silicone?
Silicone rubber can make moulds of most solid objects including resin, plaster, wax, metals, and natural items.
Is protective equipment required?
Gloves and a well-ventilated workspace are recommended to prevent accidental contact and spills.