 Free shipping on orders over £29,85


How to make wooden and resin earrings?
Step-by-step guide blending wood and resin for unique earrings


Creating wooden and resin earrings is an engaging way to explore the art of jewellery making. This guide leads you through each step, from prepping your wooden shapes to achieving a flawless resin finish and attaching the final earring hooks. Whether you’re new to resin or looking to try a new creative project, you’ll find all the practical steps detailed below for stunning handcrafted earrings.
What You’ll Need
- “Evershine Collection” – Artisan Jewellery Epoxy Resin Kit with 100+ Accessories – for convenient resin mixing, moulds, pigments, and finishing touches
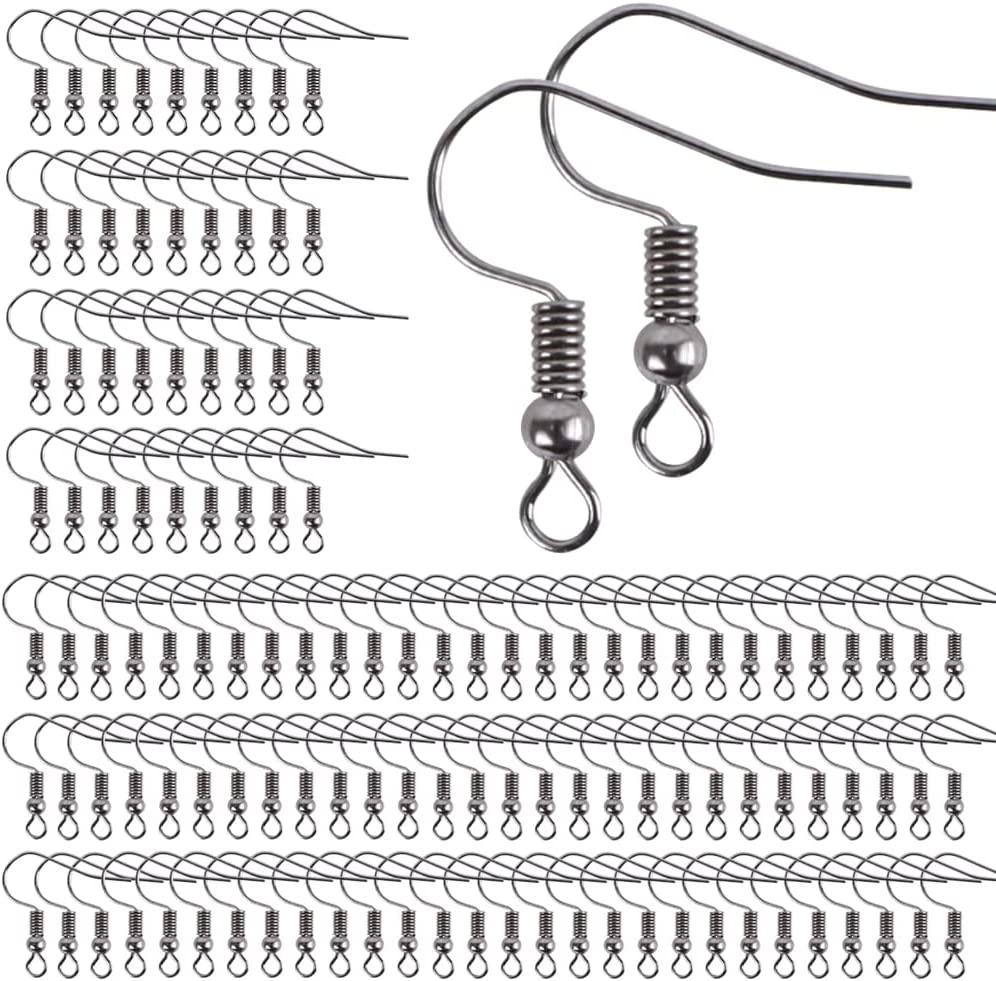
- Stainless Steel Earring Hooks for Jewellery Making – Lead & Nickel Free
- “One-2-One” – Epoxy Resin for Handcraft, 1:1 Mixing Ratio – alternative for standalone resin work
- “Fairy Wings” – UV Resin for Volumetric Reliefs, Dual Colour, 30ml – for quick detailed embellishments
- Wooden blanks or offcuts (pre-cut or shape your own)
- Fine sandpaper, gloves, and mixing containers

Essential Tools and Materials for Earring Making
Selecting the right resin and reliable findings is vital for both creativity and durability. Jewellery starter kits simplify processes by offering coordinated moulds, pigments, and detailed instructions—especially useful for first-time makers. Incorporating supplements like dried flowers or UV embellishments helps elevate your designs and ensures every earring set is truly unique.
Step 1: Prepare the Wooden Components
Start by selecting your wooden blanks. Sand the wood gently with fine grit sandpaper to smooth out edges and surfaces, ensuring a clean canvas for the resin layer. Remove any dust by wiping down with a dry, lint-free cloth. Consider pre-drilling hanging holes before any resin is applied for easier assembly later.
This prep is crucial as it allows the resin to stick well to the wood, avoids rough edges, and helps achieve a professional outcome. Choose untreated or pre-cut wood pieces for best results.
Step 2: Mix and Apply the Resin
Once your wood is ready, mix your chosen epoxy resin according to the instructions. For convenience and creative variety, the “Evershine Collection” – Artisan Jewellery Epoxy Resin Kit with 100+ Accessories provides a user-friendly 1:1 mixing formula, pigments for colour, and dried flowers for embedding.
Incorporate pigments, glitters, or small decorative elements if desired. Carefully pour or brush the resin onto the wooden blanks, spreading evenly. Apply resin in thin layers to minimise bubbles. For intricate raised effects, “Fairy Wings” – UV Resin for Volumetric Reliefs, Dual Colour, 30ml offers quick application and cures under UV light within minutes.
Allow the resin layer to settle, and use a cocktail stick or heat gun to gently remove any visible bubbles on the surface. Curing time depends on the resin type – ensure the piece is left undisturbed during this stage.
Step 3: Cure and Finish
After applying the resin, let your earrings cure fully as recommended by the product you use. Epoxy resins may require several hours to set, while UV resin can be cured within a few minutes under a UV lamp. Cure resin fully before moving to the next stage to avoid fingerprints or defects.
Once hardened, inspect the pieces for any rough edges or drips. Sand gently if needed, working on the back or sides to avoid scratching the surface. A final polish or clear coat can be applied to enhance gloss if desired. Sand and finish only after complete curing.
Step 4: Attach Jewellery Findings
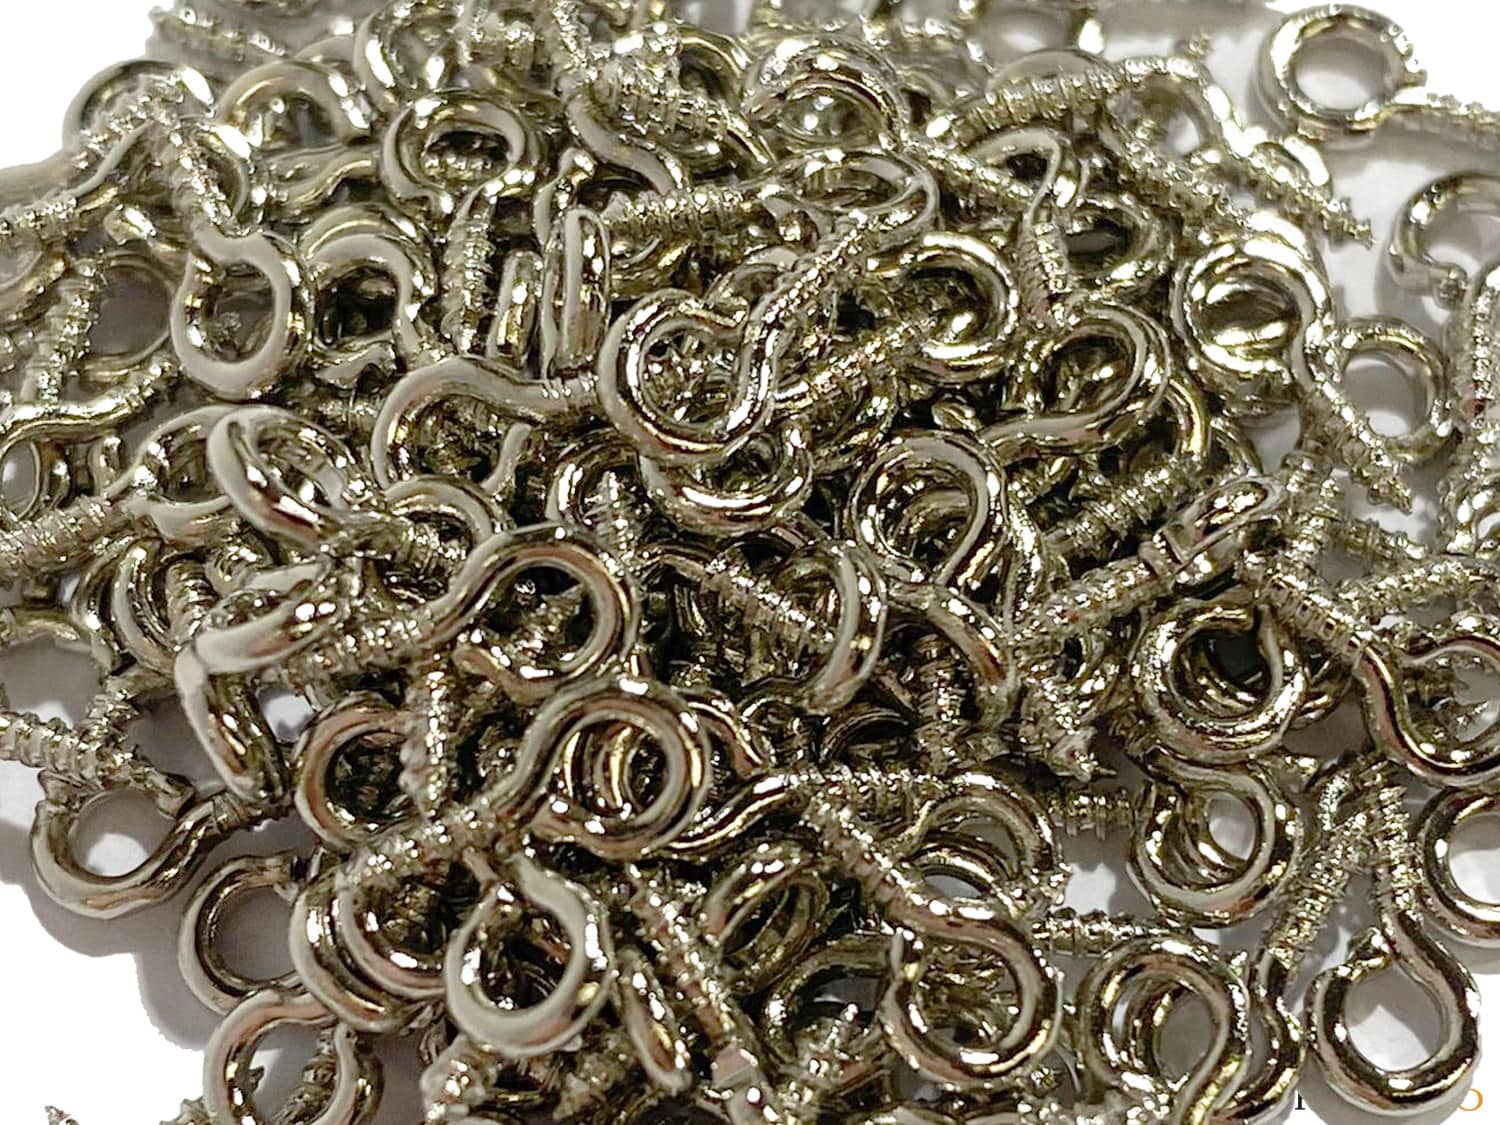
With your decorated pieces complete, it’s time to assemble the earrings. If you have pre-drilled holes, use small jump rings or eye screws to join the earring body to the hooks. Stainless Steel Earring Hooks for Jewellery Making – Lead & Nickel Free are a safe choice for sensitive skin and provide a professional, durable finish.
Use small pliers to ensure each connection is secure but not overtightened, which may crack the resin. Attach earring hooks carefully for a lasting finish. Give the final product a quick inspection to confirm all parts are secure.

Tips and Troubleshooting for Best Results
Work in a dust-free space and use gloves to keep fingerprints off the resin. Temperature and humidity can affect curing and finish, so keep materials at room temperature for best clarity. If bubbles persist, use a fine pin or a brief pass with a heat tool immediately after pouring. Always measure resin accurately and cure as directed to avoid tackiness or cloudiness.
Experiment with embedded materials and pigment swirls, but always test in small batches before attempting a final pair. Patience with each curing stage is key to professional, long-lasting earrings.
Creative Variations in Resin and Wood Earrings
Experiment with layered pigments and wood types for different styles—from minimalist to bold statement pieces. Adding metallic leaf, natural inclusions, or marbled resin effects can provide eye-catching details. Always consider finish and weight for comfortable, wearable art.
- "Evershine Collection" – Artisan Jewellery Epoxy Resin Kit with 100+ Accessories£20.85"Evershine Collection" is an all-in-one epoxy resin kit designed to support creating jewellery with a clear 1:1 resin and over 100 accessories.
- Stainless Steel Earring Hooks for Jewellery Making – Lead & Nickel Free£7.85Stainless Steel Earring Hooks designed for safe, long-lasting use in wooden and resin earring crafts.
- "One-2-One" – Epoxy Resin for Handcraft, 1:1 Mixing RatioPrice range: £14.85 through £56.85"One-2-One" epoxy resin is a medium viscosity, non-toxic resin suited for beginners and experienced crafters making jewellery and decorative items.
 "Fairy Wings" – UV Resin for Volumetric Reliefs, Dual Colour, 30mlOriginal price was: £15.15.£2.85Current price is: £2.85."Fairy Wings" UV Resin is designed for crafting detailed 3D reliefs with dual colours and fast UV curing.
Frequently Asked Questions
Are epoxy resins safe to use for earrings?
Yes, when fully cured and using non-toxic resins, the finished piece is safe to wear. Always follow safety instructions during handling.
How do I avoid bubbles in my resin earrings?
Pour resin in thin layers and use a heat gun or pin to remove bubbles immediately after pouring.
How long should resin earrings cure before wearing?
Cure times vary, but allow 24 hours for epoxy or several minutes for UV resin before sanding or assembling with findings.
Do I need to seal the wood before applying resin?
It's optional, but sanding smooth and making sure the wood is dry provides the best bond and clarity for the resin layer.
Can I embed flowers or objects in resin earrings?
Yes, dried flowers and small flat items can be embedded for decoration. Ensure objects are fully dried for best clarity.
Which earring hooks are best for sensitive skin?
Stainless steel, lead- and nickel-free earring hooks are safest and suitable for most people with sensitive skin.
How can I ensure my wood and resin earrings last?
Allow full curing, sand rough areas, and use quality hooks to ensure durability and a polished finish for your earrings.