 Free shipping on orders over £29,85


How to make resin figurines?
Step-by-step guide from mould making to finished pieces


Making resin figurines allows you to create bespoke, highly detailed models for gifts, hobby collections, or custom décor. Whether you’re a beginner or an experienced crafter, mastering the process ensures long-lasting results and lets your creativity shine. This guide walks you through every stage, from planning your design to casting and demoulding your finished figurine.
What You’ll Need
- “Pure Mould” – Translucent Liquid Silicone Rubber for Mould Making: Translucent silicone for detailed, reusable moulds.
- “IWhite” – Polyurethane Casting Resin – White, Fast-Curing Two-Part System: White polyurethane resin ideal for crisp, fast castings.
- “Polyform” – Polyurethane Casting Resin, Beige, Fast-Setting for Prototyping: For robust, quick-curing batches and prototyping.
- “Trasparente” – Multipurpose Clear Epoxy Resin for Casting – Up to 2cm: Crystal-clear finish for transparent figurines or artistic details.
- Disposable cups and mixing sticks
- Nitrile gloves and protective apron
- Lollipop sticks or small spatulas
- Protective covers or sheets for your workspace

Tools and Materials for Flawless Figurine Casting
Choosing the right silicone and resin is crucial to achieving crisp, bubble-free results. Translucent silicone makes it easy to monitor your casting process, while the right resin delivers strength and clarity. Lay out all tools and protect your workspace before starting to ensure a smooth experience from start to finish.

Step 1: Design or Select a Model for Your Figurine
Start bycreating or choosing the original model for your figurine. This can be an existing item (such as a sculpture, toy, or 3D print) or a hand-sculpted prototype in clay or wax. Ensure your original has clean, crisp details—these will be captured by the mould and transferred into the resin. If your model is delicate or has undercuts, reinforce or simplify the design to prevent the mould from tearing during removal.
Plan your figurine design in advance by considering the final use, colours, and any embedded details or paints you wish to add post-casting.
Step 2: Make a Silicone Mould
Build a mould box slightly larger than your model, ensuring it’s leak-proof. Place your item inside the mould box, securing it down if needed. Mix your mould-making silicone thoroughly following product instructions for an even consistency. If you need a highly detailed and see-through mould, use “Pure Mould” – Translucent Liquid Silicone Rubber for Mould Making.
Pour the silicone slowly from one corner, allowing it to flow around the model, which reduces trapped air bubbles. Tap or gently vibrate the mould box for better detail capture. Leave it to cure completely—timing varies, so follow the product guidance. Once set, remove the original model and carefully trim the mould if required.
Step 3: Mix and Pour the Resin
Choose the right resin for your figurine. For rapid turnaround and opaque results, select a polyurethane resin such as “IWhite” – Polyurethane Casting Resin (white) or “Polyform” – Polyurethane Casting Resin (beige). For a crystal-clear finish or to embed elements, opt for “Trasparente” – Multipurpose Clear Epoxy Resin.
Mix resin according to instructions on the packaging, paying close attention to ratios and mixing thoroughly until homogenous. Wear gloves and work in a well-ventilated area. Pour the resin slowly into the silicone moulds to minimise bubbles. For larger figurines, avoid pouring more than the recommended thickness, especially when working with epoxy resins.
Pour slowly to minimise bubbles and, if desired, use a toothpick or skewer to guide resin into hard-to-reach detail.

Step 4: Cure and Demould Your Figurine
Let the resin cure completely as per product guidelines—typically from 30 minutes to several hours depending on the resin type and temperature. Don’t rush this stage, as incomplete curing can result in surface tackiness or deformation upon removal.
Once cured, gently flex and peel back the silicone mould to release your figurine. If stuck, carefully loosen the edges; avoid using sharp tools that could damage the mould or resin.
Cure resin fully before demoulding to guarantee a durable and detailed result ready for finishing or painting.

Tips, Common Mistakes, and Troubleshooting
- Work in a well-ventilated area and wear gloves at all times when handling resin and hardener.
- Avoid direct skin contact; some resins can cause irritation.
- Avoid thick resin pours (especially with epoxy) to prevent overheating and cracking—layer if needed.
- Tackle unwanted bubbles with a toothpick or quick blast from a heat gun (if the resin type allows).
- Store leftover resin and silicone in airtight containers for future projects.
Extra Guidance for Mastering Resin Figurines
Keep your workspace at a stable room temperature to help moulds set and resins cure properly. Testing with a small batch before committing to a full figurine can save both time and material, allowing you to perfect your method and get consistently excellent results.

- "Pure Mould" – Translucent Liquid Silicone Rubber for Mould MakingPrice range: £22.85 through £158.85"Pure Mould" is a translucent, fast-curing liquid silicone rubber suitable for mould making. It is compatible with resins, plaster and cement.
- “IWhite” – Polyurethane Casting Resin – White, Fast-Curing Two-Part SystemPrice range: £22.85 through £34.85IWHITE is a fast-curing polyurethane resin designed for detailed casting and rapid prototyping in resin figurines.
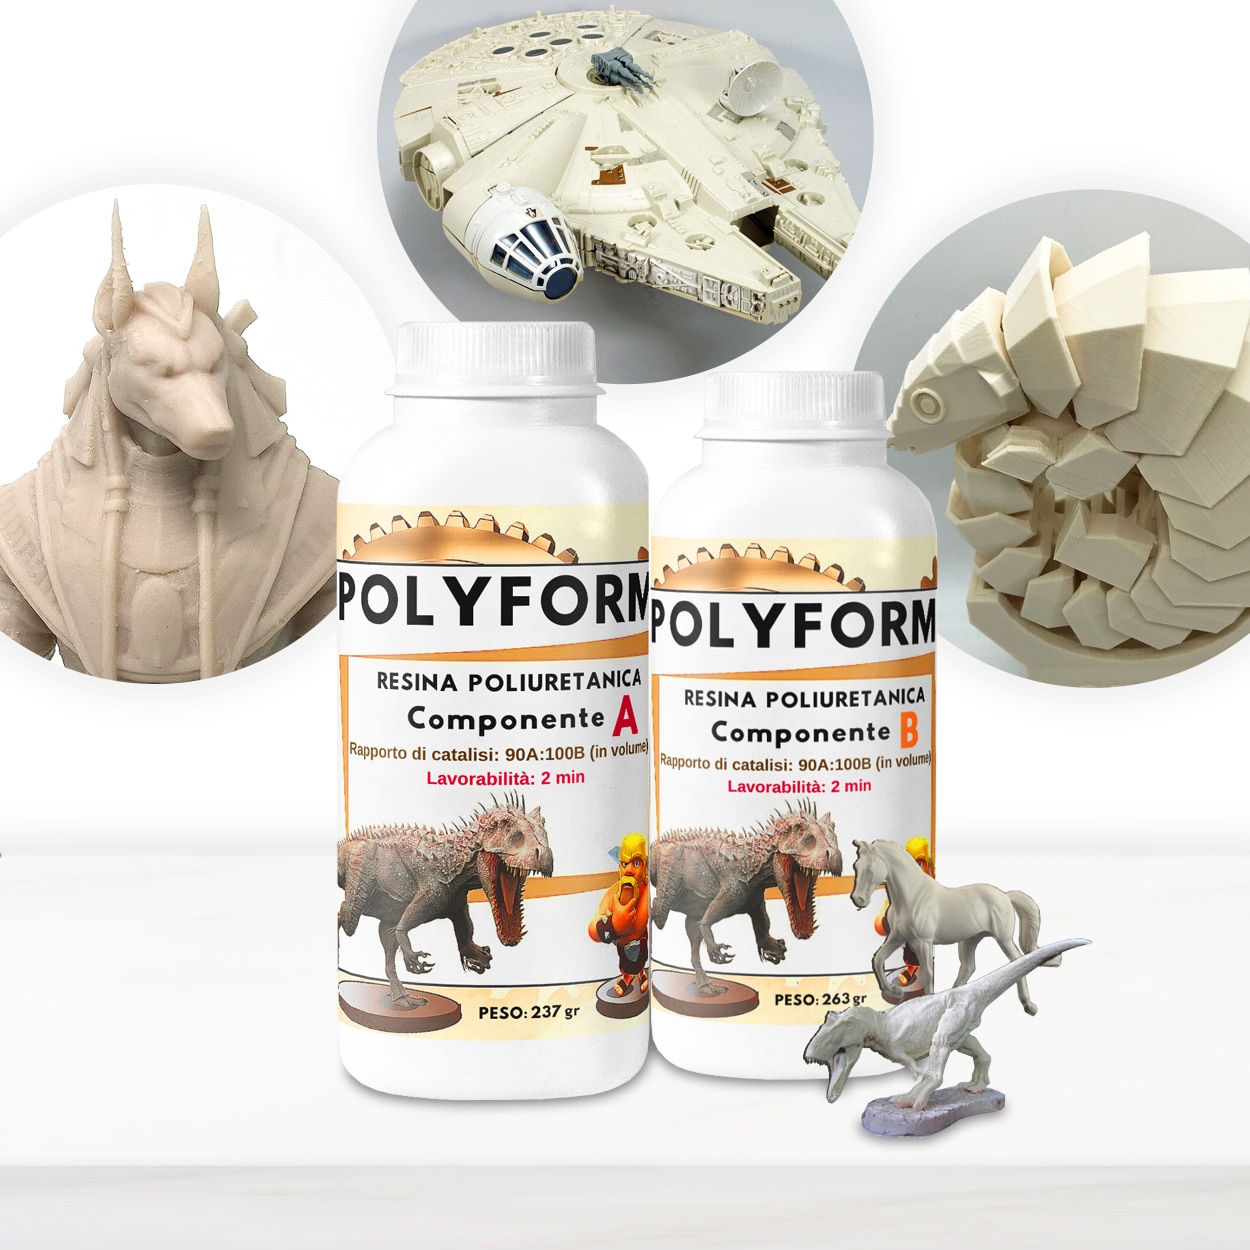 “Polyform” – Polyurethane Casting Resin, Beige, Fast-Setting for PrototypingPrice range: £19.85 through £134.85Polyform is a beige polyurethane resin suitable for detailed, fast-setting castings in prototyping and small batch production.
 "Trasparente" – Multipurpose Clear Epoxy Resin for Casting – Up to 2cmPrice range: £8.45 through £948.85"Trasparente" clear epoxy resin is designed for detailed castings and DIY projects, offering a glossy, self-levelling finish up to 2cm thick.
Frequently Asked Questions
Which resin is best for casting figurines?
Choose polyurethane resin for fast, opaque figurine casting or clear epoxy resin for crystal finish and embedded effects.
How do I prevent bubbles when pouring resin?
Pour resin slowly, tap the mould gently, and use a toothpick to release trapped bubbles in detailed areas.
How do I remove my figurine without damaging it?
Wait until the resin is fully cured, then gently flex the silicone mould and peel it back to protect fine details.
How long does resin take to cure for figurines?
Curing time varies by resin type: polyurethane may set in 30 minutes, while epoxy resins may need several hours.
Can I paint or colour my finished resin figurine?
Yes, most resins can be painted once fully cured; use paints compatible with plastic or resin surfaces for best results.
Are silicone moulds reusable and how do I care for them?
High-quality silicone moulds are reusable. Clean them gently with mild soap and water after each use for best longevity.
Can I use household items for my mould box?
Yes, common containers like plastic tubs can be repurposed for mould boxes as long as they're leak-proof and fit your model.