 Free shipping on orders over £29,85


How to make resin knife handles
Step-by-step guide for unique and durable knife handles


Creating custom resin knife handles allows you to craft durable, striking pieces that showcase your style and skill. This guide is designed for hobbyists and makers who want to learn the essential steps to cast, demould, sand, and polish their own resin handles, from safety considerations to achieving a flawless finish.
What You’ll Need
- “EpoxyTable 5-Five” – Deep Pour Epoxy Resin for Tables and Large Projects – Up to 5cm: Ideal for most resin knife handle pours due to its low exothermic reaction.
- “Epoxytable 10-Ten” – Deep Pour Epoxy Resin for Tables, Up to 10cm Casting: Use this if producing extra-thick handles or deeper cast moulds.
- Manual Polishing Pad Holder for Sanding & Polishind Pads: For precise sanding and polishing of intricate edges and surfaces.
- Dust Masks for Resins – Disposable Cup Masks for Light Dust Protection: For safe dust reduction when sanding.
- Suitable knife handle mould or box mould (typically silicone or HDPE).
- Mixing tools and high-precision scales.
- Gloves, microfibre cloths, and abrasive papers (various grits).
- Optional: pigments, dyes or inclusions for colour effects.

Visual Inspiration: Resin Knife Handle Designs
Browse stunning examples of resin knife handles showing different patterns, colours, and finishing techniques. Use these ideas to inspire your own unique handle creations or experiment with various pigments and embedded elements.

Step 1: Prepare Your Workspace and Mould
Begin by organising your workspace in a well-ventilated, dust-free area. Cover surfaces with protective sheeting to catch spills. Wear protective equipment such as gloves and a dust mask to minimise exposure to dust and resin during preparation and sanding.
Clean your mould thoroughly and apply a suitable mould release agent if needed. This ensures the resin doesn’t adhere permanently and allows for easy demoulding later. Position the mould level to guarantee an even handle profile.
Step 2: Mix and Pour the Resin
Weigh out your resin and hardener components accurately using digital scales. Mix the resin precisely according to the manufacturer’s instructions, ensuring a thorough blend to avoid sticky or soft spots. Avoid rushing; mix slowly to minimise air entrapment.
If you plan to incorporate pigments, dyes, or other inclusions, blend these into the mixed resin now for an even distribution. Pour the resin slowly into the mould, starting from one end to help displace air. Remove trapped bubbles by using a gentle heat source, such as a heat gun or torch, waved briefly over the surface.
For most standard knife handles, EpoxyTable 5-Five is well-suited, especially for pours up to 5cm in thickness. For deeper pours (up to 10cm), use Epoxytable 10-Ten to prevent overheating.
Step 3: Allow the Resin to Cure
Cover your mould with a dust shield and leave it undisturbed on a flat surface. Allow the resin to cure fully before demoulding according to product guidelines—this can take from 24 to 72 hours based on temperature and thickness. Avoid touching or moving the mould during this time, as premature handling can distort the handle shape or introduce unwanted marks.
Once the resin is no longer tacky and has set hard, gently remove the cured handle from the mould. You may need to flex the mould or use careful leverage. Inspect your casting for any flaws or voids.

Step 4: Shape, Sand, and Polish the Handle
With the blank demoulded, begin shaping with coarse abrasives (100–240 grit), gradually refining the contour to fit the knife tang and desired hand feel. Always sand in a well-ventilated space, and wear a dust mask for protection, especially when working with fine abrasives.
Progress through sanding grits gradually, moving to finer papers (400–1500 grit or higher) to smooth the surface and remove scratches. For intricate edges and details, the Manual Polishing Pad Holder offers precise control.
For a final gleam, use a polishing compound and a microfibre cloth or polishing pad. Polish by hand for maximum control and shine, working in gentle circles until the resin glows with clarity.

Tips and Common Mistakes
Measure resin and hardener accurately to prevent improper curing. Avoid pouring excessive thickness in one go unless your resin supports it—overheating can cause cracking or bubbles. Keep your workspace clean and wear proper safety equipment throughout. Rushing sanding and polishing can lead to cloudiness or uneven surfaces, so take your time for best results.
Detailed Close-ups: Finishing and Polishing
See step-by-step close-up shots demonstrating sanding and hand polishing. Examine the transformation from matte, freshly shaped resin to a flawless, glossy handle surface ready for installation on your custom knife.

- "EpoxyTable 5-Five" – Deep Pour Epoxy Resin for Tables and Large Projects – Up to 5cmPrice range: £16.85 through £1,099.85EpoxyTable 5-Five is a deep pour epoxy resin suitable for thick castings, offering UV resistance and a scratch-resistant surface.
- “Epoxytable 10-Ten” – Deep Pour Epoxy Resin for Tables, Up to 10cm CastingPrice range: £33.85 through £334.85This epoxy resin is suitable for deep pouring up to 10cm in thick table and artistic resin castings within the knife handle making theme.
 Manual Polishing Pad Holder for Sanding & Polishind Pads£4.85Manual Polishing Pad Holder allows comfortable manual sanding and polishing, suitable for intricate corners in resin knife handle making.
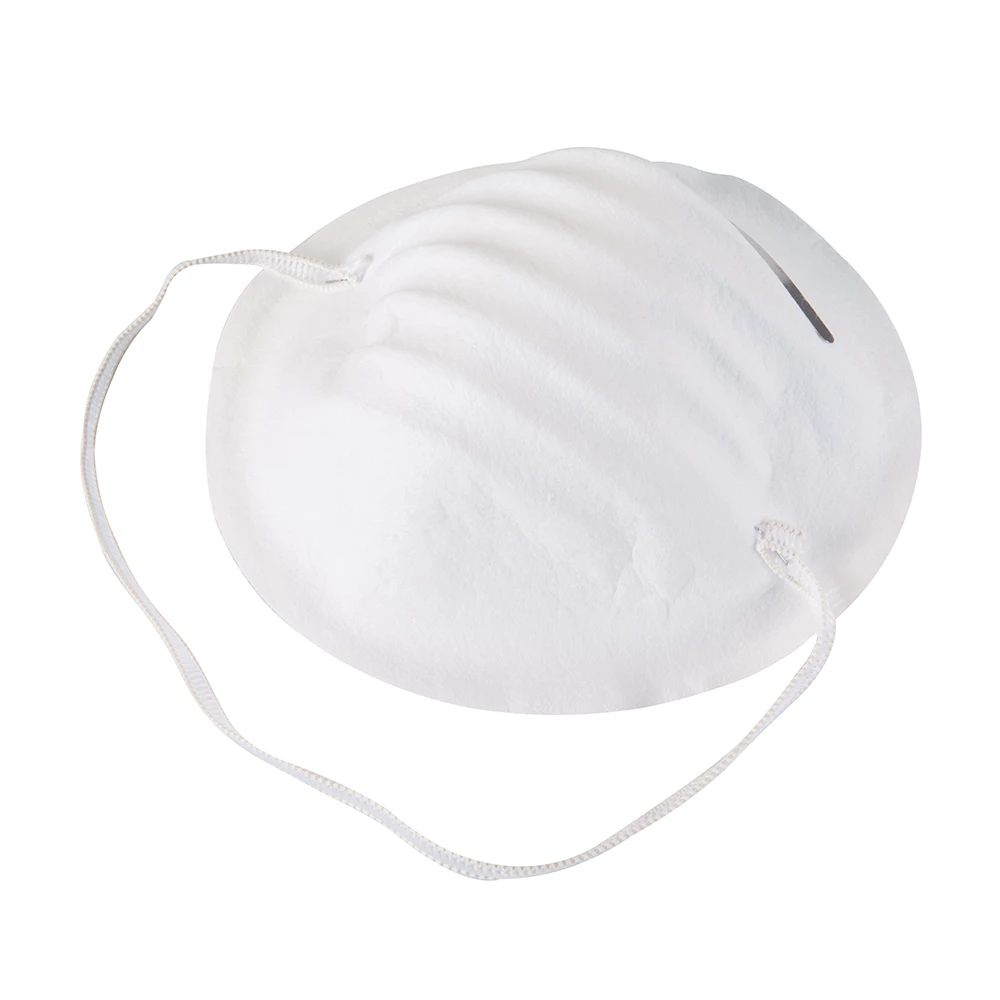 Dust Masks for Resins – Disposable Cup Masks for Light Dust ProtectionPrice range: £4.15 through £20.15Simple disposable cup masks designed for light dust protection during resin crafting and sanding activities.
Frequently Asked Questions
Which resin type is best for knife handle casting?
For handles up to 5cm thick, EpoxyTable 5-Five is ideal. For deeper pours, use Epoxytable 10-Ten.
How do I prevent bubbles in my resin knife handles?
Mix slowly, pour carefully, and use gentle heat to release trapped air after pouring.
What is the safest way to sand resin knife handles?
Always wear a dust mask, sand in a ventilated area, and progress through finer grits slowly.
Can you polish resin knife handles by hand?
Yes, using a manual polishing pad and microfibre cloth gives the best control and shine.
How long should resin cure in the mould for knife handles?
Resin typically needs 24–72 hours to fully cure, depending on thickness and temperature.
How can I fix imperfections in my resin knife handle?
Small flaws can be sanded and re-polished; larger voids may require a secondary resin fill.