 Free shipping on orders over £29,85


How to Make Erasers Using Silicone?
Crafting your own erasers using silicone is a rewarding and creative project, perfect for crafters, students, or anyone looking to personalise their stationery. This guide walks you through the essential steps to successfully make silicone erasers, covering everything from choosing materials to finishing touches for a truly custom result.
Step-by-step guide to crafting custom silicone erasers


What You’ll Need
- “Pure Mould” – Translucent Liquid Silicone Rubber for Mould Making: A platinum-based silicone rubber for creating detailed and durable moulds.
- “Liquid Mould” – Casting Liquid Silicone Rubber, 5-40 Shores, Bi-Component A+B: Ideal for capturing the fine details in your eraser design.
- “I–Gum” – Non-Toxic Silicone Putty for Mould Making: A non-toxic putty to create quick and precise custom shapes.
- “3 Sphere” – Silicone Mould for Jewellery and Crafts, 1cm-2.5cm Spheres: Ready-made mould for polished spherical erasers.
- Mixing containers, spatulas, and measuring scale
- Silicone-safe colourant (optional, for coloured erasers)
- Release agent (if used with intricate or multi-use moulds)
- Nitrile gloves and workspace protection

Visualising Custom Eraser Designs
Explore the possibilities by looking at finished custom erasers and the range of silicone mould shapes available. Inspiration can often come from seeing what others have created with translucent liquid silicone and bespoke designs.

Step 1: Plan and Prepare Your Mould
Start by deciding whether you want to use a pre-made mould, such as the “3 Sphere” – Silicone Mould for Jewellery and Crafts, 1cm-2.5cm Spheres, or craft your own shape with putty or liquid silicone. Ensure your chosen mould is clean, dry, and free from any debris. Protective gloves and a well-ventilated workspace are always recommended for this process. If you plan on making a mould from an existing object, coat the item with a release agent to prevent sticking and ensure a smooth demoulding.
Check the mould for air bubbles. Tap or vibrate the mould gently to release trapped air that can affect detail quality.
Step 2: Mix Your Silicone Materials
Measure the components according to your chosen silicone product’s instructions. For example, if using “I–Gum” – Non-Toxic Silicone Putty for Mould Making, prepare equal parts A and B and knead them thoroughly until the colour is uniform. With liquid silicones, such as “Pure Mould” – Translucent Liquid Silicone Rubber for Mould Making, mix in the catalyst as required. Pour or press the silicone into your mould, ensuring it fills every crevice for maximum detail.
Measure carefully for mixing accuracy. Incorrect ratios can affect setting time and flexibility.
Step 3: Allow Time for Curing
Leave the silicone in the mould for the recommended curing time—often between 20 minutes and 8 hours, depending on the product and size. Do not rush this stage. Optimal curing results in a more robust, flexible eraser, less prone to tearing during use.
Do not demould too early. Premature removal can cause shape distortion or sticking.

Step 4: Demould and Finish Your Eraser
Once the silicone is set, gently demould your eraser. If resistance is felt, work slowly around the edges rather than pulling forcefully. Clean up any rough edges with scissors or a craft knife. If desired, you can add colour pigments during mixing to make personalised designs. Wash and dry your silicone eraser before first use, and it’s ready to go!
Use release agents if needed. Particularly with complex or reused moulds, this helps ensure a clean release.

Tips and Common Mistakes
Work patiently to avoid trapping air and ensure accurate mixing for best results. Avoid excessive quantities of colourant, which can hinder curing. Always check manufacturer guidelines on safe working temperatures and use only compatible materials. Avoid extreme heat near uncured silicone. This can compromise both the shape and longevity of your erasers.
Showcase: Silicone Eraser Creations in Process
Observe the craft at every stage—from mixing, pouring, and the crucial demoulding step. Demonstration projects highlight how different moulds, including sphere silicone moulds, make complex shapes achievable for any skill level.

- "Pure Mould" – Translucent Liquid Silicone Rubber for Mould MakingPrice range: £22.85 through £158.85"Pure Mould" is a translucent liquid silicone rubber suitable for mould making and compatible with resins and other materials.
- "Liquid Mould" – Casting Liquid Silicone Rubber, 5-40 Shores, Bi-Component A+BPrice range: £13.45 through £368.85"Liquid Mould" casting liquid silicone rubber is designed for making detailed moulds and fine reproductions, compatible with resins and pastes.
 "I–Gum" – Non-Toxic Silicone Putty for Mould MakingPrice range: £22.85 through £99.85"I–Gum" is a non-toxic silicone putty designed for mould making with an easy 1:1 mix ratio, suitable for resin and other materials.
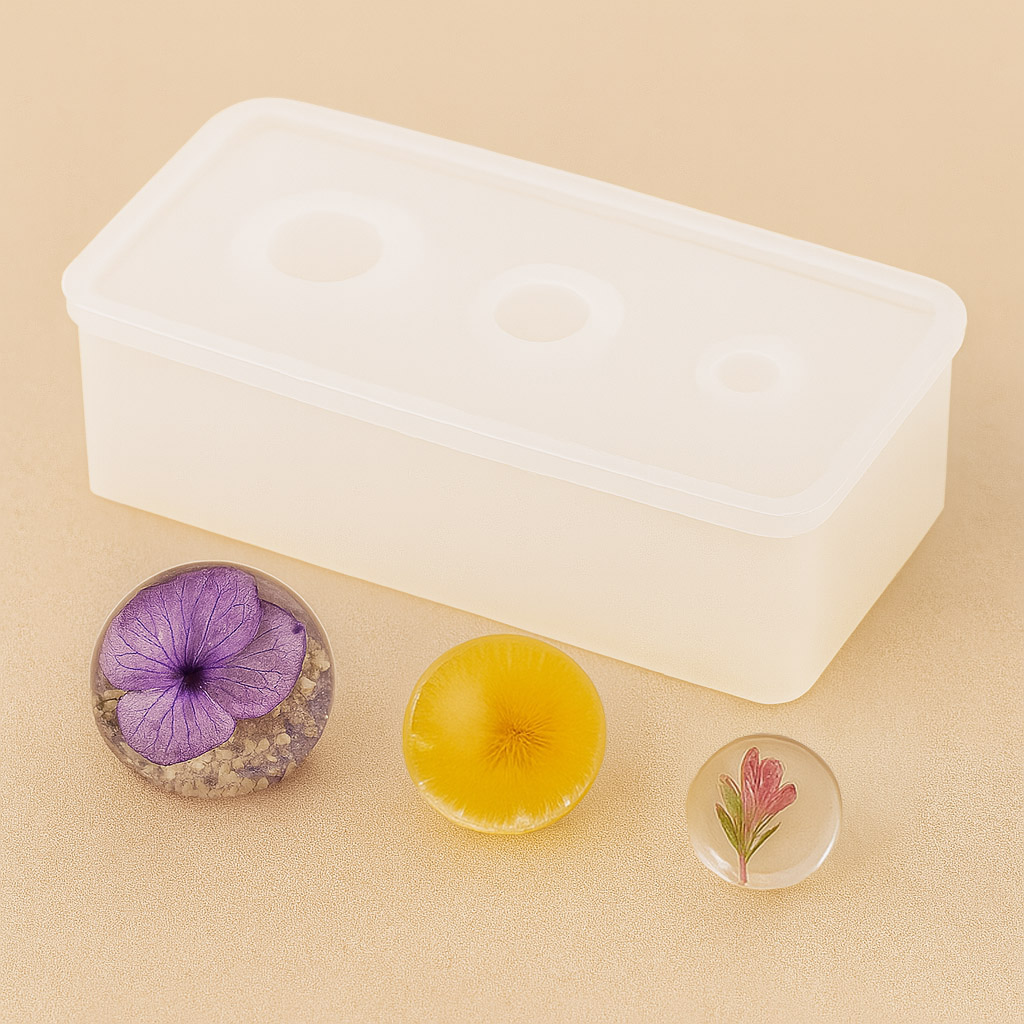 "3 Sphere" – Silicone Mould for Jewellery and Crafts, 1cm-2.5cm Spheres£6.85"3 Sphere" silicone mould is designed for creating polished spherical items using materials like resin or clay.
Frequently Asked Questions
Can I use regular household silicone to make erasers?
For best results, specialist mould-making silicone is recommended, as standard sealants may not cure consistently or offer the right flexibility.
Are silicone erasers made this way safe for children?
Using non-toxic silicone putty is generally safe, but always supervise children and ensure products state non-toxicity clearly.
How should I clean silicone erasers once finished?
Rinse your newly-made eraser in warm, soapy water and let it dry fully before use.
Is it possible to add colours to my silicone erasers?
Yes, you can mix pigment suitable for silicone during preparation for personalised results.
What should I do if the eraser sticks to the silicone mould?
Apply a silicone-safe release agent beforehand or use gentle pressure and warm water to aid removal.
Which eraser mould shapes are easiest for newcomers?
Simple geometric shapes or ready-made sphere moulds are ideal for those new to DIY silicone work.
How long should I let my silicone eraser cure in the mould?
Curing times vary by product—typically between twenty minutes and eight hours. Always check product instructions.