 Free shipping on orders over £29,85


How to Make DIY Silicone Rubber
Essential steps for crafting reliable silicone rubber moulds

Creating your own silicone rubber moulds is an empowering skill whether you’re into resin art, candle making, jewellery, or small repairs. Mastering the process lets you replicate objects with impressive detail and flexibility, expanding your crafting or hobby abilities far beyond what off-the-shelf solutions offer.
What You’ll Need
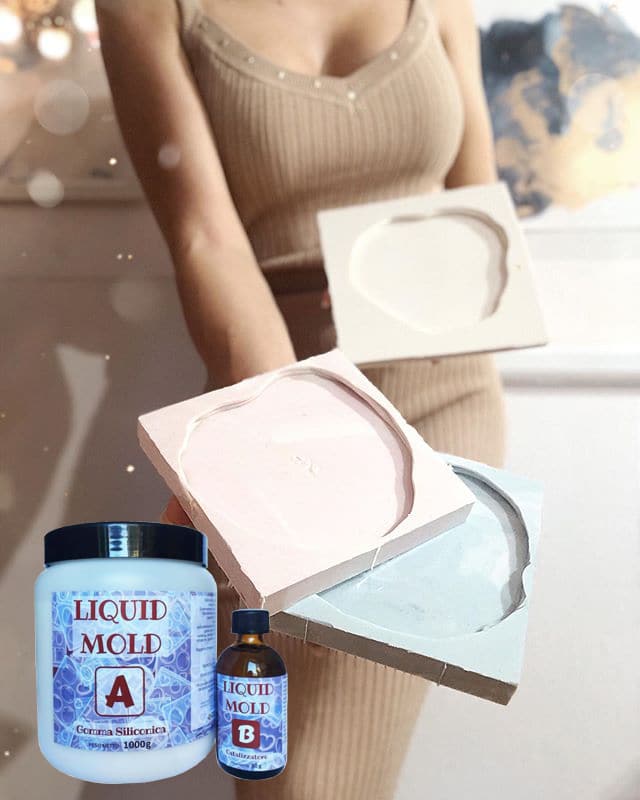
- “Liquid Mould” – Casting Liquid Silicone Rubber, 5-40 Shores, Bi-Component A+B: Bi-component liquid silicone for highly detailed moulds.
- “Pure Mould” – Translucent Liquid Silicone Rubber for Mould Making: Transparent silicone ideal for surveillance during curing.
- “I–Gum” – Non-Toxic Silicone Putty for Mould Making: User-friendly putty option suitable for manual and quick impression moulds.
- Silicone Oil for Mould Protection and Easy Release – 15ml: For lasting mould protection and easier release of cast items.
- Mixing containers and measuring tools
- Stirring sticks or spatulas
- A model or item to create a mould of
- A well-ventilated, dust-free workspace
- (Optional) Release agent if needed
Silicone Rubber Mixing in Action
See up-close how mixing different types of silicone leads to various consistencies and clarity. Observe the preparation of liquid and putty silicones for different mould making techniques. This hands-on view reveals what to expect at each mixing stage, helping you choose the best product for your project.
Step 1: Prepare Your Workspace and Master Safety Precautions
Protect your workspace and wear gloves to prevent spills or direct skin contact with silicone components. Lay down a disposable cover or wax paper and ensure your area is free from dust, as silicone can easily pick up debris. Good ventilation is especially important if using products that may emit odours during curing.
Gather all the tools and materials you need before starting. Have your model ready, and if you wish, apply a suitable release agent to your model for easier mould removal—the Silicone Oil for Mould Protection and Easy Release – 15ml is effective for this purpose and will help preserve your silicone mould for many uses.

Step 2: Measure and Mix the Silicone Components
Accurate measurement is essential to ensure a proper cure. Most silicone rubber kits, such as the “Liquid Mould” – Casting Liquid Silicone Rubber, 5-40 Shores, Bi-Component A+B, require a precise mix of part A and part B, typically in specified ratios (often 1:1 or as directed). Read the manufacturer’s instructions carefully and use clean measuring tools.
Mix thoroughly for the best results. Use a stirring stick or spatula to blend your two components, making sure to scrape the sides and base of the container to achieve a consistent texture. Incomplete mixing can lead to patches that remain sticky or soft. For putty-based systems like “I–Gum” – Non-Toxic Silicone Putty for Mould Making, knead equal amounts of each component by hand until a uniform colour is acquired, indicating full integration.
Step 3: Pour or Apply the Silicone Over the Model
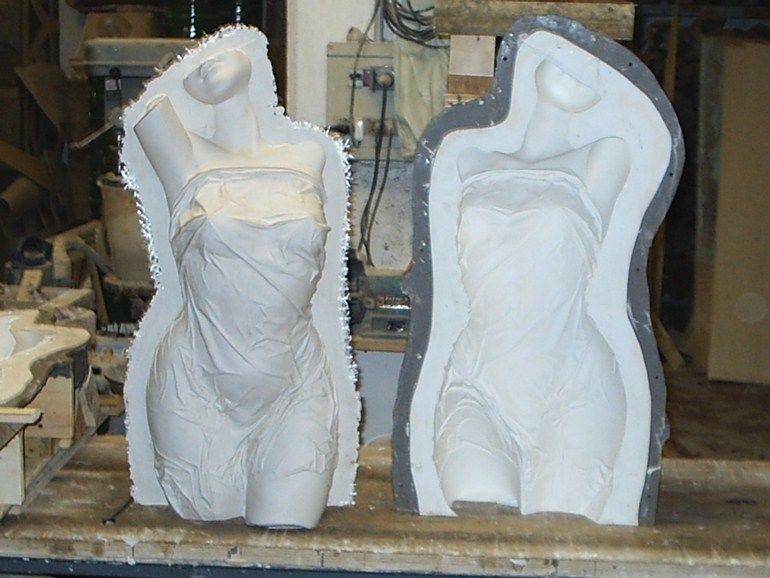
Decide whether you’re doing a pour casting (for fine detail or complex shapes) or a putty impression (for quick or small projects). Pour slowly and steadily if using liquid silicone rubber, beginning in one spot and letting the material naturally flow and envelop the object. This method helps minimise air bubbles and ensures even coverage of intricate details.
For applications requiring high visual monitoring, the “Pure Mould” – Translucent Liquid Silicone Rubber for Mould Making allows you to observe coverage and bubble formation through the mould wall. If using a putty, simply press and shape it around your object, ensuring thorough contact with all surfaces.
Step 4: Let the Silicone Cure Fully
Be patient with curing time; consult your product’s guidance for the exact duration, which may range from 20 minutes (putties) up to 8-12 hours (some liquids). Leave the mould undisturbed in a quiet place, away from dust or moisture. Most silicone rubbers, once fully set, offer excellent flexibility and tear resistance for repeated use.
Resist the temptation to demould too soon. The longer you wait (adhering to manufacturer timings), the more durable and long-lasting your finished mould will be.

Tips for Success and Troubleshooting Common Mistakes
Avoid air bubbles by pouring silicone from a low height, in a steady stream, and if possible, gently tapping the mould frame to release trapped air. For very intricate models or deep moulds, consider brushing the first layer of silicone onto the object.
Ensure your ratios are exact, as guessing measurements may cause incomplete curing. Clean all tools promptly after use—even if the chosen silicone is non-stick for convenience.
Store leftover silicone properly in sealed containers, away from humidity and direct sunlight, to keep it usable for future projects.
Demoulding and Finishing Techniques
Watch how to safely remove your cured silicone mould and prepare it for repeated use. Learn practical methods to demould without tearing or stretching, as well as how to use Silicone Oil for Mould Protection and Easy Release – 15ml for extending the lifespan and flexibility of your silicone moulds.
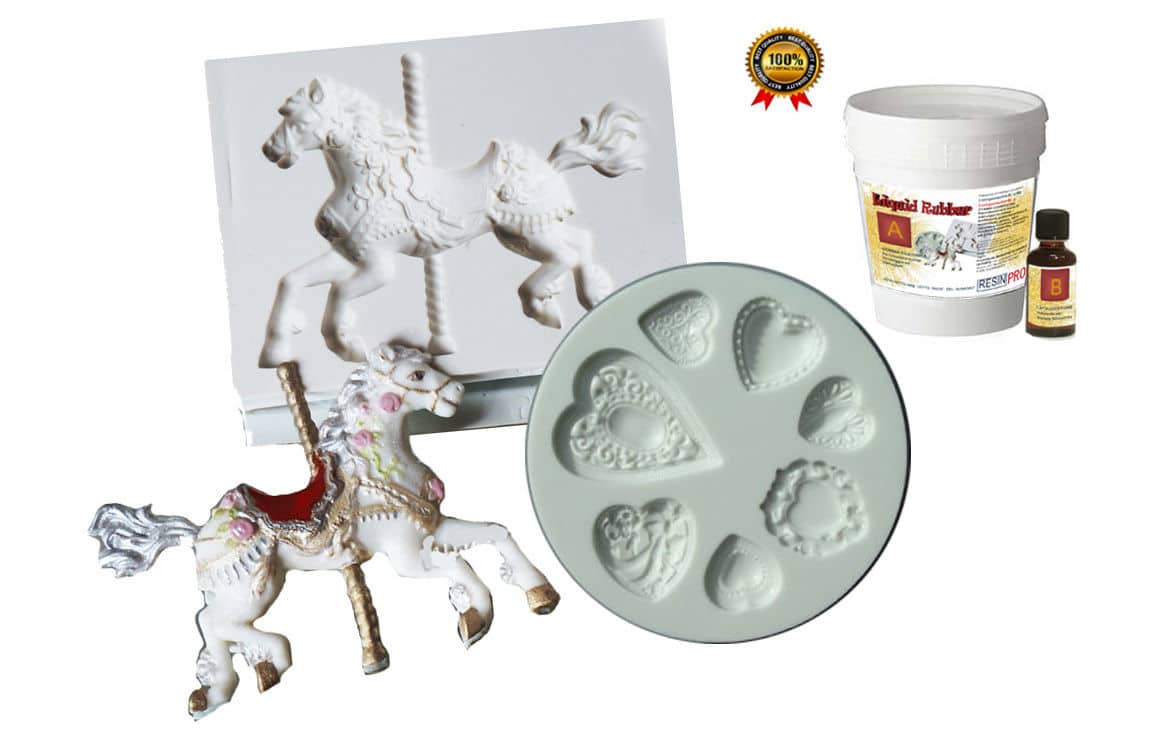
- "Liquid Mould" – Casting Liquid Silicone Rubber, 5-40 Shores, Bi-Component A+BPrice range: £13.45 through £368.85"Liquid Mould" casting liquid silicone rubber is suited for making detailed moulds of small objects under the DIY silicone rubber theme.
- "Pure Mould" – Translucent Liquid Silicone Rubber for Mould MakingPrice range: £22.85 through £158.85"Pure Mould" offers a translucent, platinum-based liquid silicone rubber designed for mould making, suitable for use with resins, plasters, and…
 "I–Gum" – Non-Toxic Silicone Putty for Mould MakingPrice range: £22.85 through £99.85"I–Gum" is a two-component non-toxic silicone putty designed for mould making, suitable for use without gloves and with a 20 minute working time.
 Silicone Oil for Mould Protection and Easy Release – 15ml£5.15Silicone Oil for Mould Protection and Easy Release provides mould protection and supports resin crafting in the DIY silicone rubber theme.
Frequently Asked Questions
How do I choose the right silicone rubber type?
Base your choice on the size, shape, and detail level of the item to be moulded. Liquids suit finer detail, while putties offer quick impressions.
How can I reduce bubbles during casting?
Pour silicone slowly in a thin stream and tap the container gently to allow trapped air to escape. For complex items, brush on the first layer.
How do I clean my tools after using silicone?
Clean immediately with a suitable solvent or warm soapy water before curing finishes. Non-stick silicone putties make clean-up easier.
How long does silicone rubber take to cure?
Curing times vary by product and ambient conditions but generally range from 20 minutes for putties to 8–12 hours for liquid silicones.
What’s the best way to store uncured silicone and finished moulds?
Keep unmixed silicone tightly sealed, away from humidity and heat. Store finished moulds flat, clean, and lightly oiled if used frequently.
When should I use a release agent with silicone rubber?
If the model is porous or you’re concerned about sticking, apply a suitable release agent or silicone oil to the original before moulding.
Can these moulds be used for resin casting?
Yes, most DIY silicone moulds are compatible with resins like epoxy, polyester, and polyurethane for art, jewellery, and crafts.