 Free shipping on orders over £29,85


how to make resin spheres
Step-by-step process for perfect handmade resin spheres
Creating resin spheres is a rewarding process that opens a world of possibilities for jewellery making, home décor, and unique craft gifts. This guide will walk you through every step, from preparation to final polish, ensuring you achieve clear, bubble-free resin spheres suitable for a range of creative projects. Whether you are an absolute beginner or an experienced crafter, you’ll learn essential tips and techniques to get professional results every time.
What You’ll Need
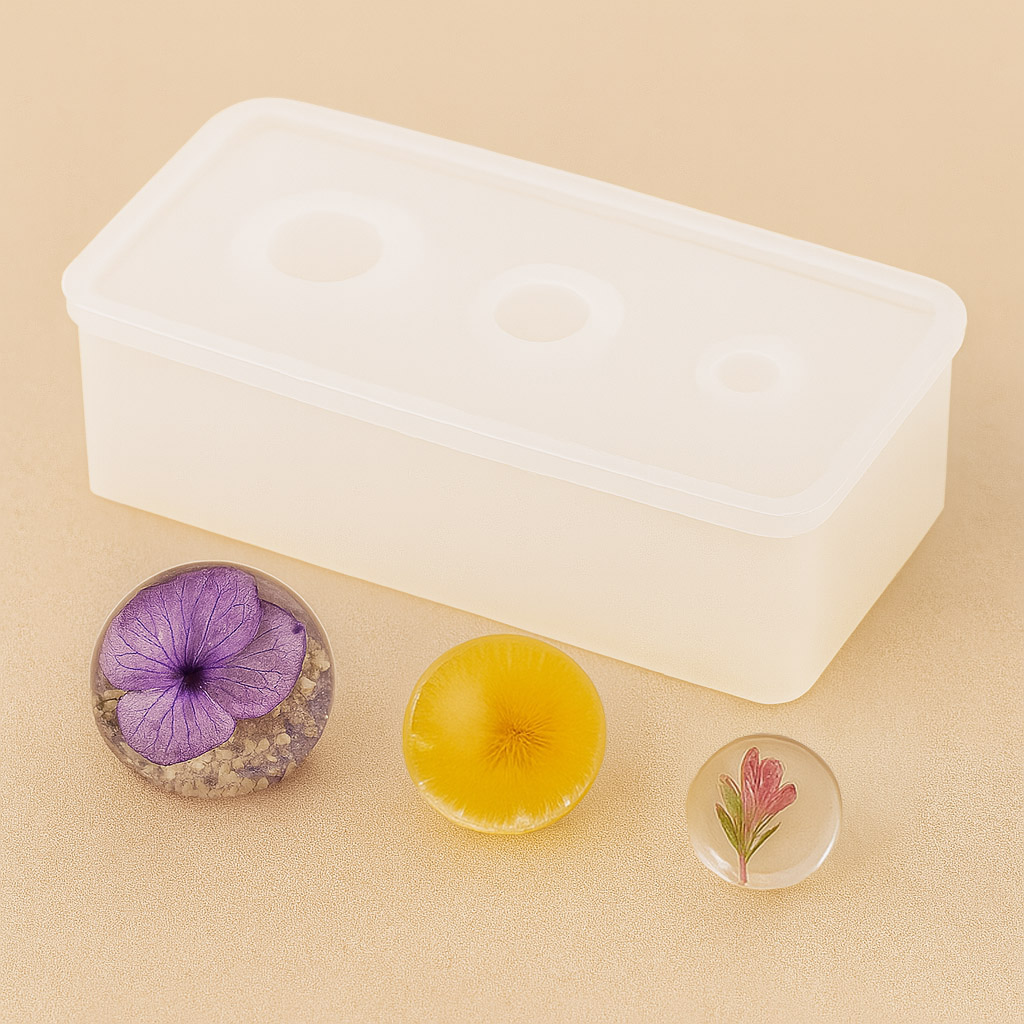
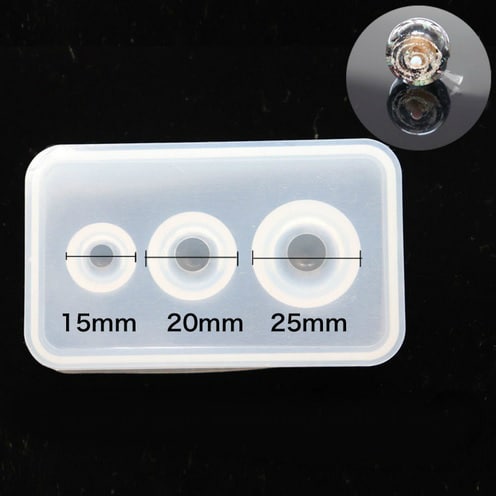
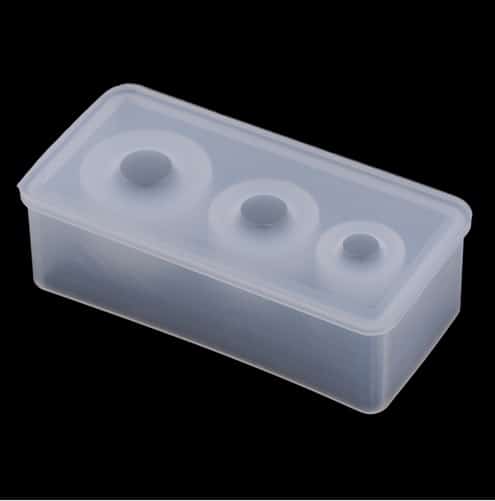
- “3 Sphere” – Silicone Mould for Jewellery and Crafts, 1cm-2.5cm Spheres – reusable, easy-release mould for precise shapes
- “Icrystal” – Clear Epoxy Resin – Odourless Formula – Up to 1.5cm or “Trasparente” – Multipurpose Clear Epoxy Resin for Casting – Up to 2cm – for clear, bubble-free casting within maximum layer thickness
- Protective gloves and apron
- Mixing cups and stirring sticks
- Surgical mask and safety glasses (optional, for extra precaution)
- Toothpicks or fine sticks (for bubble removal)
- Sandpaper and polishing paste (for finishing, optional)
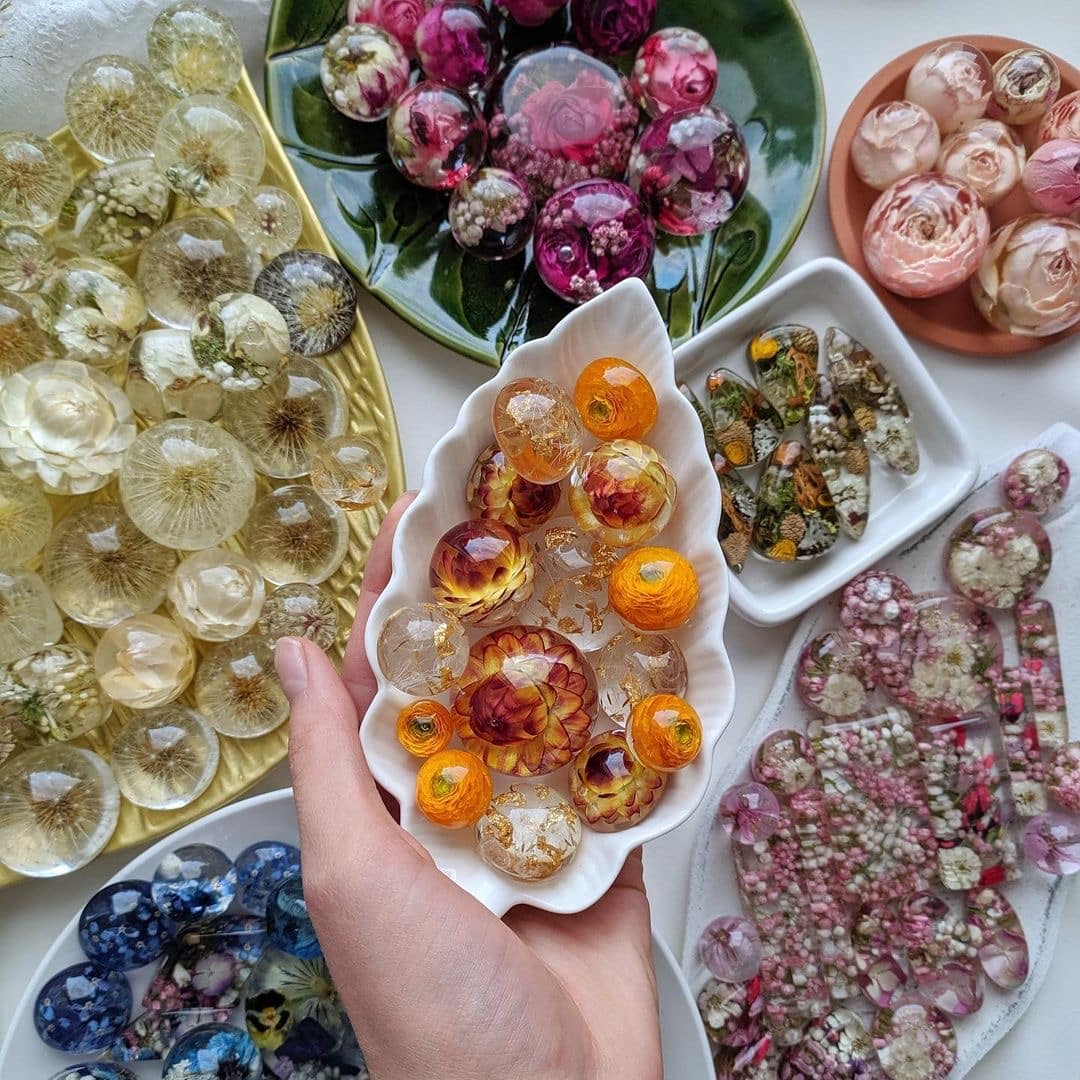
Visual Inspiration: Resin Sphere Artistry
Explore a variety of finished resin spheres, showcasing applications from handmade jewellery beads to decorative miniatures and display pieces. Notice the clarity, bubble-free finish, and creative uses of translucent or pigmented resin in each example.
Step 1: Prepare Your Workspace and Materials
Always work in a well-ventilated area and wear gloves. Lay out all your tools and protective equipment before you begin. Place your “3 Sphere” – Silicone Mould for Jewellery and Crafts, 1cm-2.5cm Spheres on a flat surface to ensure the resin settles evenly. Check the mould for any dust or residue, cleaning it gently with soap and water if needed, and dry it thoroughly before use.
Plan your casting area away from direct sunlight, and keep pets or children clear of the workspace. This keeps your pieces safe from contamination and ensures a consistent curing temperature.
Step 2: Measure and Mix Your Resin
Measure resin and hardener precisely. Follow the manufacturer's instructions for your chosen epoxy. For smaller spheres (up to 1.5 cm), “Icrystal” – Clear Epoxy Resin – Odourless Formula – Up to 1.5cm is ideal. For spheres up to 2 cm, choose “Trasparente” – Multipurpose Clear Epoxy Resin for Casting – Up to 2cm. Use separate mixing cups for each component before combining, and stir slowly to avoid introducing air bubbles.
Mix thoroughly, scraping the sides and base of your container. Improper mixing can cause soft spots or incomplete cures. Allow the mixture to rest briefly; this can help air bubbles rise to the surface.
Step 3: Pour the Resin into the Mould and Remove Bubbles
Slowly pour the mixed resin into the silicone mould cavities. Pour in stages if filling larger moulds to avoid overflow or bubble traps. Gently tap the mould to encourage any air bubbles to escape. Use a toothpick or fine stick to pop stubborn surface bubbles as they appear.
Check the maximum recommended layer thickness for your resin (1.5cm for “Icrystal” and 2cm for “Trasparente”) and do not pour deeper than this in one go. Over-pouring can cause overheating or curing issues.

Step 4: Allow to Cure and Demould
Allow the resin to cure completely before demoulding. Place the filled mould somewhere level and undisturbed for the curing time indicated by your resin instructions. Typical demoulding occurs after 8–24 hours, depending on product and ambient temperature. Do not try to accelerate curing with external heat sources as this may damage your piece or the mould.
Once cured, gently flex the silicone mould to release the spheres. Remove casts within 12 hours of curing to prevent sticking or damage to the mould surface.

Step 5: Finishing Touches – Sanding and Polishing
If your resin spheres have a seam line or require a glassy finish, sand gently with fine-grit sandpaper and water until smooth. For a mirror polish, use a polishing paste and soft cloth, buffing with circular motions until the sphere shines. This step is optional but recommended for high-gloss results, especially for display or jewellery use.
Clean finished spheres with a soft cloth to remove dust or polishing residue before assembling into jewellery or craft projects.
Tips, Common Mistakes, and Troubleshooting
Work within the pour limits to avoid overheating or sticky finishes. Mixing too quickly can introduce bubbles; always stir gently and allow the resin to rest before pouring. If you spot bubbles after pouring, use a pin or toothpick rather than external heat to avoid damaging the silicone.
Ensure the mould is completely dry and free from oil or dust, as residue can mar the finished surface. For best results, demould spheres promptly after they’re fully cured, but not so late that they risk sticking to the silicone.
Showcase: Finishing Techniques and Creative Results
Before and after photos demonstrate the impact of polishing and careful demoulding on the surface clarity and shine of resin spheres. Compare hand-finished spheres with freshly demoulded examples to appreciate the transformation possible with just a little extra effort.

- "3 Sphere" – Silicone Mould for Jewellery and Crafts, 1cm-2.5cm Spheres£6.85"3 Sphere" silicone mould is suitable for creating small spheres with various materials in crafts and jewellery.
- "Icrystal" – Clear Epoxy Resin – Odourless Formula – Up to 1.5cmPrice range: £11.65 through £954.85"Icrystal" clear epoxy resin provides high transparency and scratch resistance with easy use, suitable for making resin spheres.
 "Trasparente" – Multipurpose Clear Epoxy Resin for Casting – Up to 2cmPrice range: £8.45 through £948.85"Trasparente" is a clear casting epoxy resin suitable for detailed and small layer projects up to 2 cm, designed to support crafting and table…
Frequently Asked Questions
What materials do I need to make resin spheres?
You will need a silicone sphere mould, clear epoxy resin, mixing tools, protective gloves, and optional sanding and polishing supplies.
How do I prevent or remove bubbles in resin spheres?
Mix resin slowly, let it rest, and use a toothpick to pop bubbles after pouring. Avoid stirring too vigorously.
When can I remove resin spheres from the mould?
Demould once fully cured, usually after 8–24 hours. Check your resin’s instructions for precise times.
Which resin is best for different sphere sizes?
For up to 1.5cm spheres use 'Icrystal', for up to 2cm choose 'Trasparente'. Do not exceed the recommended thickness per pour.
How can I get rid of seam lines on my resin spheres?
Sand gently with fine-grit paper, then polish with a soft cloth and paste for a smooth, glossy finish.
Can I colour or embed objects in resin spheres?
Yes, compatible pigments and small objects can be mixed into resin before pouring for creative effects.