 Free shipping on orders over £29,85


How to make a mould with silicone rubbers?
Step-by-step guide to safe, detailed silicone mould making


Creating custom silicone moulds is essential for anyone crafting with resin, plaster, wax, or other casting materials. A well-made mould captures every detail and makes casting easy and reliable. This guide will show you how to make a high-quality silicone rubber mould from start to finish, with practical advice for professional and hobbyist projects alike.
What You’ll Need
- “Pure Mould” – Translucent Liquid Silicone Rubber for Mould Making — Great for fine, detailed transparent moulds and versatile use.
- “Liquid Mould” – Casting Liquid Silicone Rubber, 5-40 Shores, Bi-Component A+B — Suitable for highly detailed objects with intricate undercuts.
- “I–Gum” – Non-Toxic Silicone Putty for Mould Making — Ideal for quick, hand-shaped moulds and smaller items.
- “Five” – 5-Piece Silicone Mould Set for Jewellery Making 9x8cm — Perfect for ready-to-use jewellery and resin cast designs.
- Mixing vessels and spatula
- Mould box or container (plastic or wood)
- Object to be moulded
- Release agent (if needed for difficult surfaces)
- Gloves and protective cover

Silicone in Action: Crafting a Detailed Jewellery Mould
See how liquid silicone rubber is poured into a jewellery mould box, flowing around every intricate detail. Notice the clarity of the translucent silicone—making it easy to watch for and correct surface air bubbles during the process.

Step 1: Prepare Your Model and Workspace
Start by cleaning your original object thoroughly. Any dust or residue may transfer to the mould surface. Choose a container just large enough for the object, leaving space all around for the silicone. Set up your workspace on a stable, level surface and protect it from spills.
If your object is porous (like wood or plaster), seal it with a suitable sealer to prevent inhibition and ease later demoulding. Apply a thin, even coat of release agent if your item or container may stick to the silicone. For non-porous items, a release agent is normally unnecessary.
Step 2: Mix the Silicone Components
Always follow the mixing ratio provided in your chosen product’s instructions. Most casting silicones, such as “Liquid Mould” – Casting Liquid Silicone Rubber, 5-40 Shores, Bi-Component A+B, require you to thoroughly blend parts A and B, usually in an equal ratio by weight or volume. For putty products like “I–Gum” – Non-Toxic Silicone Putty for Mould Making, knead together equal amounts by hand until the colour is uniform.
Mix slowly to reduce air bubbles, scraping the sides and bottom of your mixing vessel. Work efficiently—many silicones start to cure within minutes of mixing.
Step 3: Pour or Apply the Silicone
Once mixed, pour the silicone slowly into one corner of the mould box, letting it flow around the object and fill from the bottom up. This helps air escape and ensures even coverage. For detailed or undercut designs, gently tap the mould box or container to settle the silicone and release trapped bubbles. When using putty silicones, press the mixture evenly over the item, capturing surface features.
If you are using a translucent formulation like “Pure Mould” – Translucent Liquid Silicone Rubber for Mould Making, you’ll be able to see trapped bubbles and details through the side during the process. Correct as needed before setting aside to cure.

Step 4: Allow the Silicone to Cure
Let the mould cure undisturbed for the full time recommended by your silicone’s instructions. Most products cure in 3 to 12 hours, but timing varies. Avoid rushing the setup time—impatience may lead to distortion or incomplete curing. Room temperature and humidity will also affect cure rates, so check your product details.
Once fully set, gently remove the mould from the container and extract your original item. The new mould is now ready for casting with your chosen material.

Step 5: Clean and Store Your Mould
Wash the new mould with mild soap and warm water, then allow it to dry completely before use. Store silicone moulds in a cool, dry place out of direct sunlight. Use a release agent only if truly necessary to prolong mould life and make demoulding easier in future casts.
With proper care, silicone rubber moulds can be reused many times for various creative projects such as resin casting, soap making, or candle design.
Tips, Common Mistakes, and Troubleshooting
- Ensure surfaces are dry and dust-free before starting, as moisture or debris can spoil the final result.
- Tackle air bubbles by pouring in a thin stream and lightly tapping the container.
- Choose a silicone with enough working time for your object’s detail complexity—putty for speed, liquid for intricate moulds.
- Keep tools and hands clean, especially when measuring equal parts.
- Store unused materials in airtight containers to maintain shelf life.
Finishing Touch: Removing and Using Your First Silicone Rubber Mould
Once curing is complete, observe how the mould peels effortlessly from the model, retaining all sculpted features. With your new silicone mould, enjoy consistent casting results for resin art, mini sculptures or custom jewellery pieces.

- "Pure Mould" – Translucent Liquid Silicone Rubber for Mould MakingPrice range: £22.85 through £158.85"Pure Mould" is a translucent silicone rubber designed for fast casting and compatible with various materials including resins and plaster.
- "Liquid Mould" – Casting Liquid Silicone Rubber, 5-40 Shores, Bi-Component A+BPrice range: £13.45 through £368.85"Liquid Mould" casting liquid silicone rubber is suited for moulds of small objects with fine details, under the theme 'How to make a mould with…
 "I–Gum" – Non-Toxic Silicone Putty for Mould MakingPrice range: £22.85 through £99.85"I–Gum" is a non-toxic two-component silicone putty designed for making moulds and forms for use with resin and other materials.
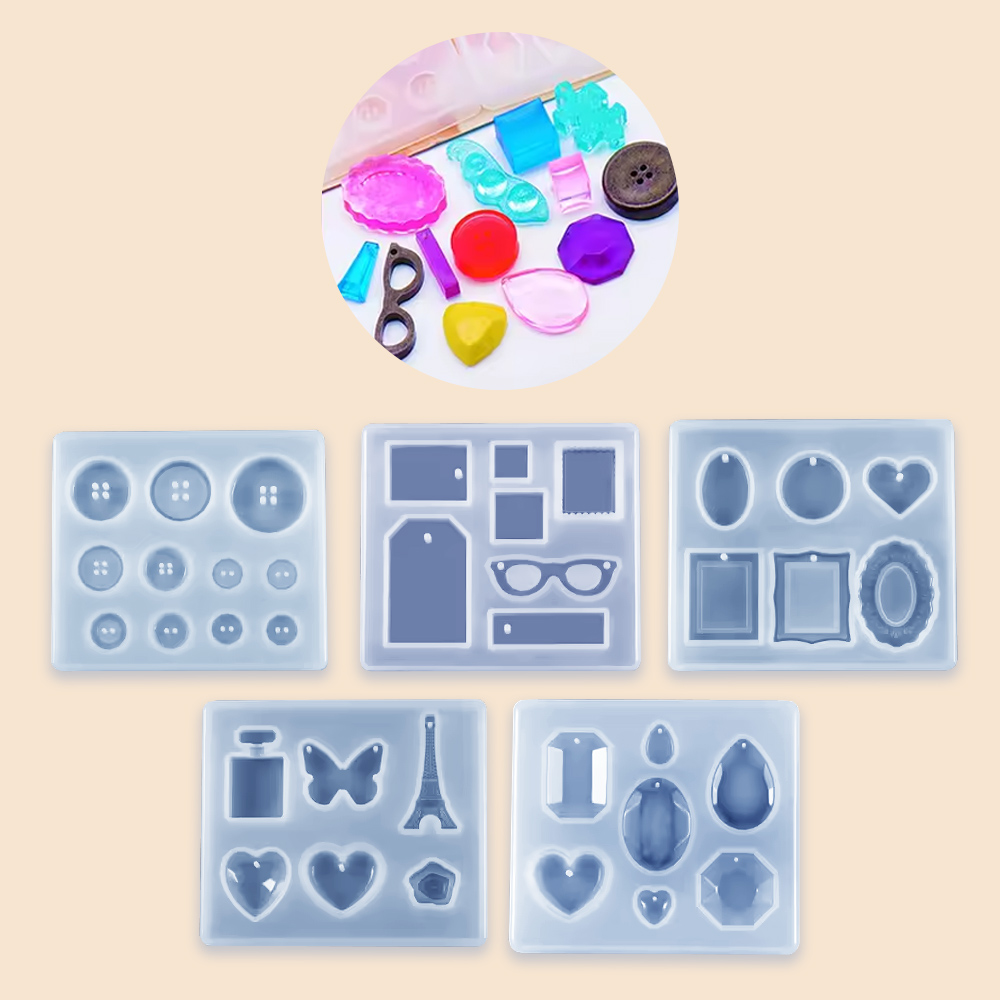 "Five" – 5-Piece Silicone Mould Set for Jewellery Making 9x8cmOriginal price was: £12.85.£9.15Current price is: £9.15.Five-piece silicone mould set designed for jewellery making and personalised resin gifts.
Frequently Asked Questions
Which silicone rubber should I use for highly detailed moulds?
A liquid, bi-component silicone rubber like "Pure Mould" or "Liquid Mould" is best for capturing very fine features and undercuts.
How long does silicone rubber need to cure?
Typical cure times range from 3 to 12 hours, depending on the formula, temperature, and humidity.
Is a release agent necessary for all objects when mould making?
Most non-porous objects do not require a release agent, but tricky or porous items may benefit from one to ease demoulding.
How can I avoid bubbles in my silicone moulds?
Pour the silicone slowly in a thin stream and gently tap the mould box—careful mixing also helps to minimise bubbles.
How should silicone rubber moulds be cleaned and stored?
Wash with mild soap and warm water, then dry thoroughly and store away from direct sunlight.
Which silicone rubber is recommended for making jewellery moulds?
"Pure Mould" and the "Five" set are both excellent choices for making durable, detailed jewellery moulds.