 Free shipping on orders over £29,85


How to Make a Silicone Rubber Mold Video?
Your practical guide for perfect DIY silicone mould making.


Creating a silicone rubber mould is an essential technique for artists, makers, and crafters who want to replicate objects in resin, plaster, wax, or other casting materials. Whether you’re moulding a delicate sculpture, a piece of jewellery, or a bespoke decoration, this guide will help you understand every step, so your video demonstration leads to a successful, professional-quality mould every time.
What You’ll Need
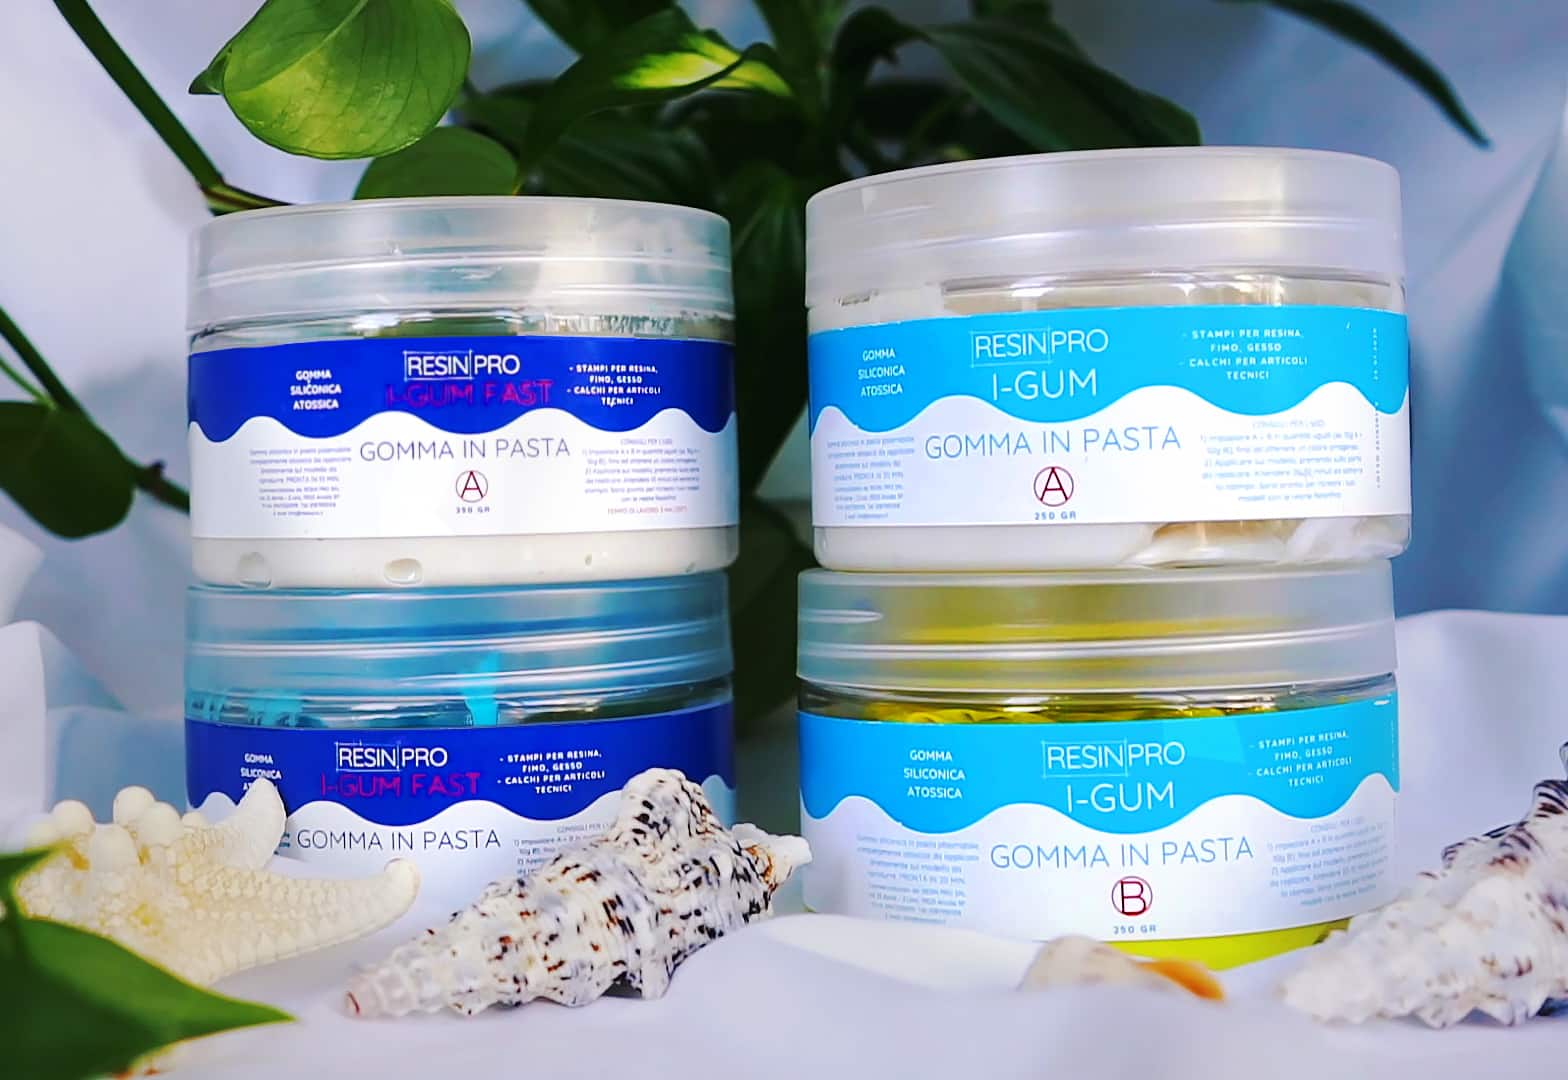
- “I–Gum” – Non-Toxic Silicone Putty for Mould Making: A user-friendly, two-component putty ideal for quick one-off moulds or prototypes.
- “Liquid Mould” – Casting Liquid Silicone Rubber, 5-40 Shores, Bi-Component A+B: For highly detailed, complex, or multi-use moulds.
- “Pure Mould” – Translucent Liquid Silicone Rubber for Mould Making: Ideal when you need fast curing and visibility through the mould.
- Mixing containers and utensils (clean and dry)
- A model or object you want to replicate
- Mould release agent (if needed for your model material)
- Gloves and protective workspace
Visual Walkthrough for Getting Started
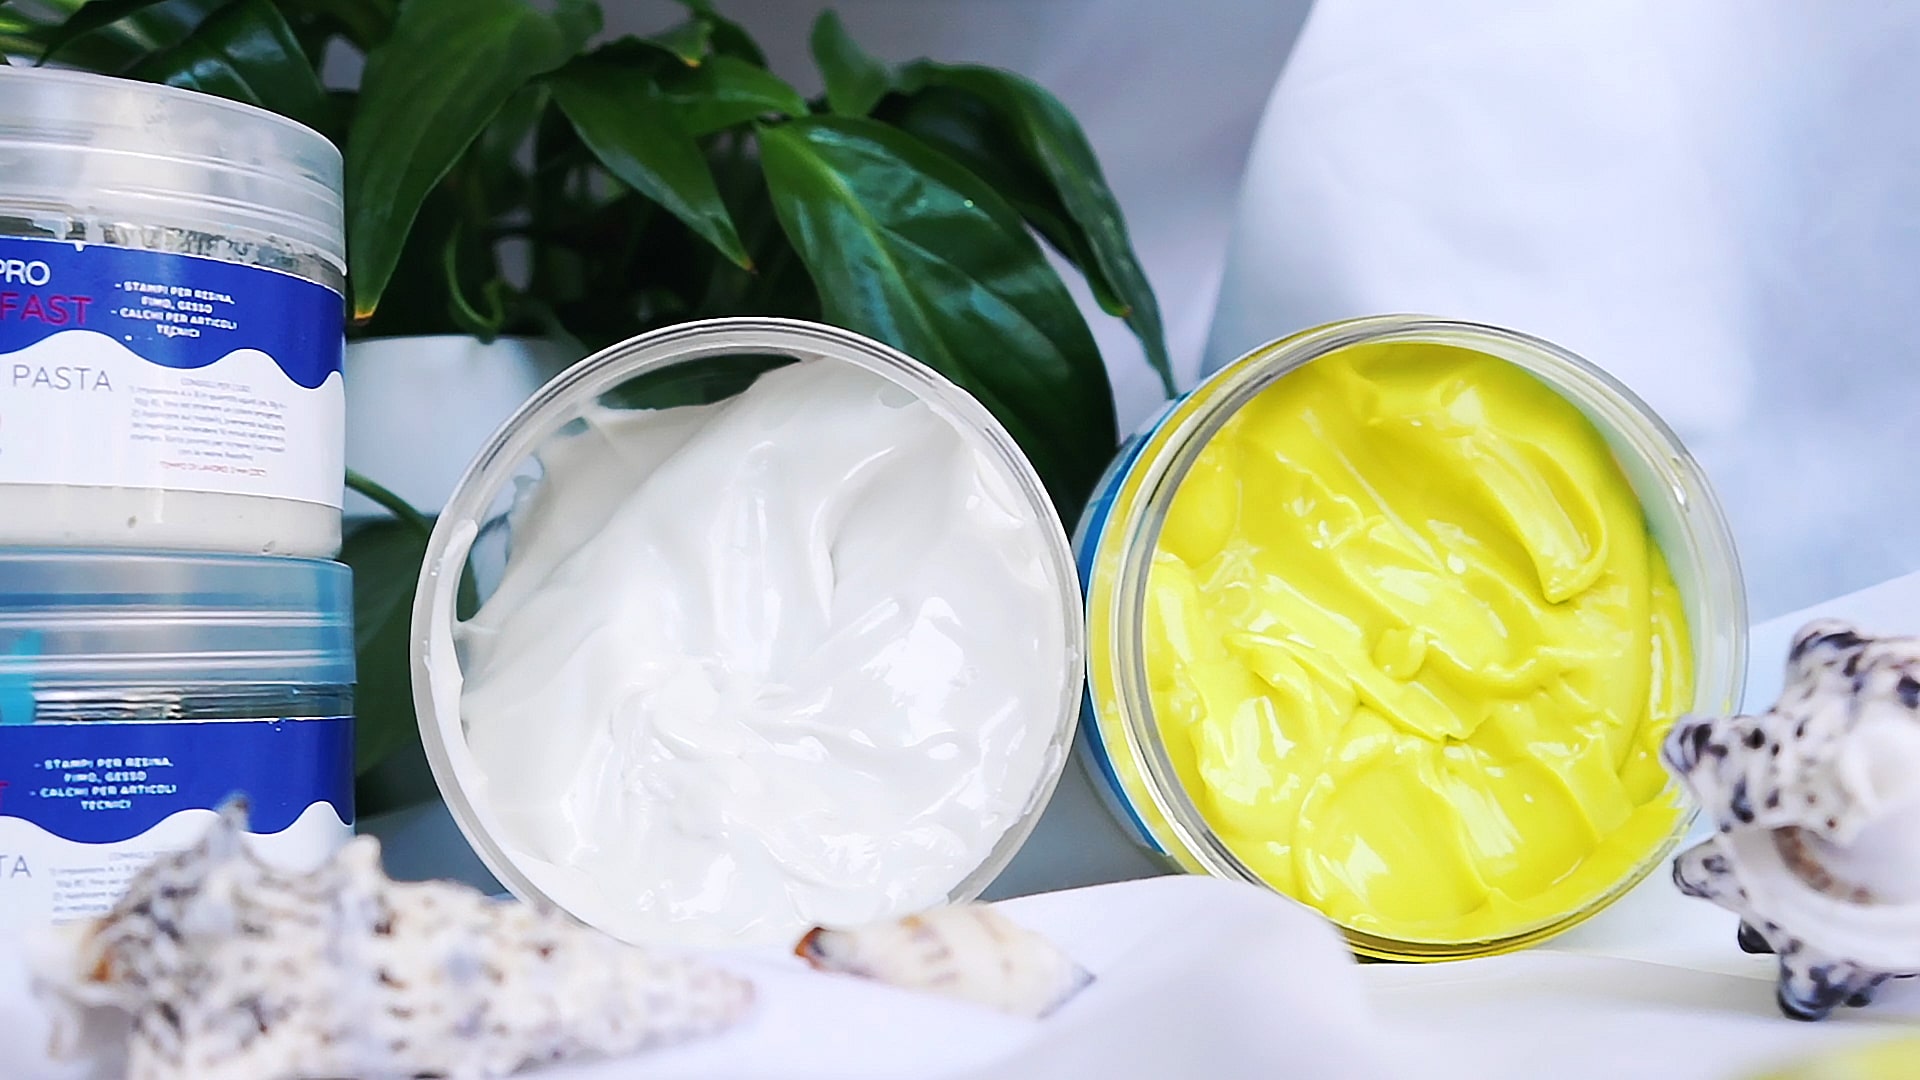
See detailed images of each step, from workspace setup to mixing and applying silicone, ensuring clarity whether you’re new to mould making or filming a tutorial. Reference the product visuals to understand the look and texture of each material as you work.
Step 1: Prepare Your Work Area and Model
Begin by selecting a well-ventilated, dust-free area to do your mould making. Cover all surfaces to catch any drips or spills. Ensure your model is clean, dry, and free from dust, oils or debris, as these could affect the final detail of the mould. If your model is porous, like plaster or unglazed ceramic, apply a suitable mould release agent to prevent the silicone from sticking. For non-porous objects, usually a simple wipe-down is enough, but always check your object’s compatibility with the silicone you’ve chosen.
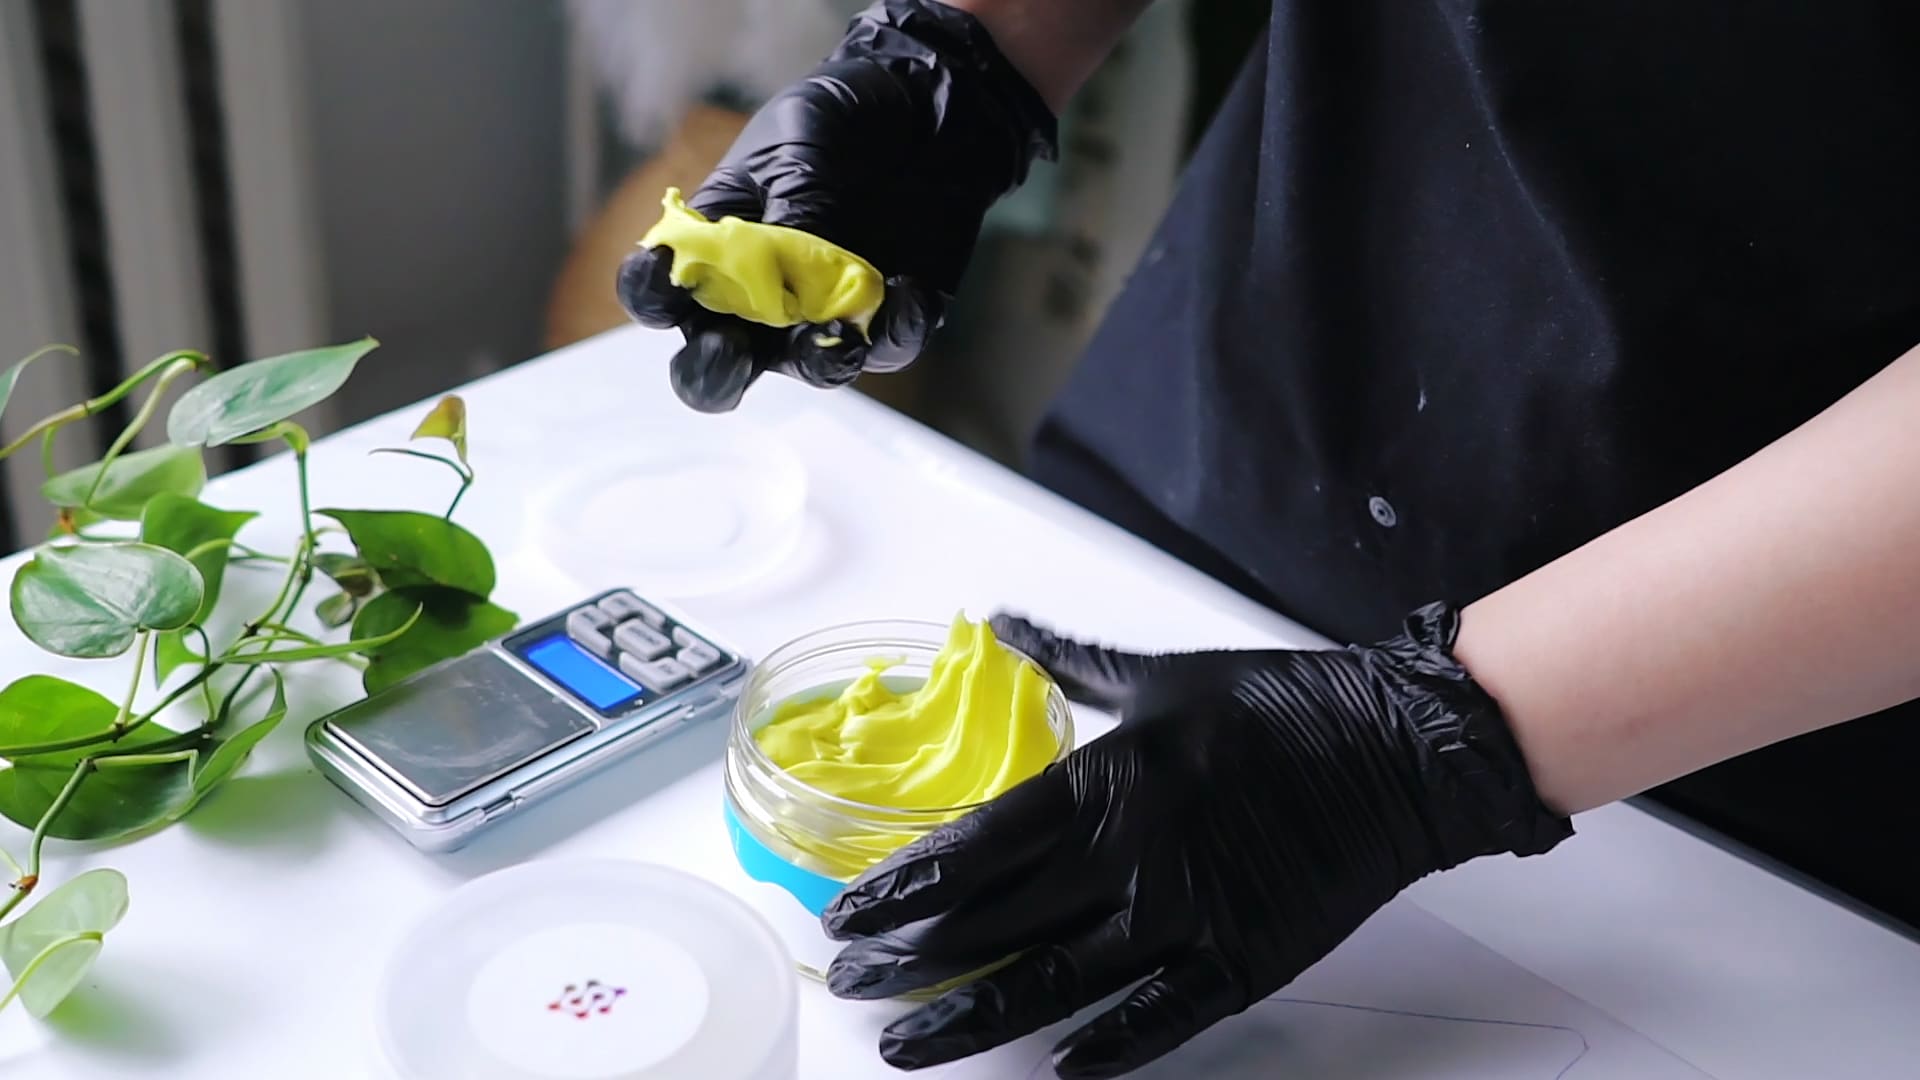
Step 2: Choose and Mix Your Silicone
Choose the right silicone type for your project. For simple or small one-part moulds, “I–Gum” – Non-Toxic Silicone Putty for Mould Making offers a quick 1:1 mix and direct application. For detailed, layered, or especially intricate pieces, both “Liquid Mould” – Casting Liquid Silicone Rubber, 5-40 Shores, Bi-Component A+B and “Pure Mould” – Translucent Liquid Silicone Rubber for Mould Making are well-suited. Accurately measure the two components using a digital scale or marked cups, keeping within the manufacturer’s 1:1 mixing ratio unless otherwise directed. Mix precisely and thoroughly for best results, ensuring no streaks or unmixed material remain, as this could compromise the mould’s strength and detail.
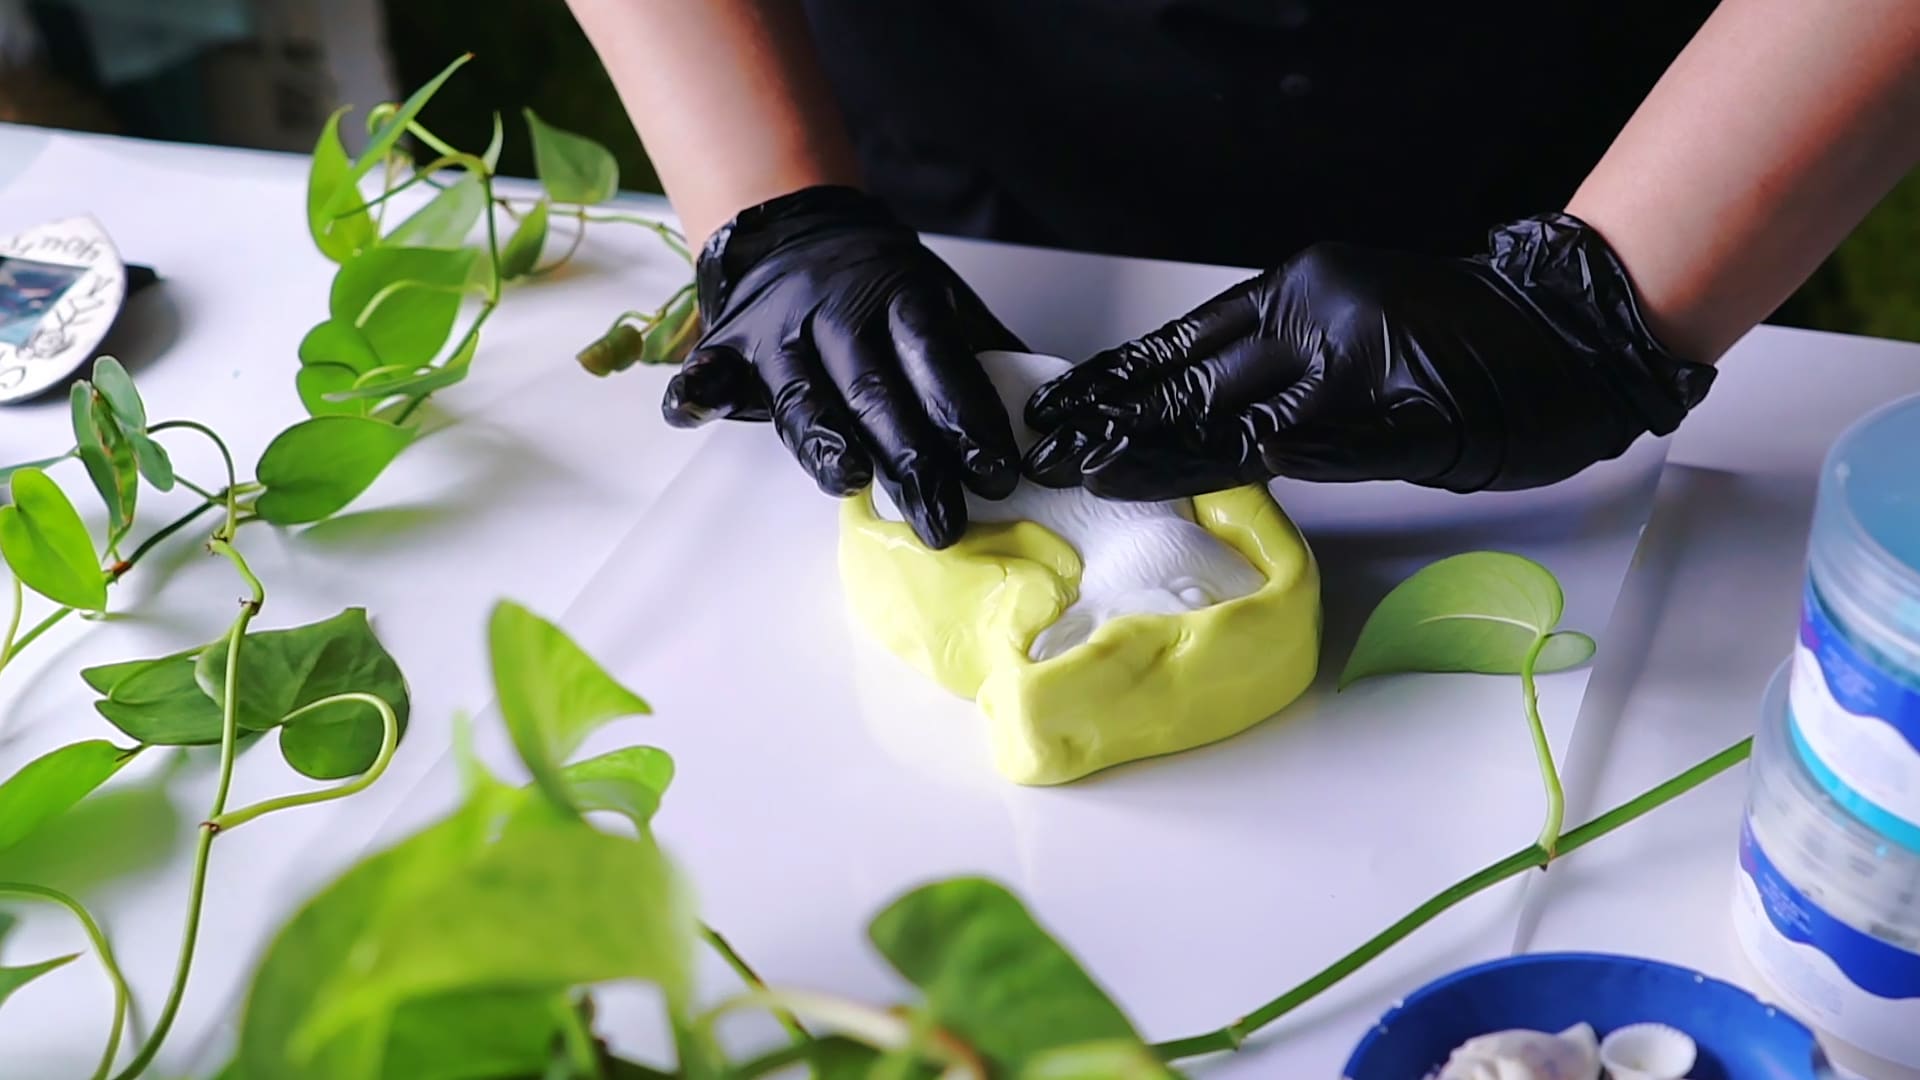
Step 3: Apply or Pour the Silicone
Depending on whether you’re using a putty or a liquid, the application will vary. For putty, knead the two components together and press evenly over the model, working it into all details. For liquid silicone, gently pour in a thin stream from one corner of your mould box to help eliminate air bubbles. Mind the working time for a quality mould: with products like “I–Gum”, you have about 20 minutes; “Pure Mould” and “Liquid Mould” offer varied open times, so check the label and pour without unnecessary delay.
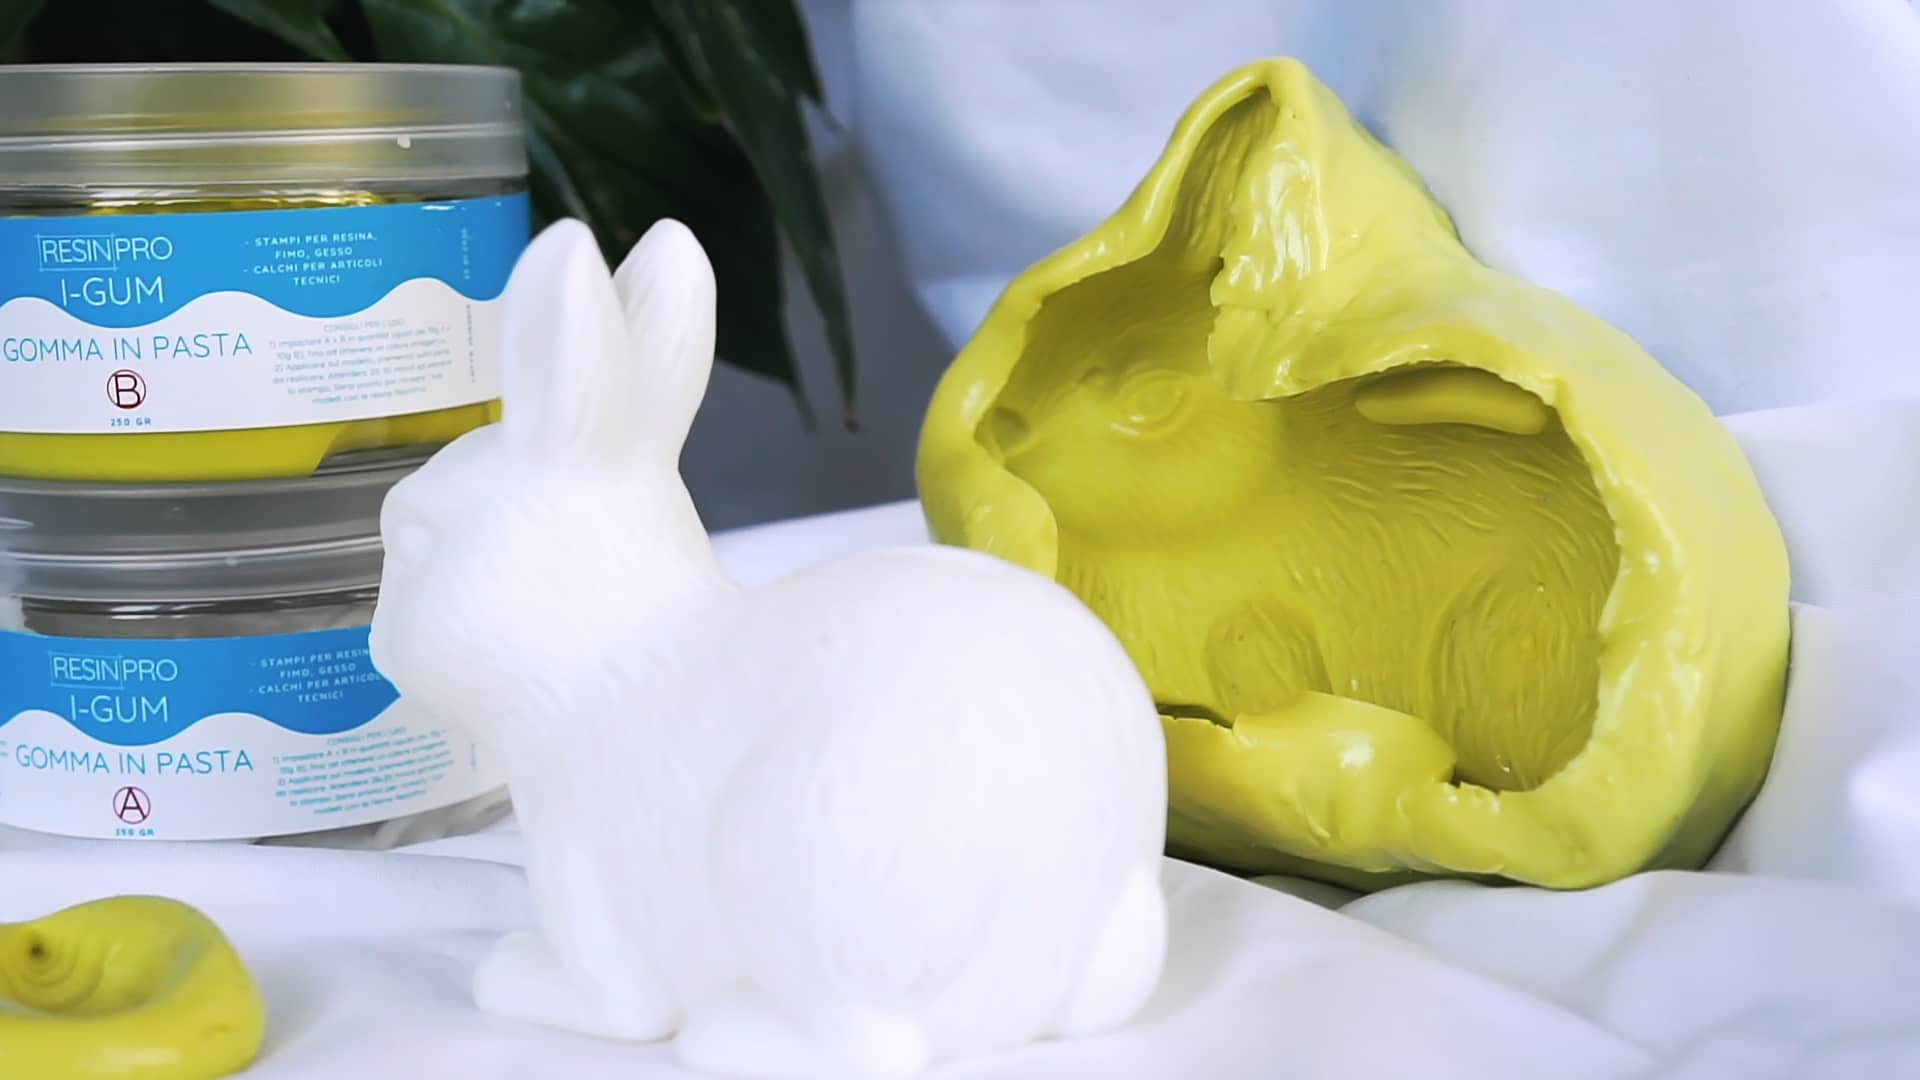
Step 4: Cure and Demould with Care
Allow the silicone to cure fully as per product instructions. This could range from a few hours for fast-curing options like “Pure Mould” to overnight for more traditional formulations. Release air bubbles for a flawless finish: If using liquid silicone, lightly tapping the mould on the table or using a vacuum/pressure chamber can further minimise bubbles. Once cured, gently peel back the silicone to reveal your negative mould. Clean up any rough edges with sharp scissors or a craft knife if needed, and your silicone rubber mould is ready for casting!
Tips, Common Mistakes, and Troubleshooting
If you notice tacky spots or soft areas, the silicone may have been under-mixed or not measured in equal parts. Avoid hasty mixing and make sure containers are spotless to prevent contamination. Always allow the full curing time—removing the mould too soon may deform edges or fine details. Store your finished silicone moulds in a cool, dry place, away from direct sunlight, for extended usability.
Common Mistakes in Action
Review clear examples of typical pitfalls—like poorly mixed silicone or trapped air bubbles—and how to correct them. These visuals help highlight exactly what to avoid or address when making your own silicone mould or creating an instructional video.
- "I–Gum" – Non-Toxic Silicone Putty for Mould MakingPrice range: £22.85 through £99.85"I–Gum" is a non-toxic silicone putty designed for creating moulds suitable for use with epoxy resin and other materials.
- "Liquid Mould" – Casting Liquid Silicone Rubber, 5-40 Shores, Bi-Component A+BPrice range: £13.45 through £368.85"Liquid Mould" casting liquid silicone rubber is designed for detailed moulds and multiple reproductions, suitable for small objects and complex…
 "Pure Mould" – Translucent Liquid Silicone Rubber for Mould MakingPrice range: £22.85 through £158.85"Pure Mould" is a platinum-based translucent liquid silicone rubber designed for mould making and compatible with various materials.
 Online Video Course – Christmas Tree Decorations Masterclass (Instagram Access)£19.85This online video course offers step-by-step instructions for making Christmas tree decorations using several pouring techniques.
Frequently Asked Questions
Which silicone should I use for moulding intricate or small parts?
Choose a liquid silicone such as "Pure Mould" or "Liquid Mould" for extremely fine detail and accurate reproduction.
What’s the best way to prevent air bubbles during silicone mould making?
Pour the silicone slowly, tap the mould gently, and use a pressure pot or vacuum chamber for best results if possible.
How do I make it easier to demould complex shapes?
Ensure the object is properly coated with release agent if needed, and let the silicone fully cure before removal.
Why is the mixing ratio critical in silicone putty or rubber?
Incorrect ratios can lead to incomplete curing and a fragile or tacky mould, so always follow manufacturer instructions.
How long should I allow my silicone mould to cure?
Cure times vary by product but range from 3–8 hours for "Pure Mould" to overnight for traditional rubbers.
What’s the best silicone for epoxy resin casting?
"Pure Mould" and "Liquid Mould" are both excellent for resin, thanks to their flexibility and detail retention.