 Free shipping on orders over £29,85


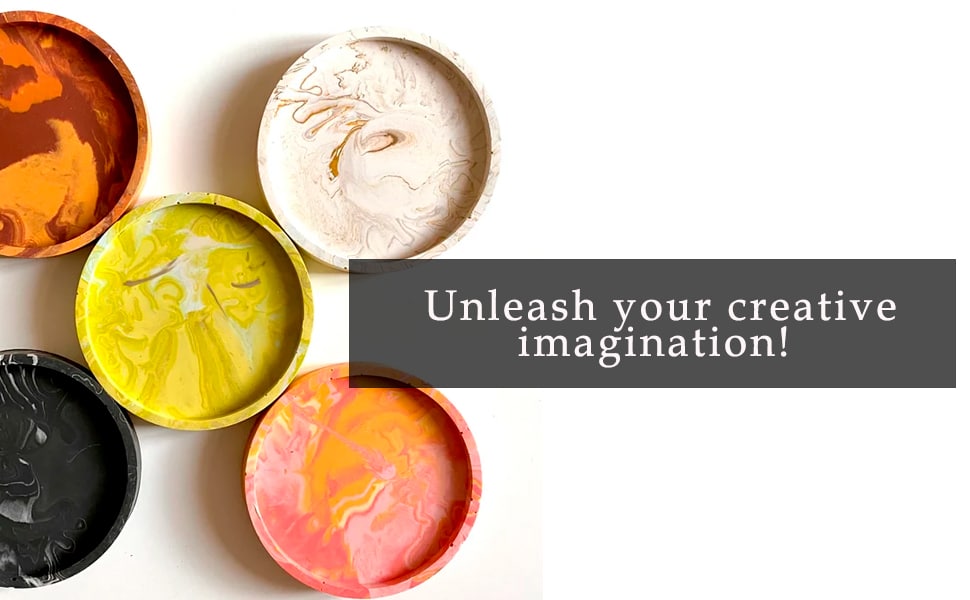
How to Make Resin Pots
Making your own resin pots is a creative way to produce beautiful, durable containers suitable for both indoor and outdoor spaces. This guide walks you through every step, from preparation to finishing, ensuring even beginners can achieve impressive results.
Step-by-step guide for unique and decorative resin pots

What You’ll Need
- “Vase” – Flower Vase Resin Art Kit with Mica Powder and Silicone Mould – Complete kit for artistic flower-shaped pots
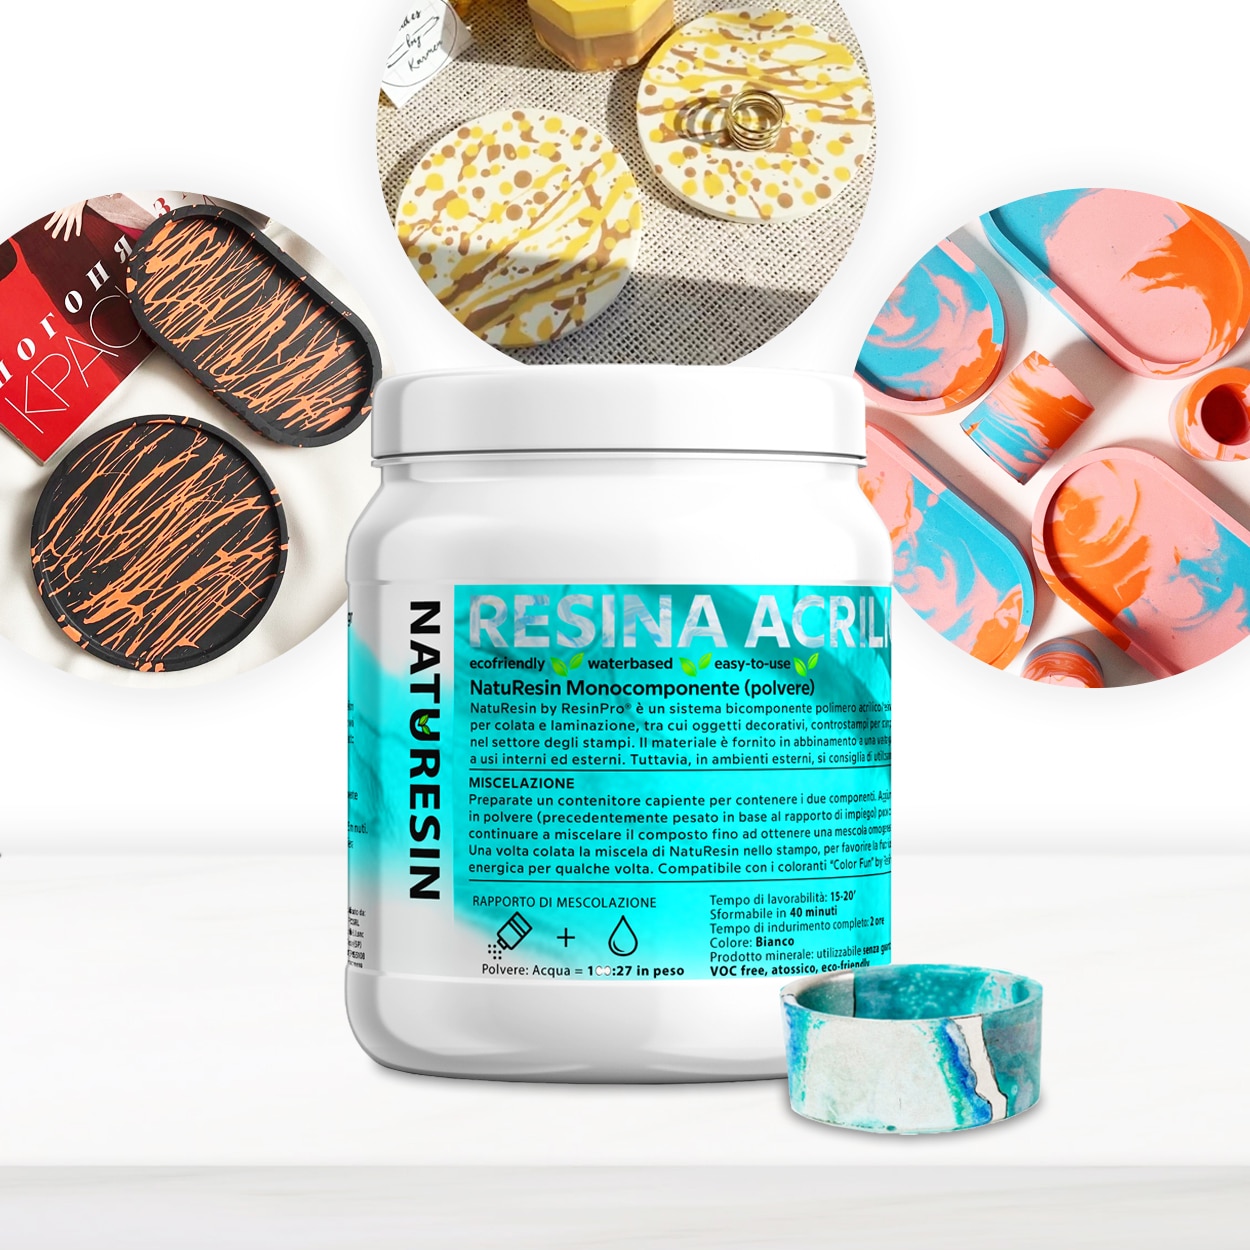
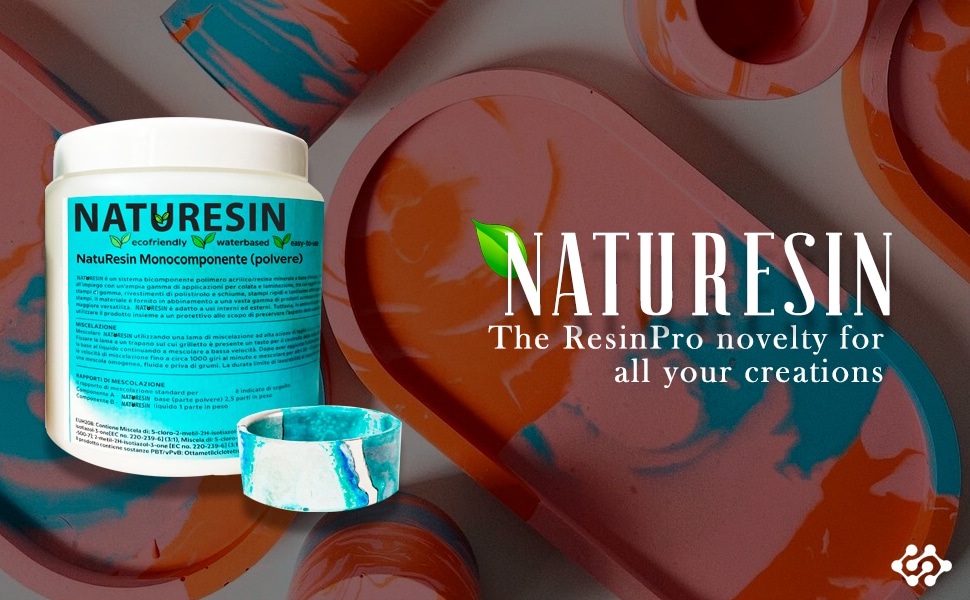
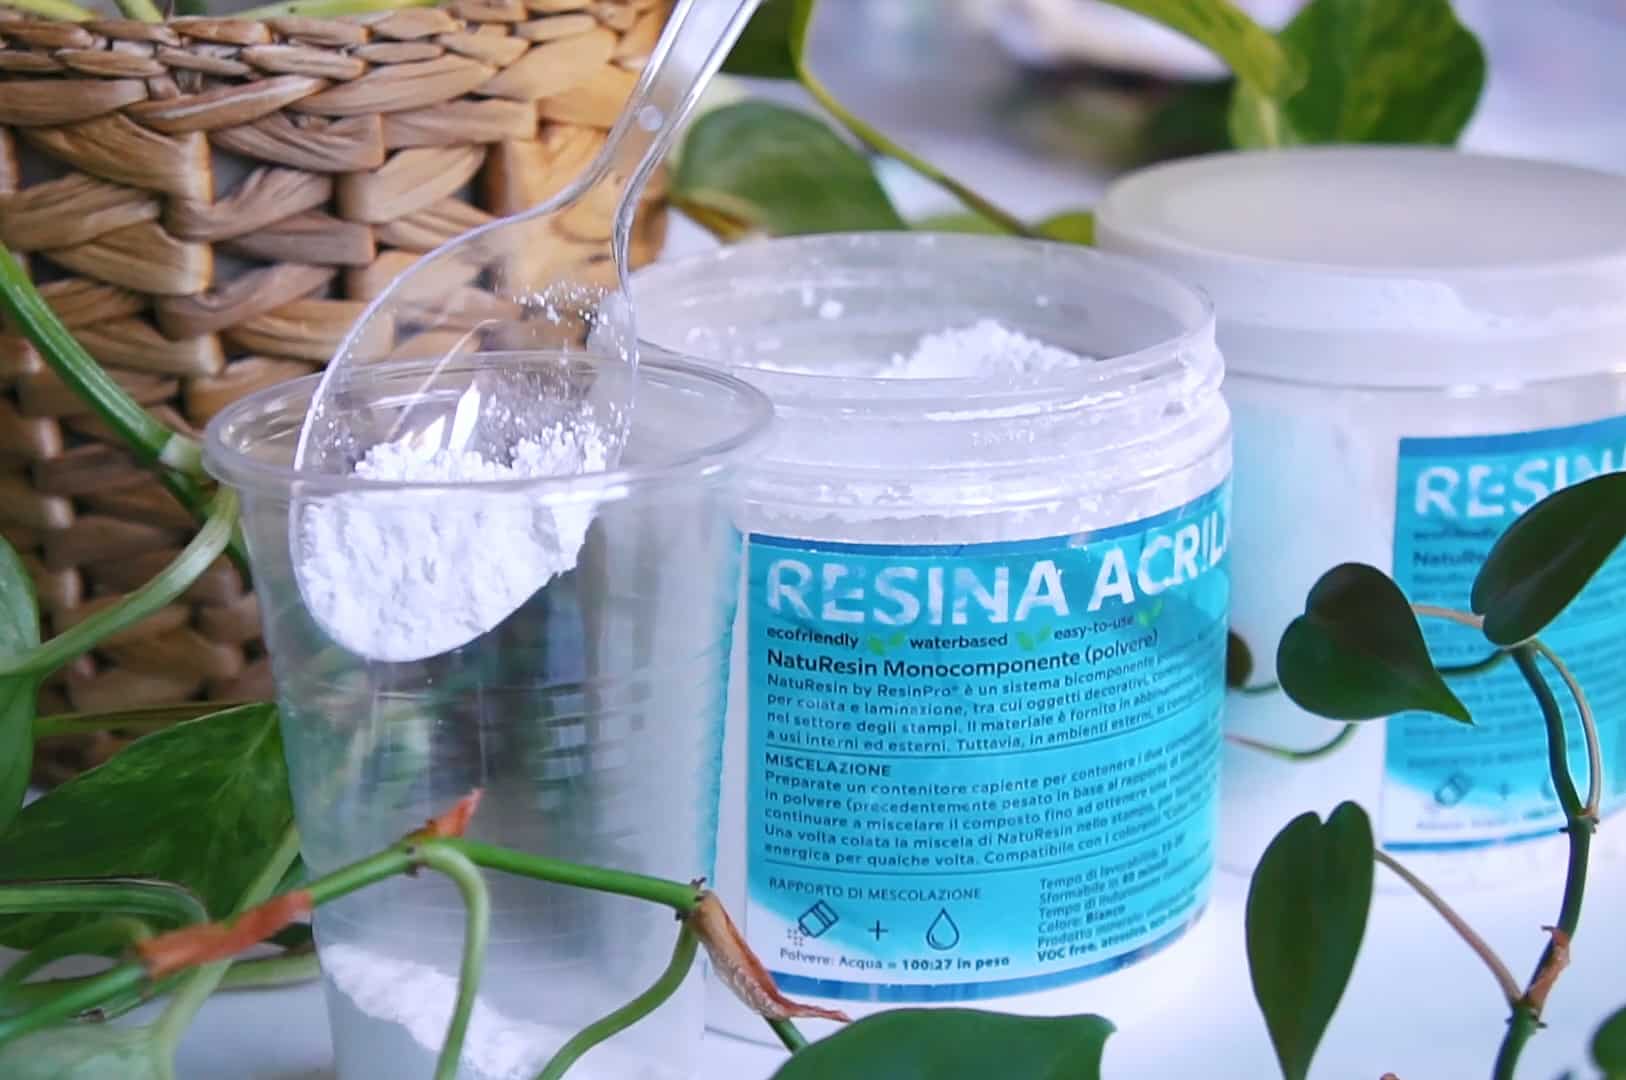
- “NatuResin” – Mineral Resin & Water System for Creative Casting and Crafts – Safe, water-activated mineral resin for creative projects
- “Tray” – Complete Resin Tray Kit with Silicone Mould and Colour Dyes – Kit with resin, pigments, and mould, ideal for tray or pot bases
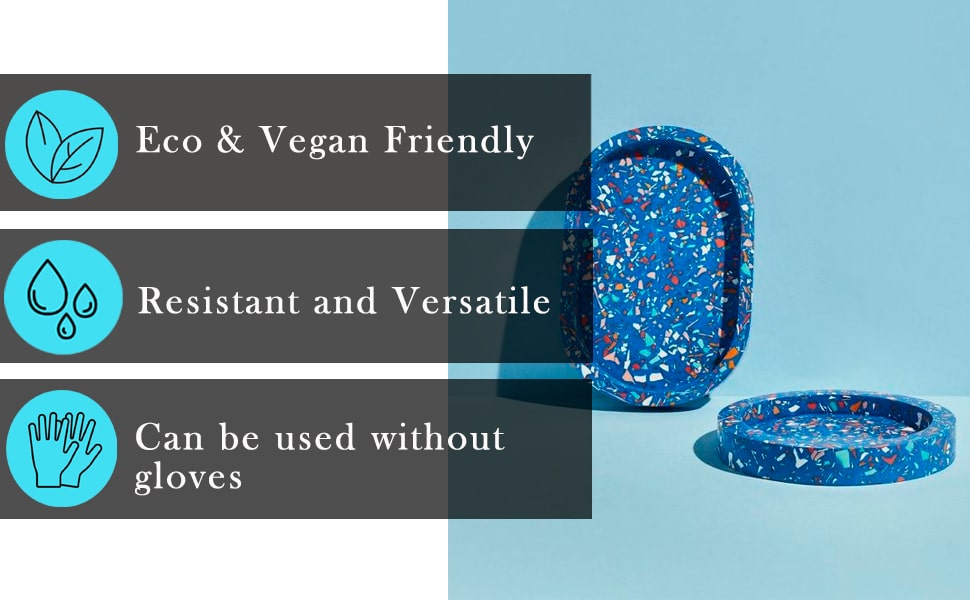
- Silicone or plastic moulds (flower, round, geometric shapes)
- Pigments, mica powders or dyes
- Mixing containers and sticks
- Gloves and apron
- Paper towels and isopropyl alcohol (for cleaning)
Materials and Setup for Resin Pot Making
Gather all your materials ahead of time to ensure a smooth pot-making process. Organise your workspace and have gloves, pigments, and cleaning supplies within reach. Whether you choose a kit or individual resins, preparation is key to achieving professional results.
Step 1: Prepare Your Workspace and Moulds
Begin by setting up a clean, flat work surface covered in protective sheeting. Wear gloves and work in a ventilated area to minimise skin contact and fumes. Select a smooth, undamaged mould; this will ensure your resin pot releases easily and the surface finish remains flawless.
Ensure the mould is free of dust or oil by wiping it thoroughly with isopropyl alcohol and a lint-free cloth. Any residue left on the mould can impact the surface clarity of your finished pot. Allow the mould to dry completely before proceeding.
Step 2: Mix and Colour Your Resin
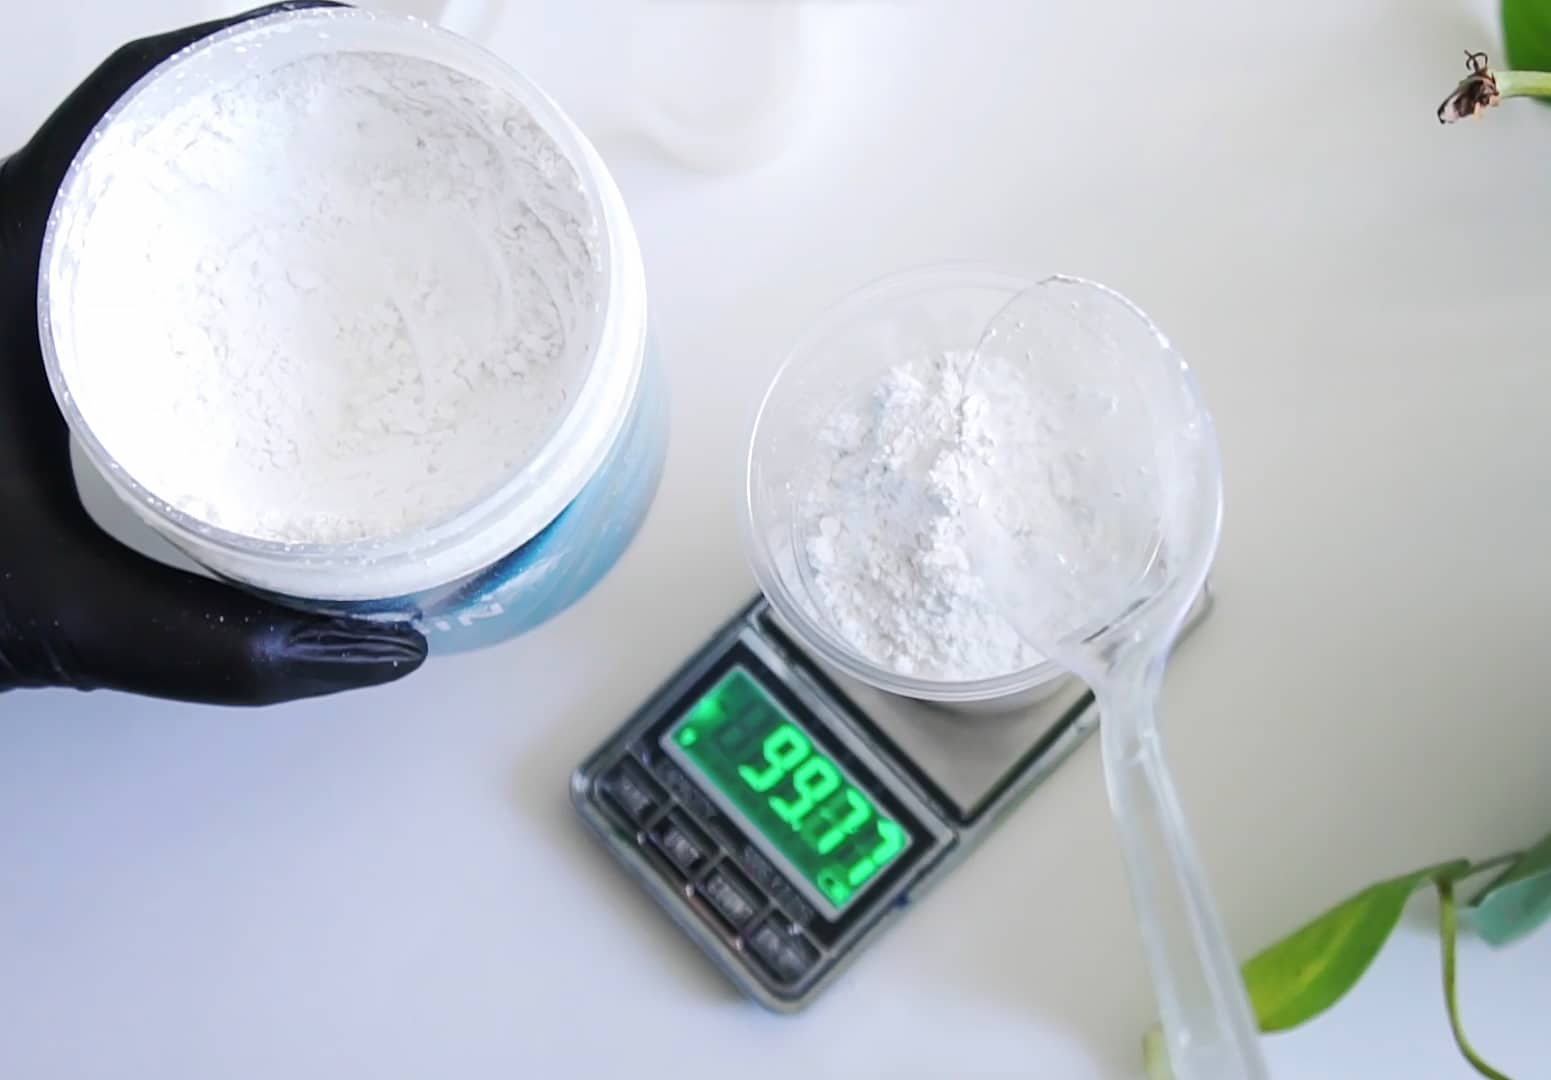
Carefully read the instructions for your chosen resin system. For water-activated options like “NatuResin” – Mineral Resin & Water System for Creative Casting and Crafts, simply add water and mix until smooth. For two-component epoxies, combine resin and hardener in the specified ratio.
Follow manufacturer’s instructions for precise mixing; inadequate mixing can lead to sticky or uneven results. If adding pigments or mica powder, blend thoroughly for uniform colour. Add colour slowly—a little goes a long way.
Step 3: Pour Into the Mould
Pour the mixed resin slowly into your chosen mould, taking care to avoid introducing extra air bubbles. Fill to your desired height, and gently tap or shake the mould to release trapped bubbles. For decorative effects or layered designs, pour in thin stages, adding colour or inclusions between pours.
For detailed results, consider using the “Vase” – Flower Vase Resin Art Kit with Mica Powder and Silicone Mould, which includes both decorative pigments and a reusable flower-shaped mould.
Step 4: Demould and Finish
Allow the resin to cure fully—this may take several hours for fast-setting mineral resins or up to 24 hours for epoxy. Check the instructions for accurate cure times, and do not rush this process for best results. Demould gently to avoid cracks; flex the mould carefully around the edges.
If needed, sand any rough spots or pour lines using fine-grit sandpaper. Customise your resin pot further with paints, gilding, or added details once fully cured.
Tips, Common Mistakes, and Troubleshooting
Work patiently in layers for thicker pots to avoid overheating or warping, particularly with deep pours. Manage room temperature—extremes can cause resin to cure too quickly or slowly, leading to bubbles or incomplete hardening. If bubbles appear, use a heat gun briefly to pop them, but do so cautiously to avoid damaging the mould. Always refer to the product-specific guidance included with your kit for best outcomes.
Pro Tips for Perfect Resin Pots
Check curing times based on your environment. Lower temperatures may require longer curing, while higher temperatures may speed up the process. Test a small batch if using a new resin. Experience leads to best results, so enjoy experimenting with colours and shapes!
- "Vase" – Flower Vase Resin Art Kit with Mica Powder and Silicone Mould£39.85"Vase" Resin Art Kit includes mica powders and a silicone mould, suitable for resin pots in the How to Make Resin Pots theme.
- “NatuResin” – Mineral Resin & Water System for Creative Casting and CraftsPrice range: £17.85 through £99.85NatuResin is a water-activated mineral resin designed for creative casting projects like flower pots and coasters, suiting the 'How to Make Resin…
 "Tray" – Complete Resin Tray Kit with Silicone Mould and Colour Dyes£54.85The Tray kit provides tools and pigment for making resin trays with custom designs and durable finishes within the How to Make Resin Pots theme.
Frequently Asked Questions
What resin is best for making pots?
Mineral resins like NatuResin offer an eco-friendly, ceramic-like finish, while epoxy kits provide vibrant artistic effects for decorative pots.
Are silicone moulds suitable for resin pots?
Yes, silicone moulds are ideal because they are flexible and non-stick, making demoulding easier and protecting surface details.
How do I avoid bubbles when making resin pots?
Mix resin slowly and tap the mould gently after pouring. For stubborn bubbles, briefly use a heat gun or allow more time for bubbles to rise before curing.
Is resin pot making easy for beginners?
Yes, with proper instructions and kits designed for ease of use, even beginners can successfully create unique resin pots.
Why is my resin pot still sticky?
Sticky resin is often caused by incorrect mixing or curing conditions. Double-check ratios and allow sufficient curing time for best results.
Can I paint or decorate my resin pots after curing?
Yes, once fully cured, resin pots can be painted, decorated, or embellished with various finishes for a custom look.