 Free shipping on orders over £29,85


How do you coat polymer clay with resin?
Step-by-step guide for a smooth, professional finish

Giving your polymer clay creations a resin coat transforms the final appearance, adding shine, depth, and extra protection. Whether you make jewellery or decorative pieces, this step-by-step guide will help you achieve a flawless, professional-looking finish on your polymer clay projects.
What You’ll Need
- “Liquidissima” – Epoxy Resin For Creations & Jewellery – A clear, low viscosity epoxy resin for intricate detail and self-levelling coats.
- “One-2-One” – Epoxy Resin for Handcraft, 1:1 Mixing Ratio – Easy mixing, non-toxic formula for safe and glossy decorative coatings.
- “UV–Creation” – Fast Acrylic Resin, 3 Minute UV Cure – For quick-setting UV resin finishing on smaller or detailed items.
- Protective gloves, mixing cups, and stirring sticks (ensure they’re clean and dust-free)
- Plastic drop sheet or non-stick mat for workspace protection
- Fine brush or silicone tool (for spreading)
- UV lamp (if using a UV resin)

Polymer Clay Resin Coating Essentials
Choose a resin that suits your project’s finish and curing time. For glossy, glass-like results, opt for a transparent epoxy resin; for quick results on small items, use a fast-curing UV resin. Always start with a clean, dry surface on your polymer clay for the best adhesion and clarity.

Step 1: Prepare the Polymer Clay Surface
Ensure your workspace is clean and dust-free to prevent any debris from getting trapped in the resin. Begin by carefully examining your polymer clay piece for any dry residue or handprints. If needed, wipe it lightly with a soft, dry cloth. Sand any rough edges gently if a perfectly smooth finish is desired. Most importantly, make sure the clay is fully cured and cooled before applying the resin to prevent warping or unwanted chemical reactions.
Step 2: Mix and Prepare the Resin
Choose a suitable resin for your project. For fine jewellery with intricate designs, “Liquidissima” – Epoxy Resin For Creations & Jewellery is ideal due to its high transparency and self-levelling ability. For a simple mixing process, consider “One-2-One” – Epoxy Resin for Handcraft, 1:1 Mixing Ratio.
Carefully measure each component as directed in the product instructions. Use separate, clean tools and bowls for each batch and mix and pour resin carefully, avoiding over-mixing to reduce bubbles. Allow the mixed resin to sit for a minute if bubbles develop.
Step 3: Apply the Resin Coating
Place your polymer clay piece on a non-stick surface, ideally raised slightly for minimal contact. If using standard epoxy resin, pour a small amount onto the centre and gently guide it over the surface using a fine brush or silicone tool. Do not flood the piece; aim for a thin, even coat. For small embellishments or to speed up the process, “UV–Creation” – Fast Acrylic Resin, 3 Minute UV Cure can be applied directly with a brush, then cured under a UV lamp. Minimise touching to maintain a smooth, bubble-free finish.

Step 4: Cure and Finish the Piece
Allow ample curing time and protect the piece from dust by covering it with a large box or container during the cure. Curing times vary: UV resin takes a few minutes under the lamp, while epoxy resins may take several hours or overnight. When the resin is fully cured, remove the piece and inspect the edges. If needed, use a gentle touch to sand edges after curing for a crisp finish. Wipe with a soft cloth to remove any residue.

Tips, Common Mistakes, and Troubleshooting
Avoid applying resin to uncured or oily polymer clay, as this can cause peeling or cloudiness. Always measure and mix resin components carefully to prevent sticky surfaces. Work in a warm, dry environment for best results—cold conditions may cause resin to thicken, making application difficult. If bubbles persist, gently warm the resin with a heat gun for a few seconds or pop them with a pin. Clean tools immediately after use for a stress-free clean-up.
Pro Finishing Touches
Protect your curing resin from airborne dust by using a clean cover such as a plastic box. If edges are uneven after curing, wet-sand lightly to smooth and restore a perfect edge. Take time to handle the cured piece carefully to prevent any surface impressions.

- "Liquidissima" – Epoxy Resin For Creations & JewelleryPrice range: £12.85 through £31.85Liquidissima epoxy resin offers high transparency and a self-levelling finish suitable for coating intricate polymer clay jewellery.
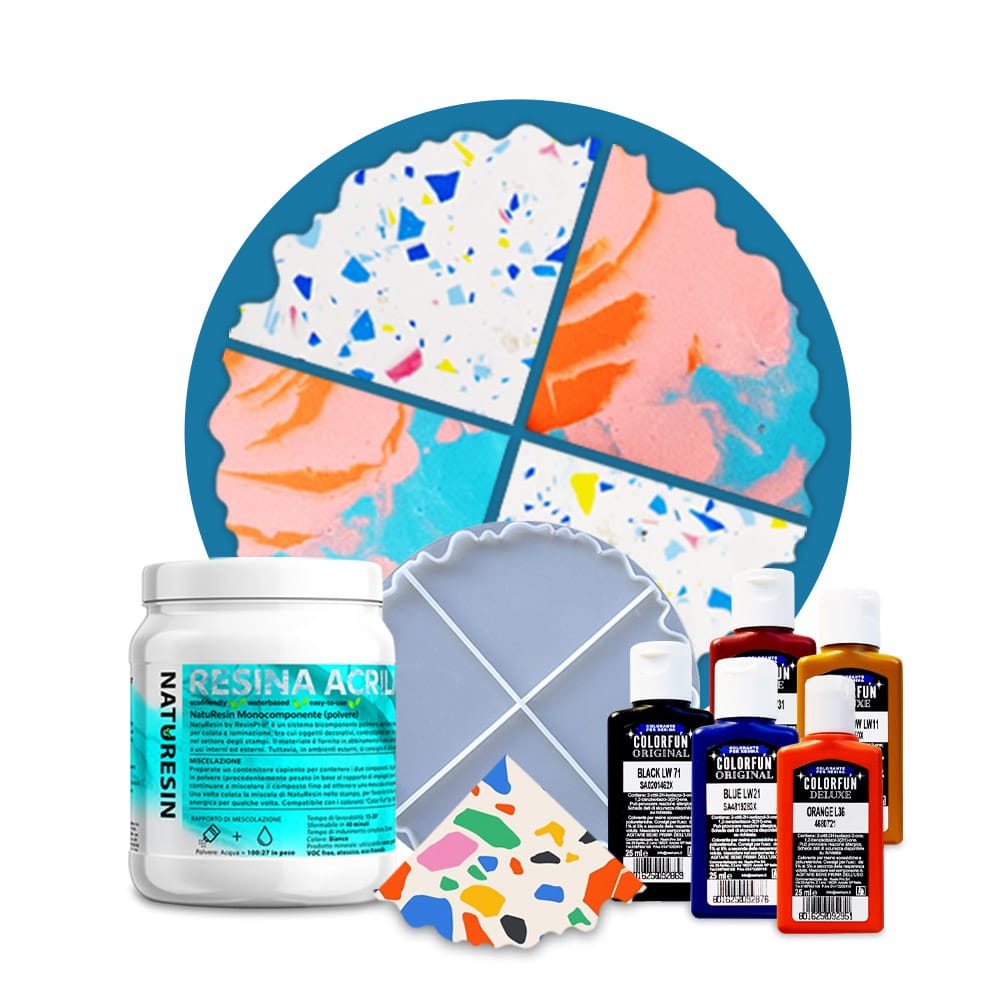
- "Coasters" – Creative Kit with Mineral Resin and Silicone Mould£40.95This kit offers an all-in-one, easy-to-use mineral resin set designed for creating decorative coasters with a matte, natural stone finish.
 "One-2-One" – Epoxy Resin for Handcraft, 1:1 Mixing RatioPrice range: £15.95 through £59.95"One-2-One" epoxy resin is a medium viscosity, non-toxic resin suitable for handcraft coating and decorative projects.
 "UV–Creation" – Fast Acrylic Resin, 3 Minute UV CurePrice range: £8.45 through £62.95UV–CREATION Fast Acrylic Resin is suitable for jewellery makers and crafters needing a fast, ready-to-use, clear UV resin with a glossy finish.
Frequently Asked Questions
What type of resin is best for coating polymer clay?
Low viscosity epoxy resin or fast-curing UV resin works well for polymer clay, offering clarity and easy application.
How long should I let the resin cure before handling?
Epoxy resins generally require several hours to overnight for full cure, while UV resin cures within a few minutes under UV light.
Why do bubbles appear when coating polymer clay with resin?
Bubbles are usually caused by over-mixing or trapped air; mix gently and allow resin to rest before application.
What should I do if the resin stays sticky after curing?
Check the mixing ratio and environmental conditions—incorrect ratios or low temperatures can prevent full cure.
How do I achieve a matte or gloss finish on polymer clay?
Choose mineral resin for a matte effect or epoxy/UV resin for a glossy glass-like shine.
How can I prevent the resin from peeling off the clay?
Ensure the clay is fully cured, clean, and dry before applying resin for proper adhesion.