 Free shipping on orders over £29,85


How to resin a circuit board?
Protect electronics with a smooth, durable epoxy coating


Encapsulating a circuit board in resin is a trusted technique for long-term electronic protection, providing insulation from moisture, dust, and mechanical shocks. Whether safeguarding a delicate hobby project or preparing electronics for challenging environments, correct resin application is essential for performance and reliability. This guide walks you through each step for resining a circuit board, ensuring a smooth, durable, and safe finish.
What You’ll Need
- “One-2-One” – Epoxy Resin for Handcraft, 1:1 Mixing Ratio: For a clear, protective coating.
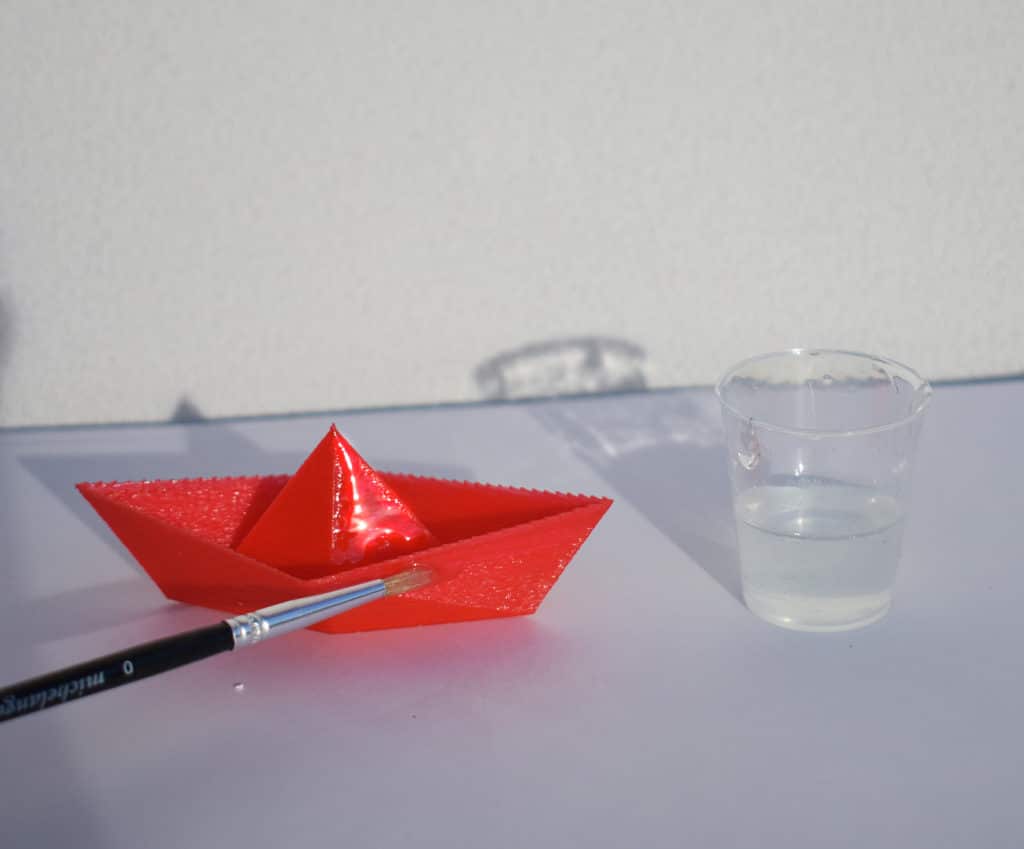
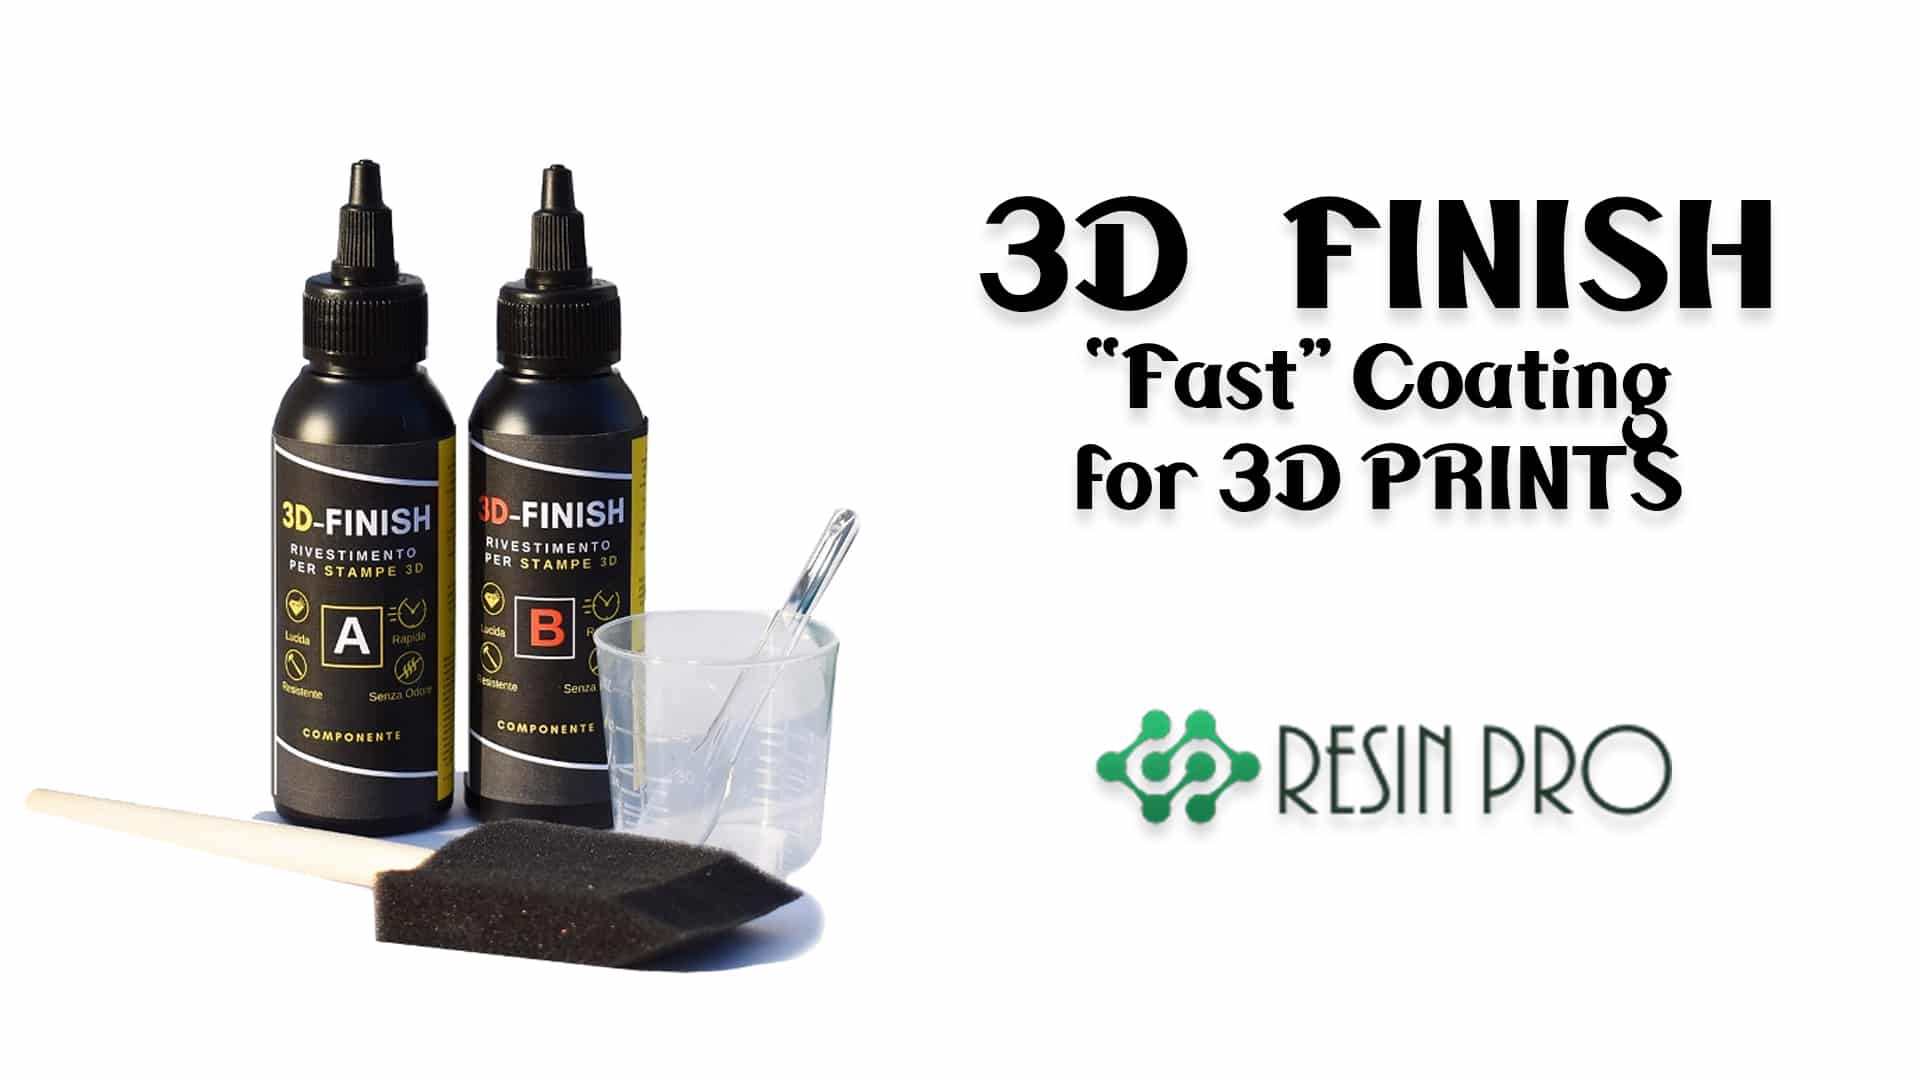
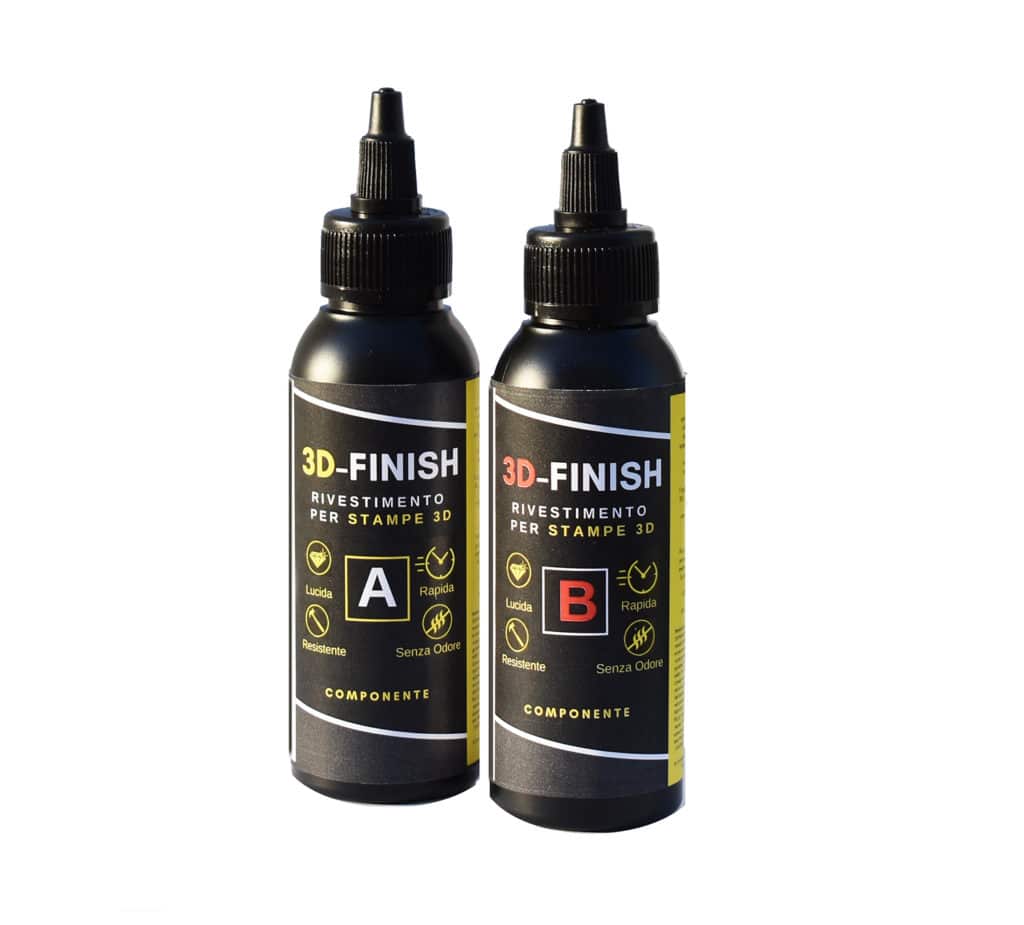
- “3D Finish” – Fast Coating Epoxy Resin for 3D Prints: As an alternative, suitable for a fast-curing, durable surface.
- Pure Isopropyl Alcohol 99.9% – 1000ml Bottle for Epoxy Resin Projects & DIY: For cleaning boards and tools.
- Precision Digital Scales for Resin and Crafting, 1g–7kg: For accurate measurement of resin components.
- Nitrile gloves, mixing cups, stirring sticks, and protective sheeting for safety and workspace prep.
Preparing Your Circuit Board Workspace
Set up a clean, dust-free workspace with good ventilation before working with resin. Lay protective sheeting and assemble all tools within easy reach to reduce interruptions once you begin handling chemicals.
Step 1: Clean and Prepare the Circuit Board
Careful cleaning is the foundation of successful resin coating. Remove any dust, debris, grease, or residue from the circuit board surface, as even minor contaminants can compromise adhesion and finish quality. Use a soft, lint-free cloth and, where necessary, a brush for intricate areas.
Isopropyl alcohol helps remove surface dust and contaminants before resin application. Apply a small amount to the cloth and gently wipe the board. Allow the board to dry completely in a dust-free environment to avoid recontamination. Take care not to damage components during the cleaning process.
Step 2: Measure and Mix Your Resin Correctly
Accurate measurement is vital for a strong, bubble-free resin coat. Follow your chosen resin’s manufacturer instructions exactly. For many projects, an epoxy like “One-2-One” epoxy resin uses a simple 1:1 mixing ratio by volume, which is easy for beginners and experienced users alike.
If precision by weight is required, employ Precision Digital Scales for Resin and Crafting to weigh components accurately, following the required ratio.
Always mix your resin components thoroughly for a consistent cure. Pour both parts into a clean cup, then stir gently but continuously for at least two minutes. Scrape the sides and bottom to ensure full integration and reduce trapped air bubbles.
Step 3: Apply the Resin to the Circuit Board
Position your circuit board on an elevated surface with protective sheeting below. Pour or brush on your prepared resin slowly, allowing it to flow evenly over the entire surface. Tilt the board gently or use a disposable brush to encourage coverage, taking care not to dislodge small components.
A thin, even coat prevents excess heat and unwanted electrical insulation. Trapped air bubbles can be popped using a gentle pass with a heat gun or by lightly misting the surface with isopropyl alcohol. Avoid overworking the surface as this can disturb components.
If working with connectors or critical contact points, consider masking these areas to prevent accidental insulation by the resin.


Step 4: Allow to Cure and Inspect
Leave the coated circuit board in a dust-free, stable temperature environment to cure as directed by your resin product—this may take several hours. Do not move or disturb the board during this time, as movement can introduce dust or lead to an uneven finish.
Once fully cured, inspect the surface for clarity, coverage, and potential missed spots. If necessary, a second thin resin coat may be applied after light surface sanding and cleaning.
Tips and Troubleshooting
Mistakes with mixing, environment, or coverage can impact both aesthetics and protection. Always prepare your workspace and tools before starting. Avoid high humidity and temperature fluctuations during curing, as these can cause cloudiness or incomplete hardening.
If you notice bubbles after curing, light sanding and a careful second coat can restore clarity. Test the cured resin for adhesion and mechanical strength before putting the board into use.

Visual Checks After Resin Application
Always inspect the board under bright, angled light after the resin cures. Look for missed areas or inclusions, and address any uneven spots by lightly sanding and recoating if required.
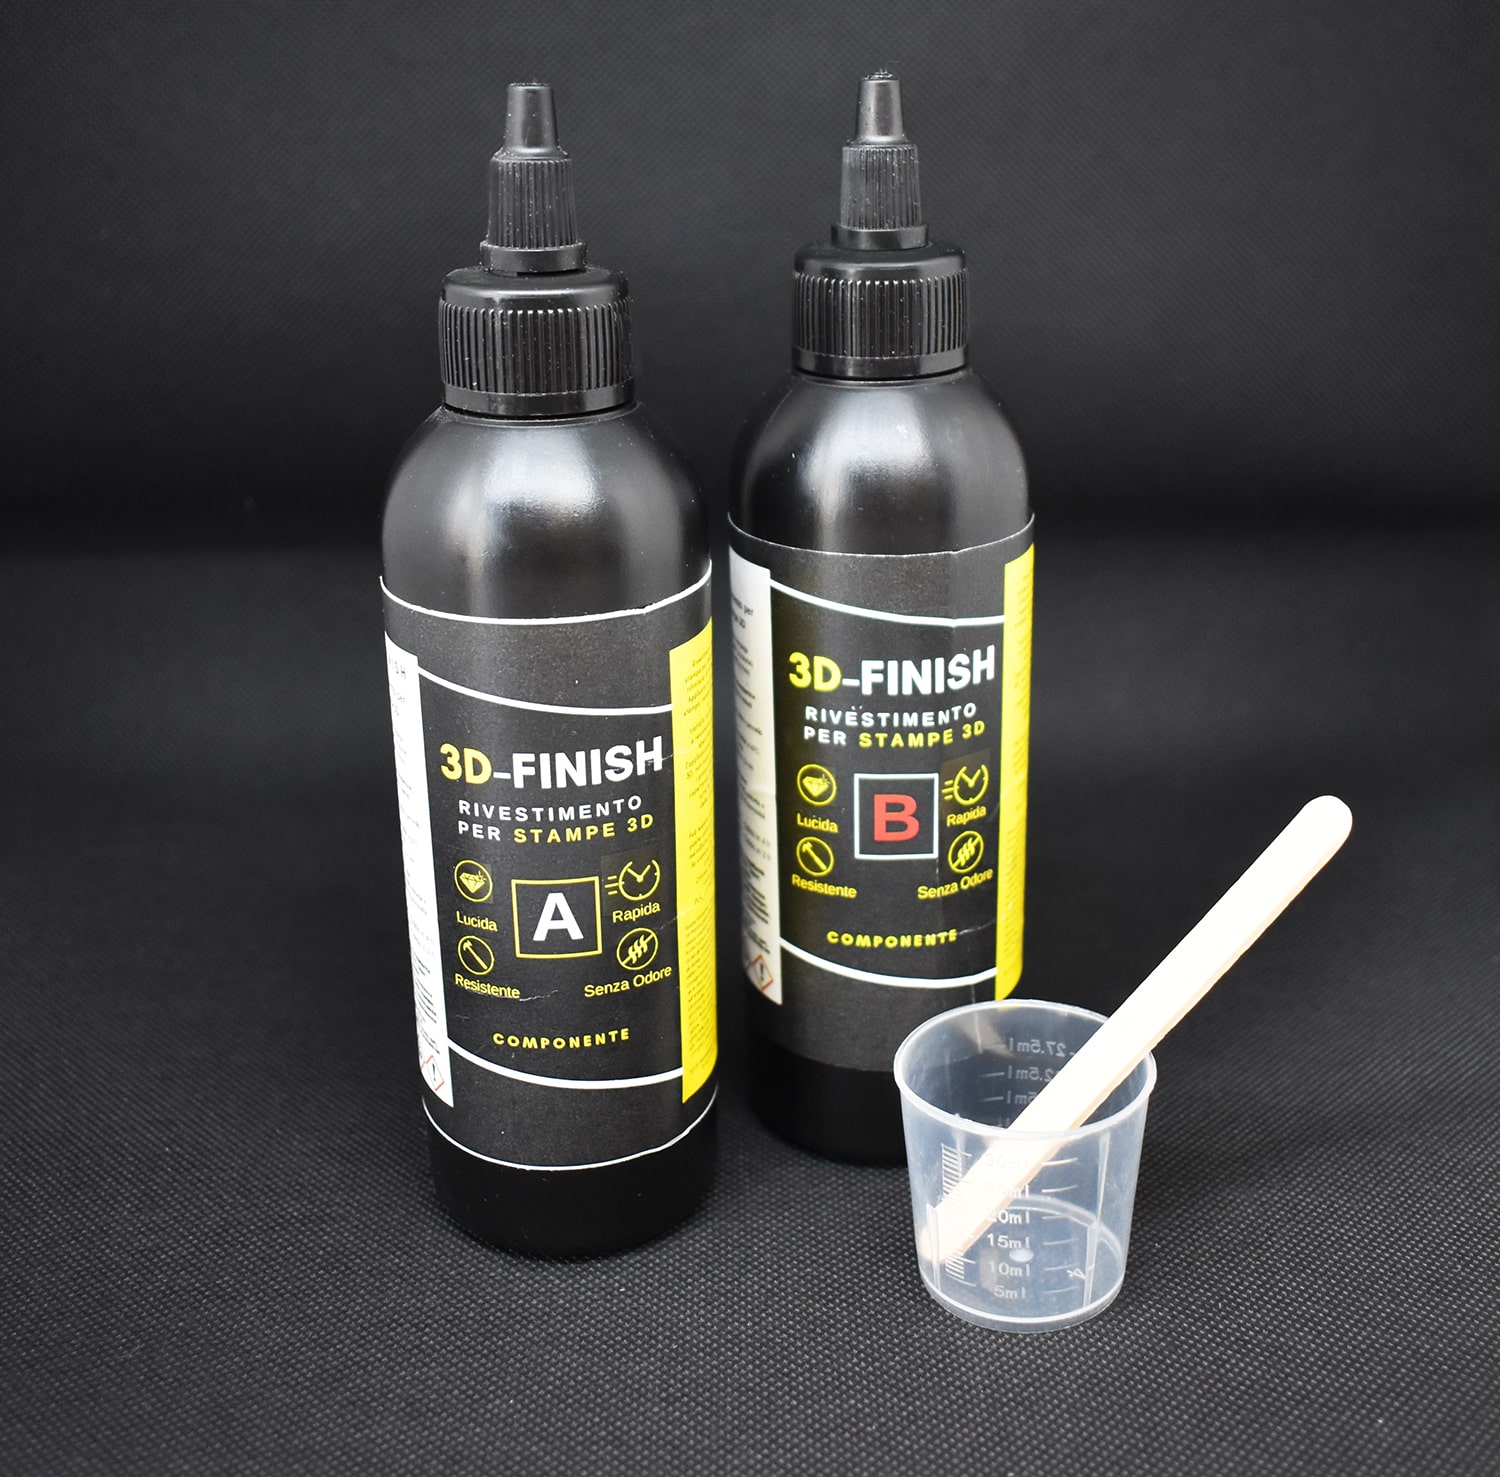
- "3D Finish" – Fast Coating Epoxy Resin for 3D PrintsPrice range: £13.95 through £19.95"3D Finish" Fast Coating Epoxy Resin provides a non-drip post-print coat preserving fine details on 3D printed models.
- Pure Isopropyl Alcohol 99.9% – 1000ml Bottle for Epoxy Resin Projects & DIYPrice range: £10.45 through £20.95Pure Isopropyl Alcohol 99.9% in a 1000ml bottle assists with bubble removal and effects creation in epoxy resin projects.
- "One-2-One" – Epoxy Resin for Handcraft, 1:1 Mixing RatioPrice range: £15.95 through £59.95"One-2-One" epoxy resin is a medium viscosity product with an easy 1:1 mixing ratio, designed for clear, long-lasting decorative crafts.
 Precision Digital Scales for Resin and Crafting, 1g–7kgPrice range: £8.45 through £24.00Digital scales designed for precise resin weighing with a compact design suited to careful mixing in crafting.
Frequently Asked Questions
Which epoxy is best for coating circuit boards?
A clear, medium-viscosity epoxy with straightforward mixing instructions, such as One-2-One, is ideal for protective coatings on circuit boards.
What is the best way to clean a circuit board before applying resin?
Using 99.9% isopropyl alcohol on a lint-free cloth effectively removes dust and oils from the board.
How can I avoid bubbles when applying resin to electronics?
Mix resin slowly, pour gently, and use a heat source or isopropyl alcohol mist to release surface bubbles.
How long should I let resin cure on a circuit board?
Resin usually takes from several hours to overnight for curing, depending on the product and workspace conditions.
What can I do if I miss a spot or have a surface flaw?
Once cured, sand lightly and clean, then apply a second thin resin layer for better coverage.
Should I mask connectors or sensitive areas before resining?
Yes, always mask electrical contacts or open connectors to prevent unwanted coating and electrical insulation.