 Free shipping on orders over £29,85


How to apply epoxy resin with a brush?
A step-by-step guide for smooth, streak-free resin brushwork.
Applying epoxy resin with a brush is an effective method for art, woodworking, and DIY projects where precision and control are essential. Whether you’re adding a glossy topcoat to a canvas, sealing wood, or creating detailed resin accents, brushing offers a hands-on approach perfect for both beginners and experienced makers. This guide will cover every step for smooth, professional-looking results.
What You’ll Need
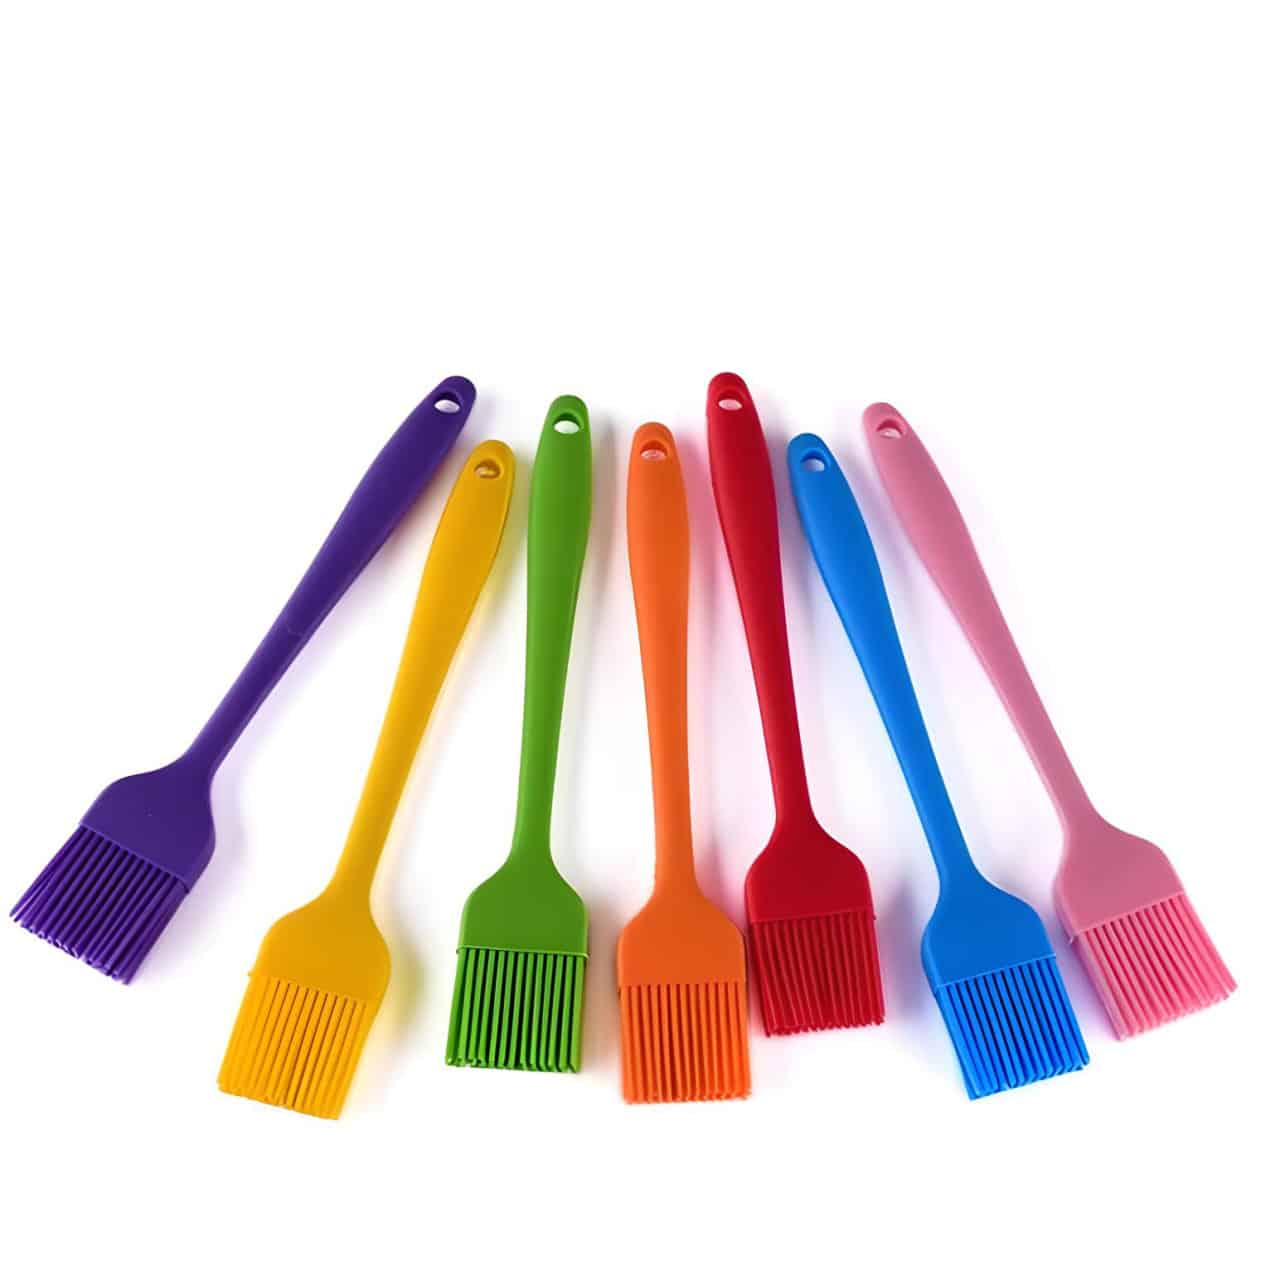
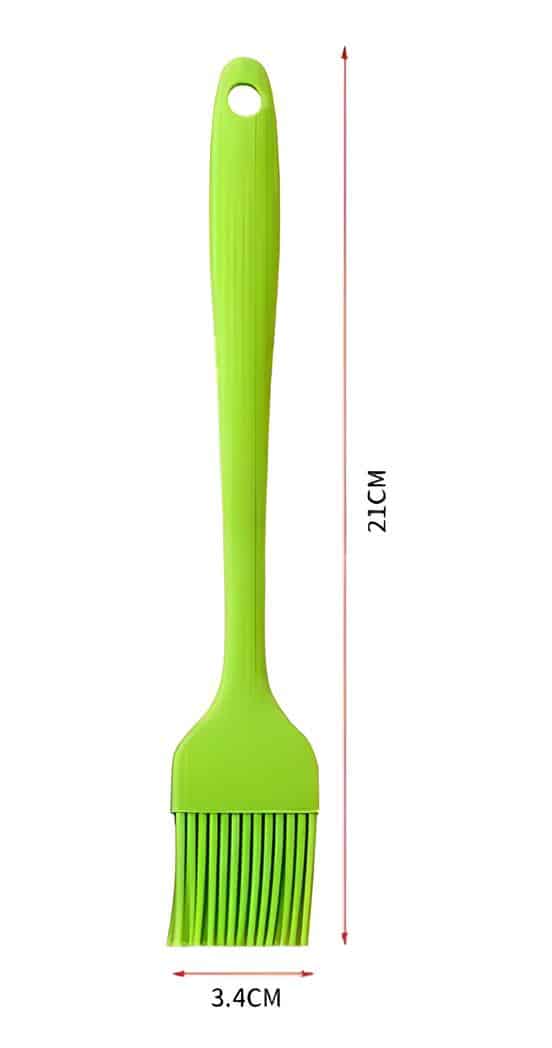
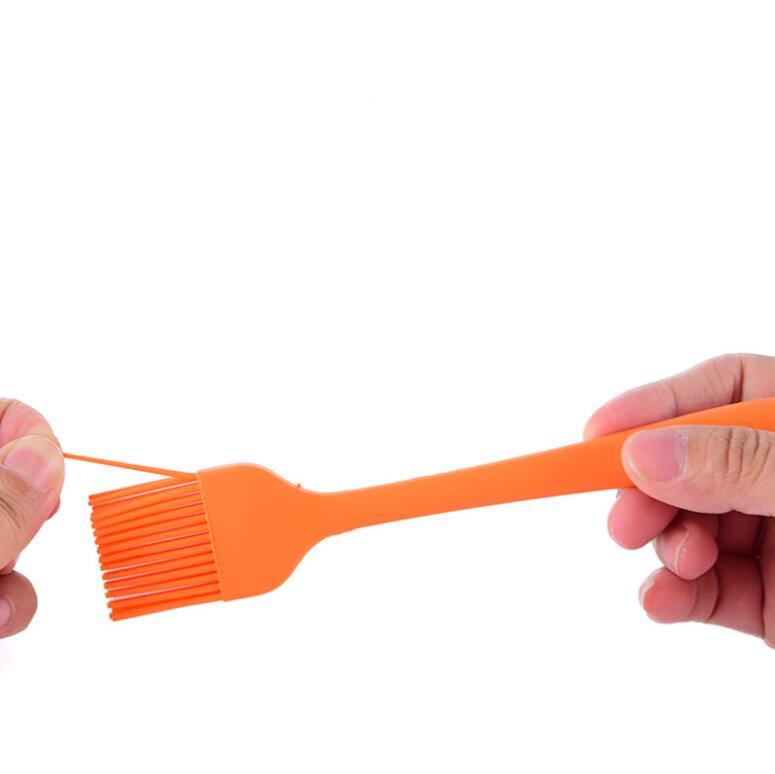
- Reusable Silicone Resin Brush for Epoxy Art and Wood Applications – Ideal for precision coating and easy cleaning.
- 12-Piece Artists Paint Brush Set for Epoxy Resin Art & DIY Projects – Offers a variety of shapes for detailed and broad applications.
- 5-Piece Disposable Paint Brush Set for Art, Crafting & DIY Projects – Useful for intricate or single-use projects.
- Protective gloves, apron, disposable mixing cups, resin, hardener, and a level surface.
Brush Choices for Epoxy Resin
Silicone, synthetic, or disposable? The right brush depends on your project. Silicone brushes are reusable and ideal for precision; synthetic sets suit art and detail; disposables work well for intricate or one-off tasks. Always pick a brush designed for resin use to achieve the best finish.
Step 1: Prepare Your Workspace and Surface
Begin by ensuring your workspace is dust-free and well-ventilated. Cover the work area with plastic sheeting or paper to catch drips. The surface to be coated must be clean, dry, and grease-free—wipe it with a lint-free cloth if needed. This allows the resin to adhere properly and prevents imperfections.
Place your project on blocks or supports so resin can run off the edges if necessary. Elevating your work reduces the risk of sticking and helps achieve a uniform coat across surfaces.

12-Piece Artists Paint Brush Set for Epoxy Resin Art & DIY Projects
A set of 12 synthetic brushes designed for varied strokes and comfortable use in epoxy resin art projects.
Step 2: Mix and Prepare Your Epoxy Resin
Carefully measure the resin and hardener according to the manufacturer’s instructions. Pour them into a clean mixing cup and stir slowly to avoid introducing air bubbles. Scrape the sides and bottom to ensure the two parts are fully blended.
Once mixed, let the resin rest for two to three minutes. This pause helps release trapped air, giving you a clearer, smoother finish after brushing.
Step 3: Load the Brush and Apply the First Coat
Select the appropriate brush for your project. For most art and wood applications, the Reusable Silicone Resin Brush for Epoxy Art and Wood Applications ensures precise application and easy cleanup. For detailed work or edges, a smaller brush from the 12-Piece Artists Paint Brush Set for Epoxy Resin Art & DIY Projects can be particularly helpful.
Dip the brush lightly into the mixed resin, ensuring it is well-coated but not saturated. Apply the resin in long, even strokes, working in one direction. Avoid overworking the area, as this may cause streaks or bubbles.
If you require a single-use option, the 5-Piece Disposable Paint Brush Set for Art, Crafting & DIY Projects offers quick cleanup for small or detailed projects.
5-Piece Disposable Paint Brush Set for Art, Crafting & DIY Projects
Disposable brushes designed for precise application tasks including epoxy resin crafting and detailed artwork.

Step 4: Smooth and Perfect the Finish
While the resin is still wet, lightly feather the surface with the tip of your brush to smooth ridges or marks. Watch for drips on edges and remove them with the corner of your brush. Maintain a gentle touch to avoid disturbing the resin’s self-levelling properties.
Work efficiently, as epoxy resin usually has a limited ‘open time’ before it starts to set. If you notice bubbles forming, use the dry brush technique—gently swipe a clean brush over the surface to break them up.
Step 5: Allow to Cure and Repeat as Needed
Let the resin cure in a dust-free environment according to package instructions. Avoid touching or moving the project before it sets fully, as this can affect the finish. Some applications may benefit from a second or third coat—just ensure each layer is fully cured and lightly sanded (if required) before applying more resin.

5-Piece Disposable Paint Brush Set for Art, Crafting & DIY Projects
Disposable brushes designed for precise application tasks including epoxy resin crafting and detailed artwork.
Tips, Mistakes, and Troubleshooting
Use a clean, high-quality brush for every application to prevent stray fibres and accidental texture in your finish. Always remove loose particles before pouring resin.
Work in thin layers to prevent bubbles and pooling. Applying too much resin at once can result in an uneven or sticky finish.
Always follow manufacturer’s safety recommendations regarding ventilation, gloves, and skin contact. Clean your tools immediately after use for longevity and the best results.
Achieving a Smooth Resin Finish
Patience and proper technique are crucial when brushing resin. Avoid rushing, work in a dust-free area, and use gentle strokes for each layer. Allow full curing between coats for flawless results your art or woodworking will show off beautifully.

- Reusable Silicone Resin Brush for Epoxy Art and Wood Applications£3.45Reusable silicone brush designed for precise, eco-friendly epoxy resin application in art and wood projects.
- 12-Piece Artists Paint Brush Set for Epoxy Resin Art & DIY Projects£6.45A 12-piece brush set designed for versatile application of epoxy resin art with durable synthetic bristles and comfortable handles.
- 5-Piece Disposable Paint Brush Set for Art, Crafting & DIY Projects£5.85A set of five disposable brushes designed for detailed painting and crafting, suitable for epoxy resin projects.
 Resin & Paint Application Rollers – Short-Pile, Large, and Sponge TypesPrice range: £3.45 through £4.85Rollers designed for precise and uniform application of epoxy resin on various surfaces, suitable for professionals and DIY use.
Frequently Asked Questions
What is the best type of brush for applying epoxy resin?
Synthetic bristle brushes are commonly preferred for epoxy resin application due to their smooth, shed-free finish. Reusable silicone resin brushes are ideal for detailed or precision work and offer easy cleaning for repeated use.
Why do I get bubbles when brushing on epoxy resin?
Bubbles typically occur if resin is over-mixed or brushed on too vigorously. Always mix resin slowly, apply in thin layers, and ensure your surface is dust-free. Feathering the surface shortly after application can help release small bubbles before the resin starts to cure.
Can I reuse brushes after applying epoxy resin?
Clean brushes immediately after use with warm, soapy water—especially silicone or synthetic types. Once epoxy hardens, it is very hard to remove, so quick cleaning is crucial for reusability.
Do I need to sand between coats of brushed epoxy resin?
If multiple coats are needed, allow the previous coat to cure fully, then lightly sand to promote adhesion. Remove sanding dust before adding the next layer.
How do I avoid brush marks when applying epoxy resin?
Use gentle, long strokes and feather out the surface while wet. Avoid revisiting areas once they begin to set. Choose brushes specifically made for resin and work within the open time for the best results.
How should I dispose of unused resin and cleaning materials?
Do not pour uncured epoxy down drains. Instead, let excess resin cure before disposal with normal waste, and follow local disposal guidelines. Disposable brushes and mixing tools should be discarded responsibly after use.
5-Piece Disposable Paint Brush Set for Art, Crafting & DIY Projects
Disposable brushes designed for precise application tasks including epoxy resin crafting and detailed artwork.
