 Free shipping on orders over £29,85

How to make resin hash
Step-by-step resin hash creation for beginners and artists alike


Resin hash is a versatile technique used by artists and crafters to create unique, durable pieces with depth and clarity. This guide covers the essential steps for safely making resin hash, suitable for those seeking to add texture, encapsulation, or solid forms to their artistic repertoire. Whether you’re new to resin or looking to perfect your process, this step-by-step tutorial ensures you understand the principles, avoid common mistakes, and achieve gallery-quality results.
What You’ll Need
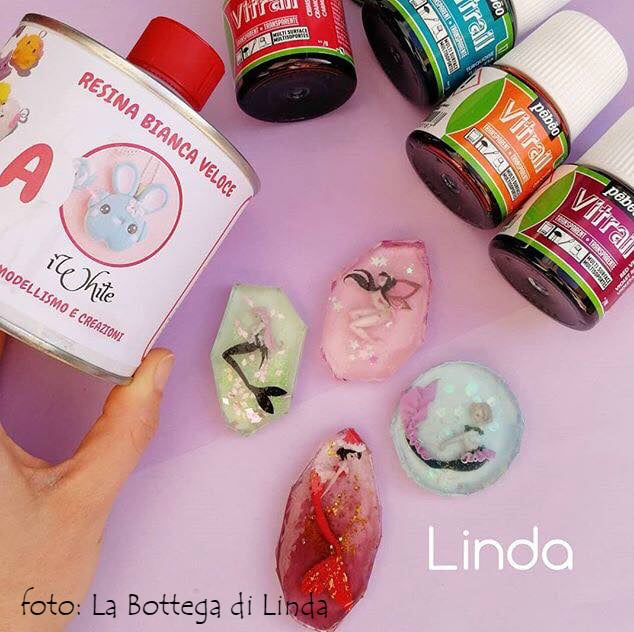
- “IWhite” – Polyurethane Casting Resin – White, Fast-Curing Two-Part System: A fast-setting resin ideal for quick mould creation and detailed casting.
- “Epoxytable 10-Ten” – Deep Pour Epoxy Resin for Tables, Up to 10cm Casting: Suitable for thick, clear resin hash designs requiring depth.
- “Art Pro Deluxe” – Ultra-High Viscosity Epoxy Resin for Artists: Perfect for controlled effects or surface finishes.
- “ICreation” – Fast Epoxy Resin, 6h Demoulding, Transparent Gloss Finish: Used for projects where rapid demoulding is essential.
- Silicone or polyurethane moulds (appropriate for your design)
- Mixing cups and spatulas
- Nitrile gloves and eye protection
- Protective work surface and apron

Essential Tools for Resin Hash Success
Equipping yourself with the right resins, moulds, and protective gear will streamline your process and result in smoother, clearer casts. Always choose high-quality silicone or polyurethane moulds and dedicate mixing tools solely for resin use to prevent contamination.

Step 1: Plan and Prepare Your Workspace
Plan your project thoroughly before mixing any resin. Decide what shape, size, and effect you wish to achieve with your resin hash. Prepare your silicone or polyurethane moulds and ensure they are clean and dry—any moisture can affect the resin’s cure. Cover all surfaces with protective sheeting, and assemble all equipment within easy reach. Work in a well-ventilated space and use gloves to minimise exposure to fumes and sticky residue.
Step 2: Measure and Mix Your Resin
Select the appropriate resin for your specific design. For fast, detailed casting, “IWhite” – Polyurethane Casting Resin – White, Fast-Curing Two-Part System offers short working and cure times, making it ideal for small, intricate pieces. If a deep, crystal-clear hash effect is desired, “Epoxytable 10-Ten” – Deep Pour Epoxy Resin for Tables, Up to 10cm Casting enables bubble-free thick pours.
Carefully follow the manufacturer’s instructions on mixing ratios—incorrect proportions are a common cause of incomplete curing or soft results. Mix slowly and scrape the sides, avoiding vigorous stirring that can trap unwanted air.
Step 3: Pour and Manipulate the Resin
Once thoroughly mixed, pour the resin gently into your mould. For high-precision designs or layered effects, “Art Pro Deluxe” – Ultra-High Viscosity Epoxy Resin for Artists is excellent for maintaining clear edges and preventing colours from blending unintentionally.
To create texture or embed materials, work in thin layers, allowing each to partially cure as needed. Use stirrers or tools to guide the resin without overworking it, which can introduce additional bubbles.
Step 4: Curing and Demoulding
Allow enough time for each curing stage by referencing the resin’s technical datasheet. “ICreation” – Fast Epoxy Resin, 6h Demoulding, Transparent Gloss Finish significantly speeds up crafts where rapid removal is needed. Cover pieces to shield from dust during cure and keep temperatures within recommended ranges.
When ready, demould gently to avoid cracks or surface defects. Flex silicone moulds as needed, avoiding sharp bends that could damage your finished piece.
Tips and Common Mistakes to Avoid
Avoid overfilling moulds to prevent overflow. Always leave a slight gap for resin expansion. Careful temperature control prevents yellowing or rapid curing—extreme heat or cold can compromise clarity and strength. Ensure all embedded items are dry and oil-free to avoid clouding. If bubbles do emerge, pass a heat gun or torch briefly over the surface but never linger to avoid burning.
Choose the right resin for your specific application: Use deep-pour formulas for thick casts, high-viscosity for fine lines, and fast-cure options for small, quick projects. Always review instructions for the resin type you select to achieve your desired result.
Achieving Professional Results in Resin Hash Projects
Patience is key for flawless finishes. Avoid rushing demoulding or curing, and consistently follow best-practice guidelines for each resin type. Document your process to refine your craft and replicate successful outcomes in future projects.

- “IWhite” – Polyurethane Casting Resin – White, Fast-Curing Two-Part SystemPrice range: £22.85 through £34.85IWHITE White Polyurethane Casting Resin is a fast-curing two-part system suitable for detailed moulding and rapid prototyping.
- “Epoxytable 10-Ten” – Deep Pour Epoxy Resin for Tables, Up to 10cm CastingPrice range: £33.85 through £334.85“Epoxytable 10-Ten” is a clear epoxy resin designed for deep casts up to 10cm, suitable for tables and large creative projects.
 "Art Pro Deluxe" – Ultra-High Viscosity Epoxy Resin for ArtistsPrice range: £33.85 through £287.85Art Pro Deluxe is an ultra-high viscosity epoxy resin designed for artists seeking precise control and crystal-clear finishes in resin art.
 "ICreation" – Fast Epoxy Resin, 6h Demoulding, Transparent Gloss FinishPrice range: £19.40 through £52.85"ICreation" Fast Epoxy Resin offers a transparent, glossy surface with a 6-hour demoulding time, suitable for jewellery and crafts.
Frequently Asked Questions
Which resin type should I use for making resin hash?
Choose a resin based on your preferred finish and casting depth: use deep pour epoxy for thick pieces, or fast-setting polyurethane for quick, detailed castings.
Can I safely speed up the curing time for resin hash?
Select a fast-curing resin such as ICreation Fast Epoxy Resin for quicker demoulding, but always maintain recommended temperature and ventilation.
Why is my resin hash still soft or sticky after curing?
Soft or sticky resin usually results from incorrect mixing ratios or inadequate curing temperature. Always follow each resin’s instructions closely.
How do I avoid trapped bubbles in my resin hash?
Mix gently to reduce air entrapment, and use a heat gun briefly over the surface to help bubbles escape after pouring.
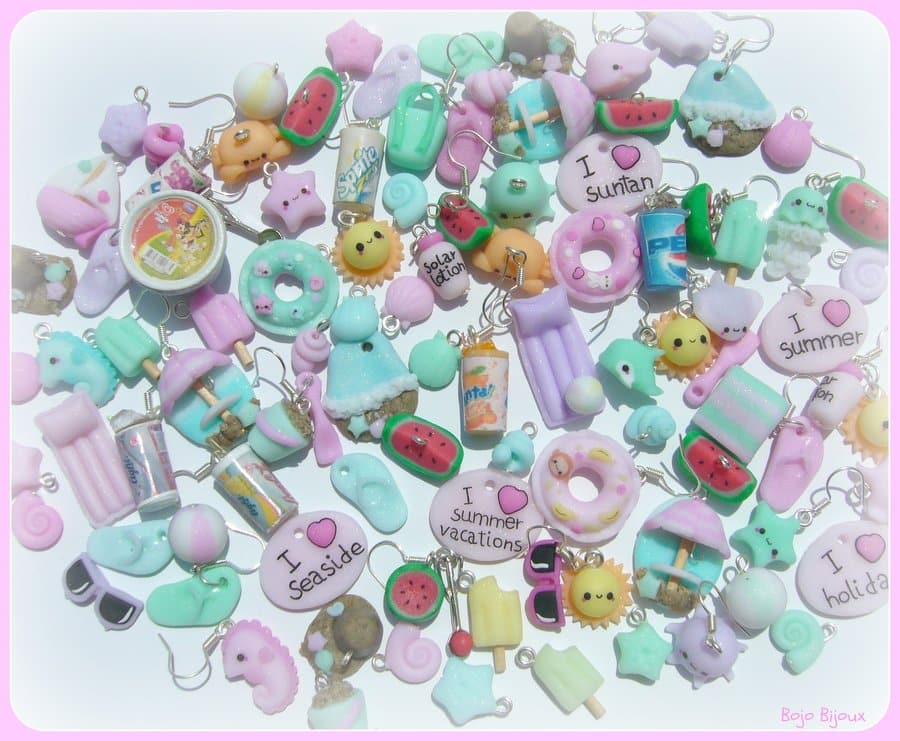
Is it possible to embed objects like flowers or glitter in resin hash?
Yes, but ensure all items are completely dry and oil-free, and layer between pours for best results.
What is the right time to demould resin hash for a perfect finish?
Demould only once the resin is fully or almost fully cured as per its datasheet to avoid warping or marking the surface.
How should I clean tools and equipment after making resin hash?
Clean mixing tools and containers before the resin cures using isopropyl alcohol or disposable wipes, and avoid pouring excess resin down the drain.