 Free shipping on orders over £29,85


how to make resin stickers
Create unique, glossy stickers for crafts using resin safely.


Resin stickers offer a creative, durable way to make your own custom graphics, labels, or decorative pieces. This guide walks you through each stage of the process, from basic preparation to achieving that signature domed, glossy surface, so you can produce stunning results whether you’re crafting at home or for business.
What You’ll Need
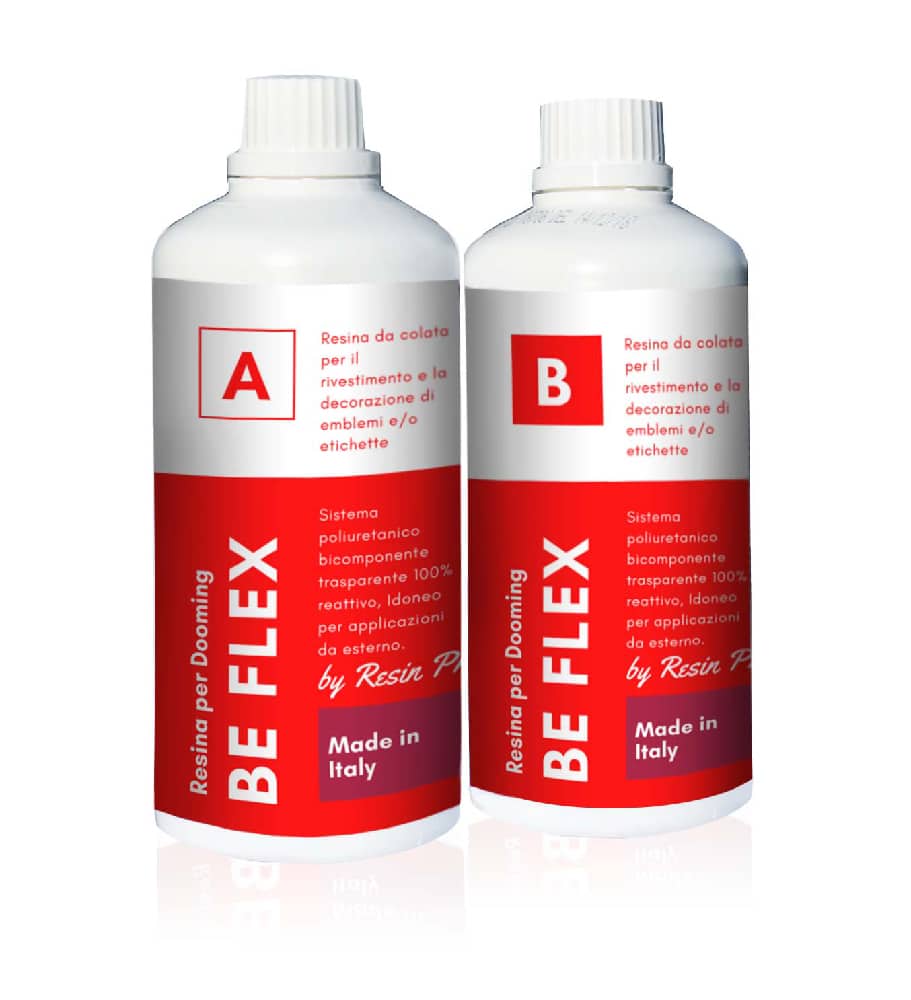
- “Be Flex” – Transparent Polyurethane Doming Resin – Scratch-Resistant: A clear and flexible doming resin ideal for stickers on curved or outdoor surfaces.
- “UV–Creation” – Fast Acrylic Resin, 3 Minute UV Cure: Single-component UV resin for quick projects and smaller stickers.
- “Fairy Wings” – UV Resin for Volumetric Reliefs, Dual Colour, 30ml: Best for adding raised, decorative details or 3D effects.
- “One-2-One” – Epoxy Resin for Handcraft, 1:1 Mixing Ratio: A clear epoxy suitable for simple, durable coating of sticker sheets.
- Printed sticker sheets or blank adhesive label material
- Mixing cups and sticks (if using two-part resins)
- Disposable gloves and workspace protection
- UV lamp (required for UV-curing resins)
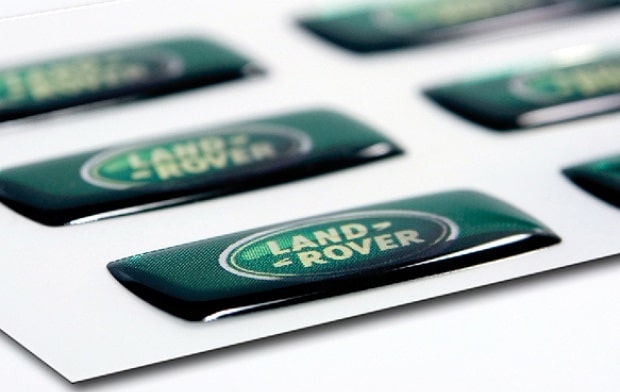
See Resin Stickers in Action
See how resin doming transforms stickers—from flat prints to eye-catching, waterproof designs for creative, long-lasting labels. Inspiration for crafters and small businesses alike.
Step 1: Prepare Your Stickers and Workspace
Begin by printing or choosing your sticker designs on a suitable backing, such as vinyl or glossy adhesive sheets. Cut them out and arrange them on a non-stick work surface—using a silicone mat helps prevent accidental adhesion during the resin process. Take time to ensure your workspace is protected from spills and is clean, free from dust or fibres that could become embedded in the resin.
Wear disposable gloves and ensure good ventilation, especially when working with polyurethane or epoxy resins. This helps maintain safety and minimises contamination.
Step 2: Choose and Mix Your Resin
Select a resin that best matches your project goals. If your stickers need to bend or survive outdoors, opt for a Flexible, transparent finish by using a polyurethane doming resin. For fast results on small stickers, a UV-curing resin is ideal.
If you are using a two-part resin such as “One-2-One” – Epoxy Resin for Handcraft, 1:1 Mixing Ratio, carefully measure and mix the resin and hardener in equal parts by volume until no streaks remain. For single-component UV resins, like “UV–Creation” – Fast Acrylic Resin, 3 Minute UV Cure, you can use the product straight from the bottle—no mixing required.
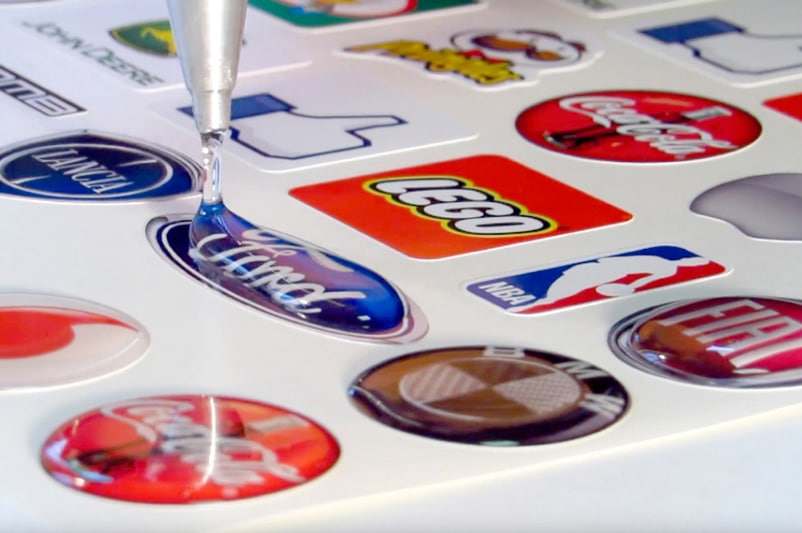
Step 3: Apply the Resin to Your Stickers
Slowly dispense a small amount of resin onto the centre of each sticker. Allow the resin to naturally spread to the edges—surface tension will typically keep the resin from running over. For a domed look, use just enough resin to form a slightly raised, curved surface.
When using products like “Fairy Wings” – UV Resin for Volumetric Reliefs, Dual Colour, 30ml, employ thin applications and a fine tip or spatula for intricate designs and 3D embellishments. Thin layers for best results: If you want extra height or layering effects, build up the resin in successive cured steps.
Step 4: Cure and Finish Your Stickers
The curing method depends on your resin. UV resins require exposure to a UV lamp for 2–5 minutes per layer, while polyurethane and epoxy resins harden over several hours at room temperature. Cure fully before handling—premature removal can damage the finish.
Once cured, carefully peel the stickers from the non-stick backing. Check for any sticky edges and, if needed, trim or finish them with a craft knife.

Tips and Troubleshooting for Resin Stickers
To ensure the best outcome, always work in a well-ventilated area and protect your surfaces. Avoid over-pouring, which can cause resin to spill beyond the edge of your stickers. Eliminate bubbles by gently blowing on the surface before curing or using a pin for small air pockets. If working in layers, allow each to cure completely before applying the next. If your stickers lack shine or feel sticky, it may indicate under-curing or excess humidity—be patient with the process and check your environment.
Creative Ideas for Resin Stickers
Add colourful 3D details to planner stickers, DIY phone cases, or custom business logos. Fairy Wings UV Resin lets you create unique, raised effects with ease!
- "Be Flex" – Transparent Polyurethane Doming Resin – Scratch-ResistantPrice range: £21.85 through £77.85"Be Flex" is designed to create flexible, transparent labels with a scratch-resistant, self-healing finish, suitable for curved surfaces.
- "UV–Creation" – Fast Acrylic Resin, 3 Minute UV CurePrice range: £7.85 through £59.85UV–Creation is a ready-to-use UV acrylic resin offering fast curing and a clear, glossy finish, suited for jewellery and crafting projects.
 "Fairy Wings" – UV Resin for Volumetric Reliefs, Dual Colour, 30mlOriginal price was: £15.15.£2.85Current price is: £2.85."Fairy Wings" UV Resin is a ready-to-use acrylic gel suited for making detailed 3D patterns in crafting and polymer clay projects.
 "One-2-One" – Epoxy Resin for Handcraft, 1:1 Mixing RatioPrice range: £14.85 through £56.85"One-2-One" epoxy resin provides a clear, glossy finish with safe, non-toxic formulation, suited for crafts and jewellery projects.
Frequently Asked Questions
Which resin is best for flexible stickers?
A polyurethane doming resin, such as Be Flex, offers both flexibility and good UV resistance—ideal for curved or outdoor stickers.
Can I use UV resin to make stickers?
Yes, UV-curing resins like UV–Creation work well for small stickers and offer a quick, easy curing process.
How long does it take for resin stickers to cure?
UV resins cure in 2–5 minutes with a lamp, while epoxy and polyurethane resins can take several hours at room temperature.
Can I apply multiple resin layers on stickers?
Yes, apply thin layers and let each cure fully before adding the next to create domed effects or add depth.
How do I avoid bubbles in resin sticker projects?
Pour slowly, use a pin to pop trapped bubbles, and gently blow on the surface before curing for a clear finish.
Why are my resin stickers sticky after curing?
Sticky results often mean under-curing or high humidity—use the correct lamp for UV resin or allow more curing time for two-part resins.