 Free shipping on orders over £29,85


How to paint a resin model
Painting a resin model is a rewarding way to bring your creations to life, whether you’re a hobbyist, artist, or scale modeller. With proper preparation and the right techniques, you can ensure crisp lines, vivid colours, and a lasting professional finish. This guide covers each key stage to help you paint resin models confidently and achieve stunning results.
Step-by-step guide for flawless resin model painting results


What You’ll Need
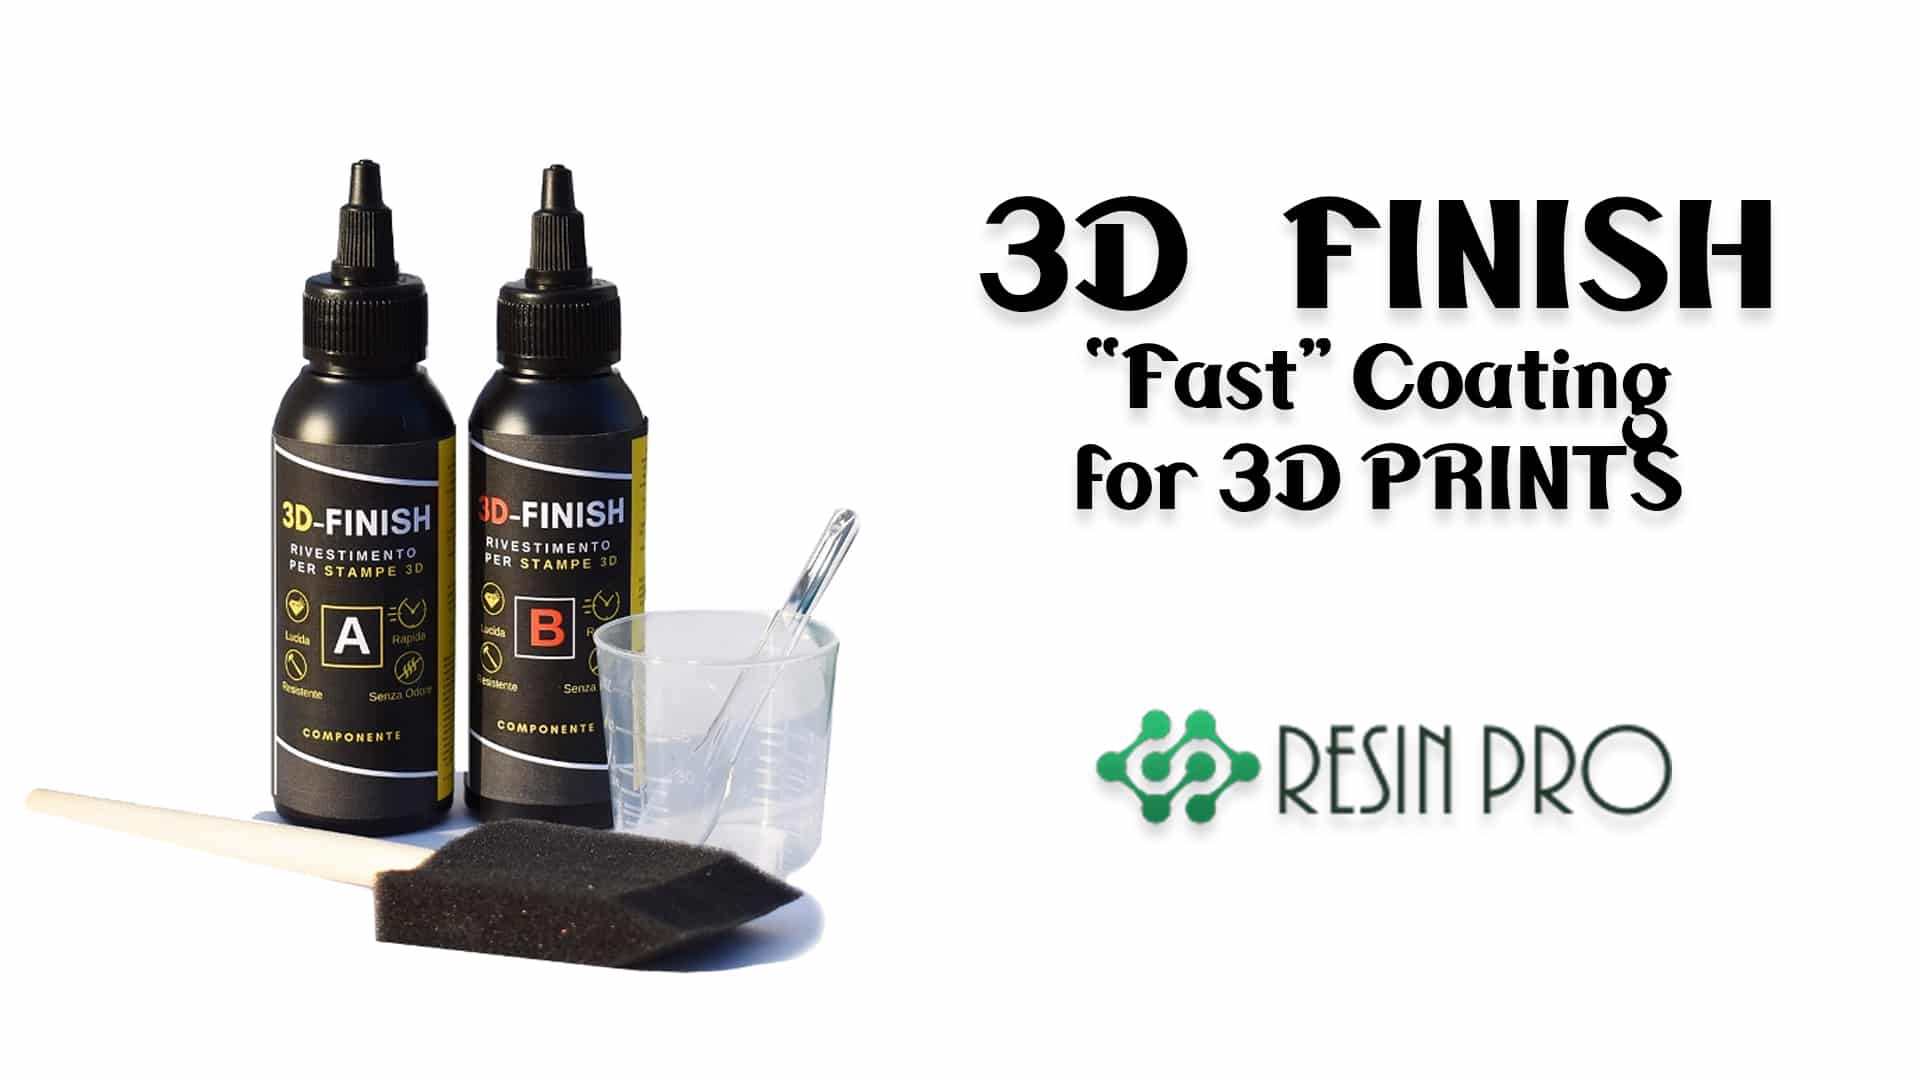
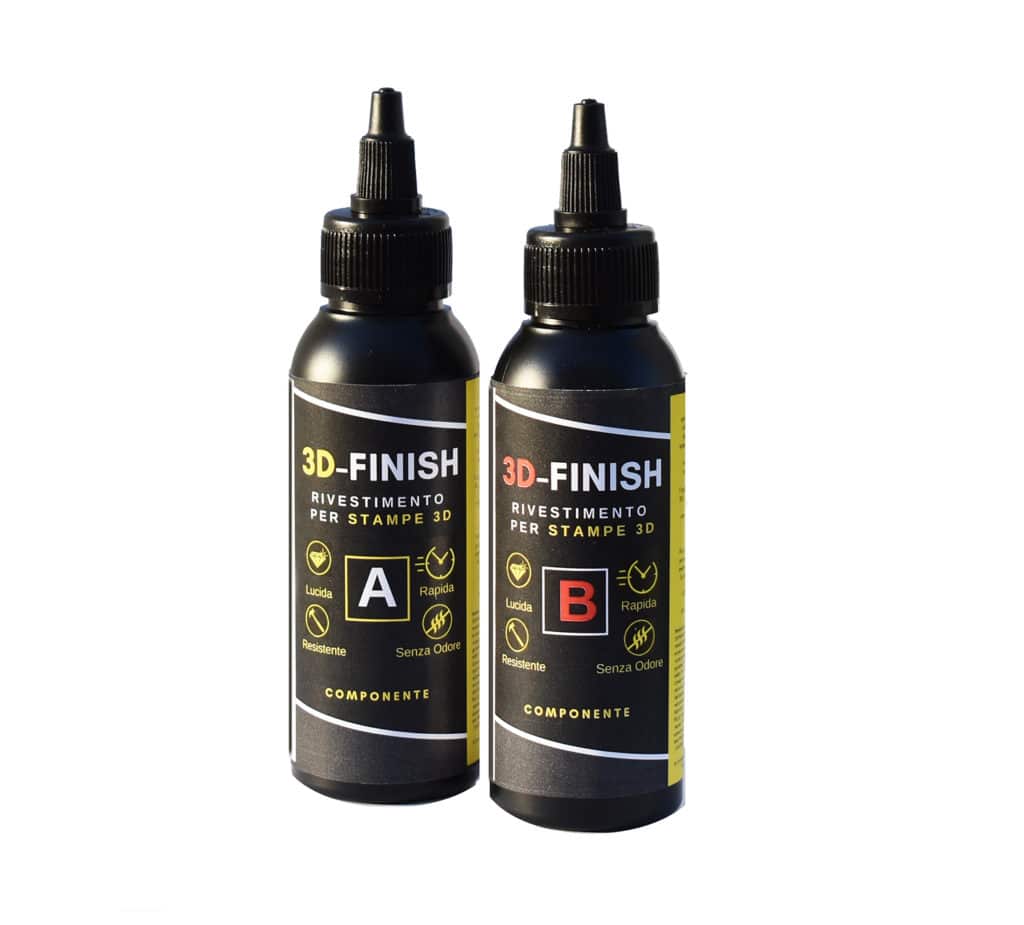
- “3D Finish” – Fast Coating Epoxy Resin for 3D Prints: For smoothing and sealing 3D print surfaces before painting
- 12-Piece Artists Paint Brush Set for Epoxy Resin Art & DIY Projects: Versatile brushes suitable for fine details and broad areas
- 5-Piece Disposable Paint Brush Set for Art, Crafting & DIY Projects: Convenient for fine work or single-use situations
- Primer and model paints compatible with resin
- Mild soap, water, and soft cloth
- Masking tape (if needed for sharp paint lines)
- Protective gloves and a well-ventilated workspace
Resin Model Preparation Essentials
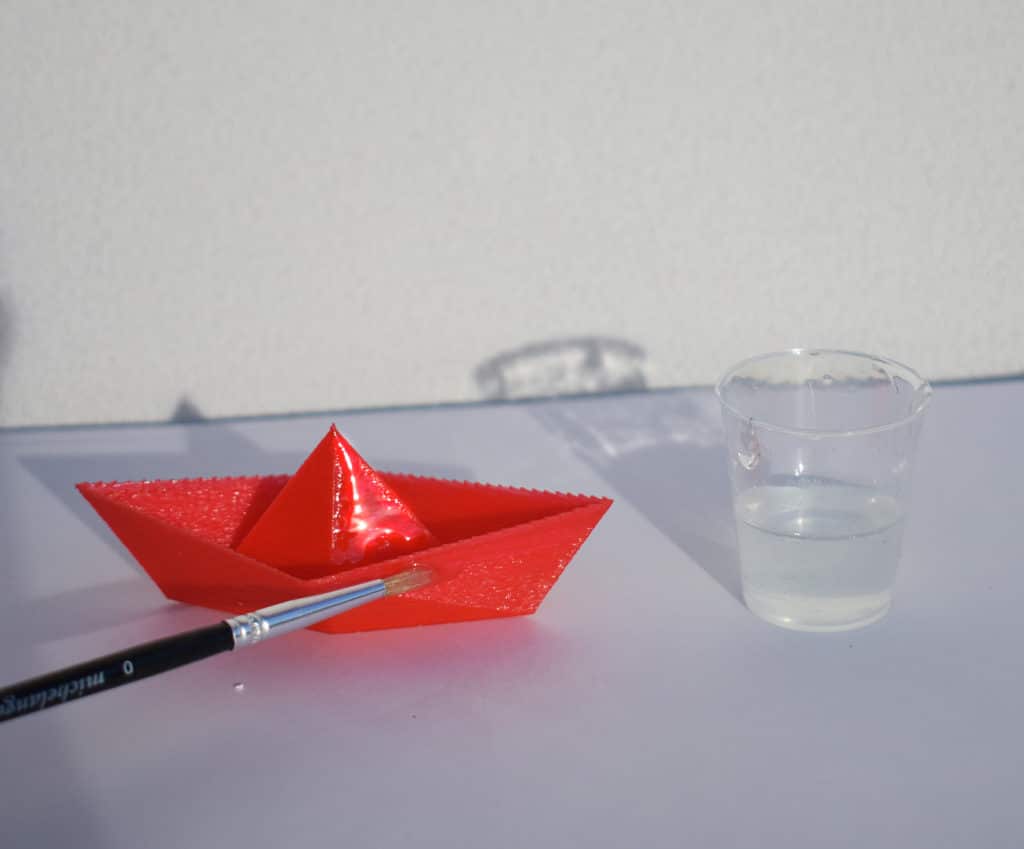
Proper preparation is key to a flawless painted finish. Cleaning and smoothing your resin models with epoxy resins like “3D Finish” – Fast Coating Epoxy Resin for 3D Prints ensures the best paint results.
Step 1: Clean the Resin Model Thoroughly
Clean the resin model thoroughly before beginning any painting. Most resin models retain small amounts of mould release or dust that can affect paint adhesion. Wash the model gently with mild soap and water, using a soft brush or cloth to reach into recesses. Rinse well and allow it to dry completely. Avoid harsh scrubbing that could scratch delicate features. This simple preparation will prevent future peeling or flaking of your painted surface.
Step 2: Prime the Surface for Optimal Paint Adhesion
Prime the surface for optimal paint adhesion. A primer designed for plastics or resin provides a uniform base and highlights imperfections to be corrected before painting. Lightly sand any rough spots or layer lines if visible. For 3D printed resin models, applying a layer of “3D Finish” – Fast Coating Epoxy Resin for 3D Prints before priming helps smooth out layer lines and creates an ideal painting surface. Let any coating or primer cure thoroughly according to the instructions.
Step 3: Apply Paint in Light, Even Coats
Apply paint in light, even coats to build colour without obscuring details. Use high-quality acrylic or enamel paints suitable for resin. Paintbrush choice matters: for tiny details, opt for a brush from the 12-Piece Artists Paint Brush Set for Epoxy Resin Art & DIY Projects. For larger areas or disposable needs, the 5-Piece Disposable Paint Brush Set for Art, Crafting & DIY Projects can offer convenience. Allow each coat to dry fully before adding the next to avoid streaks or smudges. Mask off areas as needed for sharp edges or layered effects.
Step 4: Seal and Finish Your Painted Model
Seal and finish your painted model to protect your work and enhance durability. After the final paint layer has cured, apply a suitable clear varnish or sealant—either matte, satin, or gloss depending on your preference. This step prevents wear and helps preserve vibrant colours long-term. Ensure your workspace is dust-free during application for a flawless finish.
Tips, Common Mistakes, and Troubleshooting
Allow each product to fully cure and follow recommended drying times to avoid tacky or soft layers. Always paint in a dust-free, well-ventilated area to minimise imperfections. Avoid thick paint layers, which may fill in details or create an uneven surface. If you notice paint not sticking, re-clean and check for overlooked residue or improperly cured coatings. Test new paints on an inconspicuous section before applying to the whole model.
Painting Like a Professional
Great results come from patience and precision. Use fine brushes for intricate details and build up colours gradually for depth—quality tools and proper sealing make all the difference.
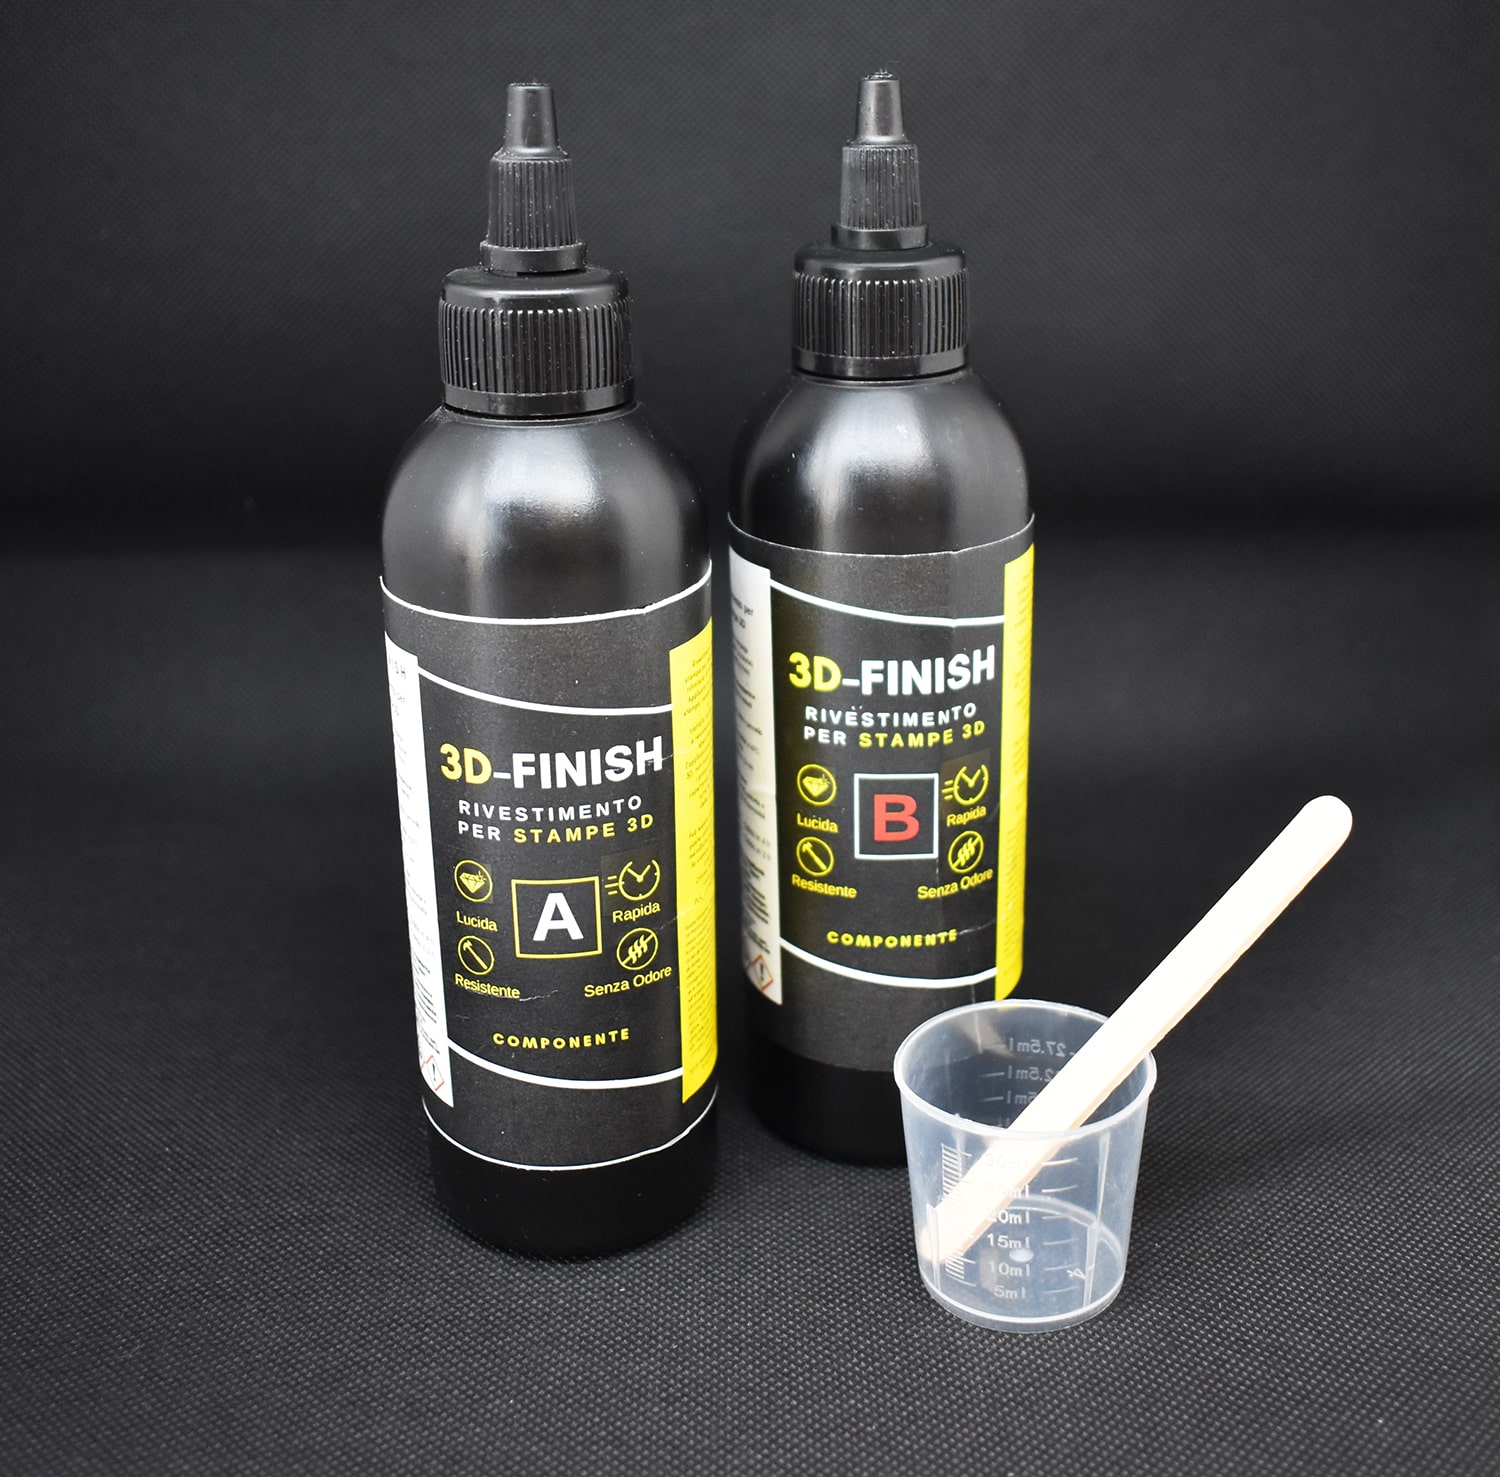
- "3D Finish" – Fast Coating Epoxy Resin for 3D PrintsPrice range: £12.85 through £18.85"3D Finish" is a fast-curing epoxy resin designed to provide a smooth, detailed finish for 3D printed models, suitable for coating and repair.
- 12-Piece Artists Paint Brush Set for Epoxy Resin Art & DIY Projects£6.45This 12-piece brush set is designed for use in epoxy resin art, suitable for detail and broad strokes in resin model painting.
 5-Piece Disposable Paint Brush Set for Art, Crafting & DIY Projects£5.85This 5-piece disposable paint brush set offers versatile sizes and durable bristles suited for detailed resin painting in crafting and DIY projects.
Frequently Asked Questions
Can any paint be used on resin models?
No: use acrylic or enamel paints specifically designed for resin or plastic to ensure proper adhesion and durability.
Why do I need to prime resin models?
Priming improves paint adhesion, reveals flaws to be corrected, and provides a uniform surface for vibrant coverage.
How can I avoid visible brush marks on resin models?
Use smooth, even strokes with high-quality brushes and apply paint in thin layers, allowing full drying between coats.
Is a final sealant needed after painting a resin model?
Yes, a clear sealant protects the paint and keeps colours vibrant for longer, especially on frequently handled models.
What if my paint won’t stick to the resin model?
Ensure the model is fully clean and grease-free, and check that any primer or coatings have completely cured first.
Do I need to sand resin models before priming?
Light sanding helps remove imperfections and improves primer adhesion, especially on 3D printed models.
Can I use regular brushes for painting resin models?
Brushes with synthetic bristles are ideal as they resist shedding and allow for precise, controlled paint application.