 Free shipping on orders over £29,85


How to apply epoxy resin on iron?
Applying epoxy resin on iron is a practical way to repair, protect, or enhance metal items. Whether restoring a tool, sealing garden furniture, or creating bespoke metalwork, using epoxy offers a highly resilient bond. This guide explains the full application process, including preparation, tips for a seamless coat, and common pitfalls to avoid. Suitable for beginners and experienced makers alike, you’ll gain confidence for excellent results on your next project.
Achieve durable bonding and a flawless finish on metal surfaces


What You’ll Need
- “Klebfix” – Two-Component Fast Epoxy Glue 2K, 25g Syringe: For small-area bonds and rapid setting repairs on iron.
- “FixExpress” – Two-Component Epoxy Glue 500g: For larger coverage or bonding jobs demanding quick handling.
- Resin & Paint Application Rollers – Short-Pile, Large, and Sponge Types: For spreading epoxy evenly over iron surfaces.
- Gas Heat Gun for Epoxy Resin – Precision Tool for Bubble Removal and Finishing: To eliminate air bubbles and optimise curing.

Choosing the Right Tools for Epoxy on Iron
Selecting high-quality rollers, precision glue, and a gentle heat gun supports better results and minimises application errors. These tools ensure even coverage and effective bubble removal, which are key for a professional finish on iron surfaces.
Step 1: Prepare and Clean the Iron Surface
Cleanliness is vital for adhesion. Begin by thoroughly washing the iron with degreasing soap and hot water. Remove any oil, dirt, dust, or existing finishes. Rinse and let dry completely. Rust or corrosion must be fully removed using a wire brush, sanding block, or mechanical sander—exposure of clean, shiny metal is the aim.
Wipe the area with isopropyl alcohol or acetone once dry. This ensures no invisible residues remain. Allow the surface to air dry before proceeding with epoxy application for best bond strength.
Step 2: Roughen the Surface for Maximum Bond
Epoxy resin adheres best to slightly rough, textured surfaces. Use medium-grit sandpaper (typically 80–120 grit) to create a uniform pattern of fine scratches across the area to be coated. Adhesion depends on keying the surface rather than leaving it glossy.
After sanding, brush away all dust and wipe again with a clean, lint-free cloth. Avoid touching the prepared area with bare hands as oils can transfer and inhibit bonding.

"FixExpress" – Two-Component Epoxy Glue 500g
A two-component epoxy glue designed for rapid repairs and durable bonding across diverse materials.
Step 3: Mix and Apply the Epoxy Resin
Prepare your epoxy following the instructions. If working on a small object or repair, “Klebfix” – Two-Component Fast Epoxy Glue 2K, 25g Syringe is convenient—dispense equal parts, mix for the recommended time, and apply immediately before gelling begins. For covering broader iron surfaces, use “FixExpress” – Two-Component Epoxy Glue 500g, mixing 1:1 by weight or volume and blending thoroughly until uniform.
Using a Resin & Paint Application Roller, evenly spread the resin over the iron. Short-pile rollers work well for flat or detailed surfaces, while the sponge roller offers self-levelling properties. For small or intricate areas, disposable brushes may also be helpful. Thin, even layers prevent drips and ensure a neat, professional look. Always work within the open time of the epoxy—avoid overworking after it begins to thicken.
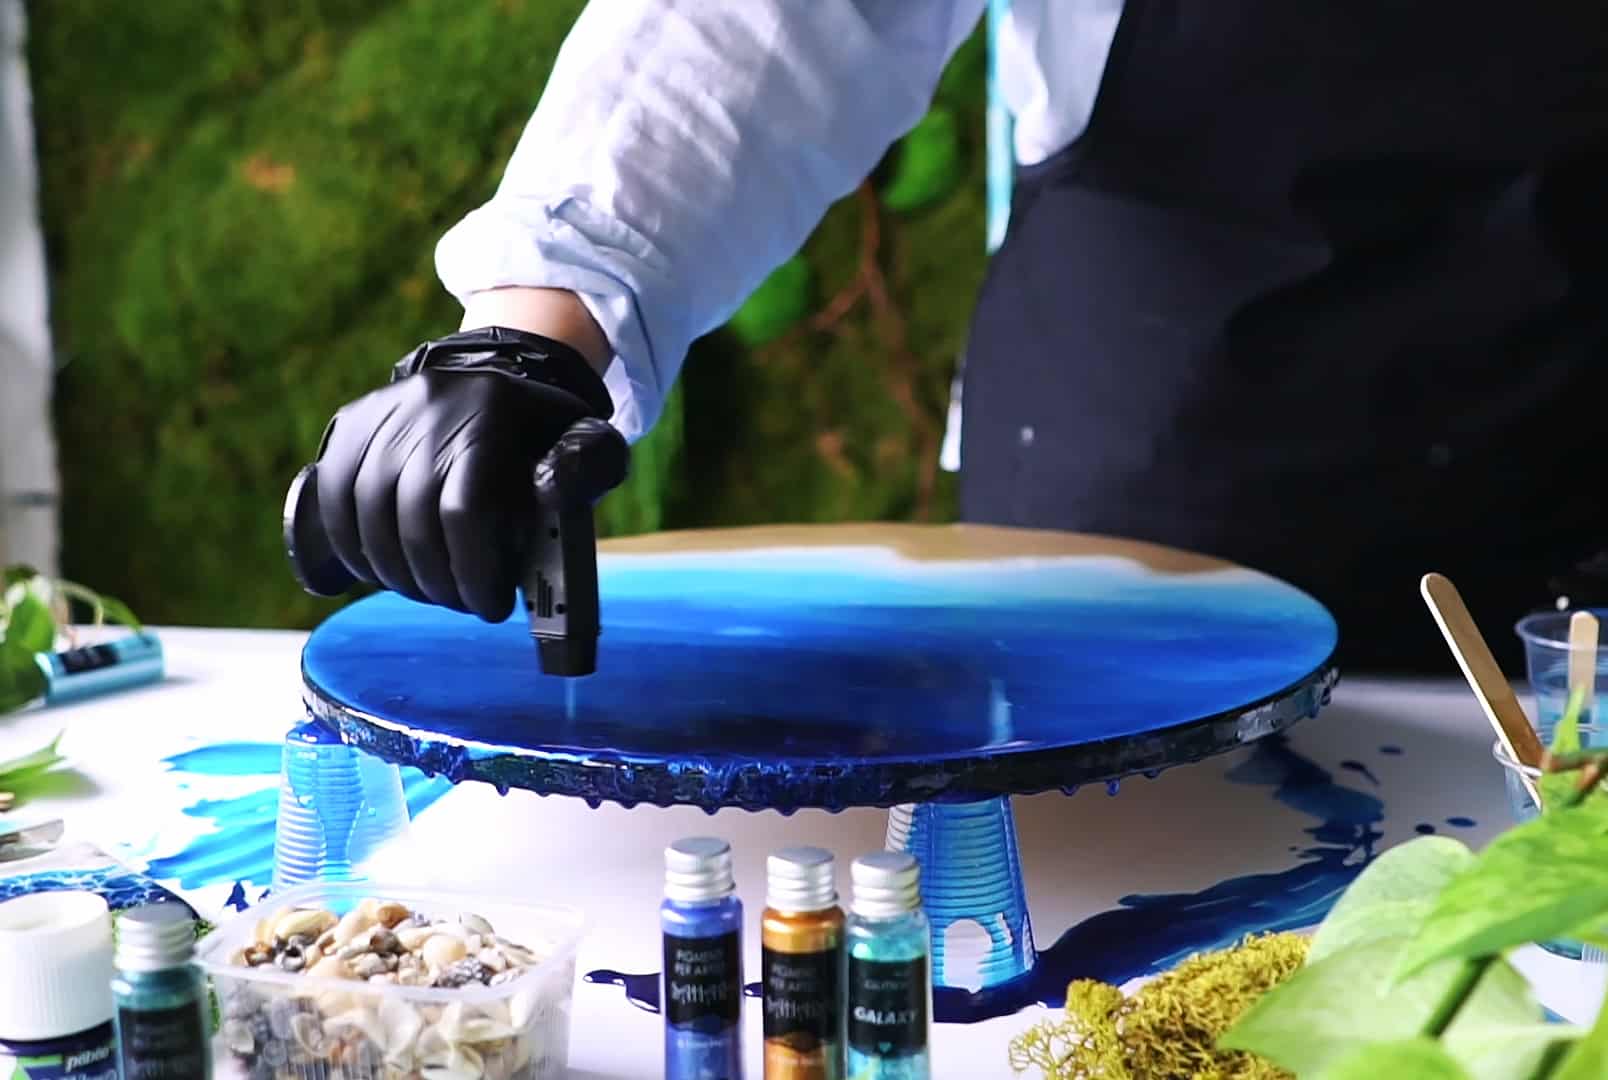
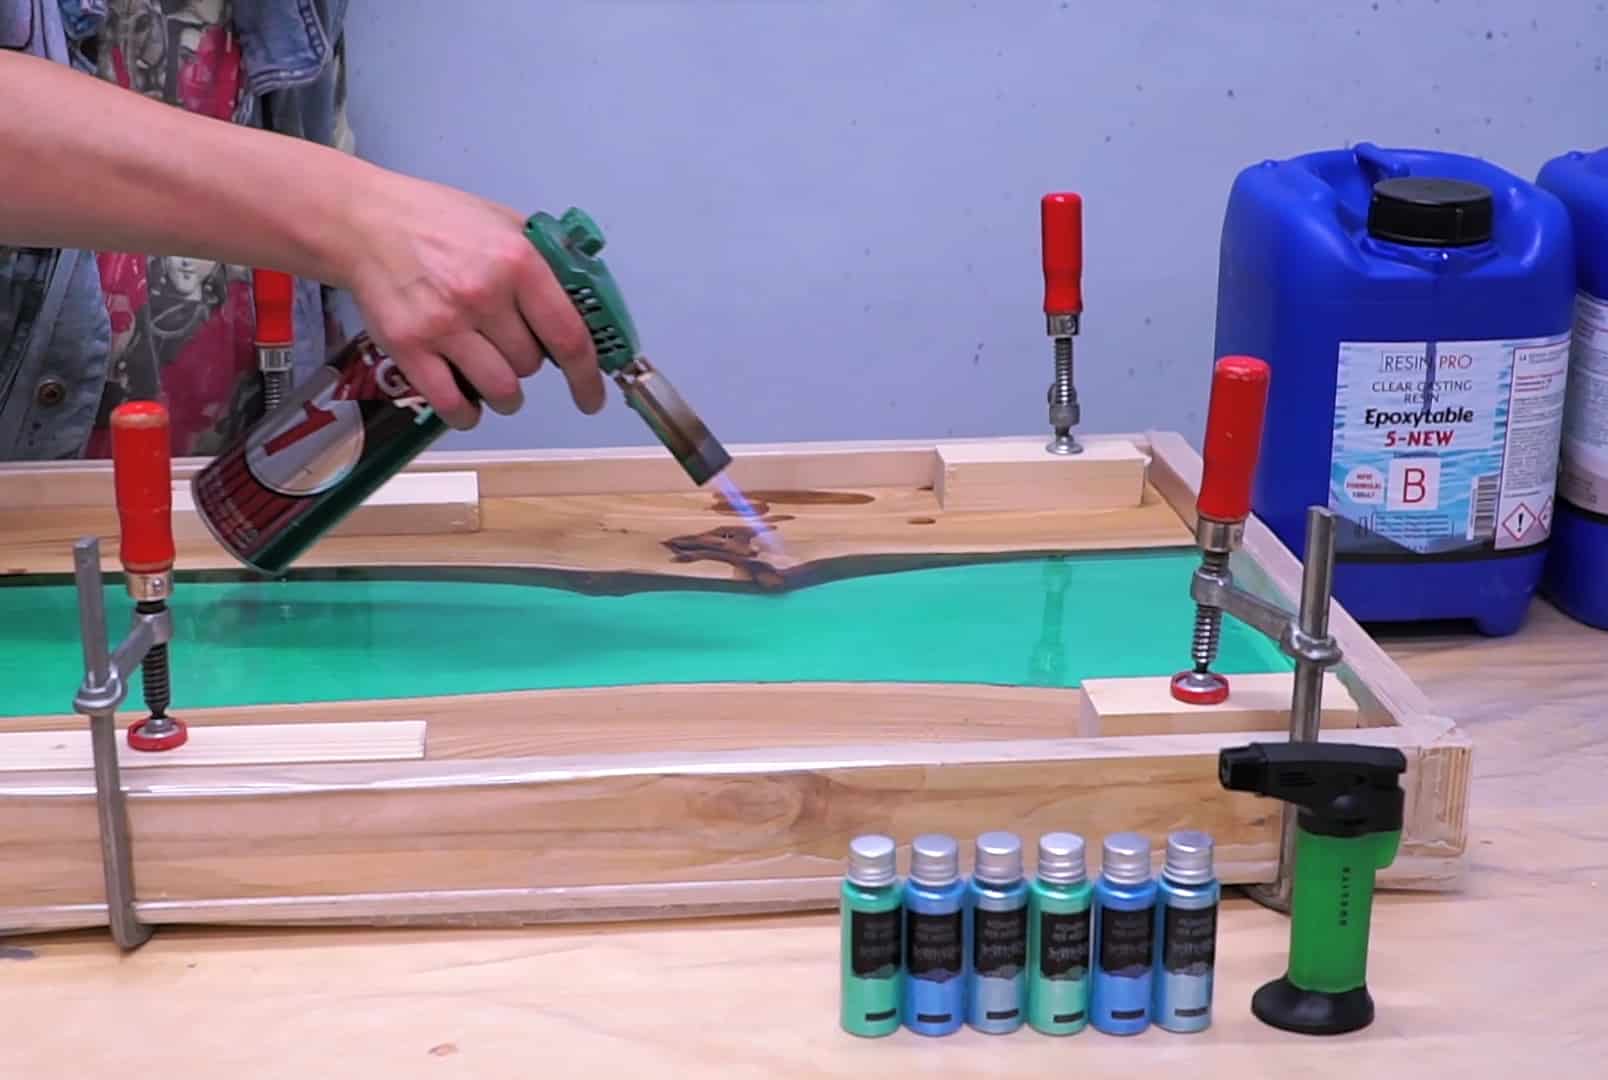
Step 4: Remove Air Bubbles and Cure Properly
Trapped air bubbles may appear during application. Pass a Gas Heat Gun for Epoxy Resin at a safe distance over the wet epoxy to release bubbles and smooth the surface. Move the tool steadily to avoid overheating or burning the resin.
Let the epoxy set undisturbed, following the manufacturer’s guidance. Patience is crucial during the curing phase, as stressing or moving the piece too early can compromise the finish and bond. Protect the area from dust, dampness, or physical impact until fully cured (often 24 hours for full mechanical strength).
Gas Heat Gun for Epoxy Resin – Precision Tool for Bubble Removal and Finishing
A lightweight gas heat gun designed for efficient bubble removal and finishing in epoxy resin projects.

Tips, Common Mistakes, and Troubleshooting
Handle mixed resin promptly—once combined, timing is limited before it thickens. Always prepare pieces for application beforehand.
If epoxy doesn’t harden, check mixing ratios and ensure thorough blending. Weak bonds often result from rushed preparation or uncleaned surfaces. Remedy by sanding back and re-applying with stricter prep next time.
Avoid thick layers unless specifically advised as this can cause sagging or poor cure, especially on vertical surfaces. For repairs, clamp or brace pieces while the epoxy sets for optimal strength.
Advanced Application Advice for Resin on Iron
Consider room temperature and humidity for optimal curing. Working in a clean, dust-free environment minimises finishing issues. For best protection, inspect periodically and re-coat as necessary to maintain a long-lasting, effective barrier.

- "Klebfix" – Two-Component Fast Epoxy Glue 2K, 25g Syringe£22.85KLEBFIX 2K Fast Epoxy Glue bonds multiple materials with a clear finish, suitable for professional and DIY uses on demanding repairs.
- "FixExpress" – Two-Component Epoxy Glue 500g£25.45"FixExpress" is a rapid-setting epoxy glue suitable for strong, clean bonds on various materials including metals.
- Gas Heat Gun for Epoxy Resin – Precision Tool for Bubble Removal and FinishingPrice range: £4.15 through £13.85The Gas Heat Gun supports resin projects with precise heating to reduce bubbles, suitable for beginners and professionals.
 Resin & Paint Application Rollers – Short-Pile, Large, and Sponge TypesPrice range: £3.45 through £4.85Rollers designed for epoxy resin application offer options for detailed or large coverage and a sponge type for an even finish.
Frequently Asked Questions
Frequently Asked Questions
How do I stop epoxy resin peeling off iron?
Ensure the iron is fully cleaned, free from oils, dust, and especially rust. Sand the surface so it is uniformly rough, and always wipe with a clean cloth before applying epoxy. Skipping these steps is the main cause of poor adhesion or peeling.
Does epoxy resin prevent iron from rusting?
Once fully cured and properly applied, epoxy resin forms a non-porous, waterproof barrier. This helps shield iron from moisture and oxygen, significantly reducing the risk of rust when the coating remains intact.
How thick should I apply epoxy to metal surfaces?
It’s best to apply epoxy in thin, even coats rather than one thick layer. This ensures proper curing and minimises the risk of sags or trapped bubbles. If a thicker build-up is needed, allow each layer to partially cure before adding the next.
Can I sand or paint over epoxy on iron?
Yes, once the epoxy is fully cured. For smoothness or final finishing, lightly sand the resin surface. You can then paint or apply another finish if desired—always check paint compatibility with cured epoxy.
What if bubbles appear after the epoxy cures?
For small surface bubbles post-cure, lightly sand them out and apply a new thin layer of epoxy. Using a heat gun while still wet is the most effective way to minimise bubble formation initially.
Is epoxy resin safe for outdoor iron repairs?
Epoxy is water-resistant and can withstand typical outdoor conditions if fully cured. For best longevity outdoors, check the product’s heat and UV tolerance, and periodically inspect the coating for chips or wear, reapplying as needed.
Can I use these steps for vertical iron surfaces?
Yes, but be especially careful to apply thin coats to avoid drips or runs. Consider clamping or bracing pieces during curing to keep everything stable.
Does epoxy resin prevent iron from rusting?
Once fully cured and properly applied, epoxy resin forms a non-porous, waterproof barrier. This helps shield iron from moisture and oxygen, significantly reducing the risk of rust when the coating remains intact.
Gas Heat Gun for Epoxy Resin – Precision Tool for Bubble Removal and Finishing
A lightweight gas heat gun designed for efficient bubble removal and finishing in epoxy resin projects.
How thick should I apply epoxy to metal surfaces?
It’s best to apply epoxy in thin, even coats rather than one thick layer. This ensures proper curing and minimises the risk of sags or trapped bubbles. If a thicker build-up is needed, allow each layer to partially cure before adding the next.
Can I sand or paint over epoxy on iron?
Yes, once the epoxy is fully cured. For smoothness or final finishing, lightly sand the resin surface. You can then paint or apply another finish if desired—always check paint compatibility with cured epoxy.
Gas Heat Gun for Epoxy Resin – Precision Tool for Bubble Removal and Finishing
A lightweight gas heat gun designed for efficient bubble removal and finishing in epoxy resin projects.
What if bubbles appear after the epoxy cures?
For small surface bubbles post-cure, lightly sand them out and apply a new thin layer of epoxy. Using a heat gun while still wet is the most effective way to minimise bubble formation initially.
Is epoxy resin safe for outdoor iron repairs?
Epoxy is water-resistant and can withstand typical outdoor conditions if fully cured. For best longevity outdoors, check the product’s heat and UV tolerance, and periodically inspect the coating for chips or wear, reapplying as needed.
Gas Heat Gun for Epoxy Resin – Precision Tool for Bubble Removal and Finishing
A lightweight gas heat gun designed for efficient bubble removal and finishing in epoxy resin projects.
Can I use these steps for vertical iron surfaces?
Yes, but be especially careful to apply thin coats to avoid drips or runs. Consider clamping or bracing pieces during curing to keep everything stable.