 Free shipping on orders over £29,85


How to make a silicone-free eraser?
A practical step-by-step guide for custom, flexible erasers

Creating your own erasers at home can be a fun, creative, and practical project, whether you have material sensitivities or simply wish to explore silicone-free alternatives. This guide takes you step by step through the process, from preparing your workspace to producing a smooth, flexible eraser that works well for art or everyday use.
What You’ll Need
- A mould of your choice (preferably not silicone-based to ensure it is truly silicone-free)
- Substitute eraser base materials (such as PVC-free eraser compounds, available in craft stores)
- Mixing tools (sticks or spoons not made of silicone)
- A suitable release agent if using a rigid or plastic mould
- Protective gloves and apron for safety
- Optional: Colour pigments for custom shades
- Cutting tool or craft knife
Materials and Workspace Preparation
Prepare a stable, clean work area and gather all necessary materials before you begin. Organise everything within easy reach to make each step efficient and enjoyable. Lay down a protective sheet to protect surfaces from accidental spills and colouring agents.
Step 1: Choose a Silicone-Free Mould Material
Select a mould made from plastic, metal, or latex rather than traditional silicone. This ensures your eraser remains silicone-free from start to finish, ideal for those with allergies or for specific crafting projects. Ensure the mould’s shape matches your desired eraser design, whether geometric, novelty, or classic rectangular.
Step 2: Mix Your Eraser Base
Using a clean bowl and non-silicone mixing tool, combine your eraser base material as directed by the product instructions. Popular PVC-free eraser compounds may require specific ratios of base and plasticiser, so measure carefully for best results. Optionally, incorporate non-toxic colour pigments to customise your eraser’s look. Mix until the base is smooth, pliable, and free of lumps.
Step 3: Pour and Shape the Eraser
Coat your chosen mould with a suitable release agent if necessary, especially if using rigid forms. Evenly press or pour your eraser mixture into the mould, ensuring all corners and fine details are fully filled. For best results, tap the mould gently against your work surface to release any trapped air and ensure a seamless finish.
Step 4: Cure and Remove Your Eraser
Follow the manufacturer’s guidelines for curing time, whether it involves air drying, baking, or leaving overnight. Avoid rushing this step, as proper curing is vital for a flexible, durable eraser. Once set, carefully demould your eraser, taking care not to bend or snap it if the material is still slightly soft.
Step 5: Test and Trim the Eraser
Inspect the eraser for rough edges or flash marks. Use a sharp craft knife to trim any imperfections and test your new eraser on paper. A well-made silicone-free eraser should leave minimal residue and erase cleanly without crumbling. Adjust the curing time or mould choice if results are not optimal.
Tips, Common Mistakes, and Troubleshooting
Always read your eraser compound instructions closely and work in a well-ventilated area. Avoid moulds or mixing tools containing any silicone components to maintain the product’s silicone-free status. If your eraser feels sticky or overly soft after curing, allow additional drying time or check the mixing ratio. Starting with a small test batch can help you perfect your process before creating more intricate shapes.
Troubleshooting and Finishing Touches
If your eraser sticks to the mould or fails to set, double-check the curing instructions and mixing proportions. For a smooth finish, use fine sandpaper to gently polish rough edges after removing your eraser from the mould.
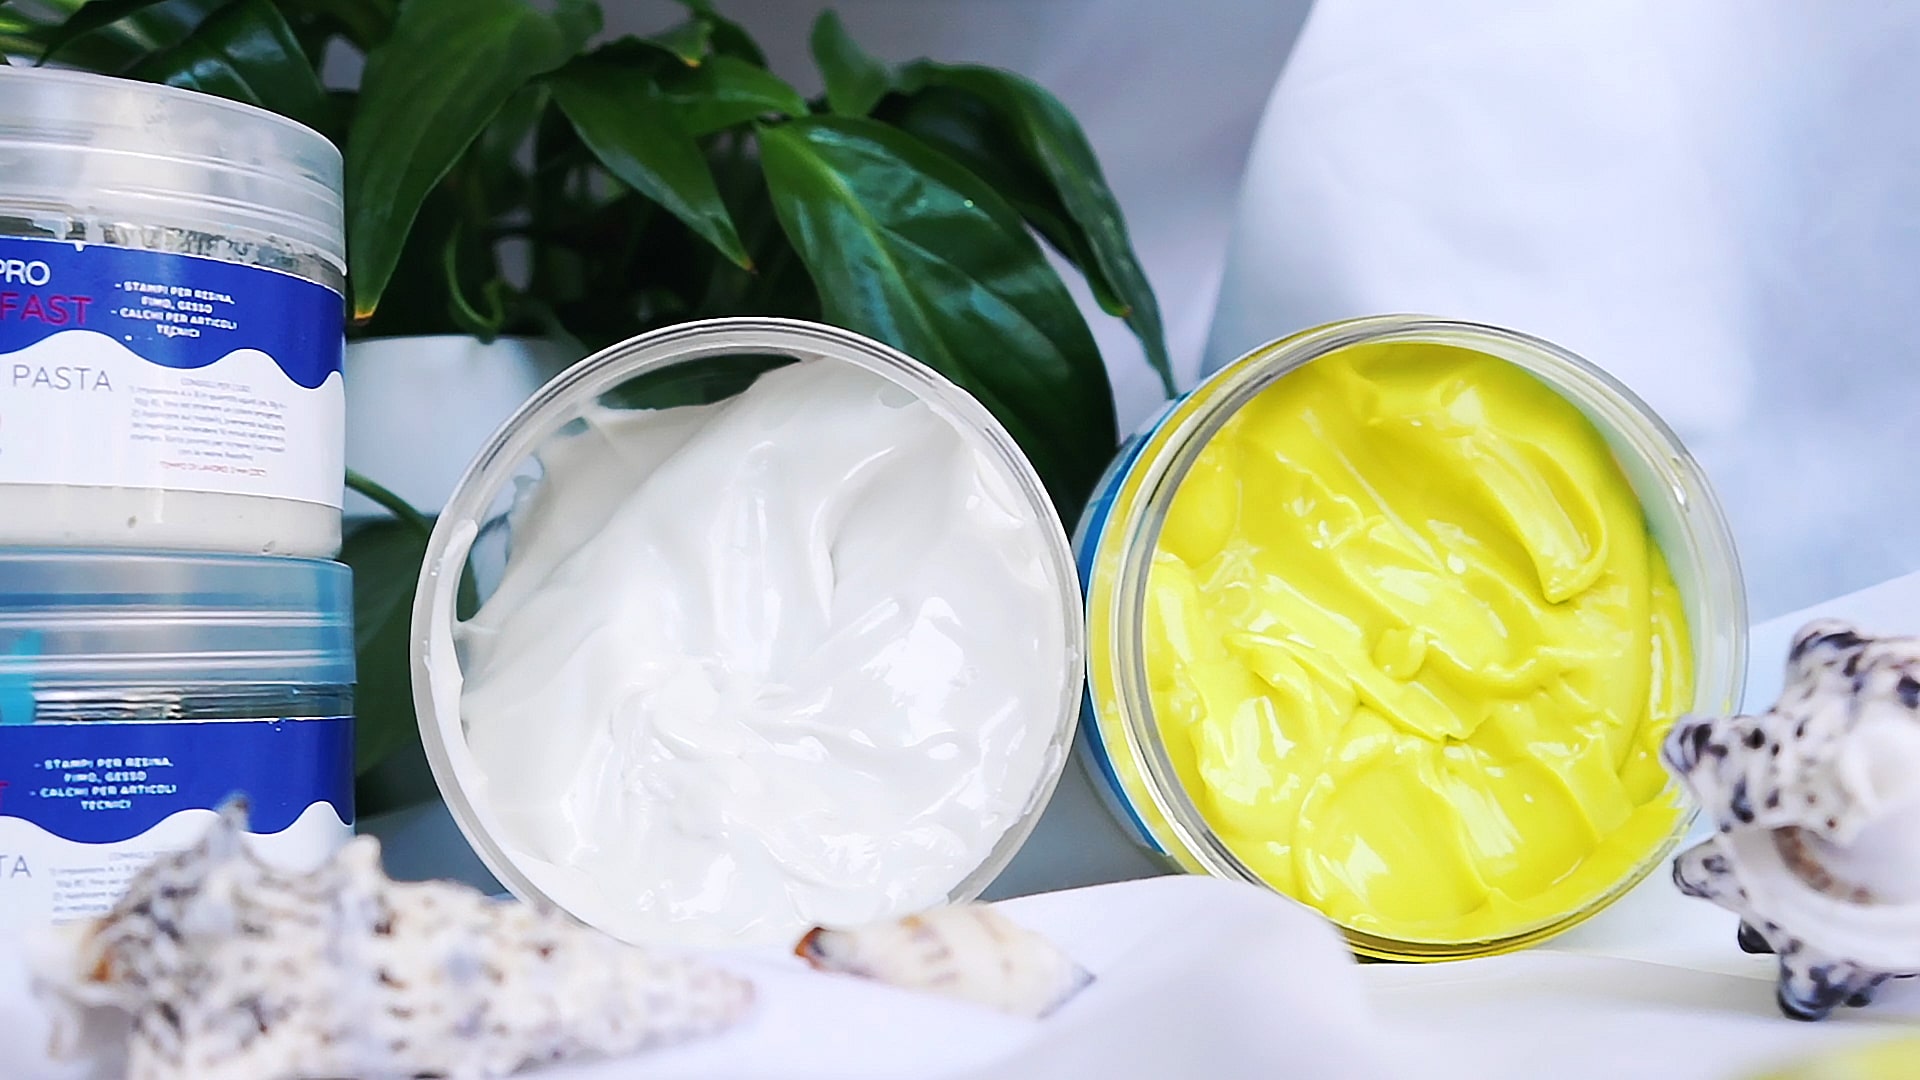
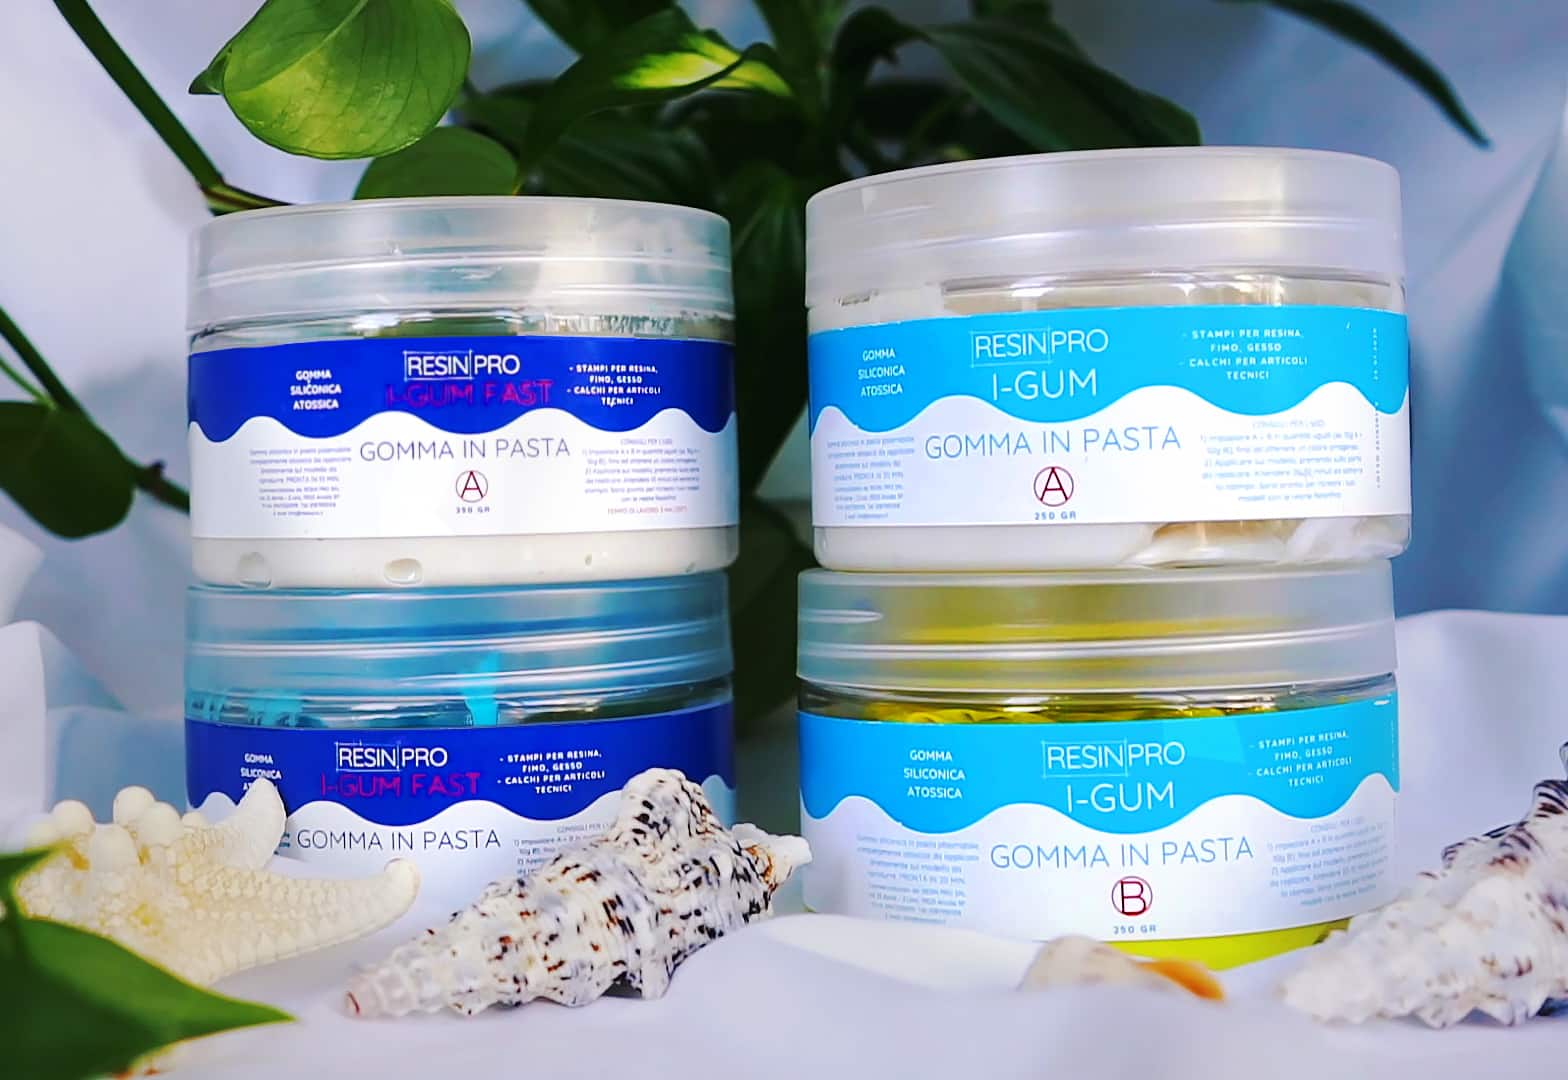
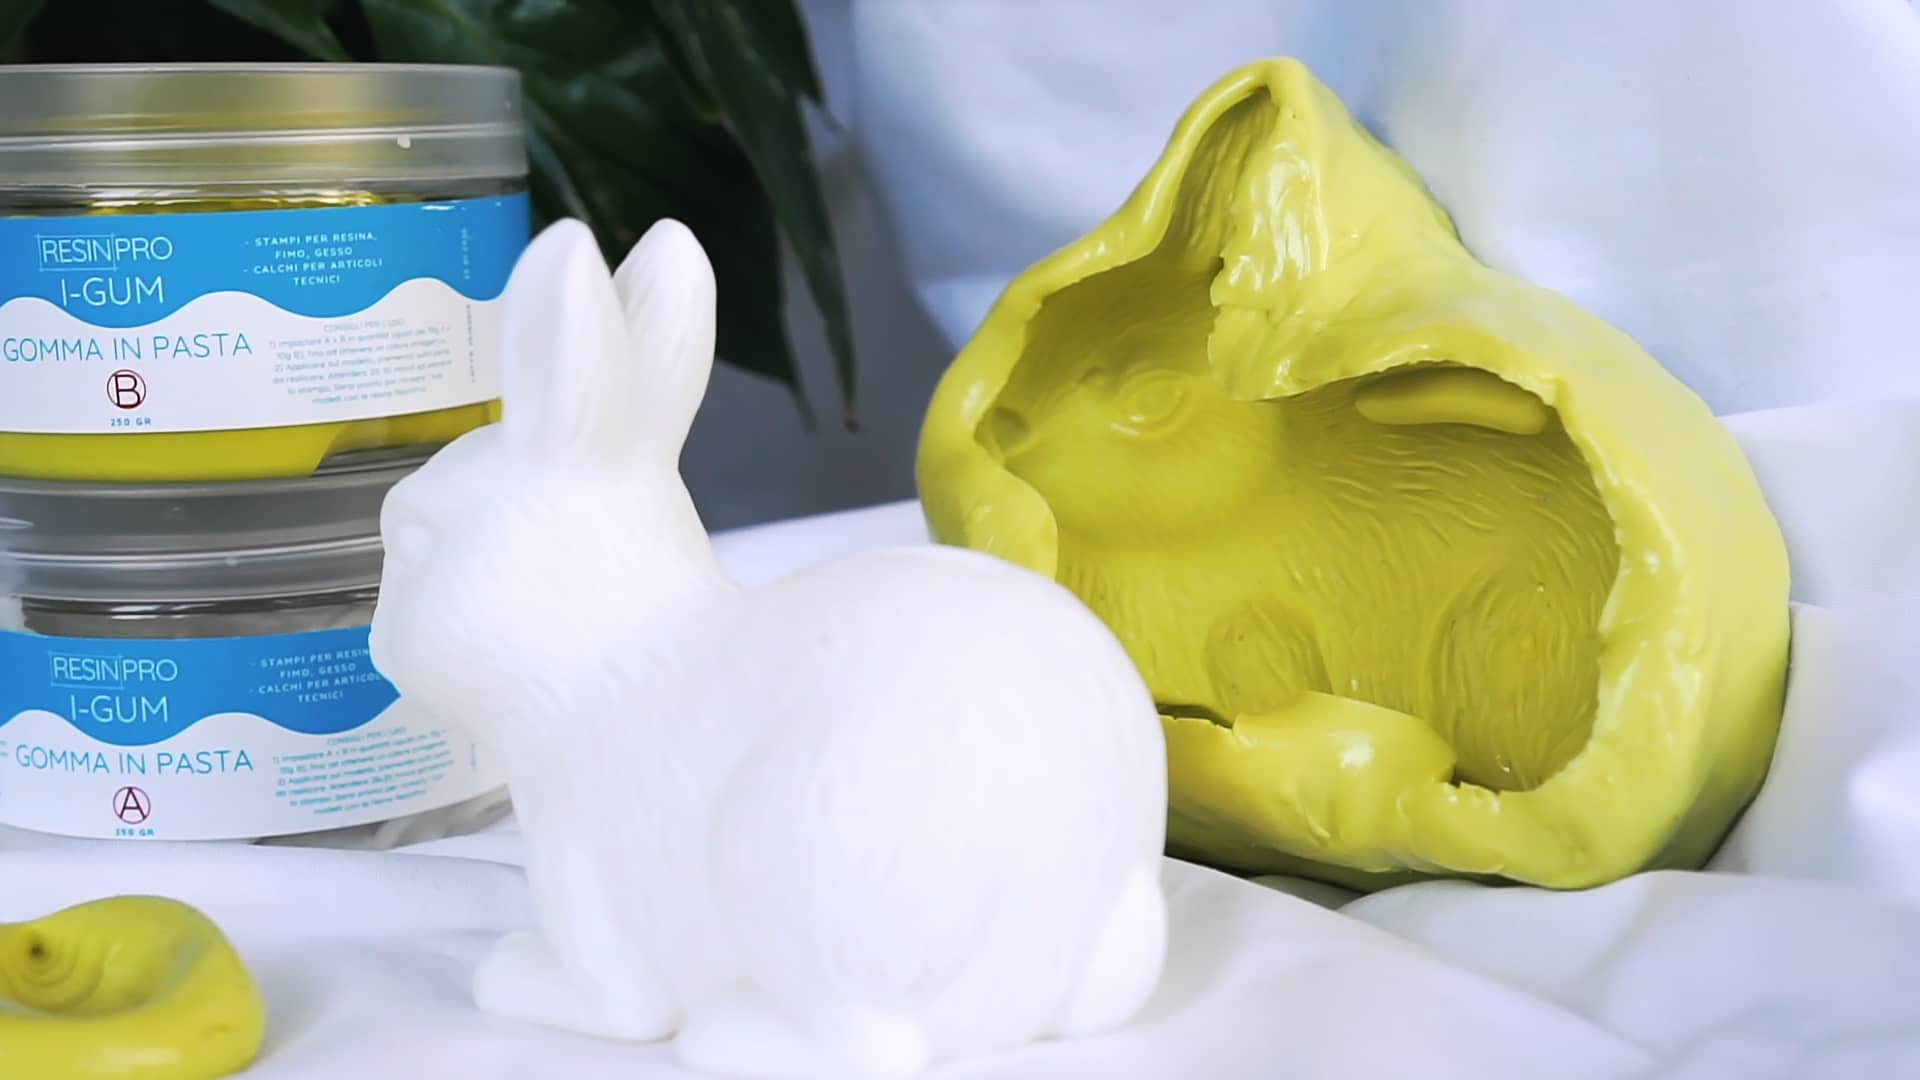
- "I–Gum" – Non-Toxic Silicone Putty for Mould MakingPrice range: £22.85 through £99.85"I–Gum" is a two-component non-toxic silicone putty designed for mould making with a 1:1 mix ratio and long working time.
- Reusable Silicone Resin Brush for Epoxy Art and Wood Applications£3.45Reusable Silicone Resin Brush offers easy cleaning and precise application for epoxy resin projects, suitable for artist and DIY use.
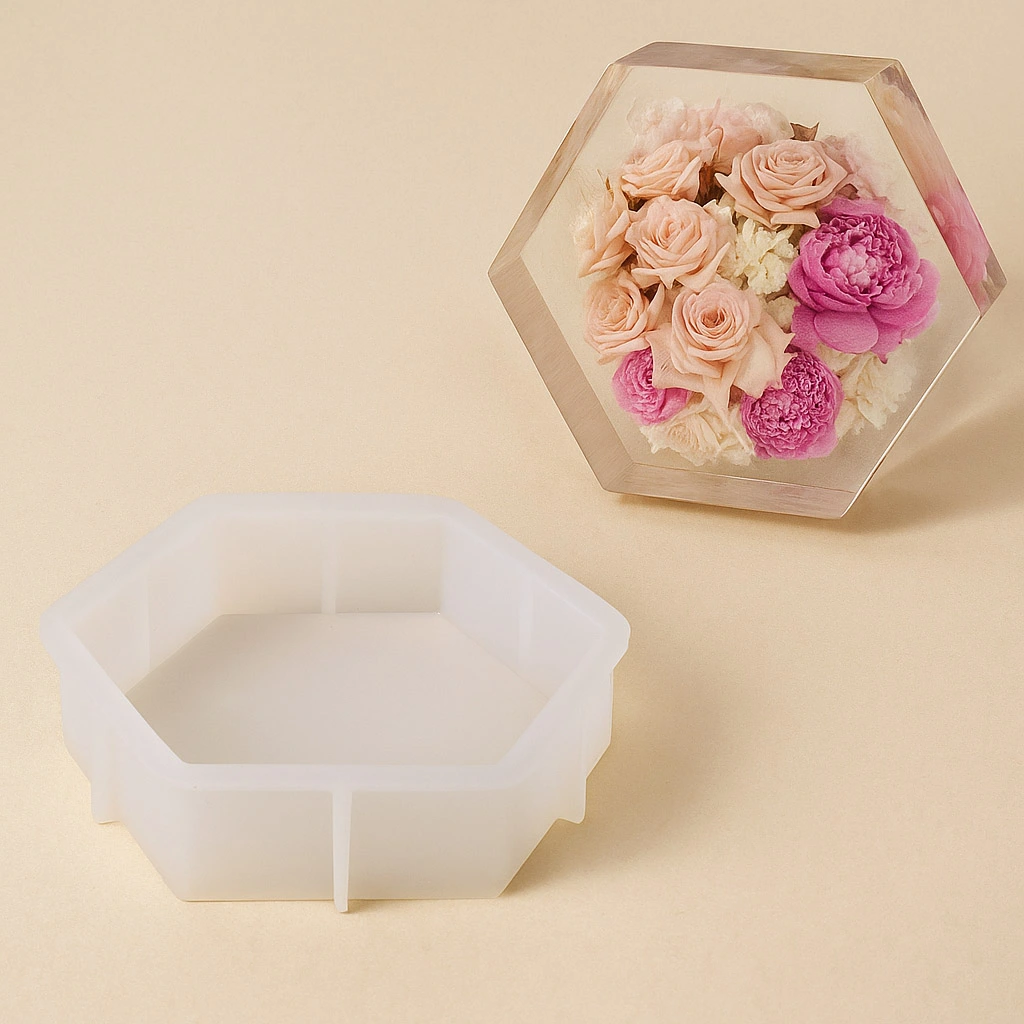 "Silicone Hexagons Mould" – For Creating with Epoxy Resin – 24x21cm£12.85Flexible silicone mould designed for creating decorative objects in resin, suitable for artistic and home decoration projects.
 "Pure Mould" – Translucent Liquid Silicone Rubber for Mould MakingPrice range: £22.85 through £158.85"Pure Mould" is a translucent liquid silicone rubber suitable for detailed mould making, compatible with resins, plaster, and cement.
Frequently Asked Questions
Is silicone required to make a homemade eraser?
No, it is possible to craft erasers using silicone-free, PVC-free materials available in many craft or art supply shops.
What materials should I avoid for a silicone-free eraser project?
Avoid moulds, tools, and additives containing any form of silicone to maintain the silicone-free integrity of your eraser.
How do I customise the shape and colour of my homemade eraser?
Choose creative moulds and mix in non-toxic pigments to achieve different shapes and colours for your eraser.
What are common mistakes to avoid in silicone-free eraser making?
Incomplete mixing, improper curing, and using silicone-based tools are frequent pitfalls. Follow instructions and use compatible materials.
Why is my homemade eraser too soft or sticky?
The issue often comes from incorrect ratios or insufficient curing. Add more base or extend drying as per your compound’s guide.
Is it possible to create coloured silicone-free erasers?
Yes, most PVC-free eraser bases work with non-toxic pigments, allowing for a wide range of custom colours.
What moulds are best for silicone-free eraser making?
Plastic, metal, or latex moulds are ideal. Ensure they are clean and free from any silicone residues for optimal results.