 Free shipping on orders over £29,85


How do you make a resin mould?
Creating your own resin mould lets you craft truly unique, detailed items: whether you want to preserve a floral arrangement, make one-of-a-kind jewellery, or produce custom coasters. This guide covers how to make a professional-quality resin mould at home, suitable for artists, hobbyists, and crafters of any level.
A step-by-step guide to creating silicone moulds for resin


What You’ll Need
- “Pure Mould” – Translucent Liquid Silicone Rubber for Mould Making: A platinum-based translucent silicone ideal for capturing fine details in your moulds.
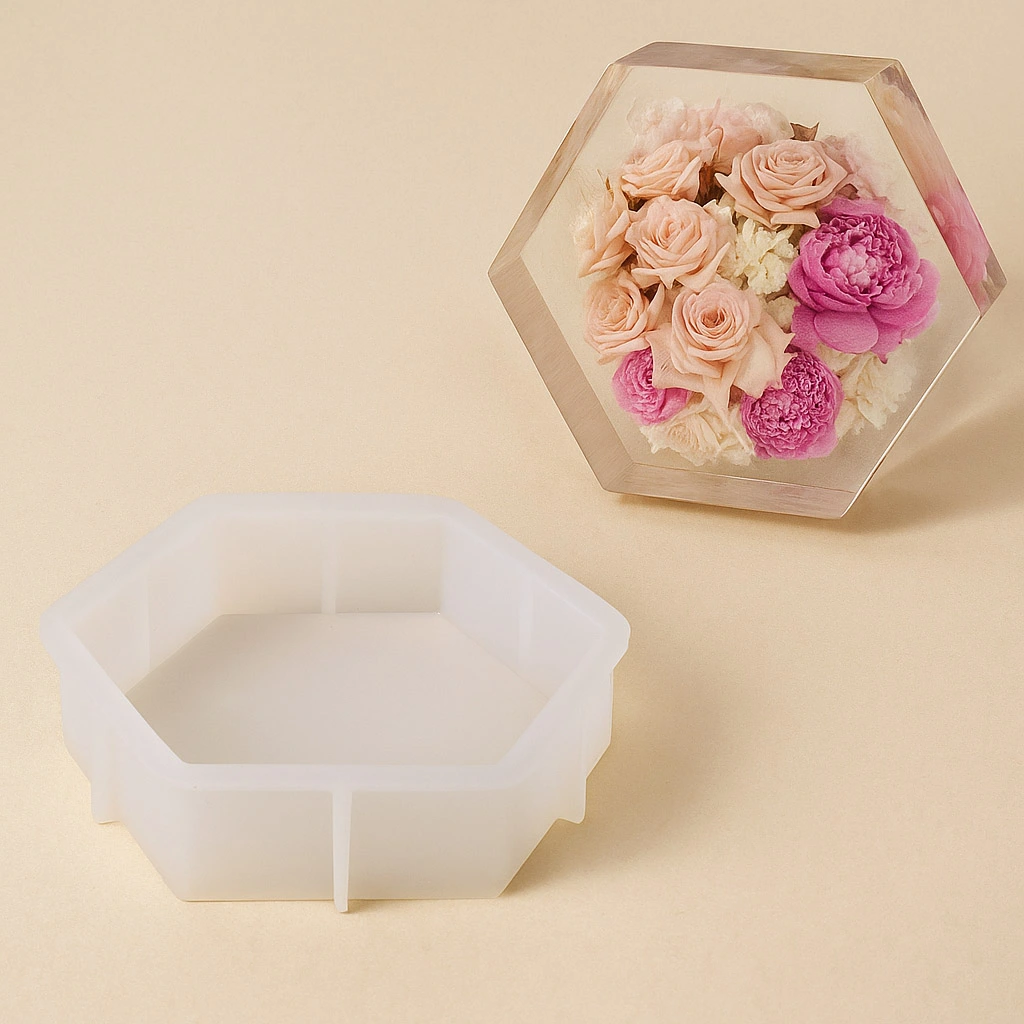
- “Silicone Hexagons Mould” – For Creating with Epoxy Resin – 24x21cm: For ready-to-use hexagonal moulds.
- “Silicone Circle Mould” – For Creating with Epoxy Resin, Ø 20cm: For making decorative circular resin casts.
- Resin Memory Box Complete Epoxy Resin Kit with Silicone Moulds – 3kg: Comprehensive kit if preserving keepsakes or flowers.
- Model or master object (the shape you want to replicate in resin)
- Mixing cups, spatula, gloves and a level work surface
- Release agent (if required for master and mould compatibility)

Essential Tools for Smooth Resin Mould Making
When preparing for resin mould making, gather all your essentials—premium silicone rubber, reusable moulds, and a clean workspace. Organisation reduces mistakes and ensures the best results. Choose a high-quality silicone rubber or a complete resin kit for added convenience.

Step 1: Prepare Your Work Area and Model
Start by ensuring your workspace is organised, clean, and free from dust. Work in a clean, well-ventilated area to prevent any contamination of your silicone and resin.
Position your master object (the item you wish to cast) on a flat, level surface. If your object has intricate details or undercuts, lightly coat it with a suitable release agent so the finished mould separates easily from the master. Release agents help prevent resin from sticking, preserving fine details.
For best results, secure the master within a container or box that matches the desired size of your final mould, leaving at least 1–2cm space around all sides for the silicone to form a complete wall.
Step 2: Measure and Mix Your Silicone Rubber
Follow the instructions specific to your chosen silicone, taking care to use the correct mixing ratio. If using “Pure Mould” – Translucent Liquid Silicone Rubber for Mould Making, mix equal parts by weight or volume as indicated. Pour each part into a clean mixing cup.
Slowly and thoroughly fold the parts together until the mixture is fully uniform in colour and consistency. Mix silicone thoroughly but gently, avoiding creating air bubbles that might mar the finished mould’s detail.
Once mixed, you have a limited working time, so be ready to pour the silicone promptly after combining.
Step 3: Pour Silicone and Remove Bubbles
Slowly pour the mixed silicone rubber into the container, starting in one corner and allowing it to flow around and over the master object. Pouring from a height of about 30cm in a thin stream can help limit air bubble formation.
Once the master is fully covered, gently tap or shake the container to encourage trapped air to rise to the surface and release. You may use a cocktail stick to pop any visible surface bubbles. Remove air bubbles carefully for a flawless finish and avoid rushing this step.
Leave the silicone undisturbed on a level surface to cure. The curing time will vary with product and room temperature (for Pure Mould, 3–8 hours is typical).

Step 4: Demould and Finish Your Silicone Mould
Once fully cured, gently remove the silicone mould from the container. Carefully ease the master out of the mould, taking care not to tear any thinner sections. If the mould contains intricate areas, flex the silicone gently to release the master cleanly.
Inspect your new silicone mould for any imperfections or stray silicone. Wash it with mild soap and water, then let it air dry completely. Your mould is now ready to be used with resin, plaster, or the casting material of your choice.
If you prefer not to create a custom mould from scratch, you can use ready-made options like the “Silicone Circle Mould” or “Silicone Hexagons Mould” for immediate resin projects, or select a complete kit such as the Resin Memory Box Complete Epoxy Resin Kit for keepsake preservation.

Tips, Common Pitfalls, and Troubleshooting
Plan your process and gather all materials before beginning—it is difficult to pause once silicone mixing starts. Temperature affects curing; colder rooms slow the cure, while higher temperatures may speed it up.
If your silicone mould comes out with bubbles or thin spots, try pouring more slowly and pre-coating the master with a small amount of silicone in future attempts. Avoid using incompatible release agents, as these may cause surface defects in your mould. When using kits or ready-made moulds, always check for wear and clean them between uses for best results.
Achieving the Perfect Resin Mould Finish
Patience and precision make the difference. Use slow, careful pouring and address bubbles promptly for crystal-clear results. Keep your moulds clean and store them in a dry, dust-free area between uses.

- "Pure Mould" – Translucent Liquid Silicone Rubber for Mould MakingPrice range: £22.85 through £158.85"Pure Mould" is a translucent and fast-curing liquid silicone rubber designed for making detailed moulds compatible with various materials.
 "Silicone Hexagons Mould" – For Creating with Epoxy Resin – 24x21cm£12.85Flexible silicone mould designed for crafting decorative objects with epoxy resin in hexagonal shapes.
- "Silicone Circle Mould" – For Creating with Epoxy Resin, Ø 20cm£12.85Flexible silicone mould designed for epoxy resin creations, suitable for making decorative objects and coasters.
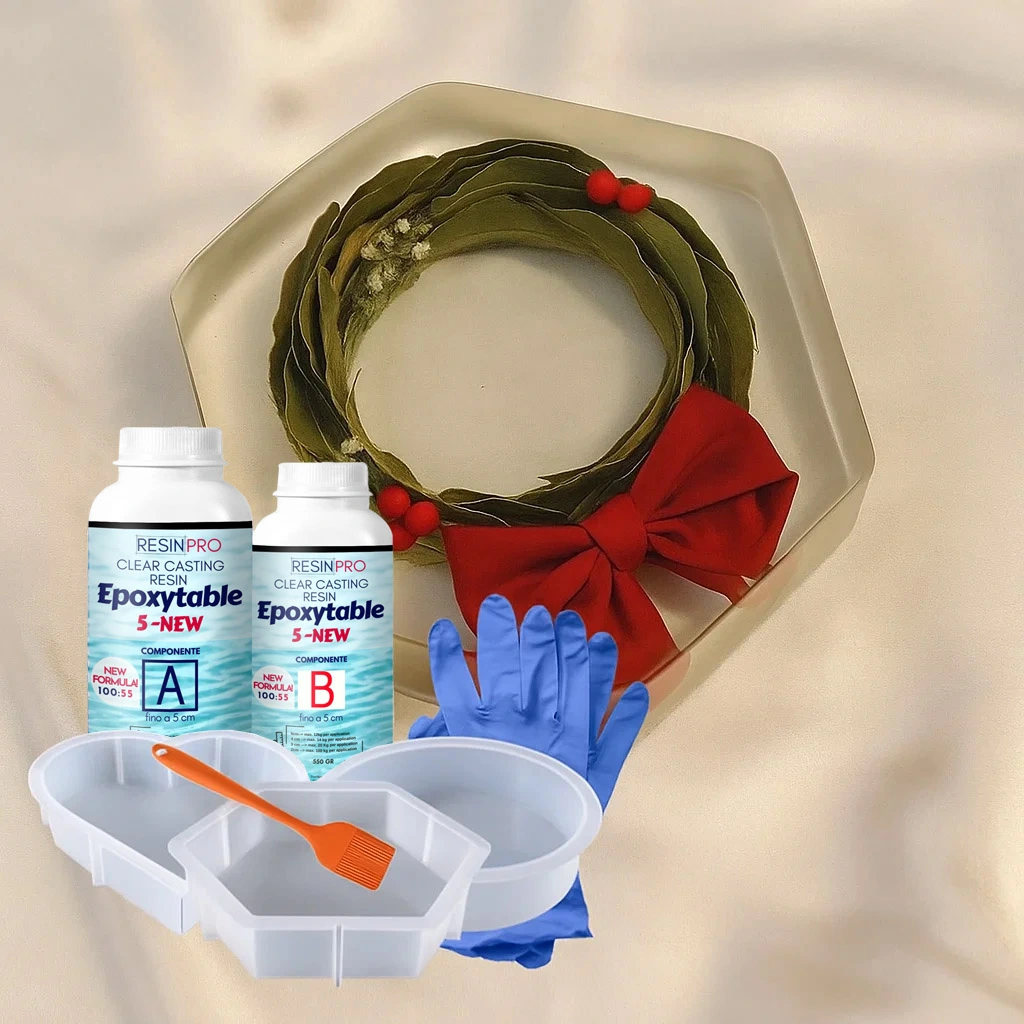 Resin Memory Box Complete Epoxy Resin Kit with Silicone Moulds – 3kg£62.45This Resin Memory Box Kit offers an all-in-one epoxy resin solution with reusable silicone moulds, suitable for preserving floral keepsakes.
Frequently Asked Questions
What silicone rubber is best for resin moulds?
Look for platinum-based, translucent silicone rubbers formulated for detailed casting. These products offer high mechanical resistance and excellent detail capture.
How long does a silicone resin mould last?
A well-maintained silicone resin mould can be reused many times, especially if made from durable materials and cleaned properly after each use.
Can you use ready-made silicone moulds?
Yes, pre-made silicone moulds are a convenient way to start resin projects and are suitable for coasters, keepsakes, and small castings.
How can you prevent bubbles in resin moulds?
Mix silicone slowly, pour in a thin stream, and gently tap or shake the container to release trapped air before curing.
Is a release agent necessary for resin moulds?
Release agents are recommended for complex or delicate masters to ensure easy demoulding and prevent sticking without affecting fine detail.
Can you use silicone moulds with other materials?
Many silicone moulds work with epoxy, polyester, polyurethane, plaster, and certain cements. Always check product compatibility before use.