 Free shipping on orders over £29,85


How do you make a mould for epoxy resin?
Creating a reliable mould is the key to successful epoxy resin casting, whether for jewellery, coasters, or larger artistic projects. This guide explains the step-by-step process to make a mould for epoxy resin that delivers consistently professional results. Perfect for beginners and experienced crafters, you’ll learn how to choose the right materials, shape your mould, and avoid common pitfalls for smooth, detailed resin castings.
Simple steps for reliable and reusable epoxy resin moulds


What You’ll Need
- “Pure Mould” – Translucent Liquid Silicone Rubber for Mould Making: A flexible silicone ideal for capturing detail and creating durable, reusable moulds.
- “Silicone Circle Mould” – For Creating with Epoxy Resin, Ø 20cm: Useful as a ready-made mould if you wish to start directly with shaping resin pieces.
- “Rectangular Mould” – Silicone Formwork 19.5×13.5cm: Great for rectangular and square resin projects.
- Model or master object (the piece you want to replicate)
- Mixing containers and spatulas
- Non-stick work surface and gloves for safety
- Release agent (optional, but highly recommended for complex shapes)

Essential Tools and Materials for Mould Making
Choosing the right silicone rubber and mould form helps you achieve consistent shapes and a perfect finish when casting epoxy resin. Premium silicone products ensure long mould life, accurate detail, and effortless demoulding.

Step 1: Prepare Your Master Object and Workspace
Begin by selecting or creating the master object you wish to clone with resin. This could be an existing item or something custom-made. Clean the object thoroughly to remove any dust or grease, as these can impact the finish of your mould and final casting. Set up your workspace on a non-stick surface, ensuring it’s free from moisture and debris. It’s wise to wear gloves and work in a well-ventilated area for safety and comfort.
If your master has intricate details or undercuts, consider applying a suitable release agent. This step helps protect both your object and your mould, especially if using detailed items or porous materials like wood.
Step 2: Measure and Mix the Silicone Rubber
Accurate measurement is crucial when preparing your silicone rubber. For most DIY projects, a 1:1 mixing ratio by weight or volume is required. Carefully combine the two components in a clean mixing container and stir slowly but thoroughly to minimise air bubbles. Be sure to scrape the sides and bottom to ensure a uniform blend.
For professional-looking, translucent moulds that are easy to work with, “Pure Mould” – Translucent Liquid Silicone Rubber for Mould Making is a reliable choice, allowing you to see the master during pouring and catch any trapped air.
Step 3: Build the Mould Enclosure
The enclosure will define the outer shape of your final mould. It can be constructed from simple materials such as acrylic sheets, plastic containers, or even sturdy cardboard covered in adhesive tape. Hot glue or a low-tack adhesive is used to seal any joints, preventing silicone from escaping.
Secure your master object inside the enclosure, ensuring it is level and fixed in place. Leave a minimum 1 cm gap between the object and enclosure walls for best strength and flexibility. Double check for leaks before moving to the next step.

Step 4: Pour the Silicone and Allow to Cure
Slowly pour the mixed silicone rubber into the enclosure, starting at one corner to let the silicone rise gently around the master object. This helps to displace air and reduces bubbles. Pour in a thin stream if possible. Tap or vibrate the mould gently to assist air release.
Leave the mould to cure undisturbed at room temperature. For most silicones, including “Pure Mould”, curing takes 3–8 hours. Avoid moving or flexing the enclosure during this period for best results.

Step 5: Demould and Test Your Mould
Once the silicone has fully cured, carefully remove the enclosure and gently flex the mould to free your master object. Take your time with this step, as rushing can damage fine details. Inspect the mould for any flaws or air pockets. A well-made silicone mould can be used repeatedly for epoxy resin casting and delivers consistent, professional results.
If working on standard shapes, consider using a ready-made solution like the “Silicone Circle Mould” or “Rectangular Mould” for immediate results without the need for master objects.
Tips, Common Mistakes, and Troubleshooting
- Measure accurately and mix thoroughly: Inaccurate measurements or poor mixing can compromise the mould strength and finish.
- Use the right release agent: Especially for detailed or porous masters, a release agent prevents sticking and tears.
- Avoid moisture in your work area: Water can react with silicone and cause imperfections.
- Allow for complete curing before demoulding: Patience ensures the mould sets fully and increases its lifespan.
If you experience excessive bubbles, try mixing slower or applying gentle vibration. For advanced projects like resin tables, comprehensive kits including step-by-step instructions are available to streamline the process.
Troubleshooting Mould Making Issues
Persistent air bubbles, weak edges, and poor release are often solved by careful mixing, correct preparation, and patience during curing. If in doubt, professional-grade silicones or ready-made moulds can simplify the process and improve your results.

- "Pure Mould" – Translucent Liquid Silicone Rubber for Mould MakingPrice range: £22.85 through £158.85"Pure Mould" is a translucent, platinum based silicone rubber designed for mould making with resins and other materials.
- "River-Table" – Complete Kit for Creating Your First Epoxy Resin TablePrice range: £188.85 through £444.85Kit including epoxy resin, silicone sealant, pigments, polishing kit and instructions suitable for creating resin and wood tables.
 "Silicone Circle Mould" – For Creating with Epoxy Resin, Ø 20cm£12.85Flexible silicone mould designed for creating decorative objects and artistic items with epoxy resin.
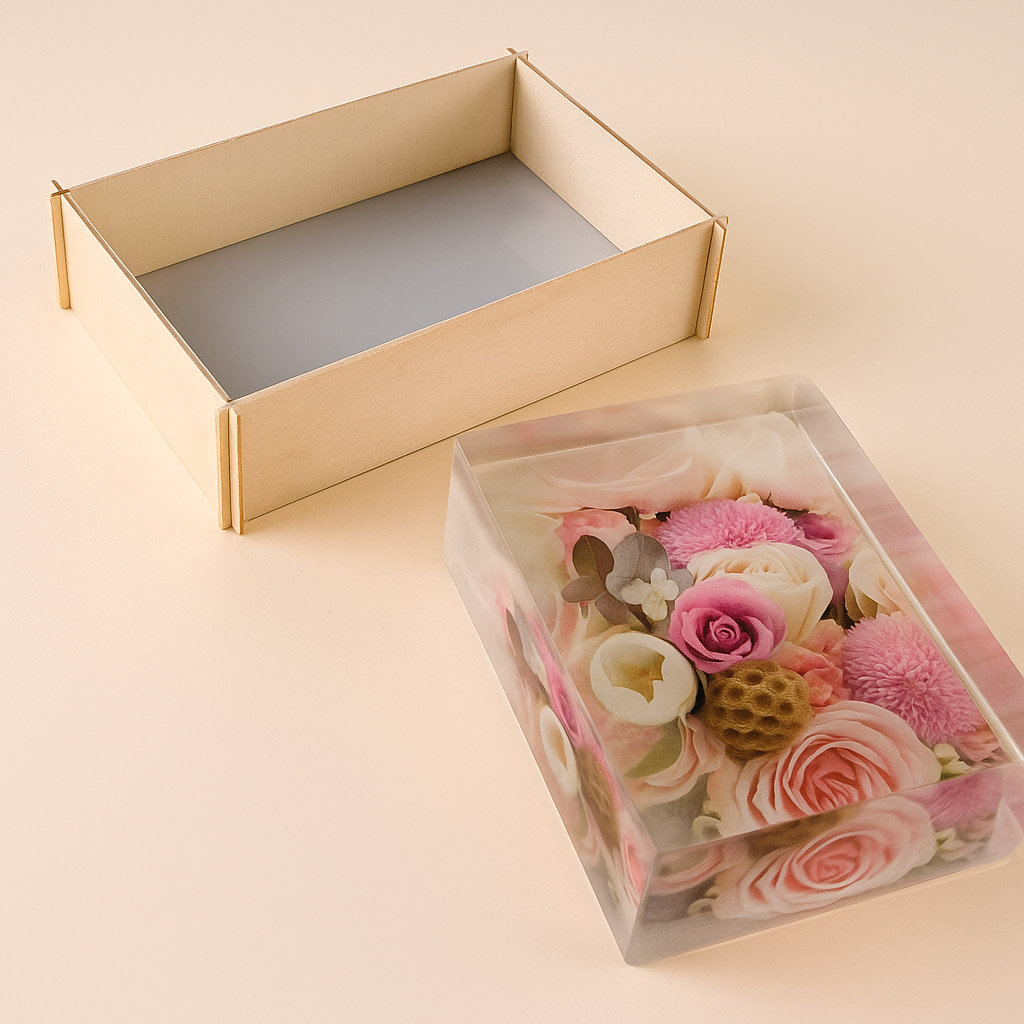 "Rectangular Mould" – Silicone Formwork 19.5×13.5cm£10.85"Rectangular Mould" is designed for creating square-shaped resin creations using professional silicone formwork.
Frequently Asked Questions
What silicone should I use for epoxy resin moulds?
Platinum-based silicone rubbers designed for casting are best for epoxy resin moulds due to their flexibility and detail reproduction.
How can I prevent bubbles in my silicone mould?
Pour silicone slowly and gently, start at one corner, and use a release agent to help air escape from detailed shapes.
Should I use a release agent with epoxy resin moulds?
A release agent is recommended for intricate or porous masters to make demoulding easier and protect both object and mould.
How long does silicone rubber take to cure?
Most silicone rubbers for mould making cure within 3–8 hours at room temperature but always check the specific product instructions.
Can I reuse my epoxy silicone mould?
Yes, high-quality silicone moulds are designed for multiple uses if they are handled gently and kept clean.
What are common mistakes in making resin moulds?
Common mistakes include poor mixing, incorrect measurements, not using a release agent, and demoulding too soon.