 Free shipping on orders over £29,85


How to Get Perfect Spheres with Resin?
Achieve flawless resin spheres for jewellery and crafts
Creating smooth, bubble-free resin spheres is a rewarding process that challenges even experienced crafters. This guide walks you through the essential steps and expert tips that help you achieve perfectly round, polished spheres with clear resin. Whether your aim is jewellery, home décor or unique craft projects, mastering the technique is key to superb results.
What You’ll Need
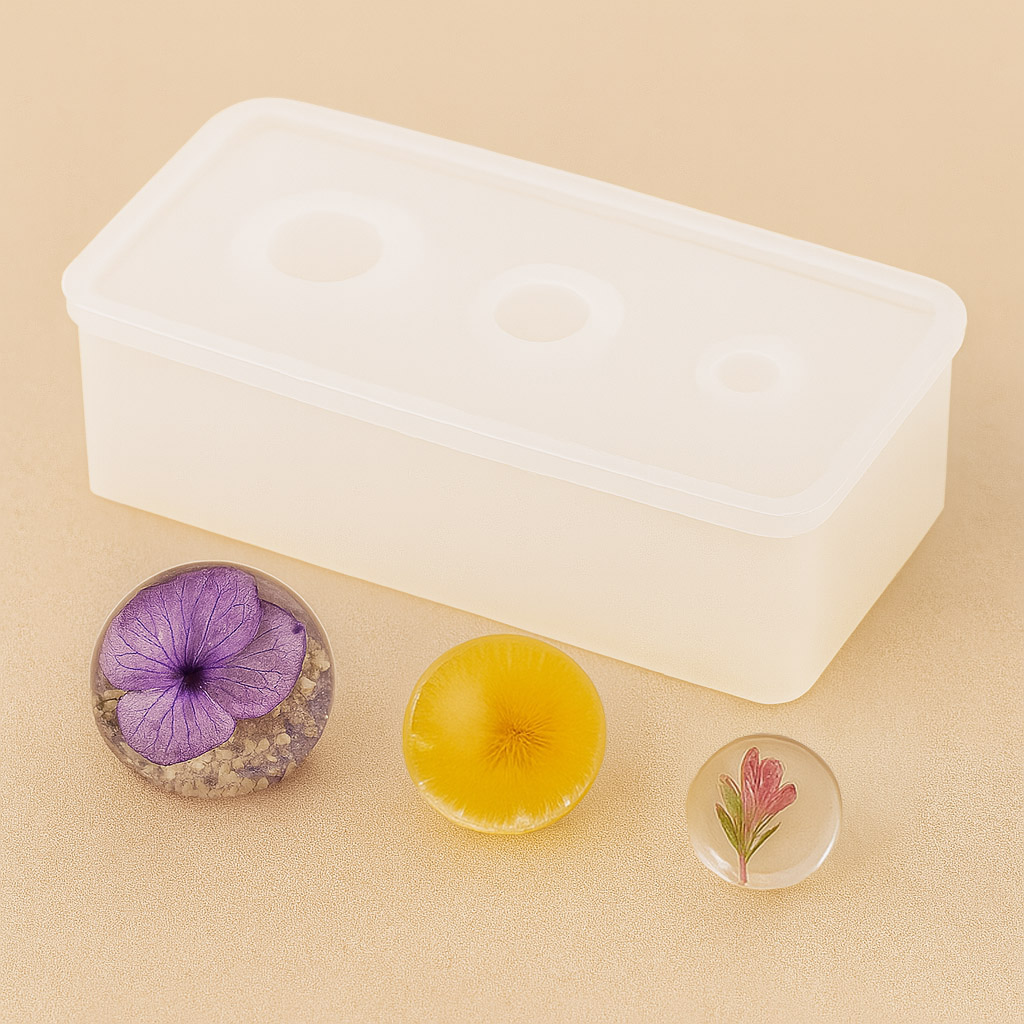
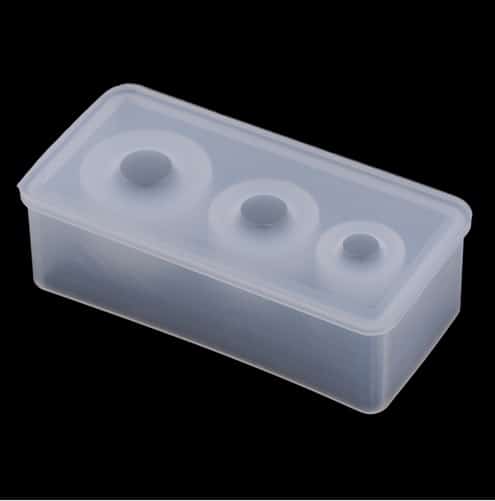
- “3 Sphere” – Silicone Mould for Jewellery and Crafts, 1cm-2.5cm Spheres: Reusable, semi-transparent silicone mould for casting perfectly spherical shapes.
- “EpoxyTable 5-Five” – Deep Pour Epoxy Resin for Tables and Large Projects – Up to 5cm: Epoxy resin with low exothermic reaction, suitable for smooth, bubble-free casts in smaller moulds.
- “Epoxytable 10-Ten” – Deep Pour Epoxy Resin for Tables, Up to 10cm Casting: For larger spheres or deeper pours needing utmost clarity.
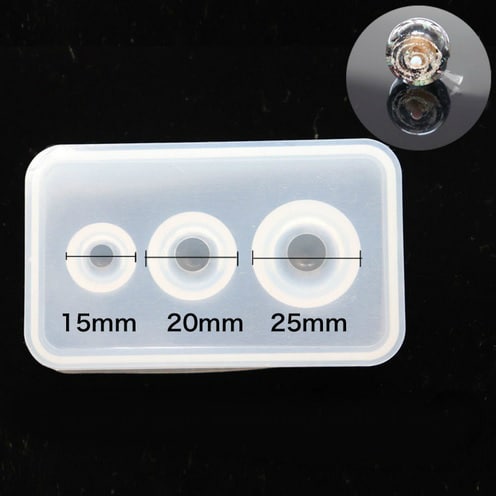
- “Cabochon-15” – Silicone Mould for Resin, Chocolate, Soap, Plaster – Ø40mm: Useful if creating cabochon or hemispherical elements for assembling larger or decorative spheres.
- Protective gloves and respirator (for safety)
- Mixing containers and stir sticks
- Measuring scales for accurate resin ratios
Visual Guide to Resin Sphere Tools and Setup
See the essential tools and moulds favoured by expert resin crafters. Setting up your sphere casting workspace with the right silicone moulds and accurate resin measurement tools is the key to flawless results. Explore how the use of specific mould shapes and precise resin ratios shapes the clarity and finish of each crafted sphere.
Step 1: Prepare Your Mould and Workspace
Begin by selecting a dedicated workspace free of dust and static, as any debris can mar the surface of your resin sphere. Ensure the silicone mould is clean, dry and free from residue—this prevents imperfections and makes demoulding easier later. Silicone sphere moulds should be inspected for any wear or residue; a mild soap wash and thorough drying will help achieve the best surface finish.
Place the mould on a level surface to ensure resin sets evenly. Safety comes first—wear gloves and, if working with large resin volumes, use a respirator or work in a well-ventilated area.
Step 2: Mix and Pour the Resin
Measure the required amounts of resin and hardener as per the manufacturer’s instructions, using digital scales for accuracy. Mix your resin thoroughly, scraping along the sides and bottom of your container to ensure an even blend and avoid cloudy or tacky results. For deep or larger spheres, consider “EpoxyTable 5-Five” or “Epoxytable 10-Ten”, both designed for bubble-free, deeper casting.
Pour resin slowly to minimise bubbles. If available, gently warm the resin or pour in layers to help trapped air escape. For very small spheres, a single pour may suffice. Tap the mould lightly to release any air bubbles that rise to the surface, or gently pass a flame or heat gun over the top for best clarity.
Step 3: Allow to Cure and Demould
After pouring, let your resin sphere cure on a level, undisturbed surface away from direct sunlight or dust. Most deep pour resins need between 12 to 48 hours, depending on their thickness and type, for a full set. Allow adequate curing time before handling.
Once fully hardened, demould carefully by gently stretching the silicone at the edges before rolling the sphere out. Never force the sphere out, as this can damage the surface or the mould itself. If you’re using the “3 Sphere” – Silicone Mould for Jewellery and Crafts, 1cm-2.5cm Spheres, demould within 12 hours to prevent sticking.

Step 4: Finish and Polish Your Spheres
After demoulding, you may notice a seam line or minor imperfections. Clean and finish your spheres properly by gently sanding any rough spots using fine-grit wet/dry sandpaper. For a professional, glossy finish, polish the surface with a resin polish or a soft cloth. Avoid aggressive abrasives as these can scratch the sphere and dull its clarity.
Should any air bubbles or surface blemishes remain, consider a quick touch-up by adding a small drop of freshly prepared resin on top and letting it cure, or use a resin-safe buffing compound for added shine.

Tips and Troubleshooting for Spherical Resin Casting
Always measure and mix resin precisely—incorrect ratios or rushed mixing lead to sticky or cloudy spheres. Use a high-quality silicone sphere mould for best results and longevity. To avoid seams or keyhole marks, fill moulds just to the brim and avoid overfilling. Keep your workspace warm (above 20°C), as low temperatures slow curing and increase bubble formation. If demoulding is difficult, do not force: place the mould briefly in a warm water bath (not hot) to loosen the resin gently.
Remember, high clarity and smoothness come with patience and the right materials. Practice on small batches to perfect your workflow before undertaking ambitious projects.
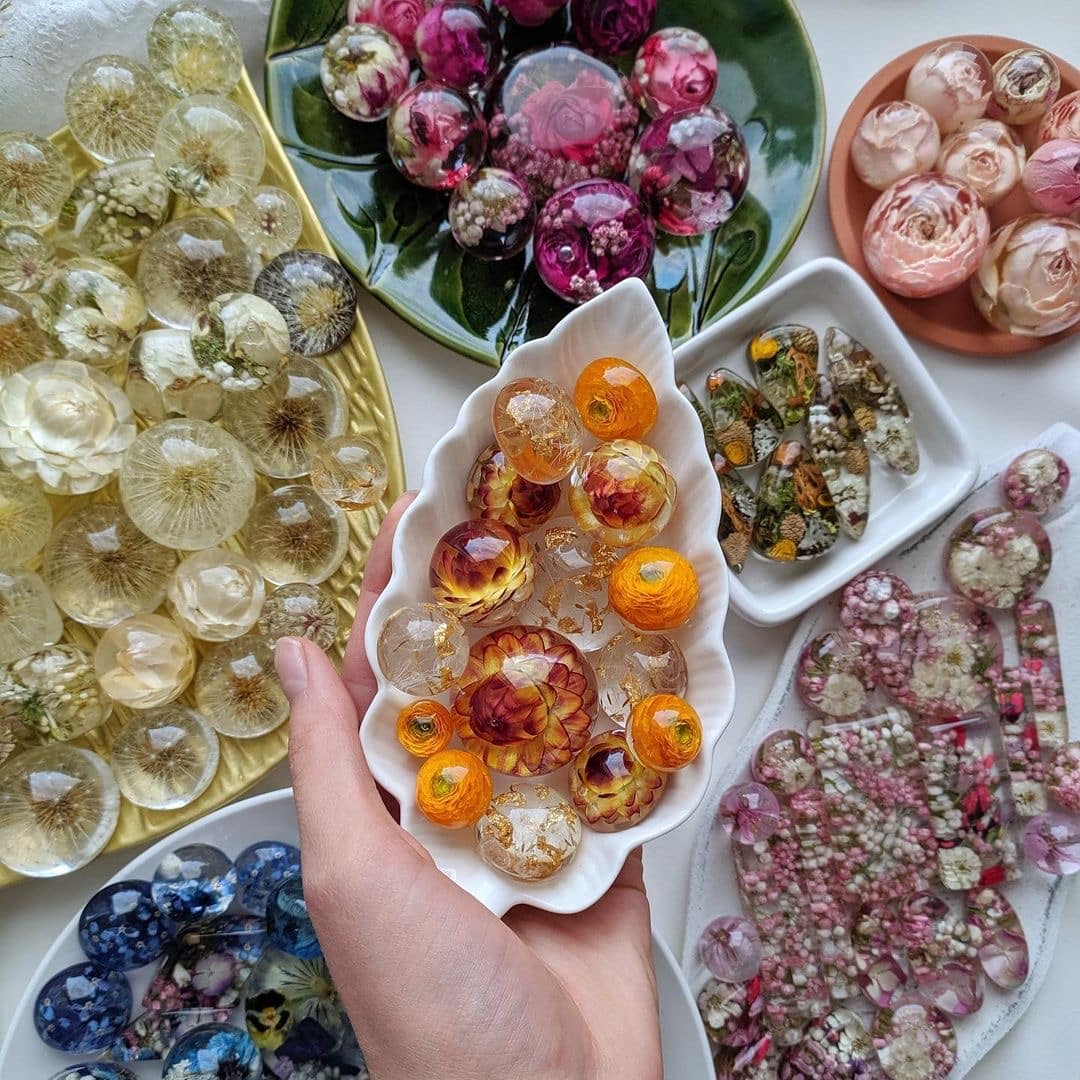
Gallery of Finished Resin Spheres and Expert Finishing
Marvel at the professional results achievable with correct technique. Notice the mirror-like clarity, reflectiveness and flawless roundness that can be achieved by careful pouring, timely demoulding and proper finishing. Use these examples to inspire your next craft or jewellery project involving resin spheres.

- "3 Sphere" – Silicone Mould for Jewellery and Crafts, 1cm-2.5cm Spheres£6.85Silicone mould designed for making spheres sized between 1cm and 2.5cm, suitable for crafts and jewellery with various materials.
- “Epoxytable 10-Ten” – Deep Pour Epoxy Resin for Tables, Up to 10cm CastingPrice range: £33.85 through £334.85“Epoxytable 10-Ten” is designed for deep pour applications up to 10cm, suitable for tables and artistic projects following this resin theme.
 "EpoxyTable 5-Five" – Deep Pour Epoxy Resin for Tables and Large Projects – Up to 5cmPrice range: £16.85 through £1,099.85"EpoxyTable 5-Five" is designed for deep pour projects like tables and large items, offering bubble-free clarity in moderate thicknesses.
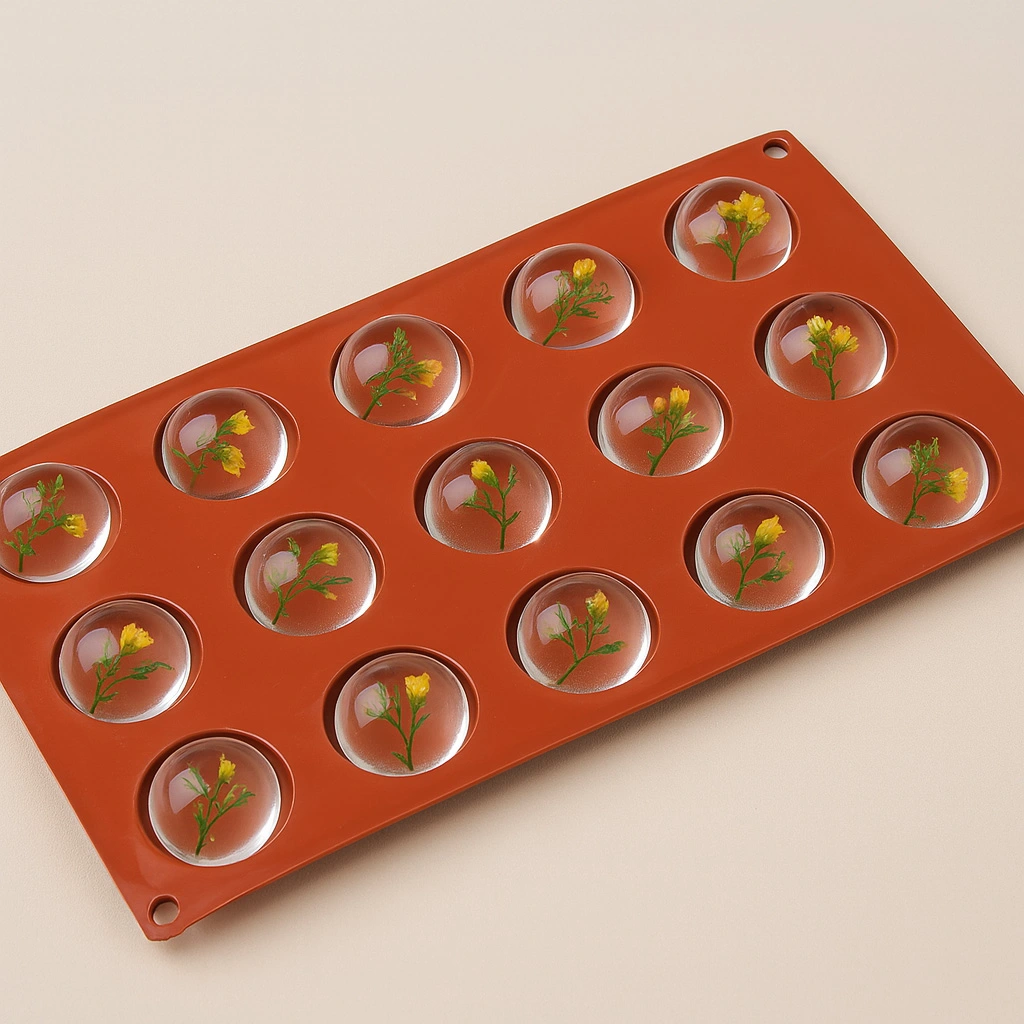 "Cabochon-15" – Silicone Mould for Resin, Chocolate, Soap, Plaster – Ø40mm£13.85"Cabochon-15" silicone mould designed for resin and related crafts, suitable for creating shiny jewellery or decorative items.
Frequently Asked Questions
What kind of mould works best for resin spheres?
High-quality silicone sphere moulds are the preferred choice as they offer non-stick properties and a glossy surface for a flawless finish.
How can I minimise air bubbles in my resin spheres?
Mix resin slowly, avoid vigorous stirring, pour gently, and tap the filled mould or apply gentle warmth to release trapped air.
Is epoxy resin suitable for casting spheres?
Yes, select a deep pour or jewellery-grade epoxy resin for best clarity and strength, especially for spheres larger than 1cm.
When can I safely remove my resin sphere from the mould?
Usually after 12 to 48 hours, depending on resin type and sphere size. Always ensure the resin is fully cured before demoulding.
How do I polish my resin spheres for maximum clarity?
Start with very fine wet/dry sandpaper to remove seams, then polish by hand or with resin polish for a crystal-clear finish.
Why does my resin stick to the sphere mould and how can I prevent it?
Avoid leaving resin inside the mould for too long and ensure the mould is clean. Use a mould release if necessary.
Should I use a different resin for large vs small spheres?
For small spheres, standard clear resin works well. For large or deep spheres, use a deep pour resin to prevent overheating.