 Free shipping on orders over £29,85


How do you apply resin to a brass plaque?
Step-by-step guide for a flawless, glossy resin finish


Applying resin to a brass plaque enhances its shine, protects its surface, and gives it a modern, professional finish. Whether you’re restoring a commemorative item, creating custom signage, or simply looking to safeguard the appearance of a decorative brass piece, this guide walks you through each crucial step for lasting and visually stunning results.
What You’ll Need
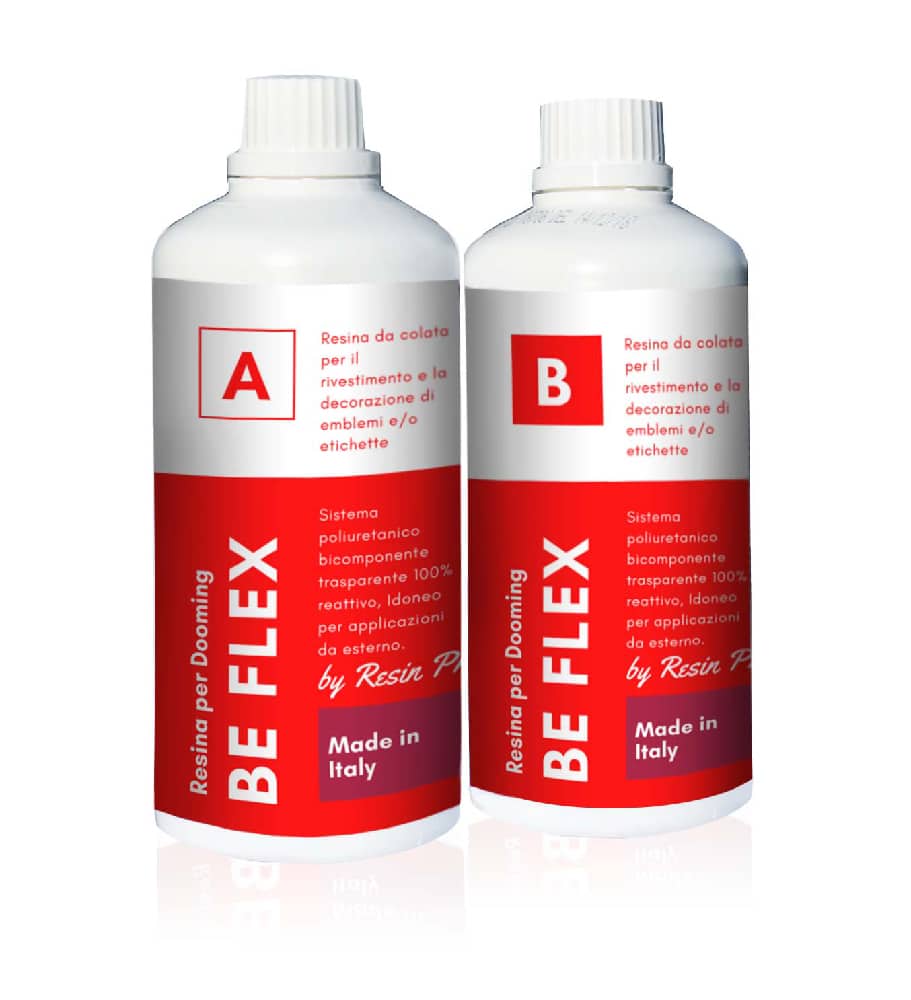
- “Be Flex” – Transparent Polyurethane Doming Resin – Scratch-Resistant – Ideal for curved or flexible plaques, scratch and UV resistant.
- “Art Pro” – Clear Epoxy Resin for Artists and Surface Coating – Suitable for high-gloss, flat surfaces.
- “Trasparente” – Multipurpose Clear Epoxy Resin for Casting – Up to 2cm – Best for plaques requiring an ultra-clear, durable finish.
- “Icrystal” – Clear Epoxy Resin – Odourless Formula – Up to 1.5cm – Great for indoor projects and odour-sensitive environments.
- Nitrile gloves, mixing sticks, and a disposable mixing cup
- Clean, lint-free cloths
- Masking tape (optional for edging)
- Plastic sheet or drop cloth to protect your workspace
Resin Types for Brass Plaques
Choose a doming resin for labels and plaques needing a slightly raised, flexible surface, or opt for a clear epoxy to achieve an ultra-glossy, hard-wearing finish that beautifully complements the shine of brass. Always match your resin selection to your plaque’s flatness and exposure requirements.
Step 1: Prepare the Brass Surface
Thoroughly clean the brass plaque before applying resin. Begin by removing dust, fingerprints, and any residue using warm soapy water and a soft cloth. Avoid abrasive cleaners, as these may scratch the surface. After cleaning, dry the plaque completely with a lint-free cloth.
For the best adhesion, lightly roughen the brass with fine-grit sandpaper (e.g., 1200 grit) if the resin manufacturer recommends it. Carefully wipe away all dust and ensure the plaque is free from moisture, as trapped water can cause cloudiness or poor bonding.
Step 2: Mix Your Chosen Resin
Choose the resin product that best fits your plaque’s requirements—flexibility, clarity, or low odour. Mix resin components according to manufacturer instructions. This typically involves combining resin and hardener in a precise ratio, using a mixing stick until the mixture is completely homogeneous with no visible streaks.
Be sure to use nitrile gloves and mix in a well-ventilated area, following all safety instructions provided by the product. Preparing a little more resin than you’ll need can help maintain an uninterrupted pour, especially on larger plaques.
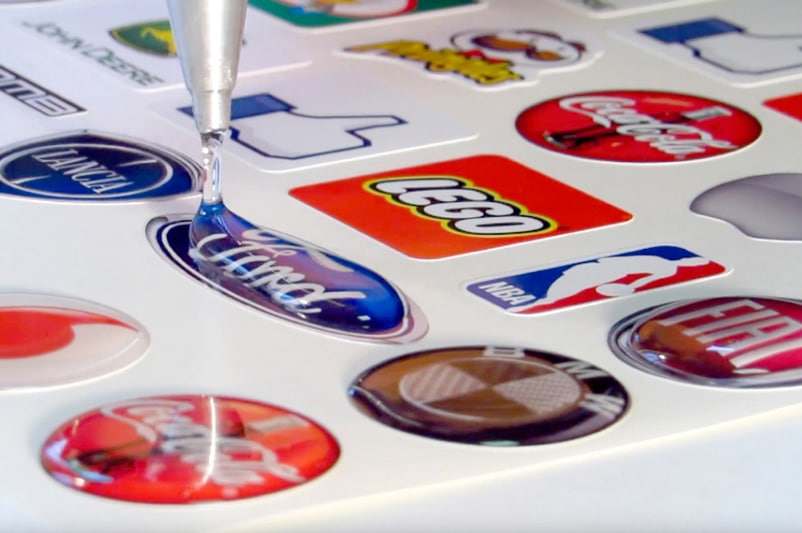
Step 3: Apply the Resin Evenly
Place your brass plaque on a level, protected surface. If desired, apply masking tape around the edges to control resin flow and achieve a neat finish. Pour and spread resin for even coverage — start at the centre and gently guide the resin outward using a spatula or a disposable brush.
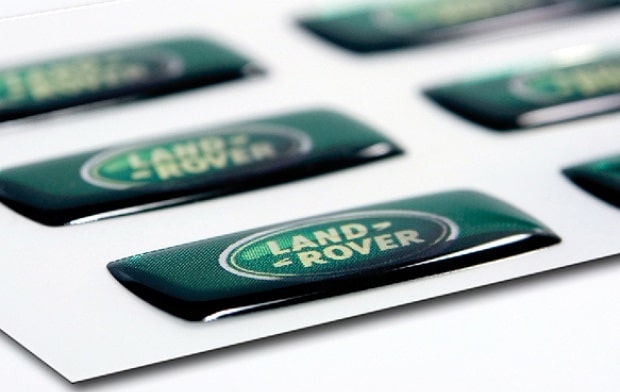
If working with doming resin such as “Be Flex”, ensure it is applied as a controlled mound without running over the edges. For standard epoxy resins, tipping and carefully spreading will help ensure uniformity and bubble minimisation. Lightly pass a heat gun or small torch above the resin surface to pop any visible bubbles, taking care not to linger in one place.

Step 4: Allow the Resin to Cure
After application, move the plaque to an area where it can cure undisturbed. Allow sufficient curing time in a dust-free environment. Curing times vary depending on the product—generally between 12 and 48 hours. Shield the surface from dust by using a cover that does not contact the resin.
Do not touch, move, or disturb the plaque until fully cured to avoid fingerprints or impressions that could mar the clarity. Consult the resin’s instructions for the exact curing time needed for optimal hardness and gloss.

Tips and Common Mistakes When Applying Resin to Brass
For a glass-smooth finish, work in a temperature-controlled room and avoid direct sunlight on freshly poured resin. Avoid excess heat and moisture during curing, as humidity and high temperatures may introduce bubbles or cloudiness.
Remember to check the brass surface thoroughly for grease or fingerprints, which can be amplified under resin. Apply resin in thin, even layers rather than trying to create a thick coat all at once to reduce the risk of drips or sagging, especially on vertical or curved plaques.
Maintaining a Pristine Resin Finish
Keep the coated plaque clean and dust-free after curing by using a soft, dry cloth. Avoid abrasive polishes—if the surface needs freshening, a mild soapy solution will suffice. Store the plaque away from direct sunlight when possible to maximise the resin’s clarity and lifespan.
- "Be Flex" – Transparent Polyurethane Doming Resin – Scratch-ResistantPrice range: £21.85 through £77.85"Be Flex" provides a flexible, transparent finish suitable for curved surfaces and labels with durable, scratch-resistant protection.
- "Art Pro" – Clear Epoxy Resin for Artists and Surface CoatingPrice range: £31.15 through £388.85Art Pro is a clear epoxy resin designed for artists and crafters seeking durable, high-gloss coatings suitable for decorative surfaces.
 "Trasparente" – Multipurpose Clear Epoxy Resin for Casting – Up to 2cmPrice range: £8.45 through £948.85"Trasparente" delivers a clear, glossy finish suitable for detailed castings and various DIY uses within this theme.
 "Icrystal" – Clear Epoxy Resin – Odourless Formula – Up to 1.5cmPrice range: £11.65 through £954.85"Icrystal" – Clear Epoxy Resin offers transparent, odourless coating suitable for various creative and surface finishing applications.
Frequently Asked Questions
How should I prepare a brass plaque before applying resin?
Clean the brass thoroughly with soapy water, dry it completely, and optionally use fine sandpaper for improved adhesion.
What resin should I use on a brass plaque?
Choose a flexible doming resin for curved plaques or a clear epoxy resin for flat, glossy finishes. Select based on project needs.
How can I prevent bubbles when applying resin to brass?
Mix resin slowly, apply gently, and use a heat gun or torch to remove bubbles immediately after pouring.
How long does resin take to cure on a brass plaque?
Curing typically takes 12 to 48 hours depending on the resin. Refer to the product’s label for exact timing.
Can resin be applied over engraved or painted brass?
Yes, resin can be applied as long as the engraved or painted surface is fully dry, clean, and free from oils or dust.
Is it safe to cure resin on brass plaques in cold or humid conditions?
Cold or humid conditions can affect curing, leading to cloudiness or surface imperfections. Work indoors at moderate room temperature.